Introduction
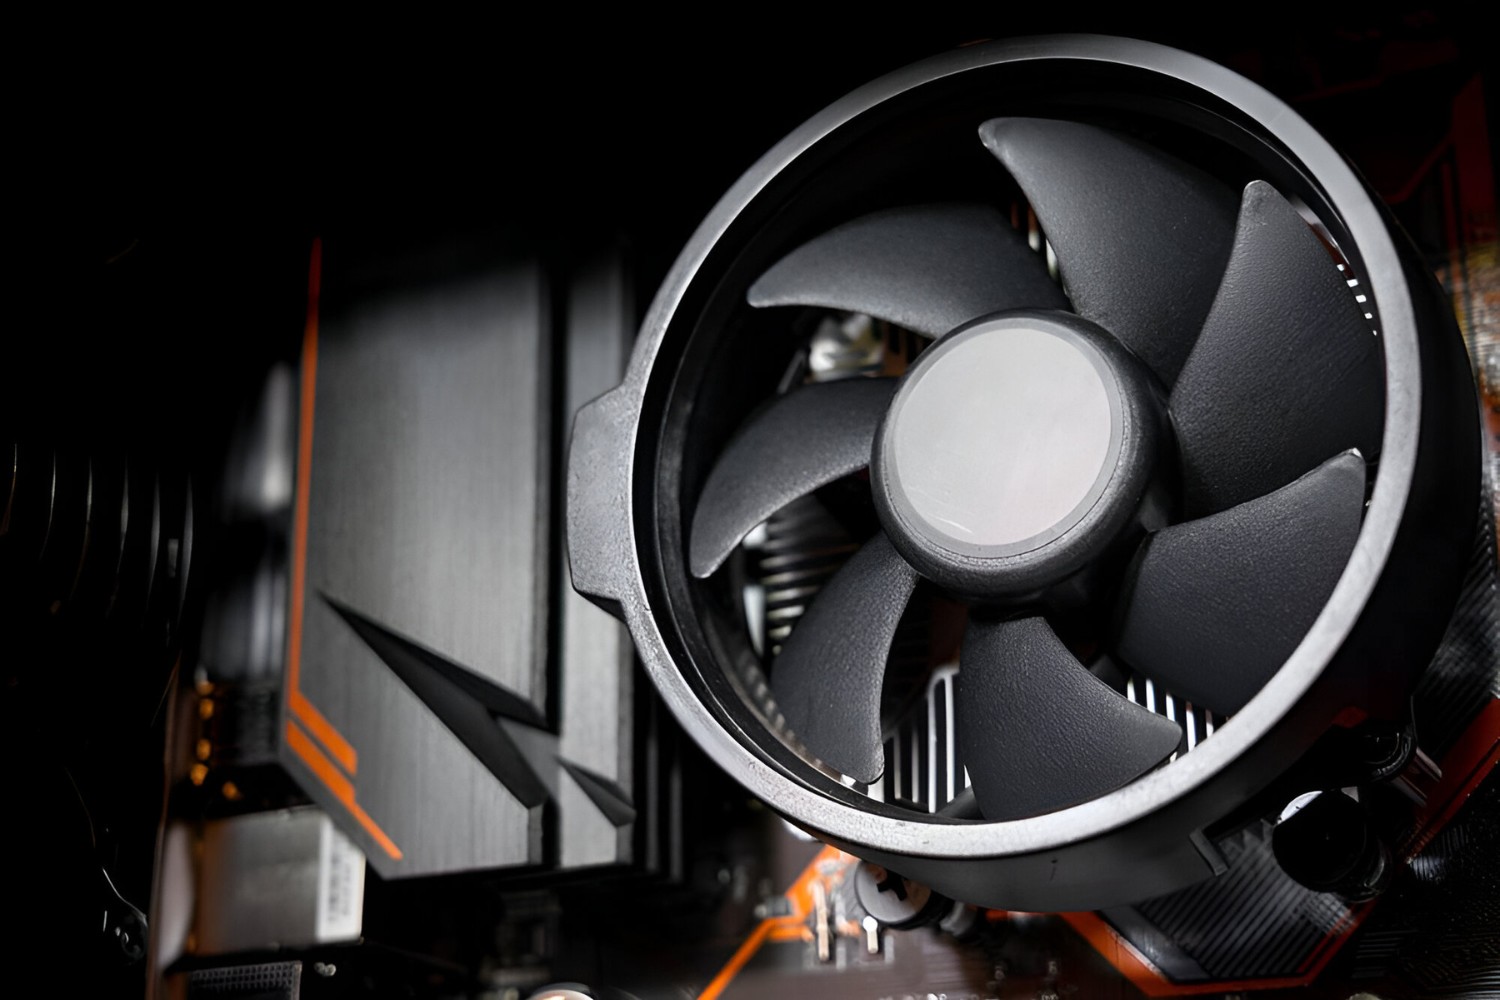
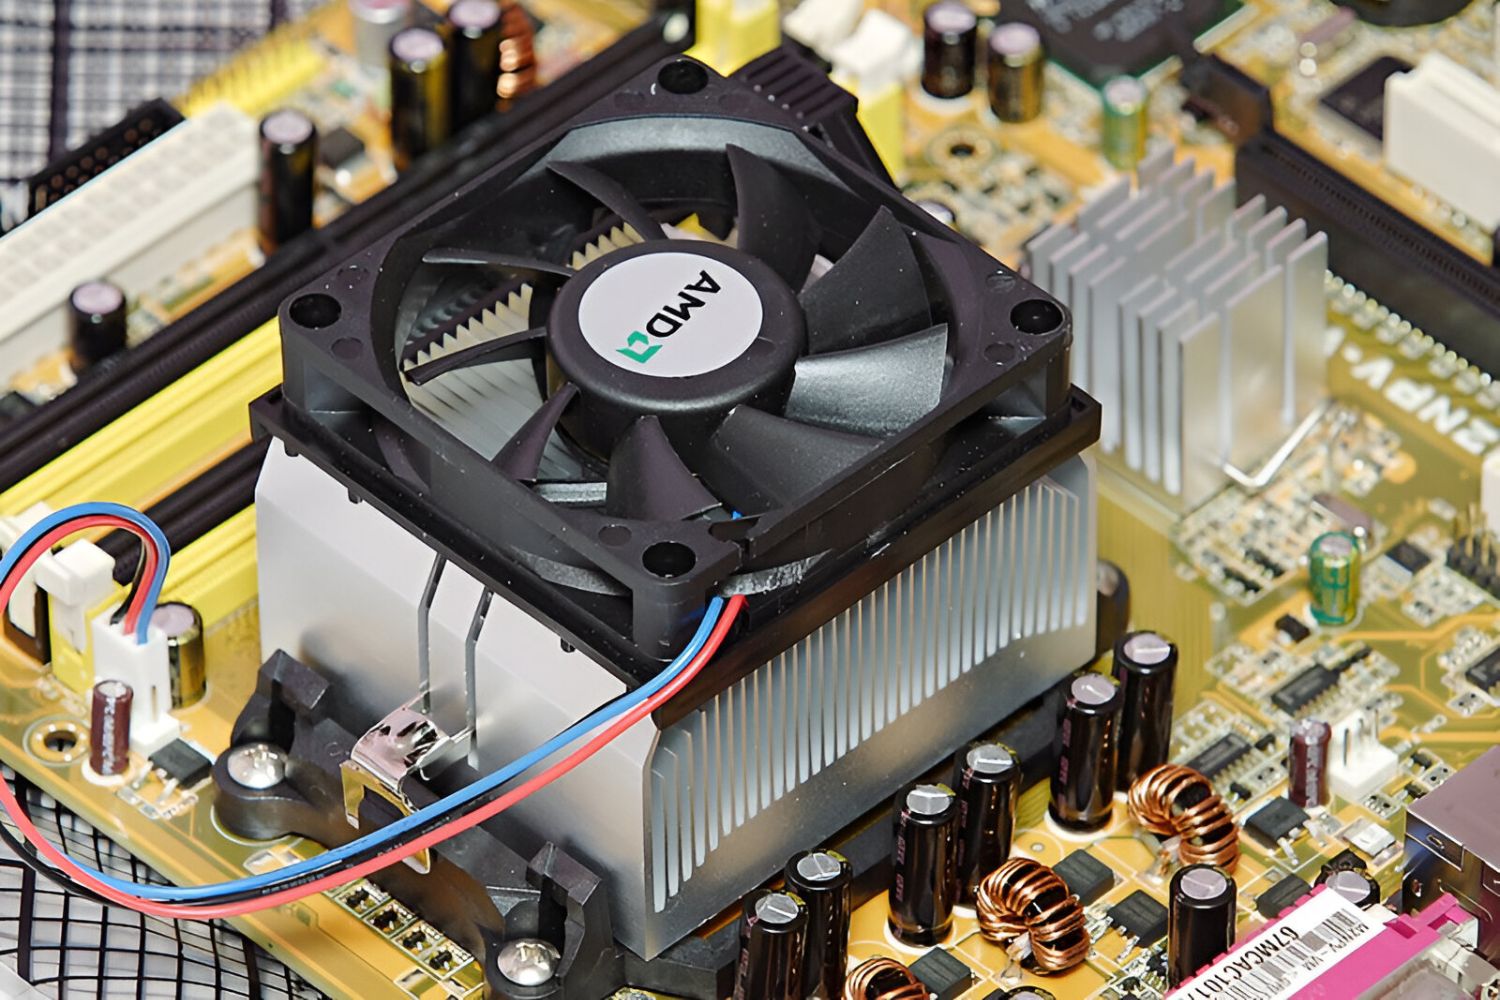
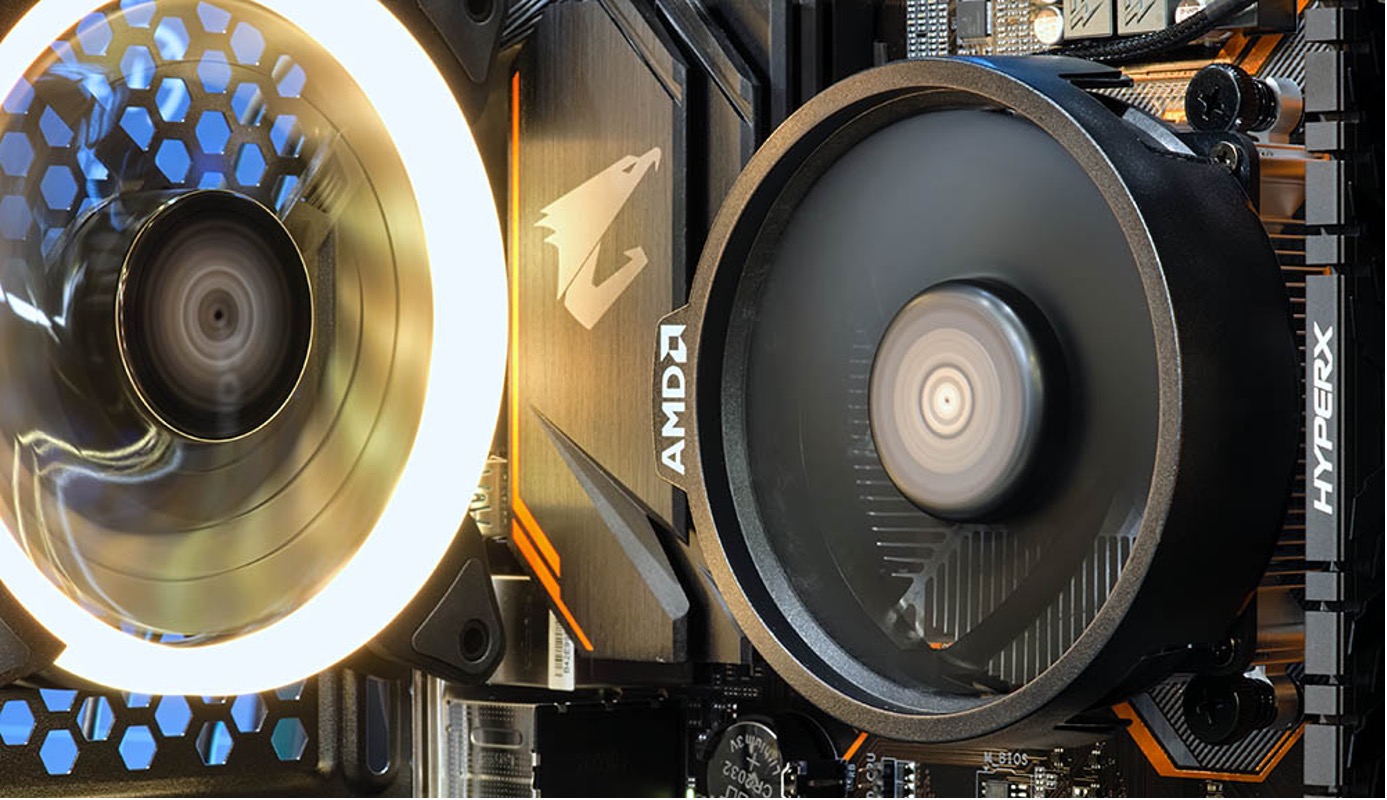
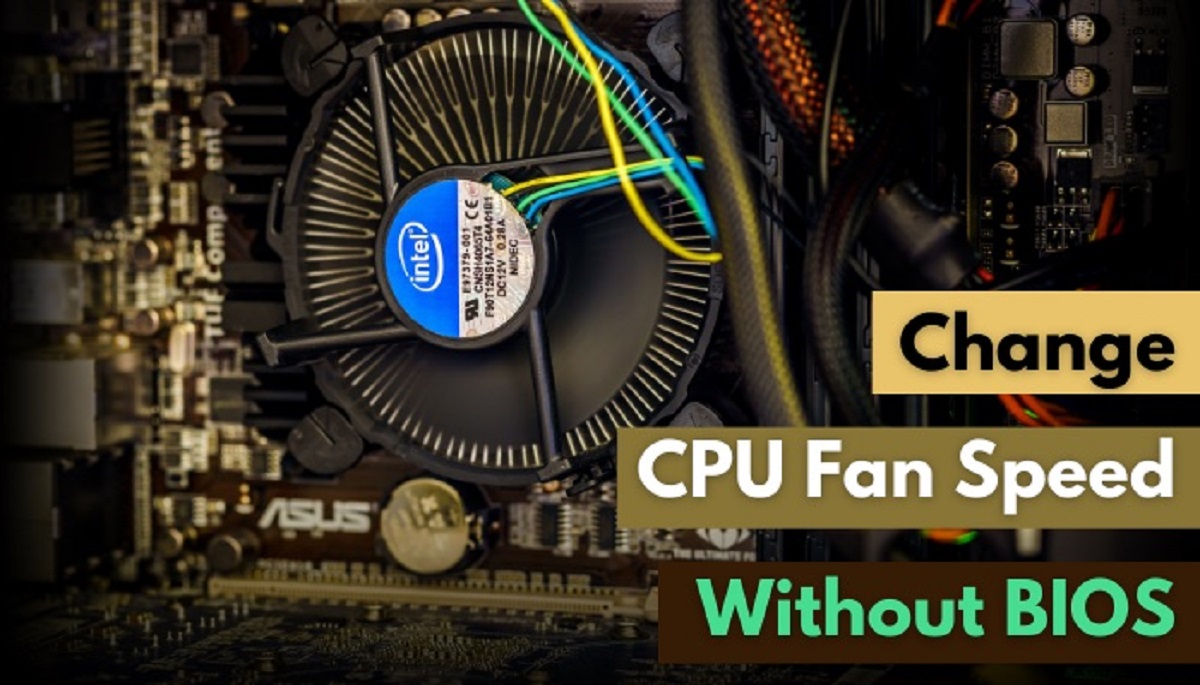
Computers generate heat during operation, especially the central processing unit (CPU). To prevent overheating and ensure optimal performance, CPUs are equipped with cooling fans. These fans help dissipate the heat by circulating air over the CPU heatsink. However, the default fan speed settings may not always meet the specific needs of every user.
In certain scenarios, it may be necessary to control the CPU fan speed manually. This can be due to various factors, such as noise reduction, better thermal management, or performance optimization. By adjusting the fan speed, users can strike a balance between cooling efficiency and noise levels.
In this article, we will explore the different methods through which you can control your CPU fan speed. Whether you prefer accessing the settings through your computer’s BIOS, using software programs, or utilizing dedicated fan controller hardware, we will discuss the pros and cons of each approach. Additionally, we will provide useful tips to effectively manage your CPU fan speed.
It’s important to keep in mind that altering the fan speed settings requires careful consideration and knowledge of your computer’s specifications. Making changes without proper understanding can lead to damage or instability. If you’re unsure about any step, it is advised to consult your computer manufacturer or a professional technician for guidance.
Now, without further ado, let’s dive into the different methods available to control your CPU fan speed and discover which option suits your needs best.
Why do you need to control your CPU fan speed?
Controlling your CPU fan speed can provide several benefits. Understanding why you may need to make adjustments will help you determine if it is necessary for your specific situation. Here are a few reasons why you might want to control your CPU fan speed:
1. Noise reduction: One of the primary reasons users choose to control their CPU fan speed is to reduce noise levels. Stock CPU fans often operate at maximum speed, which can result in a loud whirring sound. By lowering the fan speed, you can enjoy a quieter computing experience, especially during tasks that do not require heavy CPU usage.
2. Improved thermal management: Overclocking your CPU or performing resource-intensive tasks can cause the temperature to rise significantly. By manually adjusting the fan speed, you can ensure efficient cooling and prevent your CPU from overheating. This is particularly important for users who engage in tasks like video editing, gaming, or running demanding software programs.
3. Power consumption: Running your CPU fan at full speed constantly can consume more power than necessary, leading to increased energy bills. By adjusting the fan speed to match the workload, you can save energy and reduce overall power consumption without compromising on cooling effectiveness.
4. Performance optimization: In some cases, controlling the CPU fan speed can improve the performance of your system. By customizing the fan speed to match the workload, you can optimize your CPU’s temperature, allowing it to operate within ideal conditions. This can result in better overall system performance and stability.
Overall, the ability to control your CPU fan speed provides flexibility and customization options for your computer’s cooling system. Whether you prioritize noise reduction, thermal management, power consumption, or performance optimization, being able to adjust the fan speed can greatly enhance your computing experience.
Now that we understand why controlling your CPU fan speed is beneficial, let’s explore the different methods you can use to achieve this.
Different methods to control CPU fan speed
There are several methods available to control the CPU fan speed on your computer. Each method offers its own set of advantages and limitations. Let’s take a closer look at these methods:
1. BIOS settings: One of the most common ways to control CPU fan speed is through the BIOS (Basic Input/Output System) settings. Accessing the BIOS allows you to modify various hardware configurations, including fan speed. However, not all BIOS versions provide fan speed control options, and the available options may vary depending on your motherboard. Additionally, adjusting fan speed through the BIOS requires a restart for changes to take effect.
2. Software programs: Another method to control CPU fan speed is by using software programs specifically designed for this purpose. These programs allow you to monitor and control various aspects of your computer’s hardware, including fan speed. Popular software programs include SpeedFan, Argus Monitor, and HWMonitor. They provide a user-friendly interface that lets you customize fan speed settings according to your preferences. However, compatibility can vary depending on your hardware, and some programs may require a paid license for full functionality.
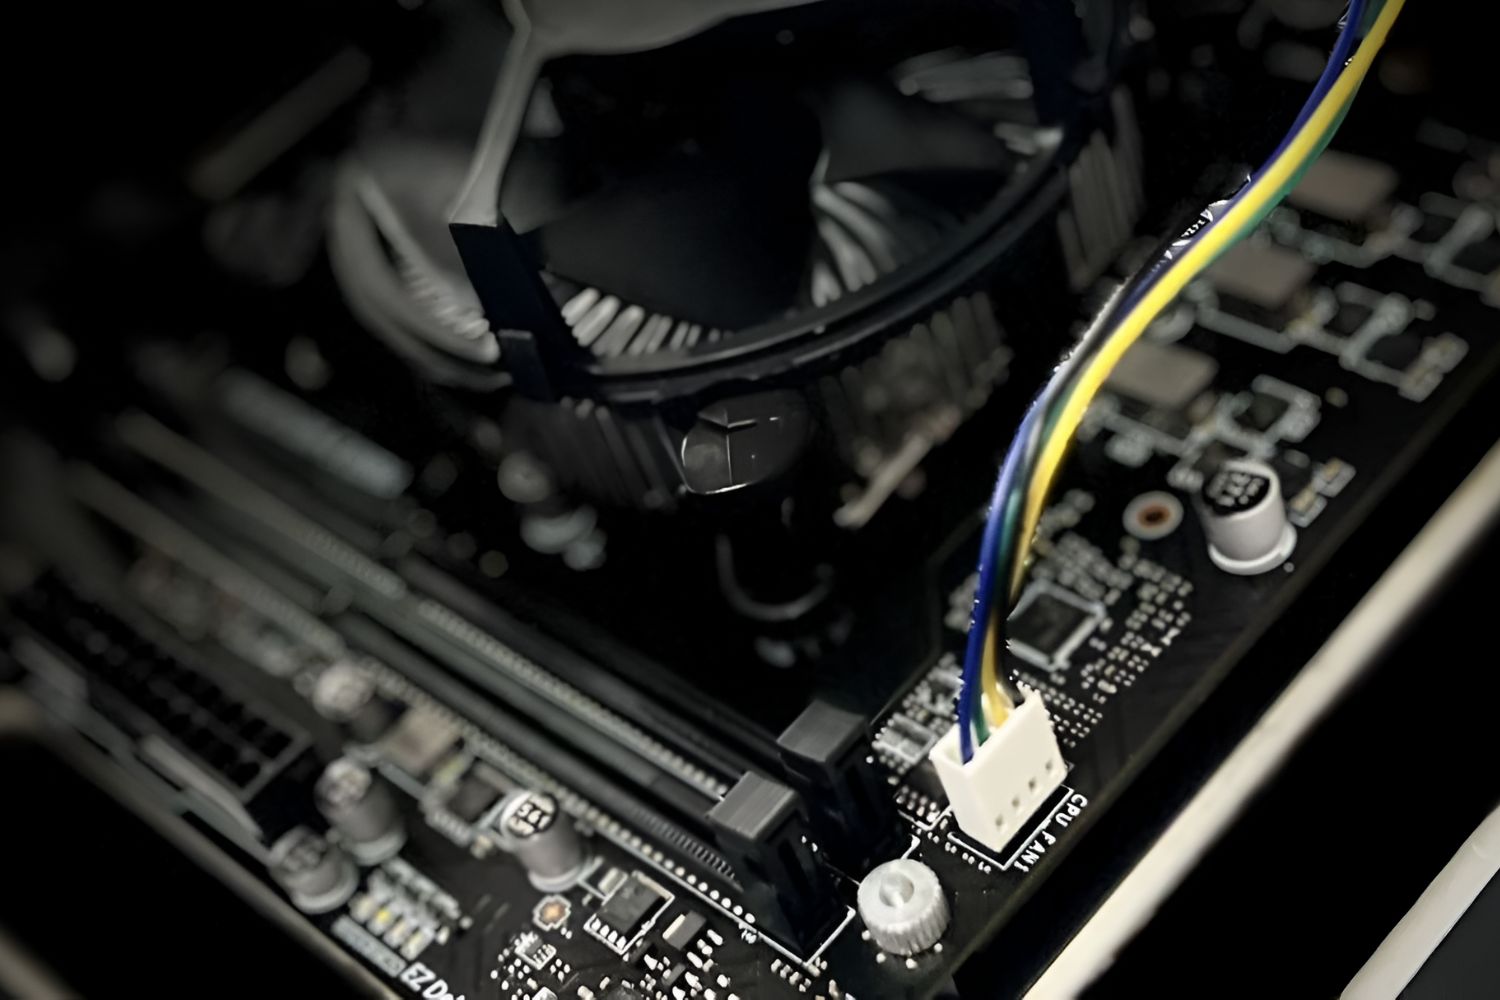
3. Fan controller hardware: If you prefer a more hands-on approach, you can use fan controller hardware to control CPU fan speed. Fan controllers are separate devices that connect to your computer’s fan headers and allow you to manually adjust fan speed using physical knobs or buttons. This method provides precise control over fan speed, and some fan controllers even offer advanced features like temperature monitoring and fan profiles. However, this option requires additional hardware and installation.
4. Manufacturer-specific software: Some computer manufacturers provide their own software utilities for controlling the CPU fan speed. These utilities are often pre-installed on your computer and offer a convenient way to adjust fan speed settings without the need for third-party software. However, these options may not be available on all computer models and may have limited customization options compared to dedicated software programs.
Each method has its own advantages and considerations. The choice of which method to use depends on your specific needs and preferences. Now that we’ve explored the different methods to control CPU fan speed, let’s examine the pros and cons of each approach in more detail.
Method 1: BIOS settings
Accessing the BIOS (Basic Input/Output System) settings is a common method for controlling CPU fan speed. The BIOS is a firmware interface that allows users to make configurations at a low-level hardware level. Here’s how you can adjust the CPU fan speed using the BIOS:
1. Restart your computer: To access the BIOS, you need to restart your computer. During the boot-up process, you’ll usually see a brief message on your screen indicating which key to press to enter the BIOS setup. Common keys include F2, Del, Esc, or F10. Refer to your computer or motherboard manual for the correct key.
2. Enter the BIOS setup: Press the designated key repeatedly before the operating system begins to load to enter the BIOS setup. The BIOS setup screen may vary depending on your motherboard manufacturer, but you should be able to navigate through a series of menus using the keyboard.
3. Locate the fan control settings: Look for a section related to hardware monitoring, system configuration, or power management. Within this section, you should find options to control CPU fan speed. The specific options may vary depending on your BIOS version and motherboard model.
4. Adjust the settings: Once you’ve found the fan control settings, you can typically choose from a few predefined profiles, such as silent, normal, or performance. These profiles determine the fan speed based on predefined temperature thresholds. Some BIOS versions also allow manual customization of fan speed curves, where you can specify the fan speed at different temperature intervals.
5. Save and exit: After adjusting the settings, save the changes and exit the BIOS setup. Your computer will restart, and the new fan speed settings will take effect.
While adjusting the CPU fan speed through the BIOS provides a direct and low-level method, there are a few considerations to keep in mind:
Pros:
- Direct and low-level control over fan speed.
- No need for additional software installations.
- Changes apply during system startup, ensuring consistency.
Cons:
- Options and menus can vary depending on the BIOS version and motherboard model.
- May require trial and error to find the optimal settings.
- Requires a restart for changes to take effect.
Overall, adjusting the CPU fan speed through the BIOS is a reliable and straightforward method. However, the level of customization and features may be limited compared to using dedicated software programs or fan controller hardware. Now that we’ve explored the BIOS method, let’s move on to the next method: software programs.
Method 2: Software programs
Using software programs specifically designed for controlling CPU fan speed is another popular method. These programs provide a user-friendly interface that allows you to monitor and adjust fan speed settings with ease. Here’s how you can control your CPU fan speed using software programs:
1. Choose a compatible software: There are several software programs available for controlling fan speed, such as SpeedFan, Argus Monitor, and HWMonitor. Research and choose a program that is compatible with your operating system and supports your hardware configuration.
2. Download and install the software: Visit the official website of the chosen software and download the installation package. Follow the on-screen instructions to install the software on your computer.
3. Launch the software: Once the software is installed, launch it from your desktop or Start menu. The software will detect and display information about your computer’s hardware, including fan speed settings.
4. Adjust the fan speed settings: Depending on the program, you may have different options for adjusting the fan speed. These options can include setting specific fan speeds, creating custom fan profiles, or choosing from predefined profiles. Explore the software’s interface and experiment with different settings until you find the optimal configuration for your needs.
5. Apply the changes: After making the desired adjustments to the fan speed settings, remember to apply the changes. Some software programs require you to click a “Save” or “Apply” button, while others may apply the changes automatically.
6. Monitor the fan speed: The software program will provide real-time monitoring of your CPU fan speed, allowing you to keep track of any changes or fluctuations. This can help you ensure that the fan speed remains adjusted as desired.
Using software programs to control CPU fan speed offers several advantages:
Pros:
- User-friendly interface with intuitive controls.
- Customizable fan speed profiles and settings.
- Real-time monitoring of fan speed and temperature.
- Compatibility with a wide range of hardware configurations.
However, there are a few considerations to keep in mind:
Cons:
- Compatibility may vary depending on your hardware and operating system.
- Some programs may require a paid license for full functionality.
- Software programs may consume system resources while running in the background.
- Updates and compatibility with new hardware may not be guaranteed in the long term.
Overall, using software programs to control CPU fan speed offers flexibility and customization options. It allows you to fine-tune the cooling performance of your computer without the need for hardware modifications. Now that we’ve explored the software method, let’s move on to the next method: fan controller hardware.
Method 3: Fan controller hardware
If you prefer a more hands-on approach to controlling your CPU fan speed, you can consider using fan controller hardware. Fan controllers are separate devices that connect to your computer’s fan headers and allow you to manually adjust fan speed using physical knobs or buttons. Here’s how you can utilize fan controller hardware:
1. Choose a fan controller: There are various fan controller hardware options available, ranging from simple manual controllers to more advanced controllers with temperature sensors and programmable settings. Consider your specific requirements and choose a fan controller that suits your needs.
2. Install the fan controller: Install the fan controller into an available drive bay on your computer case. Connect the fan controller to the power supply and to your CPU fan headers using the provided cables. Follow the manufacturer’s instructions for a secure and proper installation.
3. Adjust the fan speed: Once the fan controller is installed, you can manually adjust the CPU fan speed using the physical knobs or buttons on the controller. Turn the knobs or press the buttons to increase or decrease the fan speed as desired. Some advanced fan controllers may offer additional features like fan profile creation or temperature-based control.
4. Monitor the fan speed: Fan controllers often come equipped with built-in temperature displays or LED indicators to provide real-time information about fan speed and temperature. This allows you to monitor the system’s cooling performance and ensure that the fan speed remains at the desired level.
Using a fan controller hardware offers several advantages:
Pros:
- Direct and tactile control over fan speed.
- No reliance on software or BIOS settings.
- Enhanced customization with advanced controllers.
- Real-time temperature monitoring.
However, there are a few considerations to keep in mind:
Cons:
- Requires additional hardware installation.
- May occupy drive bays on your computer case.
- Advanced controllers with more features can be more expensive.
- May require manual adjustment for changes in CPU workload or temperature.
Fan controller hardware provides a hands-on solution for those who prefer precise control over their CPU fan speed. It allows you to adjust the fan speed manually and stay in control of your system’s cooling performance. Now that we’ve explored the fan controller hardware method, let’s move on to the next section where we will discuss the pros and cons of each method.
Pros and cons of each method
Now that we have discussed the three different methods for controlling CPU fan speed, let’s summarize the pros and cons of each approach:
1. BIOS settings:
- Pros:
- Direct and low-level control over fan speed.
- No need for additional software installations.
- Changes apply during system startup, ensuring consistency.
- Cons:
- Options and menus can vary depending on the BIOS version and motherboard model.
- May require trial and error to find the optimal settings.
- Requires a restart for changes to take effect.
2. Software programs:
- Pros:
- User-friendly interface with intuitive controls.
- Customizable fan speed profiles and settings.
- Real-time monitoring of fan speed and temperature.
- Compatibility with a wide range of hardware configurations.
- Cons:
- Compatibility may vary depending on your hardware and operating system.
- Some programs may require a paid license for full functionality.
- Software programs may consume system resources while running in the background.
- Updates and compatibility with new hardware may not be guaranteed in the long term.
3. Fan controller hardware:
- Pros:
- Direct and tactile control over fan speed.
- No reliance on software or BIOS settings.
- Enhanced customization with advanced controllers.
- Real-time temperature monitoring.
- Cons:
- Requires additional hardware installation.
- May occupy drive bays on your computer case.
- Advanced controllers with more features can be more expensive.
- May require manual adjustment for changes in CPU workload or temperature.
Each method offers its own set of advantages and considerations. The choice of which method to use depends on your specific needs, preferences, and technical proficiency. If you are comfortable accessing and modifying BIOS settings, it can provide direct control over fan speed. Software programs offer a user-friendly interface and flexibility, while fan controller hardware provides a hands-on approach for precise adjustments.
It’s important to select the method that suits your requirements and aligns with your computer’s hardware and software compatibility. Remember to consider factors such as ease of use, customization options, and the level of control you desire over your CPU fan speed.
Now that we’ve discussed the pros and cons of each method, let’s move on to the next section where we will share some tips for effectively controlling your CPU fan speed.
Tips for controlling CPU fan speed effectively
Controlling CPU fan speed effectively requires careful consideration and proper execution. Here are some useful tips to help you optimize your fan speed settings:
1. Monitor temperatures: Keep an eye on your CPU temperatures using software programs or BIOS monitoring tools. Regularly check the temperatures to ensure that they are within safe ranges. Adjust the fan speed as needed to maintain optimal temperatures.
2. Find the balance: Strike a balance between cooling performance and noise levels. Experiment with different fan speed settings to achieve the best compromise between effective cooling and a tolerable noise level for your specific needs.
3. Create custom profiles: Software programs often allow you to create custom fan speed profiles. Consider setting different profiles for different scenarios, such as a gaming profile for when your CPU is under heavy load and a silent profile for regular desktop usage.
4. Consider ambient temperature: Take into account the ambient temperature of your workspace. Higher ambient temperatures may require increased fan speed to compensate for the additional heat in the environment.
5. Keep your computer case clean: Dust and debris can accumulate on your CPU heatsink and fans, impeding airflow and reducing cooling efficiency. Regularly clean your computer case to ensure optimal cooling performance.
6. Ensure proper ventilation: Ensure that your computer case has proper ventilation and airflow. This includes using adequate and correctly positioned case fans, as well as maintaining clear pathways for air to enter and exit the case.
7. Consider aftermarket coolers: If you find that the stock CPU cooler is insufficient for your needs, consider investing in an aftermarket cooler. These coolers often provide better cooling performance and come with their own fan speed control features.
8. Consult manufacturer documentation: Consult your computer or motherboard manufacturer’s documentation for specific guidance on controlling fan speed. Different hardware configurations may have specific recommendations or limitations.
9. Use caution when overclocking: If you are overclocking your CPU, be cautious when adjusting fan speed settings. Higher clock speeds can generate more heat, so ensure that your cooling system can handle the increased load.
10. Seek professional assistance if needed: If you are uncertain about adjusting fan speed settings or experience any issues, it is advisable to seek professional assistance from a computer technician or the manufacturer’s technical support.
By following these tips, you can effectively control your CPU fan speed and ensure optimal cooling performance for your computer. Remember to monitor temperatures regularly and adjust fan speed settings as needed to maintain a balance between cooling efficiency and noise levels.
Now that we’ve shared these tips, you have the knowledge to control your CPU fan speed effectively. In the next section, we will conclude the article with a brief summary of the discussed methods and their benefits.
Conclusion
Controlling the CPU fan speed is essential for maintaining optimal cooling performance and ensuring the longevity of your computer. In this article, we explored three different methods to control CPU fan speed: BIOS settings, software programs, and fan controller hardware.
By accessing the BIOS settings, users can directly modify fan speed options at a low-level hardware level. Software programs, on the other hand, provide a user-friendly interface with customizable settings and real-time monitoring. Fan controller hardware offers hands-on control through physical knobs or buttons, providing a tangible way to adjust fan speed.
Each method has its own advantages and considerations. The choice of method ultimately depends on personal preferences, technical proficiency, and hardware compatibility. BIOS settings offer direct control but may require restarts and experimentation. Software programs provide flexibility but consume system resources and may have compatibility limitations. Fan controller hardware offers tactile control but requires additional hardware installation.
To effectively control CPU fan speed, it’s crucial to monitor temperatures, find a balance between cooling and noise levels, create custom profiles, consider ambient temperature, maintain proper ventilation, and keep the computer case clean. Following these tips will help optimize fan speed settings and ensure efficient cooling performance.
Remember, if you’re unsure about adjusting fan speed settings or encounter any issues, consult manufacturer documentation or seek professional assistance from computer technicians or manufacturer support.
With the knowledge gained from this article, you can now take control of your CPU fan speed and enjoy a well-cooled and efficient computer system. Whether you choose to adjust the fan speed through the BIOS, utilize software programs, or opt for fan controller hardware, the key is to strike the right balance between cooling performance, noise level, and personal preference.


