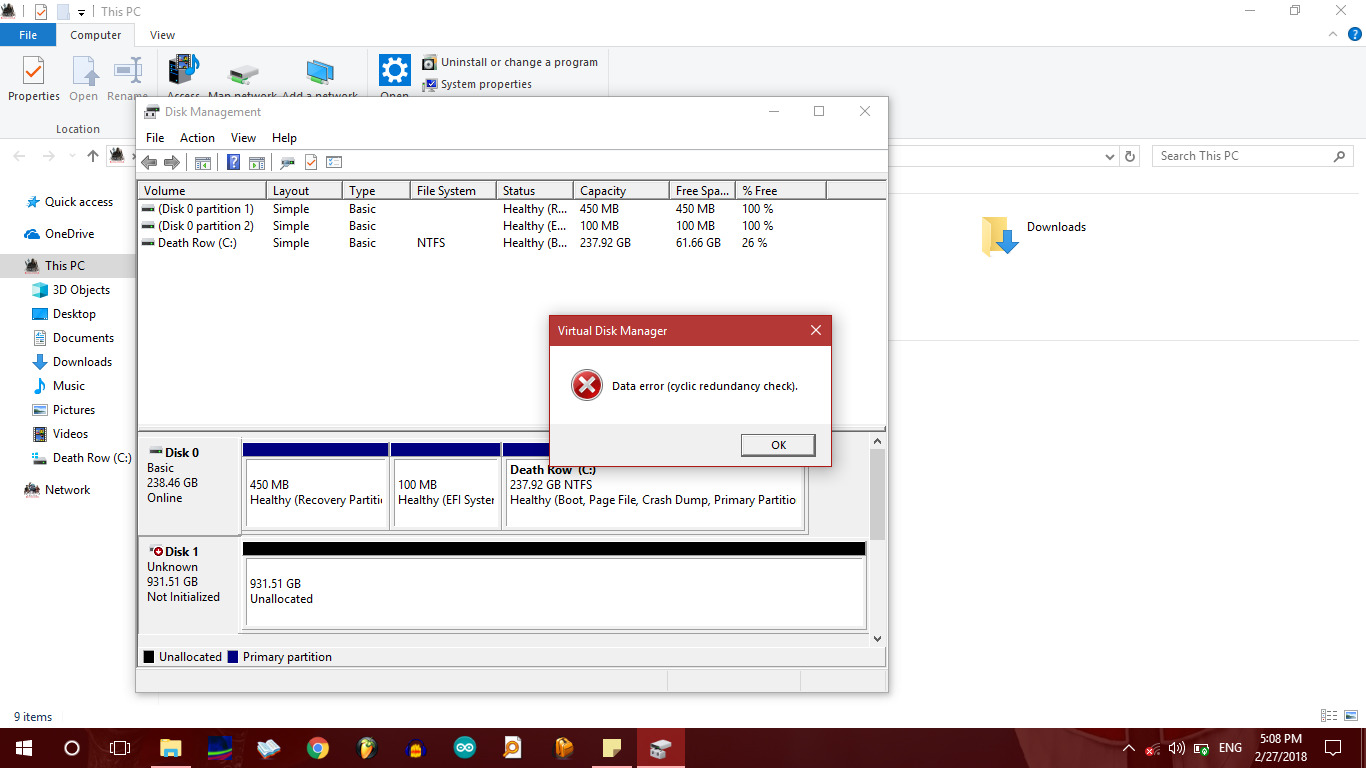
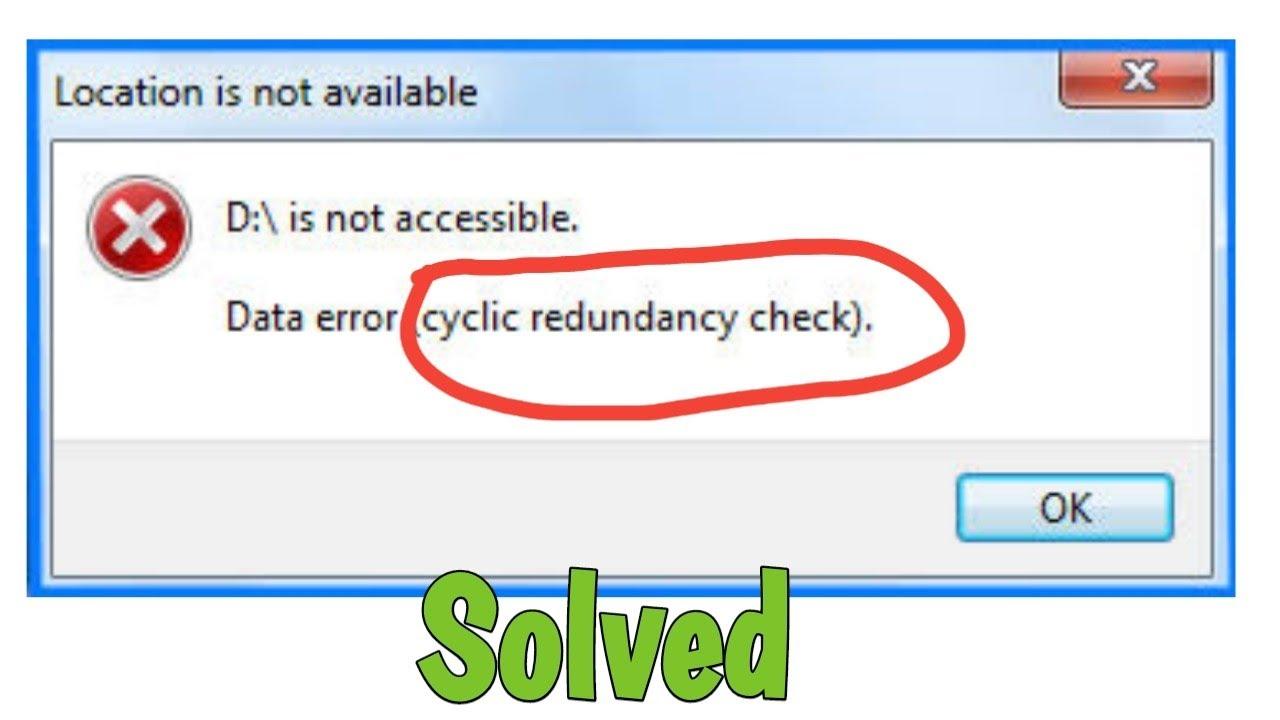
Have you ever encountered Data Error “Cyclic Redundancy Check” while trying to access a file? It can be frustrating when a file is corrupted and cannot be accessed, especially when it contains important data. At that time, you just hope that someone can tell you how to fix the cyclic redundancy check effortlessly.
But fear not! This guide provides the most comprehensive tutorial for fixing CRC errors, making it easier than ever to restore your files and get back to work. Don’t let a CRC error hold you back. Get started today and never worry about CRC errors again!
Inside This Article

What Is a Cyclical Redundancy Check?
In layman’s terms, you can think of CRC as a way of double-checking if a piece of data, like a file or message, has been sent or stored correctly without any errors. It works like this: before sending or storing the data, a CRC value is generated by performing a calculation on the data. This value is like a digital fingerprint of the data.
When the data is received or retrieved, the CRC calculation is performed again on the received data, and the resulting value is compared with the original CRC value. If they match, it means that the data was transmitted or stored without any errors. If they don’t match, it means that something went wrong during transmission or storage and the data may be corrupted.
What Causes CRC Errors?


There are several factors that can cause CRC errors to occur. Here are common causes:
- Physical damage to the hard disk: CRC errors can occur due to physical damage to the hard disk, such as bad sectors or disk failure. This can lead to data corruption and cause CRC errors.
- Malware or virus infections: Malware or viruses can cause data corruption, leading to CRC errors.
- Power outages or sudden system shutdowns: If the system shuts down unexpectedly due to power outages or other reasons, it can cause data corruption, leading to CRC errors.
It is important to identify the cause of CRC errors in order to implement the appropriate corrective measures and ensure the reliability of data transmission or storage.
How to Fix Cyclic Redundancy Check?
Method 1. How to Fix Cyclic Redundancy Check with Reliable Software
If the data has been corrupted or lost, then even if you fix CRC errors, the data may be incomplete or invalid. Therefore, it is best to recover the data before attempting to resolve CRC errors.
Tenorshare 4DDiG is your reliable assistant to recover data before fixing CRC errors. It not only supports recovering more than 1000 data types, including photos and videos but also supports data recovery from different storage devices, including laptops, USBs, SD cards, etc. Just follow the steps below:
Step 1: Download and Install 4DDiG
Enter “Tenorshare 4DDiG” into Google and you can easily download it. After you have downloaded it, open the program. You can choose local drives or external drives.


Step 2: Select and scan the hard drive
Choose the drive that you want to fix CRC errors on. It may take a while to scan the drive. The scanning process will be divided into two parts: quick scan and deep scan.


Step 3: Preview files from your hard drive
You can preview scanned files from two views. Then, just choose the important files you want to recover.


Step 4: Recover and save it
Just click on “Recover” and you can recover the files. It’s important to save your files to a new partition.


Method 2: Error Checking Tool for CRC Errors
If you are experiencing data-related errors on Windows, one of the safest ways to fix them is to use the disk check tool. Here’s how you can use it to fix CRC errors:
Step 1: Open the File Explorer and choose “computer”. You can see all your devices in there.


Step 2: Right-click on the drive and select “Properties”. Then, navigate to the “Tools” section where you will find the option to “Check” the drive.


Step 3: Please wait for the process to finish and verify if the cyclic redundancy check error in the data has been resolved.
Method 3: How to Fix Cyclic Redundancy Check using SFC Scan
The System File Checker (SFC) is a useful Windows utility. If a data error (cyclic redundancy check) is caused by a corrupted or missing system file, then running an SFC scan may help to fix the issue. Here’s how to use it:
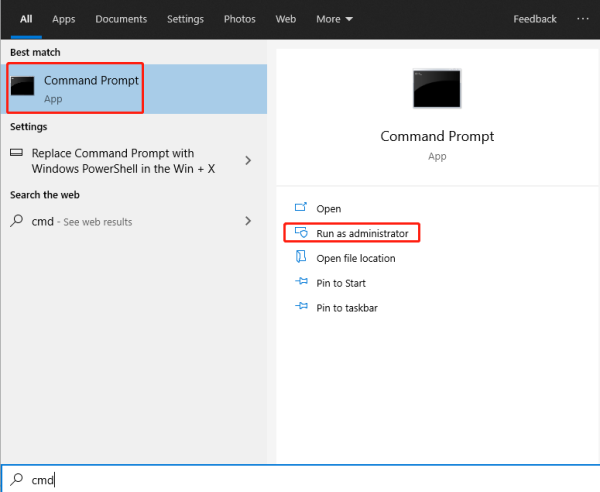
Step 1: Click “Command Prompt (Admin)” from “Start” or use the hotkey “Windows+Q” and type CMD in the search bar. Remember click “Run as Administrator”.
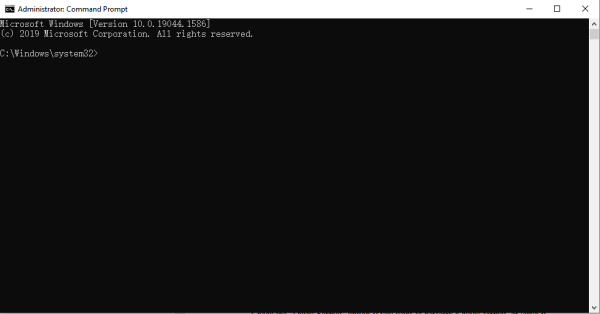

Step 2: Type the command:”sfc /scannow” and then, press Enter.
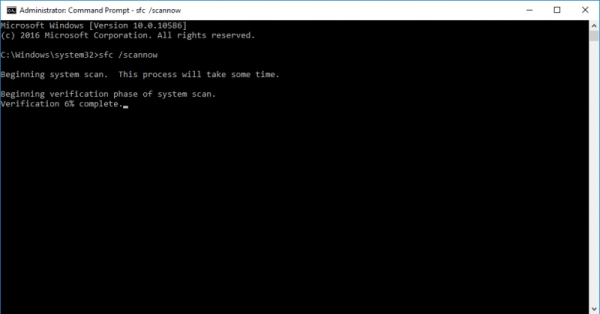

Step 3: Wait for the scan to complete — this process may take a while.
Step 4: After the scan is complete, restart your computer and check to see if the CRC error has been resolved.
Method 4: How to Fix Cyclic Redundancy Check by CHKDSK
The CHKDSK (Check Disk) utility is also a Windows tool that can be used to check and repair errors on a disk drive. If data error (cyclic redundancy check) is caused by issues with the hard drive or storage device, running a CHKDSK scan may help to fix the issue. Here are the steps to do it:
Step 1: In the same way, click “Command Prompt (Admin)” from “start”.

Step 2: Replace the letter “x” in the command “chkdsk /f x:” with the corresponding letter of your drive, for example, “chkdsk /f E:” or “chkdsk /f F:”.


Step 3: Press “Enter” and “chkdsk” utility may take a while to repair the CRC errors.
Method 5: Boot into Safe Mode for CRC Errors
Boot into Safe Mode can be helpful for troubleshooting CRC errors, especially if the errors are caused by software conflicts.
For example, you’re attempting to install an application but the error message keeps appearing, or you’ve downloaded a file and consistently encounter the CRC data error when trying to open it. Here’s how to boot into Safe Mode on Windows 10:
Step 1: Press “Win+Q” and type “Advanced Startup”. Then, click “Restart”.
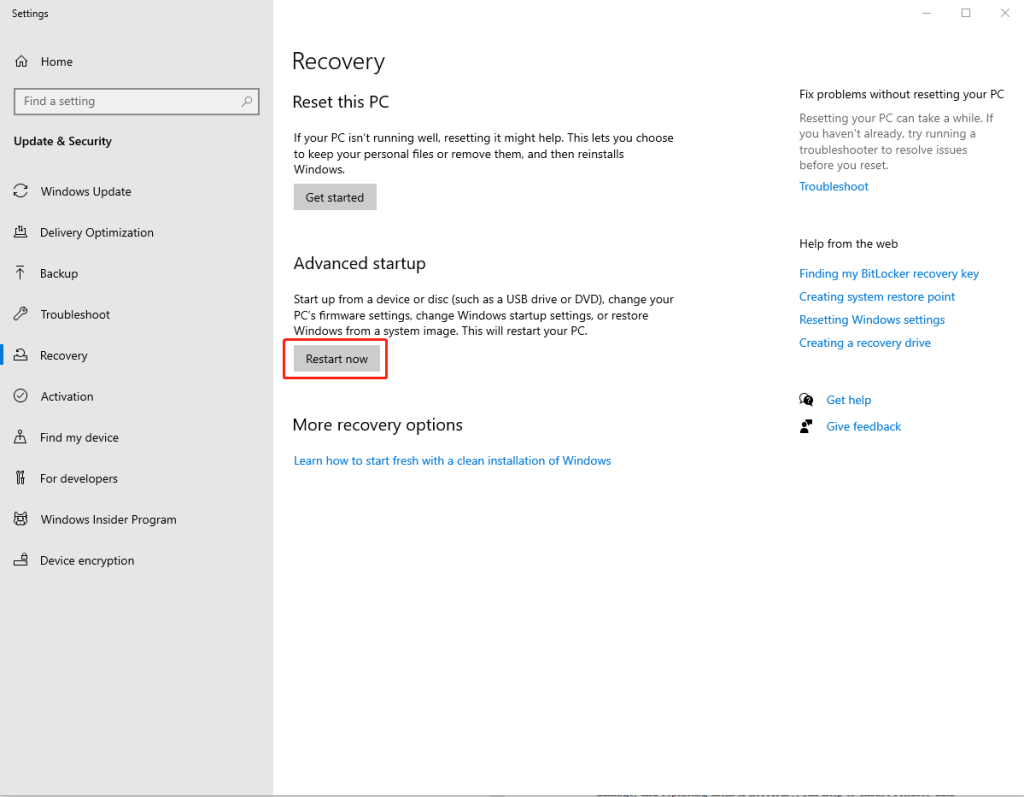

Step 2: Select “Advanced options” and then, choose “Startup Settings”.a page will pop up, just click “Restart”.
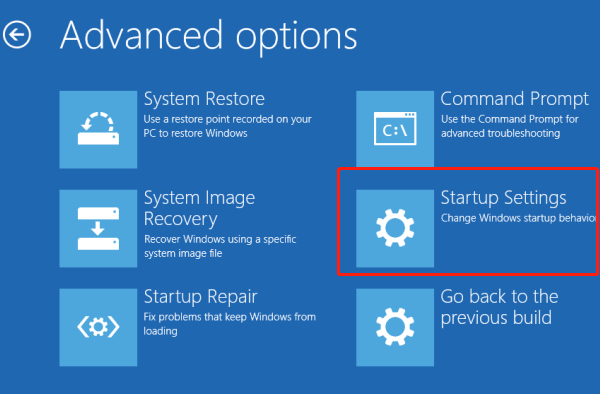

Step 3: Your PC will restart once again. Then, you can use the hotkey “4” or “F4” to boot into normal Safe Mode. If you don’t connect to the internet, just press “5” or “F5”. Now, You can delete and reinstall the software that alerts you to CRC errors.
Method 6: Format Your Disk for CRC Errors
Formatting a disk is a drastic measure that will erase all the data on it. If other methods have failed to fix CRC errors on the disk, formatting it may be the only option left. However, you don’t need to worry about it because Tenorshare 4DDiG can assist you in recovering your formatted drives effortlessly.
Step 1: Click “Computer Management” from “Start”.
Step 2: Select “Disk Management” and choose the drive you want to fix.
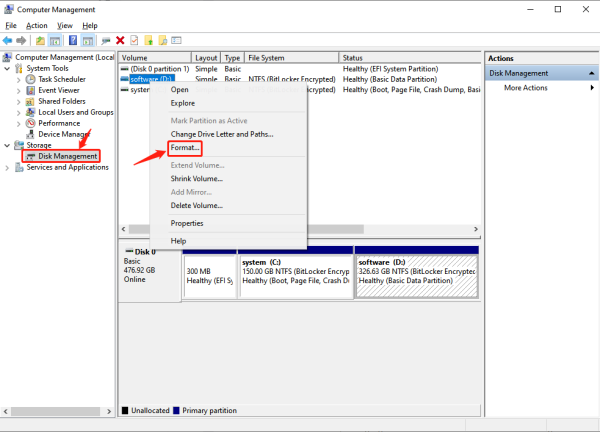

Step 3: Wait for the formatting process to complete, and then test whether the CRC error persists or not.
Method 7: Manual Repair for CRC Errors
In case the aforementioned techniques prove ineffective, it would be advisable to reach out to the authorized dealers of your device or hard drive and seek their assistance in resolving the issue.
How to Prevent CRC Errors?
Here are some measures that can be taken to prevent data error(cyclic redundancy check):
- Check cable connectors: Regularly inspecting cable connectors for signs of wear or damage, and replacing them if necessary, can help to ensure reliable data transmission.
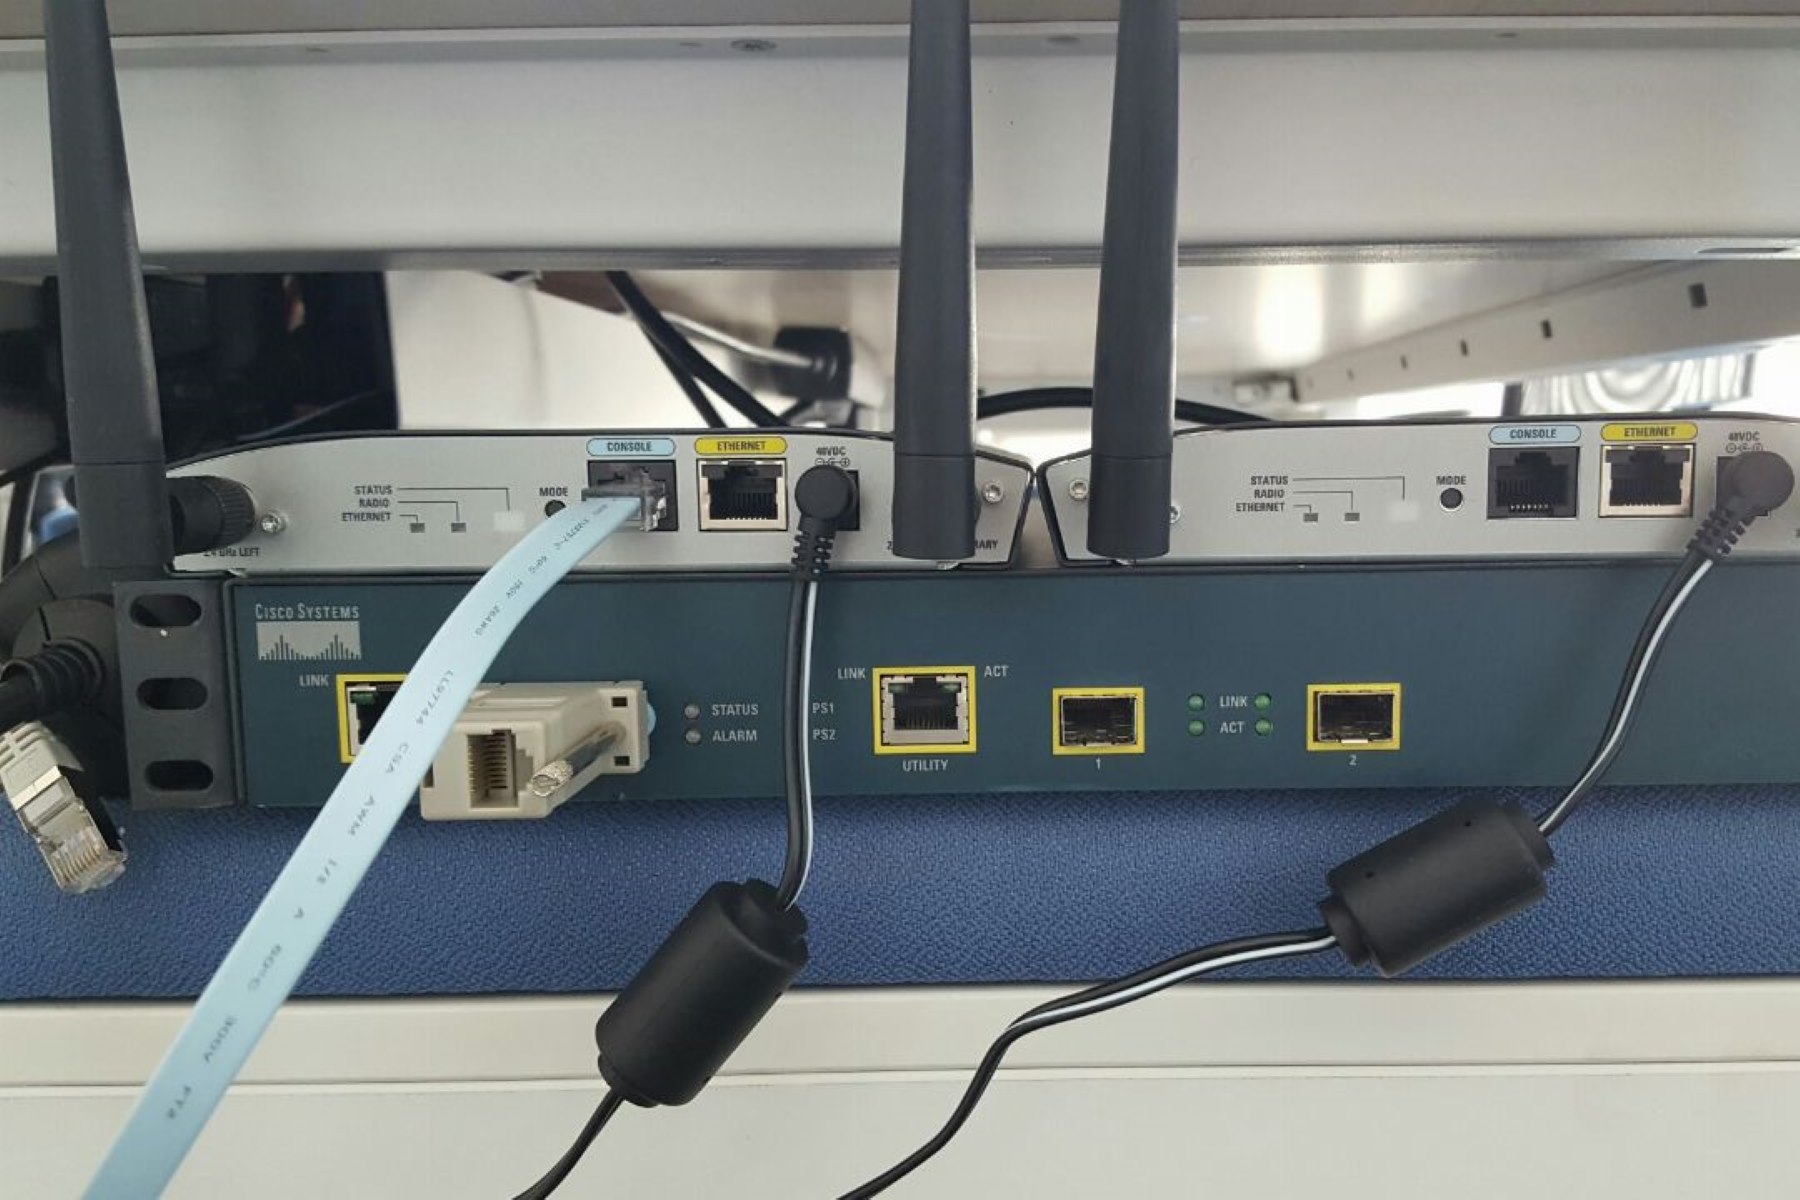
- Use reliable hardware: Using high-quality and reliable hardware, such as routers, switches, and network adapters, can help to reduce the occurrence of CRC errors.
- Check for firmware updates: Regularly checking for firmware updates for hardware devices can help to ensure that they are operating at peak performance and reduce the likelihood of errors.
By implementing these measures, it is possible to prevent CRC errors and ensure the reliable transmission and storage of data.
Bottom Line
In conclusion, this guide offers a comprehensive tutorial on Data error(Cyclic Redundancy Check), covering what CRC errors are, their causes, how to fix Cyclic Redundancy Check, and how to prevent them. There are a few methods that involve formatting the hard drive, but you don’t need to worry about that. 4DDiG will help you to recover important data before fixing CRC errors.


