Introduction
Spell check is a valuable tool that helps ensure your writing is free from embarrassing typos and spelling errors. Whether you're composing an important email, crafting a report, or engaging in online communication, having spell check enabled can significantly enhance the quality and professionalism of your content. In the context of the Google Chrome browser, enabling spell check is a straightforward process that can be accomplished with just a few simple steps. By activating this feature, you can enjoy the peace of mind that comes with knowing your written communication is polished and error-free.
In this guide, we will walk you through the process of turning spell check on in Chrome, providing clear and concise instructions to help you navigate the browser settings and customize the spell check feature to suit your preferences. Whether you're a seasoned Chrome user or just getting started with the browser, this tutorial will equip you with the knowledge and skills to harness the power of spell check within Chrome, empowering you to produce impeccable written content with ease.
Now, let's dive into the step-by-step process of enabling and customizing spell check in Chrome, so you can elevate the quality of your writing and communicate with confidence.
Step 1: Open Chrome Settings
To begin the process of enabling spell check in Chrome, the first step is to access the browser's settings. Chrome offers a user-friendly interface that allows for easy navigation to the settings menu, where various customization options are available. Here's how to open Chrome settings:
-
Launch Google Chrome: Open the Chrome browser on your computer or device by clicking on the Chrome icon in your taskbar, desktop, or applications folder.
-
Access the Menu: Once Chrome is open, look to the top-right corner of the browser window for the three vertically aligned dots, which represent the Chrome menu. Click on these dots to reveal a dropdown menu of options.
-
Select Settings: From the dropdown menu, locate and click on the "Settings" option. This action will redirect you to the Chrome settings page, where you can explore and modify a wide range of browser preferences and features.
Upon reaching the settings page, you will be presented with a wealth of customization options, including those related to language, privacy, security, and more. This serves as the gateway to configuring various aspects of the Chrome browsing experience, including the spell check feature.
By successfully navigating to the Chrome settings, you have completed the first crucial step in the process of enabling spell check. With the settings menu now accessible, you are ready to proceed to the next step and continue the journey toward activating and customizing the spell check feature within Chrome.
With the settings menu now accessible, you are ready to proceed to the next step and continue the journey toward activating and customizing the spell check feature within Chrome.
Step 2: Click on Advanced Settings
After successfully accessing the Chrome settings, the next pivotal step in the process of enabling spell check is to navigate to the advanced settings section. This section houses a plethora of additional customization options, allowing users to delve deeper into the inner workings of the browser and tailor their browsing experience to their specific preferences.
To access the advanced settings in Chrome, follow these steps:
-
Locate and Click on "Advanced": Within the Chrome settings page, scroll down to the bottom and locate the "Advanced" option. This option is typically positioned at the bottom of the settings page and may be accompanied by a downward-pointing arrow or other visual indicators to signify that additional settings are available.
-
Expand the Advanced Settings: Once you have identified the "Advanced" option, click on it to expand the advanced settings menu. This action will reveal a range of advanced customization options that delve into various aspects of Chrome's functionality, providing users with greater control over their browsing experience.
-
Explore Advanced Settings: Upon expanding the advanced settings, take a moment to explore the available options. You may encounter settings related to privacy and security, system configurations, accessibility features, and more. While these settings offer valuable customization opportunities, our focus at this stage is to proceed to the specific spell check configuration.
By successfully navigating to the advanced settings section, you have positioned yourself to delve deeper into the inner workings of Chrome and access the spell check configuration options. This marks a significant milestone in the journey toward enabling and customizing spell check within the browser.
With the advanced settings now within reach, you are poised to advance to the next step and continue the seamless progression toward activating and customizing the spell check feature in Chrome.
Step 3: Enable Spell Check
With the advanced settings accessible, you are now primed to embark on the pivotal stage of enabling spell check within the Chrome browser. This step involves activating the spell check feature, which serves as a safeguard against spelling errors and typos, ensuring that your written content maintains a professional and polished appearance. Here's how to enable spell check in Chrome:
-
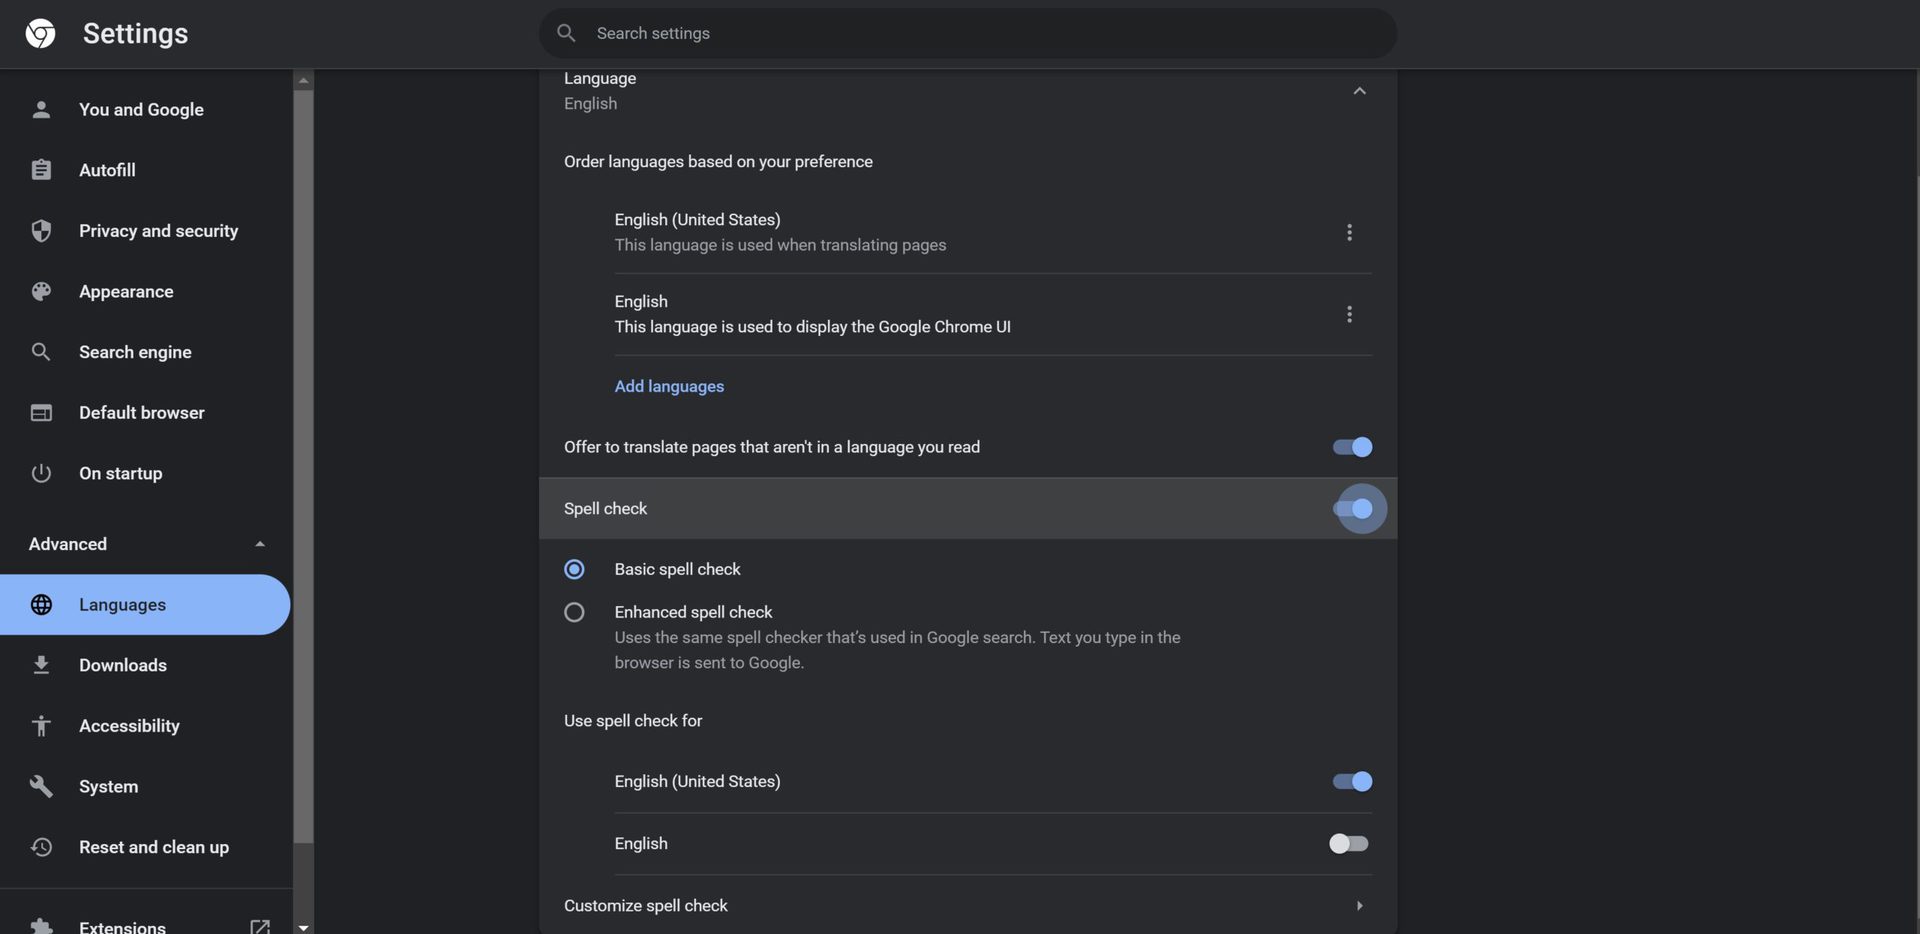
Locate Languages Settings: Within the advanced settings menu, navigate to the "Languages" section. This is where you can manage the language settings for Chrome, including spell check preferences.
-
Click on Spell Check: Once in the Languages section, locate the "Spell Check" option. Click on it to reveal the spell check settings and enable the feature.
-
Toggle the Spell Check Option: Within the Spell Check settings, you will find a toggle switch to enable or disable the spell check feature. Ensure that the toggle switch is in the "On" position to activate spell check for Chrome.
-
Select Language Preferences: Chrome allows you to specify the language for spell check. You can choose from a range of languages to ensure that the spell check feature operates in the language most relevant to your writing.
-
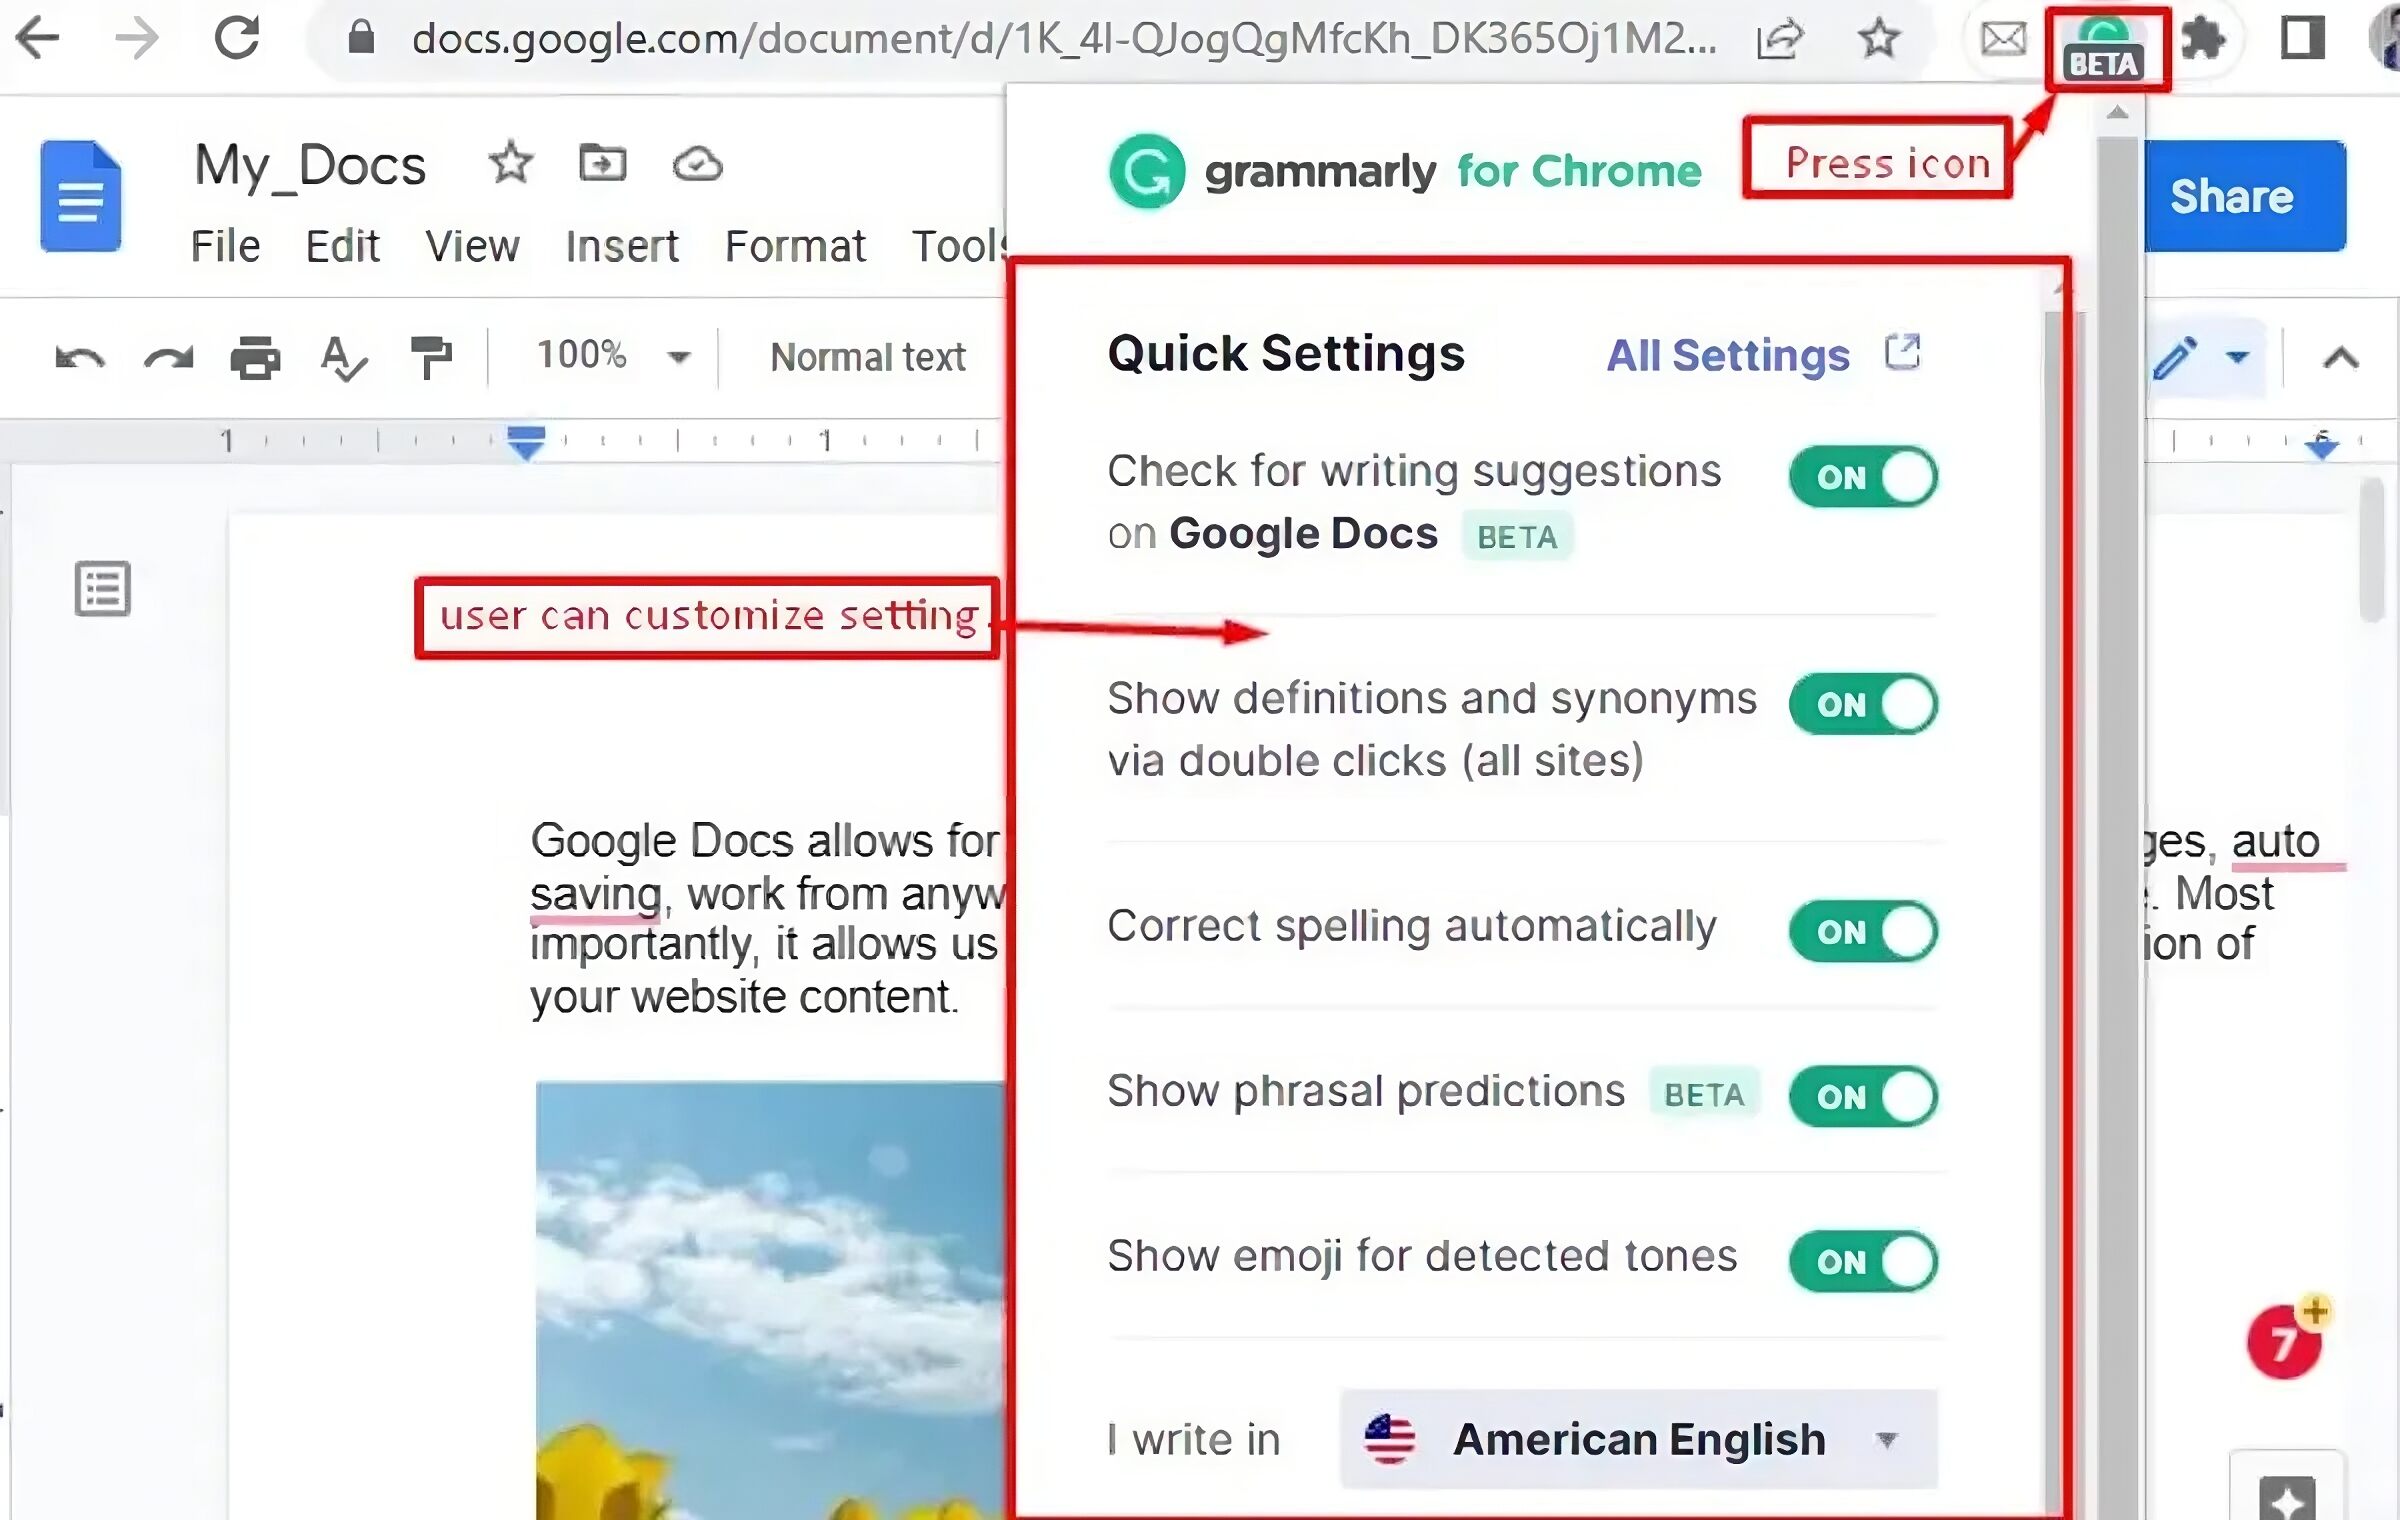
Customize Spell Check Preferences: Additionally, Chrome offers the option to customize spell check preferences, such as enabling or disabling the "Ask Google for suggestions" feature, which provides contextual spelling suggestions powered by Google's vast language database.
By following these steps, you have successfully enabled the spell check feature within Chrome, empowering the browser to automatically identify and highlight spelling errors as you type. This proactive approach to error detection enhances the quality and professionalism of your written communication, bolstering your confidence in the accuracy of your content.
With spell check now activated, you are poised to further customize the spell check settings to align with your specific preferences and language requirements. This leads us to the next step in the process, where you can fine-tune the spell check feature to suit your individual writing style and linguistic needs.
As you proceed to the next stage of customizing spell check settings, you are well-positioned to harness the full potential of this invaluable tool, ensuring that your written content maintains a pristine and error-free presentation.
Step 4: Customize Spell Check Settings
Customizing spell check settings in Chrome allows you to tailor the spell check feature to align with your specific writing style, language preferences, and individual needs. By delving into the spell check customization options, you can fine-tune the feature to operate seamlessly within your unique linguistic context, ensuring that spelling errors and typos are promptly identified and addressed according to your preferences.
Access Spell Check Preferences
To begin customizing spell check settings, navigate to the spell check preferences within Chrome. Here's how to access these preferences:
-
Access Chrome Settings: Return to the Chrome settings menu by clicking on the three vertically aligned dots in the top-right corner of the browser window and selecting "Settings."
-
Navigate to Spell Check Preferences: Within the settings menu, locate and click on the "Advanced" option to expand the advanced settings. From there, find and click on "Languages" to access the spell check preferences.
Customize Spell Check Options
Once you have accessed the spell check preferences, you can explore and modify various options to tailor the spell check feature to your liking. Here are some key customization options available within the spell check settings:
-
Language Selection: Chrome allows you to specify the primary language for spell check. You can select the language most relevant to your writing to ensure accurate spell check suggestions.
-
Custom Dictionary: Chrome enables you to add words to a custom dictionary, ensuring that specific terms, names, or technical jargon unique to your writing are not flagged as spelling errors.
-
Manage Suggested Corrections: You can choose to enable or disable specific types of suggested corrections, such as auto-corrections and contextual suggestions, based on your preference for how spell check operates.
-
Enable or Disable Autocorrect: Chrome offers the option to enable or disable autocorrection, allowing you to decide whether the browser should automatically correct misspelled words as you type.
-
Sensitivity Settings: Some spell check features allow you to adjust the sensitivity level, determining how aggressively the spell check feature identifies and highlights potential spelling errors.
By customizing these spell check options, you can personalize the spell check feature to operate in a manner that best suits your writing style and linguistic requirements. This level of customization empowers you to harness the full potential of spell check within Chrome, ensuring that your written content maintains a high standard of accuracy and professionalism.
As you navigate the spell check customization options, take the opportunity to fine-tune the feature according to your specific preferences, thereby enhancing the effectiveness of spell check in identifying and addressing spelling errors in your written communication.
Conclusion
In conclusion, the ability to turn on and customize spell check in Google Chrome is a valuable asset for anyone who engages in written communication through the browser. By following the simple yet effective steps outlined in this guide, users can harness the power of spell check to elevate the quality and professionalism of their written content.
Enabling spell check in Chrome serves as a proactive measure to identify and rectify spelling errors and typos, thereby enhancing the overall accuracy and clarity of written communication. This feature is particularly beneficial for individuals who frequently compose emails, documents, social media posts, and other forms of online content, as it provides an added layer of assurance that their writing is polished and error-free.
Furthermore, the customization options available within Chrome's spell check settings empower users to tailor the feature to their specific linguistic context and writing style. By selecting the preferred language, managing suggested corrections, and adjusting sensitivity settings, individuals can fine-tune the spell check feature to operate seamlessly within their unique communication requirements.
The seamless integration of spell check within Chrome not only streamlines the writing process but also contributes to a more professional and credible online presence. Whether it's for personal correspondence, professional communication, or creative expression, the presence of a reliable spell check feature in Chrome reinforces the importance of clear and accurate written communication in the digital age.
As technology continues to shape the way we interact and communicate online, the ability to leverage tools such as spell check within web browsers becomes increasingly essential. By embracing and customizing the spell check feature in Chrome, users can uphold a standard of excellence in their written communication, fostering clarity, professionalism, and credibility in their online interactions.
In essence, the journey of enabling and customizing spell check in Chrome is not merely a technical process but a strategic investment in the quality and impact of one's written expression. By taking advantage of this feature, users can navigate the digital landscape with confidence, knowing that their written content is not only error-free but also reflective of their attention to detail and commitment to effective communication.