Introduction
Creating shortcuts for your favorite websites on Google Chrome can save you time and make accessing your preferred online destinations more convenient. With just a few simple steps, you can have quick and easy access to your most visited websites directly from your desktop or taskbar. This guide will walk you through the process of creating a shortcut for any website using the Google Chrome browser.
Whether it's a news website, social media platform, or your go-to online shopping site, having a shortcut on your desktop or taskbar can streamline your browsing experience. Instead of opening Chrome and typing in the website's URL every time you want to visit, a shortcut allows you to launch the site with a single click, saving you valuable time and effort.
By following the steps outlined in this guide, you'll be able to create personalized shortcuts for your favorite websites, tailored to your specific preferences and browsing habits. This means that you can customize your browsing experience to suit your needs, making it easier to access the content and services that matter most to you.
In the following sections, you'll learn how to open Chrome, navigate to the website you want to create a shortcut for, and use Chrome's built-in tools to create and customize your shortcuts. By the end of this guide, you'll have the knowledge and skills to create shortcuts for any website you choose, allowing you to optimize your browsing experience and access your favorite online destinations with ease. Let's dive into the step-by-step process of creating Chrome shortcuts and take your browsing convenience to the next level.
Step 1: Open Chrome
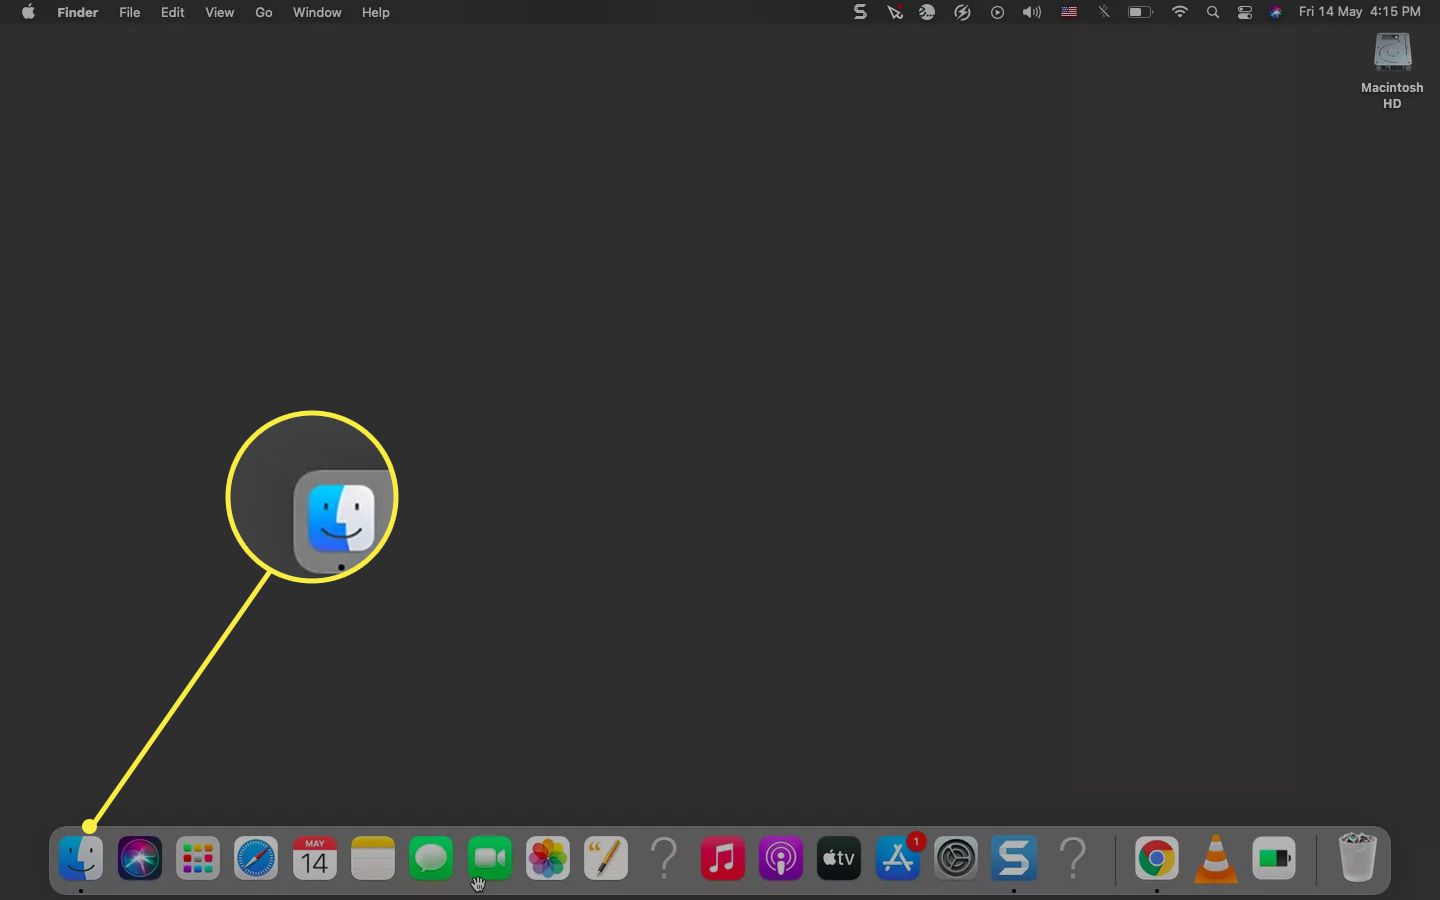
To begin the process of creating a shortcut for your favorite website, you'll first need to open the Google Chrome browser on your computer. If you already have Chrome pinned to your taskbar or desktop, simply click on the Chrome icon to launch the browser. Alternatively, you can access Chrome from your computer's list of installed applications or by searching for it in the Start menu.
Upon opening Chrome, you'll be greeted by the familiar interface, featuring the omnibox at the top, where you can enter website addresses and search queries. Take a moment to ensure that Chrome has fully loaded and is ready for use before proceeding to the next step.
If you're using a Windows computer, you can easily open Chrome by clicking on the Chrome icon located on your desktop or taskbar. For Mac users, you can find Chrome in the Applications folder or by using Spotlight search to locate and open the browser.
Once Chrome is open and ready, you're one step closer to creating a shortcut for your desired website. With the browser at your fingertips, you're ready to move on to the next step in the process, which involves navigating to the website for which you want to create a shortcut.
Opening Chrome is the first and essential step in the process of creating website shortcuts, as it provides the foundation for accessing the website and utilizing Chrome's features to customize and optimize your browsing experience. With Chrome up and running, you're now prepared to proceed to the next step and begin the journey of creating personalized shortcuts for your most visited websites.
Step 2: Navigate to the website you want to create a shortcut for
Once you have Google Chrome open, the next step is to navigate to the website for which you want to create a shortcut. This process involves accessing the specific web address of the site you wish to create a shortcut for, ensuring that you're on the correct page before proceeding to the next steps.
To navigate to the desired website, you can simply type the website's URL directly into the omnibox at the top of the Chrome browser window. Alternatively, if you have the website bookmarked or saved as a favorite, you can access it from the bookmarks bar or the bookmarks menu, making it easy to jump directly to the site.
If you frequently visit the website and it appears in your browsing history, you can also access it by typing a few letters from the website's name or address directly into the omnibox. Chrome's autofill feature will display suggestions based on your browsing history, allowing you to quickly navigate to the desired website with ease.
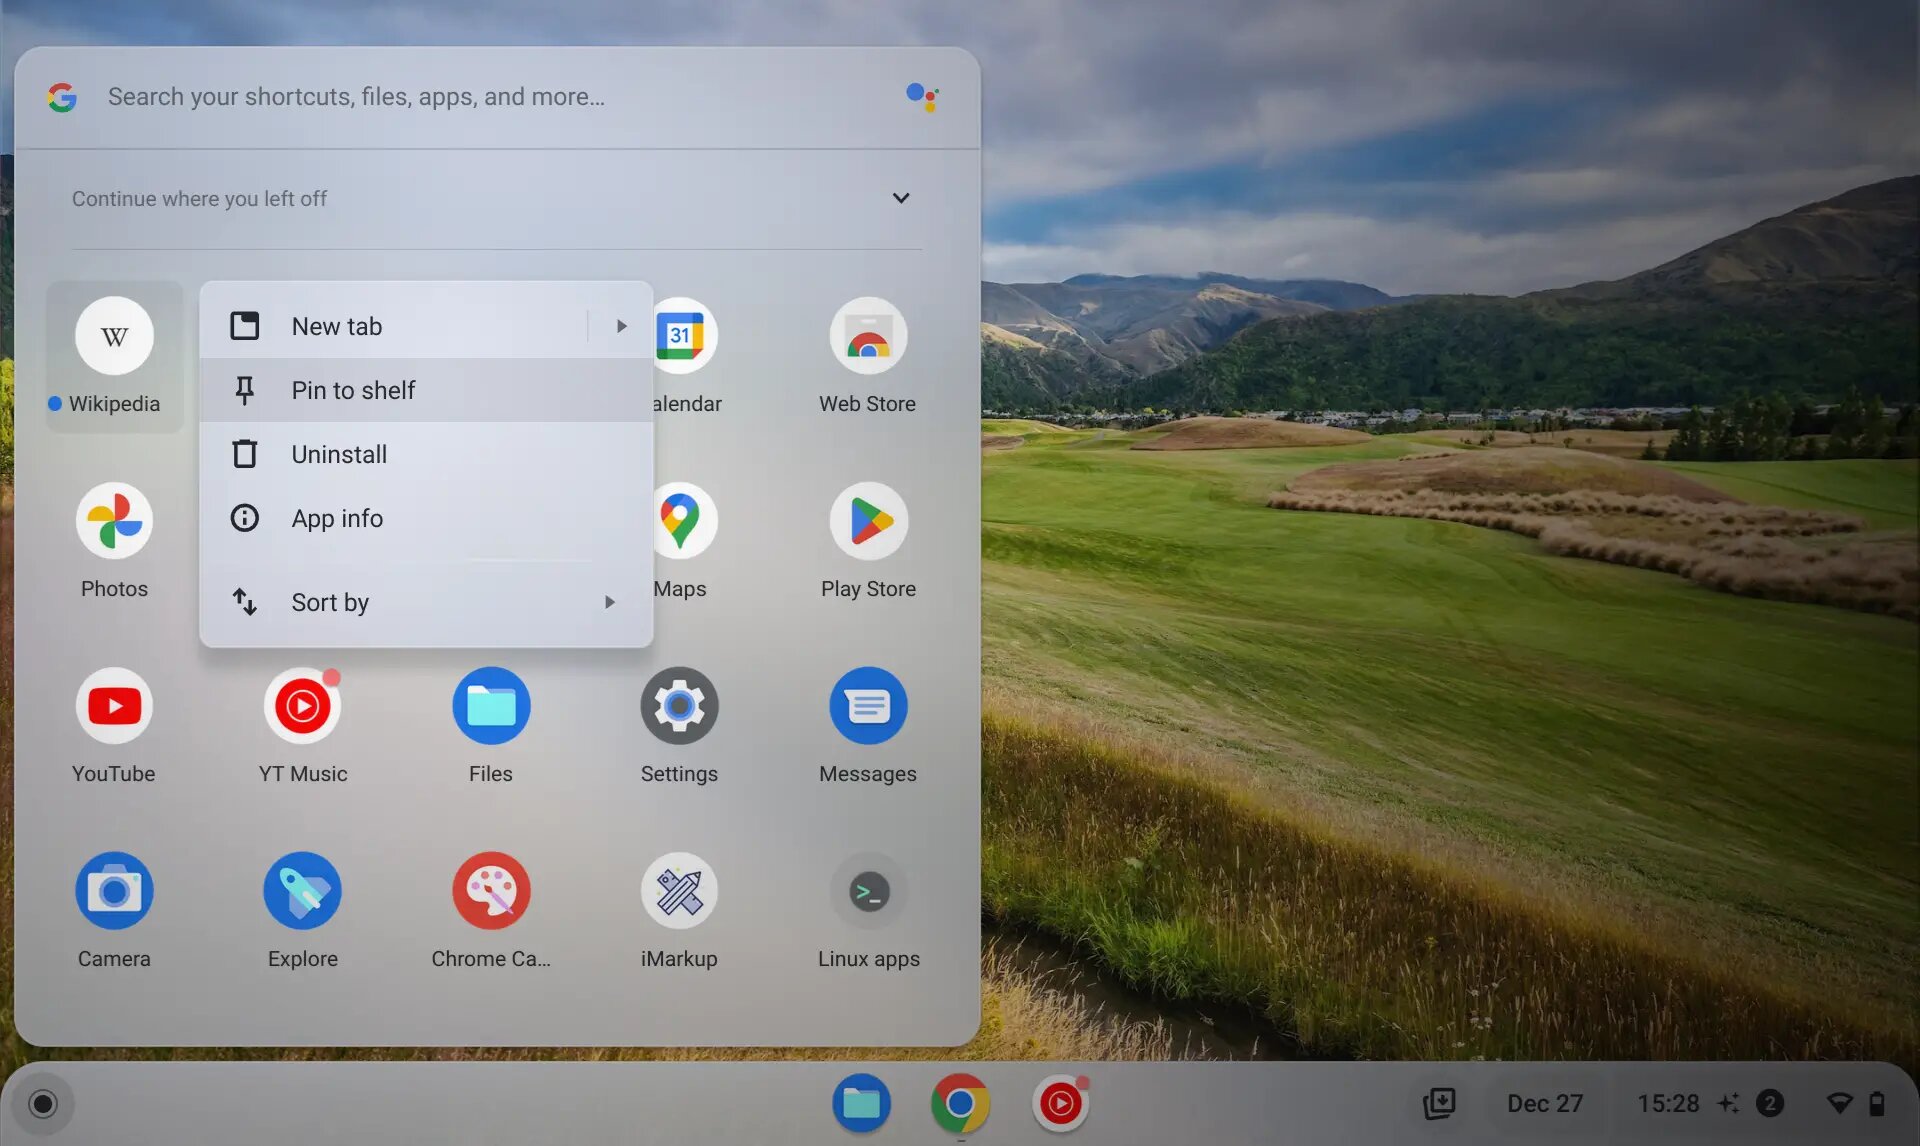
Another convenient method to access the website is by utilizing the "Most Visited" or "Frequently Visited" section on the Chrome homepage, which displays thumbnails of your frequently visited sites. Simply click on the thumbnail representing the website you want to create a shortcut for, and Chrome will take you directly to the site's homepage.
Once you have successfully navigated to the website, take a moment to ensure that you are on the specific page or section of the site that you want to link to with your shortcut. Whether it's the homepage, a specific article, a product page, or any other section of the website, make sure you are on the exact location that you want the shortcut to open when clicked.
By following these steps and navigating to the website of your choice, you are now ready to proceed with the next steps of creating a customized shortcut for the website using Google Chrome's built-in tools. With the website open in your browser, you're one step closer to streamlining your browsing experience and accessing your favorite online destinations with just a click.
Step 3: Click on the three-dot menu in the top-right corner
In Google Chrome, the three-dot menu, also known as the "More" menu, is a powerful tool that provides access to a wide range of browser features and options. Located in the top-right corner of the Chrome window, this menu icon consists of three vertically aligned dots and serves as a gateway to various settings, tools, and customization options.
When you have the website open in Chrome and are ready to create a shortcut, the next step is to click on the three-dot menu to reveal its contents. This action will open a dropdown menu that presents a plethora of options for customizing your browsing experience and accessing additional features within the browser.
Upon clicking the three-dot menu, a dropdown list will appear, displaying a variety of options such as "New tab," "New window," "History," "Downloads," "Bookmarks," "Zoom," "Settings," "Help," and more. This menu serves as a central hub for accessing essential browser functions and managing your browsing activities efficiently.
One of the key options available in the three-dot menu is "More tools," which provides access to additional browser features and functionalities. By selecting "More tools," you can unlock a suite of powerful tools that enable you to enhance your browsing experience, manage your browsing data, and customize Chrome to suit your preferences.
The "More tools" submenu offers a range of features, including "Extensions," "Developer tools," "Task manager," "Clear browsing data," "Create shortcut," and more. It is within this submenu that you will find the option to create a shortcut for the website you are currently visiting.
By clicking on "More tools" and then selecting "Create shortcut," you initiate the process of generating a personalized shortcut for the website. This action prompts Chrome to create a shortcut to the current website and allows you to customize the shortcut's name and destination before finalizing the process.
In summary, clicking on the three-dot menu in the top-right corner of the Chrome window opens up a world of possibilities, providing access to essential browser features and tools. By navigating through the menu options, you can access the "More tools" submenu and initiate the process of creating a customized shortcut for your favorite website, ultimately enhancing your browsing convenience and efficiency.
Step 4: Select "More tools" and then "Create shortcut"
After clicking on the three-dot menu in the top-right corner of the Chrome window, you will be presented with a dropdown menu containing various options to enhance your browsing experience. Among these options, you will find "More tools," which serves as a gateway to additional browser functionalities and customization features.
Upon selecting "More tools," a submenu will appear, offering a range of powerful tools and options to further optimize your browsing activities. Within this submenu, you will find the option "Create shortcut," which is the key to generating a personalized shortcut for the website you are currently visiting.
By clicking on "Create shortcut," Chrome initiates the process of creating a shortcut to the current website, allowing you to tailor the shortcut's name and choose where it will be saved. This step empowers you to customize the shortcut to align with your preferences and organizational preferences, ensuring that it seamlessly integrates into your browsing routine.
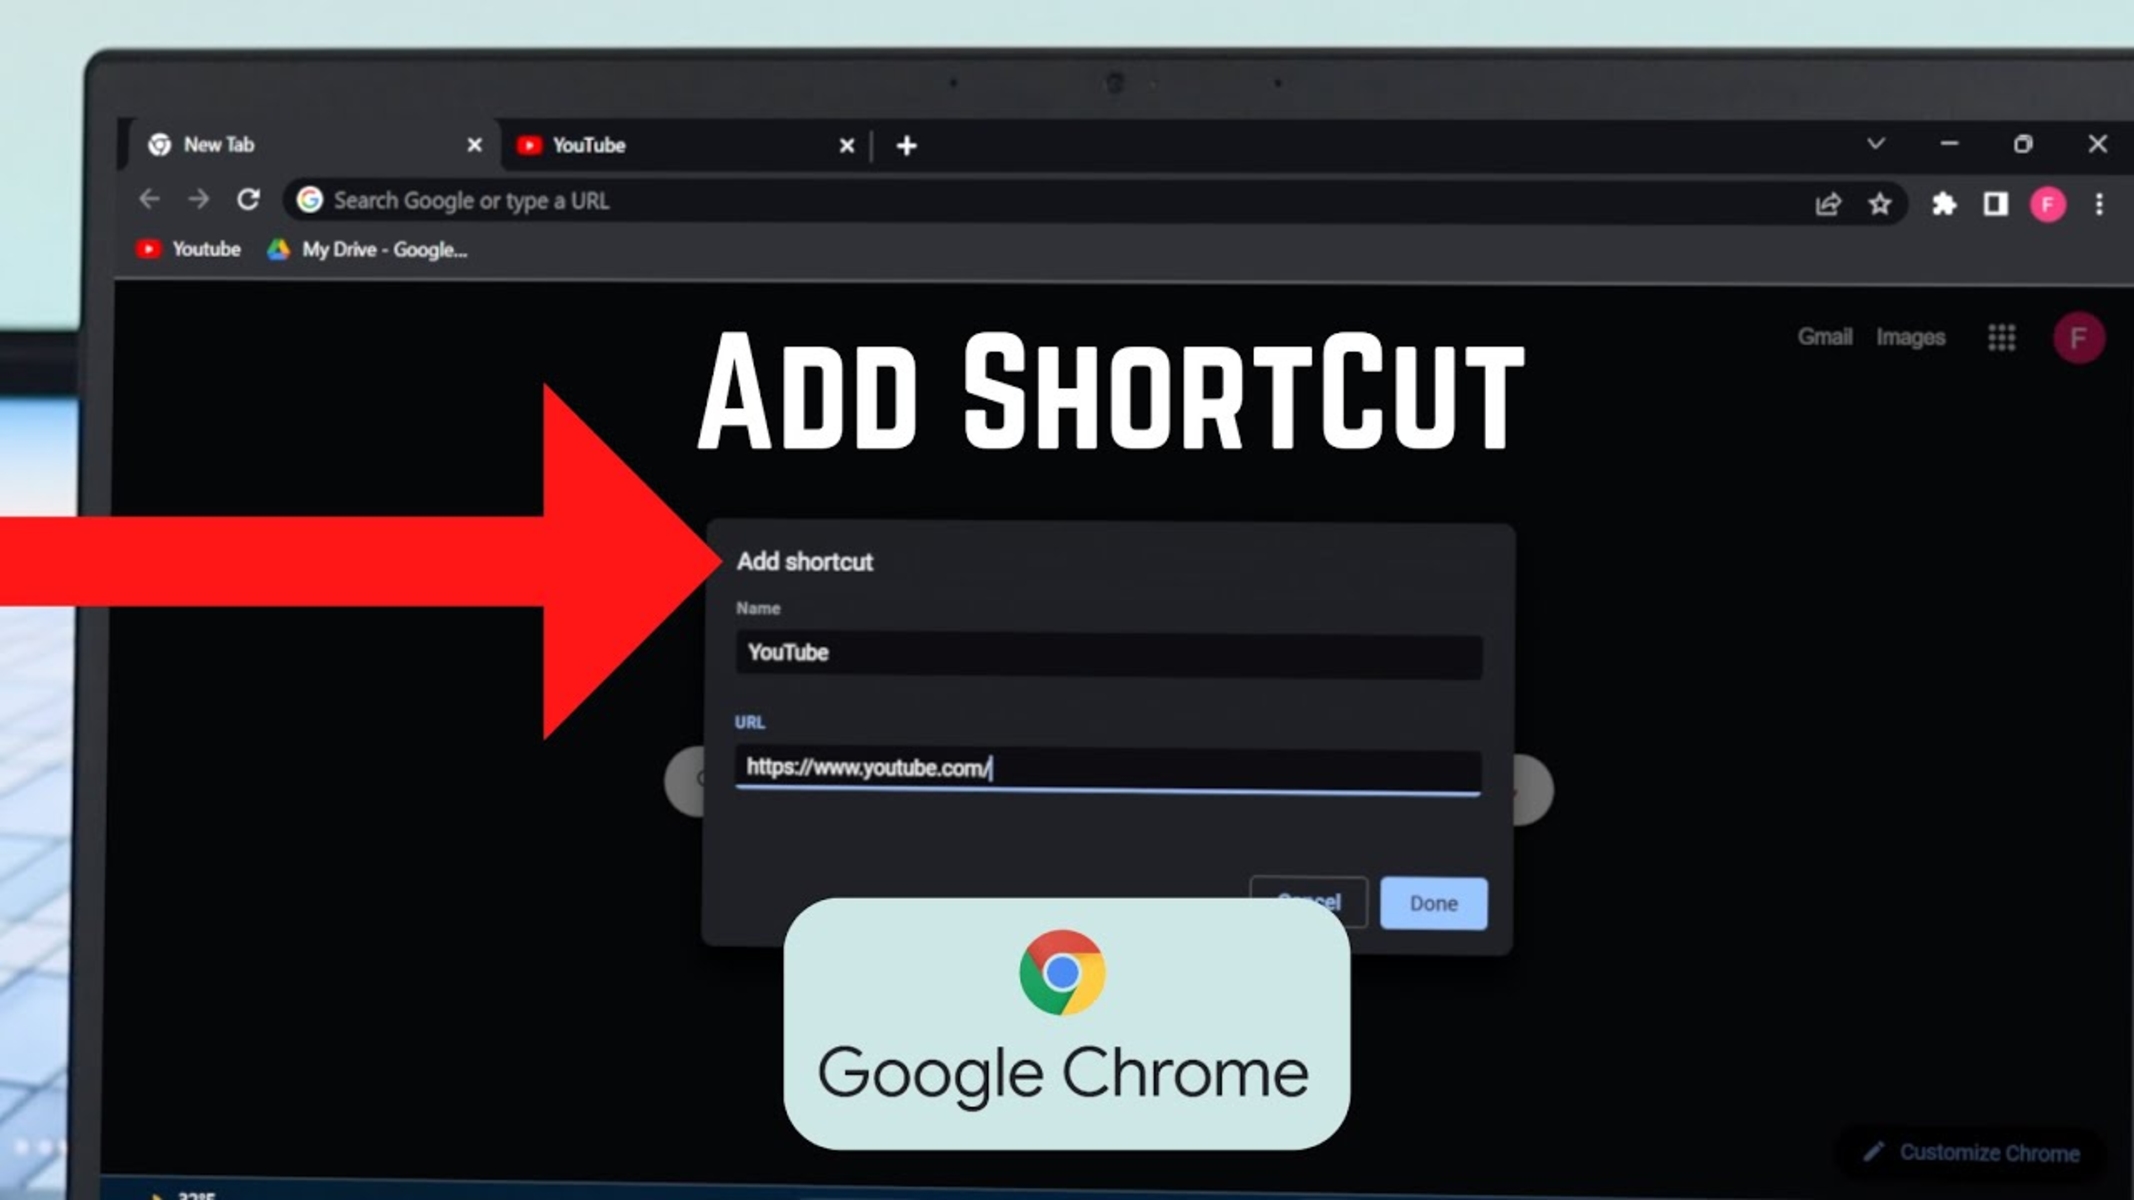
When you select "Create shortcut," a dialog box will appear, prompting you to name the shortcut and choose its destination. This level of customization enables you to give the shortcut a meaningful and recognizable name, making it easy to identify and access among your collection of shortcuts.
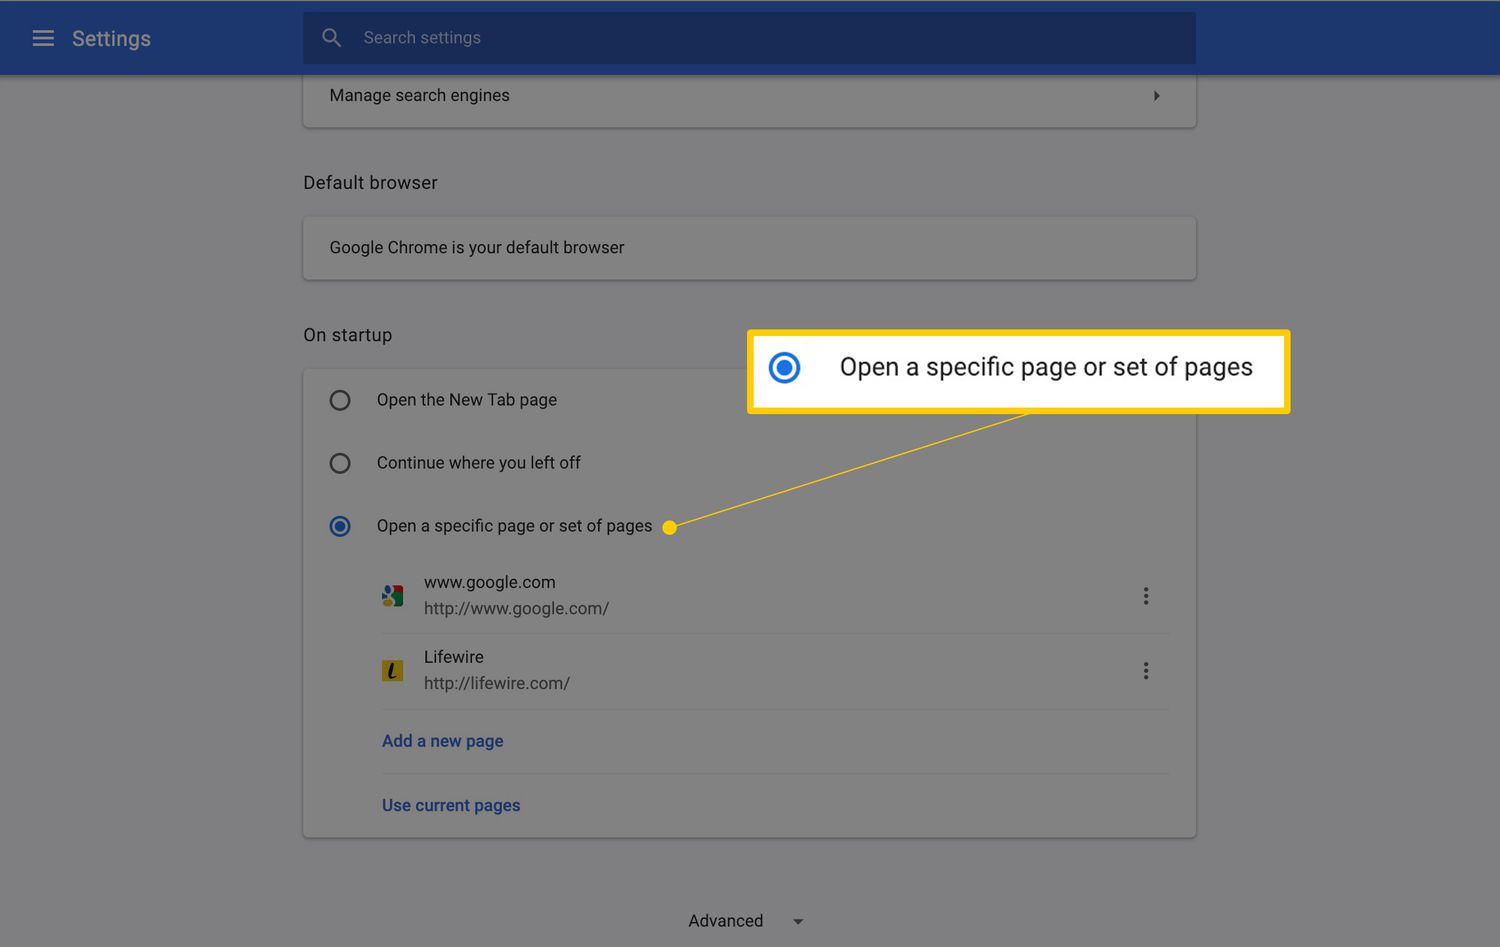
Furthermore, you have the flexibility to choose where the shortcut will be saved. You can opt to save it on your desktop for quick access, or in a specific folder to maintain a well-organized system of shortcuts. This level of control allows you to tailor the shortcut's placement according to your preferred workflow and accessibility.
By following these steps and selecting "More tools" followed by "Create shortcut," you unlock the ability to create a personalized shortcut for the website you are visiting. This process empowers you to streamline your browsing experience, providing quick and convenient access to your favorite online destinations with just a click.
In summary, the "Create shortcut" feature within the "More tools" submenu of Google Chrome offers a user-friendly and customizable approach to generating website shortcuts. By leveraging this functionality, you can personalize your browsing experience and optimize your access to frequently visited websites, ultimately enhancing your overall efficiency and convenience while using the Chrome browser.
Step 5: Name the shortcut and choose where to save it
When you select "Create shortcut" in Google Chrome, a dialog box will appear, presenting you with the opportunity to customize the newly created shortcut. This step allows you to name the shortcut and choose its destination, providing a personalized touch to the shortcut creation process.
Naming the shortcut is a crucial aspect of this step, as it enables you to assign a recognizable and meaningful name to the shortcut. This name should accurately reflect the website or content it represents, making it easy for you to identify and access the shortcut among your collection. Whether it's a concise abbreviation, a descriptive title, or a combination of keywords, the name you choose should resonate with the website it links to, streamlining your browsing experience and ensuring effortless navigation.
In addition to naming the shortcut, you have the flexibility to choose where it will be saved. Chrome offers the option to save the shortcut on your desktop, making it readily accessible with a single click. This placement is ideal for frequently visited websites that you want to access quickly and conveniently. Alternatively, you can opt to save the shortcut in a specific folder, allowing you to maintain a well-organized system of shortcuts tailored to your browsing habits and preferences.
By customizing the name and destination of the shortcut, you can seamlessly integrate it into your browsing routine, optimizing your access to the website it represents. This level of personalization empowers you to create a browsing environment that aligns with your individual needs and preferences, enhancing your overall efficiency and convenience while using Google Chrome.
In summary, naming the shortcut and choosing where to save it are pivotal steps in the process of creating personalized website shortcuts in Google Chrome. By assigning a meaningful name and selecting the ideal destination, you can tailor the shortcut to suit your browsing habits, ensuring quick and convenient access to your favorite online destinations. This level of customization enhances your browsing experience, allowing you to navigate the web with ease and efficiency.
Step 6: Click "Create" to finish creating the shortcut
After customizing the name and choosing the destination for your shortcut, the final step in the process is to click "Create" to finalize the creation of the shortcut. This action solidifies the customization settings you've chosen and generates the shortcut on your desktop or in the designated folder, making it readily accessible for future use.
By clicking "Create," you confirm the details of the shortcut, including its name and placement, ensuring that it aligns with your preferences and browsing habits. This simple yet crucial step marks the culmination of the shortcut creation process, empowering you to seamlessly integrate the shortcut into your browsing routine.
Upon clicking "Create," Chrome swiftly generates the shortcut and places it in the specified location, whether it's on your desktop or within a designated folder. The newly created shortcut will feature the customized name you assigned, making it easily identifiable among your collection of shortcuts.
With the shortcut now created, you have successfully streamlined your access to the website of your choice, allowing for quick and convenient navigation with just a click. Whether it's a news website, social media platform, online shopping site, or any other frequently visited destination, the shortcut provides a direct link to the content and services you value most.
By completing the process and clicking "Create," you have harnessed the power of Chrome's shortcut creation feature to tailor your browsing experience to your specific needs. This level of customization enhances your efficiency and convenience while using the Chrome browser, allowing you to access your favorite online destinations with ease.
In essence, clicking "Create" signifies the successful culmination of the shortcut creation process, marking the beginning of a more streamlined and personalized browsing experience. With the shortcut now at your fingertips, you can effortlessly access the website it represents, optimizing your online activities and enhancing your overall browsing convenience.
Conclusion
In conclusion, creating shortcuts for your favorite websites in Google Chrome is a simple yet powerful way to enhance your browsing experience. By following the step-by-step process outlined in this guide, you can streamline your access to frequently visited websites, saving time and effort while navigating the web.
The ability to generate personalized shortcuts for websites empowers you to tailor your browsing experience to your specific preferences and habits. Whether it's news sites, social media platforms, online shopping destinations, or any other web content you frequently visit, having shortcuts readily available on your desktop or in designated folders can significantly improve your efficiency and convenience.
The process begins with opening Chrome and navigating to the website for which you want to create a shortcut. By clicking on the three-dot menu in the top-right corner and selecting "More tools" followed by "Create shortcut," you unlock the potential to customize and optimize your browsing experience.
Naming the shortcut and choosing where to save it allows for a personalized touch, ensuring that the shortcut seamlessly integrates into your browsing routine. Finally, clicking "Create" solidifies the customization settings and generates the shortcut, providing quick and convenient access to your favorite online destinations.
By incorporating shortcuts into your browsing habits, you can effortlessly access the content and services that matter most to you. This level of customization not only saves time but also enhances your overall browsing convenience, allowing you to navigate the web with ease and efficiency.
In essence, the process of creating website shortcuts in Google Chrome empowers you to take control of your browsing experience, optimizing your access to the web content you value most. With personalized shortcuts at your fingertips, you can navigate the online landscape with greater ease and efficiency, ultimately enhancing your overall browsing convenience.
By leveraging the features and tools offered by Google Chrome, you can tailor your browsing experience to suit your individual needs, ensuring that your favorite websites are just a click away. Embracing the convenience of website shortcuts in Chrome allows you to make the most of your online activities, providing a seamless and personalized browsing experience tailored to your preferences.