Introduction
Google Chrome is a versatile and feature-rich web browser that offers a personalized browsing experience through user profiles. These profiles allow users to separate their browsing data, bookmarks, and settings, providing a tailored environment for different users sharing the same device. While this feature is beneficial for maintaining individual preferences and privacy, there are instances where users may need to disable or remove profiles from their Chrome browser.
Whether you're streamlining your browsing experience, troubleshooting issues, or managing a shared device, knowing how to disable Google Chrome profiles can be invaluable. In this article, we will explore three effective methods to achieve this, providing you with the knowledge and tools to navigate Chrome profiles with ease.
As we delve into these methods, it's important to note that disabling profiles in Google Chrome may impact the personalized settings and data associated with the specific profile. Therefore, it's advisable to proceed with caution and consider backing up any essential data before implementing these changes. With that in mind, let's embark on this journey to discover how to disable Google Chrome profiles and gain a deeper understanding of managing user profiles within this popular web browser.
Method 1: Disabling Profiles through Chrome Settings
Google Chrome provides a straightforward method to disable user profiles directly through its settings. This approach is ideal for users seeking a quick and user-friendly way to manage profiles without delving into advanced configurations. Here's a step-by-step guide to disabling profiles through Chrome settings:
-
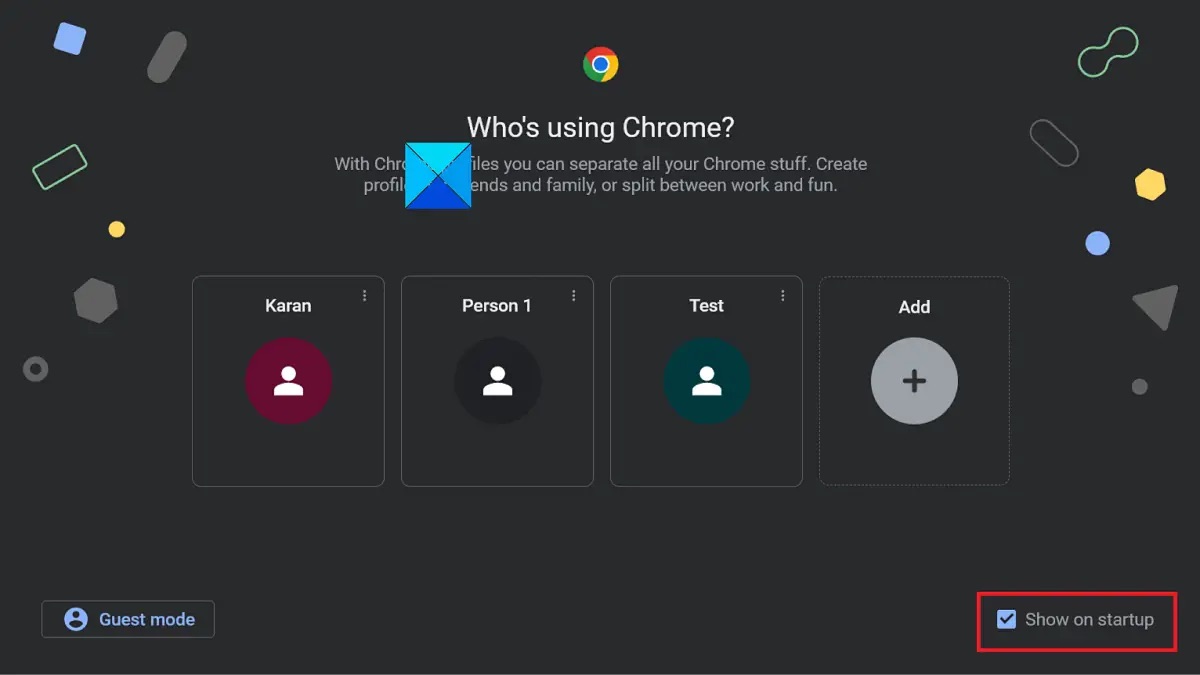
Accessing Chrome Settings: Begin by opening Google Chrome and clicking on the profile icon located in the top-right corner of the browser window. This will display a dropdown menu showing all active profiles. Select "Manage People" to proceed to the profile management page.
-
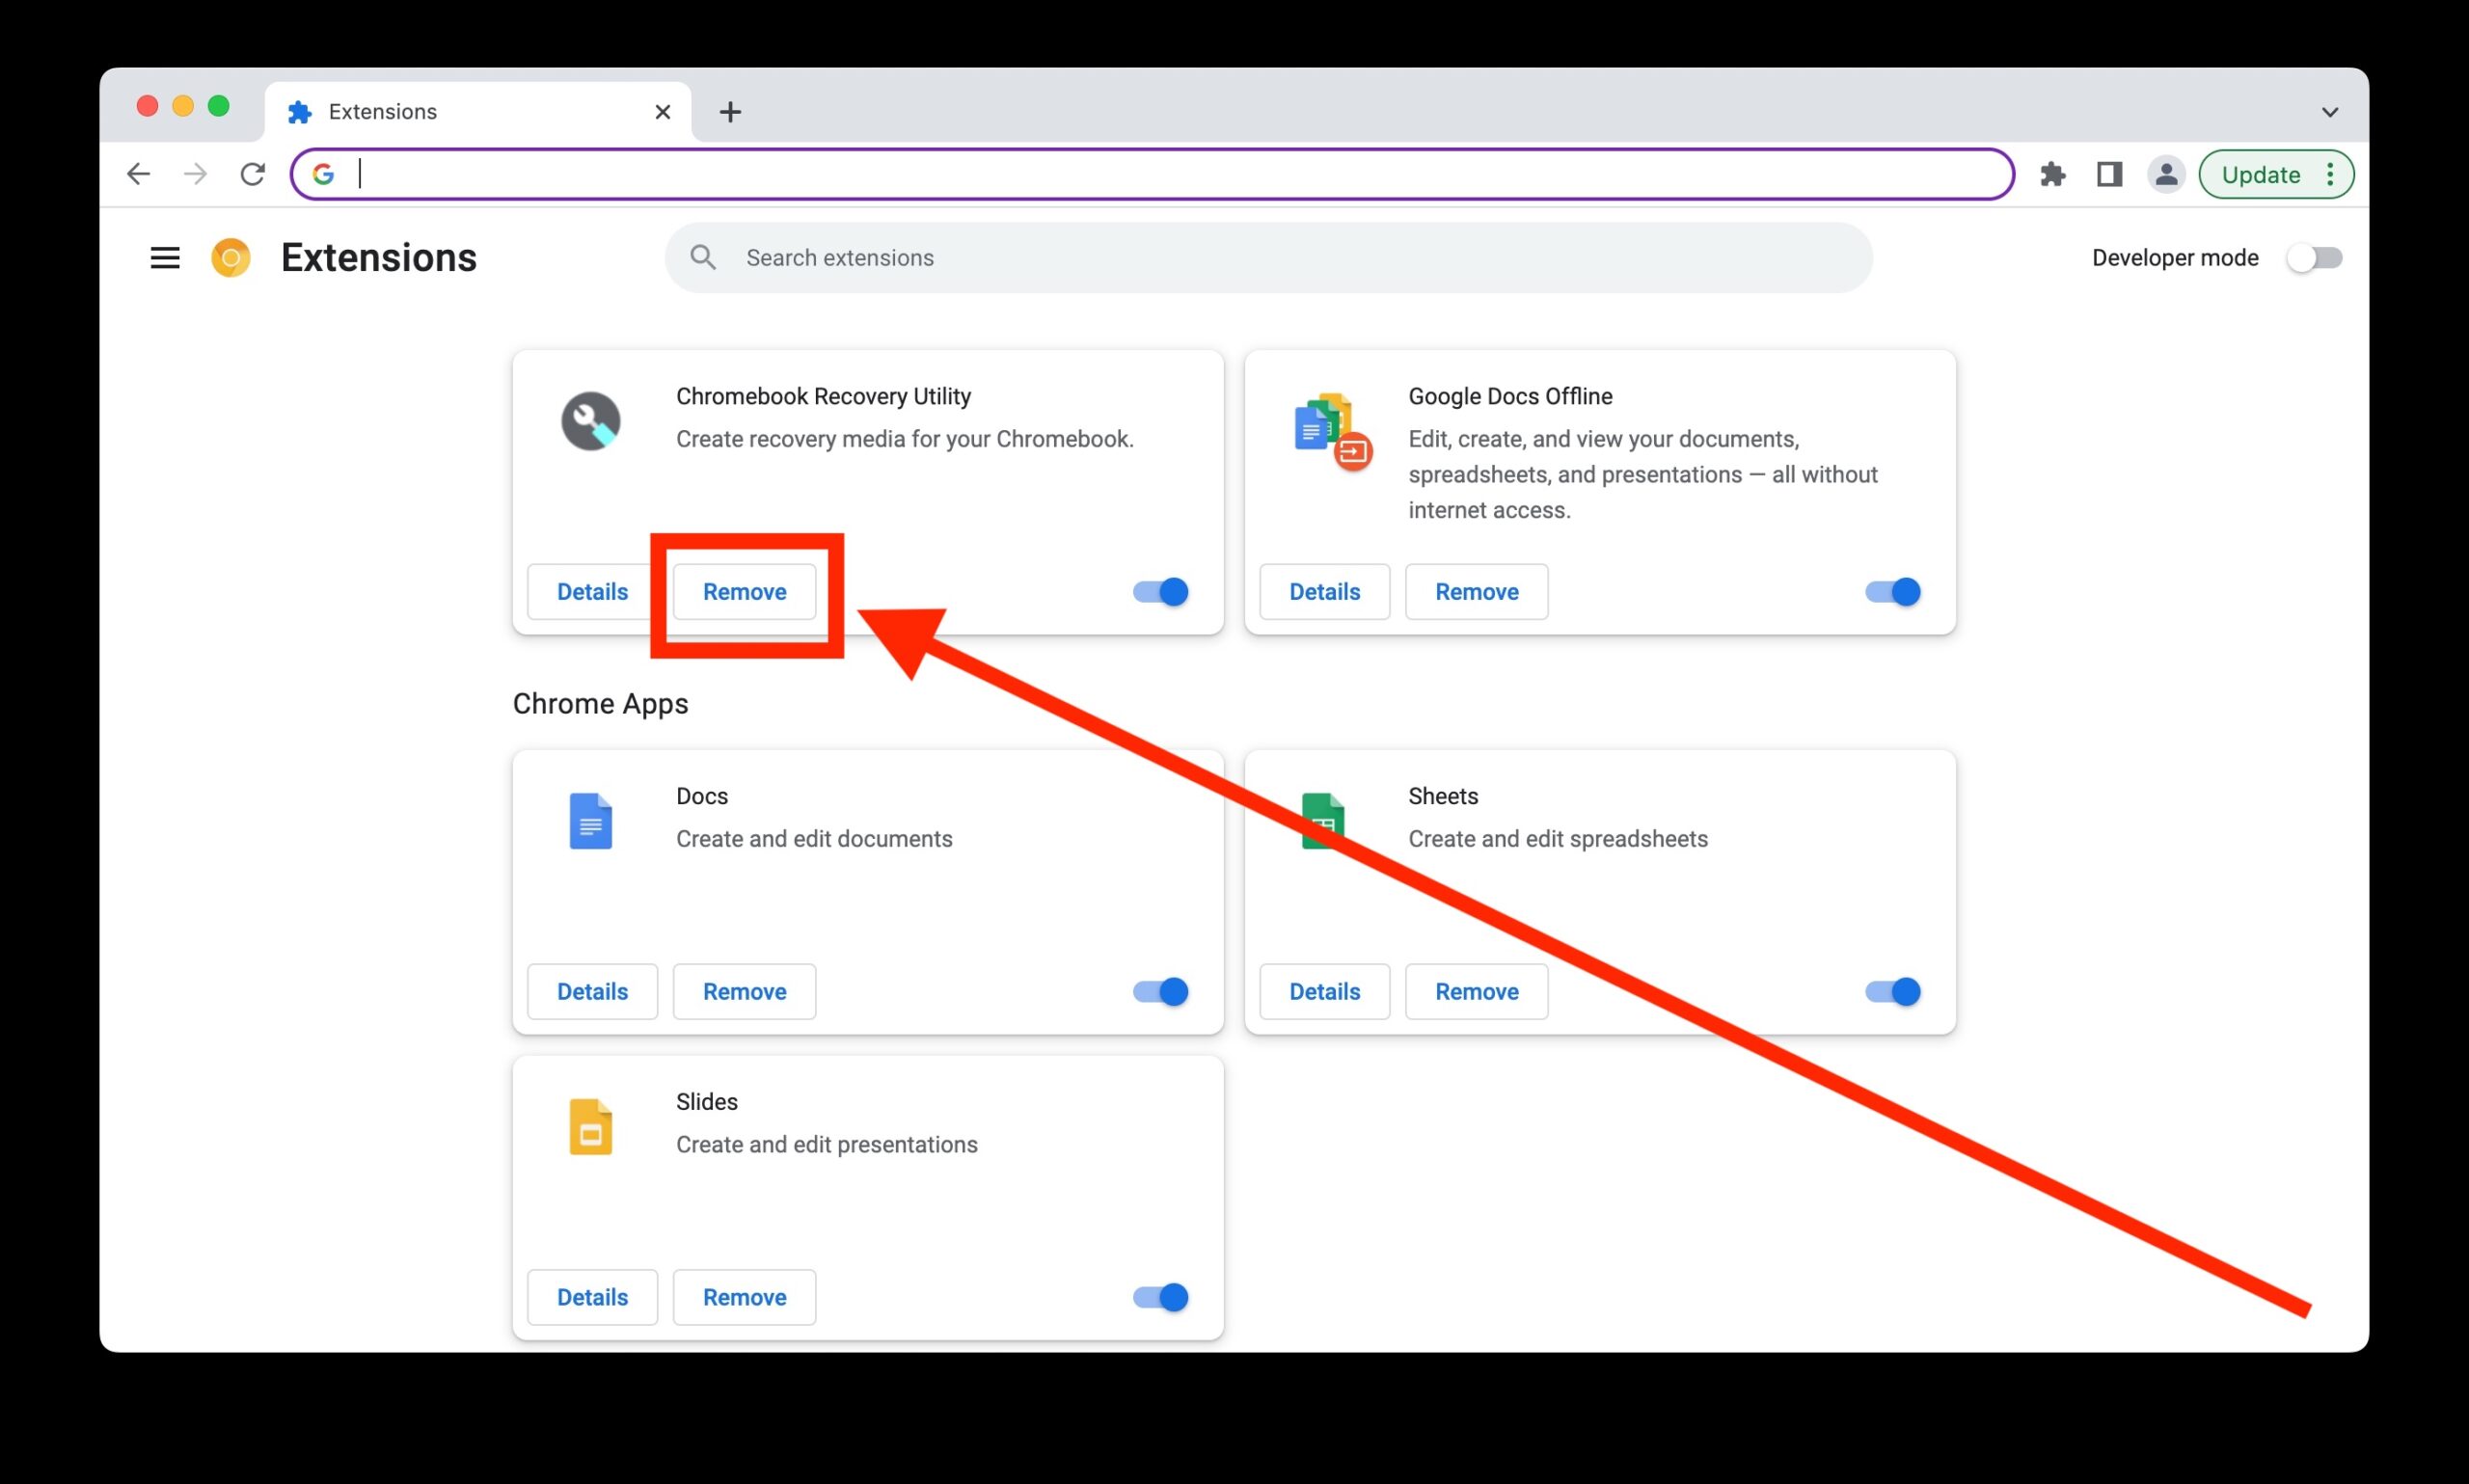
Disabling the Desired Profile: On the profile management page, you will see a list of all existing profiles associated with the browser. Locate the profile you wish to disable and hover your cursor over it to reveal the three-dot menu icon. Click on this icon to unveil a list of profile-specific options.
-
Disabling the Profile: Within the profile-specific options, select "Remove This Person" to initiate the process of disabling the selected profile. A confirmation dialog will appear, prompting you to confirm the removal of the profile. Click "Remove This Person" once again to finalize the action.
-
Verification: After confirming the removal, the selected profile will be disabled and removed from the list of active profiles. You can verify this by returning to the profile icon in the top-right corner of the browser window, where the disabled profile should no longer be visible.
By following these simple steps, users can effectively disable unwanted profiles through Chrome settings, streamlining their browsing experience and decluttering the profile management interface. This method offers a convenient way to manage profiles without the need for complex configurations or administrative access, making it accessible to a wide range of Chrome users.
It's important to note that while disabling a profile through Chrome settings removes the profile from the browser, it does not delete the associated browsing data. If the intention is to completely remove all data associated with the profile, additional steps may be required to achieve this. For users seeking a more comprehensive approach to profile management, alternative methods such as utilizing Chrome policies or removing user data can provide a more thorough solution.
In the next sections, we will explore these alternative methods, offering users a comprehensive understanding of how to effectively manage and disable profiles within Google Chrome.
Method 2: Using Chrome Policies to Disable Profiles
In addition to the user-friendly approach offered by Chrome settings, Google Chrome provides a more advanced method for managing profiles through the use of Chrome policies. Chrome policies are a set of configurations that can be enforced on all users of a Chrome browser, offering administrators and advanced users a powerful tool for customizing and controlling various aspects of the browsing experience. Leveraging Chrome policies to disable profiles provides a centralized and efficient approach to profile management, making it particularly beneficial for users seeking a more comprehensive and controlled solution.
To utilize Chrome policies for disabling profiles, users can follow these steps:
-
Accessing Chrome Policies: Begin by opening Google Chrome and entering the following URL in the address bar:
chrome://policy. This will direct you to the Chrome policies page, where you can view and manage the available policies for the browser. -
Identifying the Policy: On the Chrome policies page, locate the policy that pertains to managing user profiles. This policy is typically named "BrowserAddPersonEnabled" and is used to control the ability to add new profiles to the browser. By modifying this policy, users can effectively disable the addition of new profiles, thereby restricting profile management at the browser level.
-
Modifying the Policy: To disable the addition of new profiles, click on the "Set recommended" or "Set" button associated with the "BrowserAddPersonEnabled" policy. This will prompt a dialog where you can adjust the policy setting. Selecting the appropriate option will disable the addition of new profiles, effectively preventing the creation of additional user profiles within the Chrome browser.
By leveraging Chrome policies, users can enforce restrictions on profile management, providing a centralized and controlled environment for browsing. This method is particularly advantageous for administrators and organizations looking to standardize profile configurations and limit the proliferation of user profiles across multiple devices.
It's important to note that modifying Chrome policies may require administrative privileges or advanced technical knowledge. Therefore, users should exercise caution and ensure they have the necessary permissions before making changes to Chrome policies.
By exploring the use of Chrome policies to disable profiles, users can gain a deeper understanding of the advanced capabilities offered by Google Chrome for managing user profiles. This method complements the user-friendly approach provided by Chrome settings, offering a more robust solution for controlling profile management within the browser.
Method 3: Removing User Data to Disable Profiles
In certain scenarios, simply disabling a user profile may not suffice, especially if the goal is to completely remove all associated data and settings. Google Chrome offers a method to achieve this by removing the user data linked to a specific profile, effectively disabling the profile and erasing its browsing footprint from the browser. This approach is particularly useful when a thorough cleanup of user-specific data is required, such as when transitioning to a new profile or resolving issues related to a specific user's browsing environment.
To execute the process of removing user data and disabling a profile in Google Chrome, users can follow these steps:
-
Accessing Chrome User Data: Begin by navigating to the user data directory of Google Chrome. This directory contains the individual profiles and their associated data. The location of the user data directory varies depending on the operating system. For example, on Windows, the default path is typically
C:\Users\Username\AppData\Local\Google\Chrome\User Data, while on macOS, it is~/Library/Application Support/Google/Chrome/. -
Locating the Profile Data: Within the user data directory, locate the folder corresponding to the profile that needs to be disabled. Each profile is represented by a separate folder containing its settings, bookmarks, history, and other browsing data.
-
Removing the Profile Folder: Once the profile folder is identified, users can proceed to remove it from the user data directory. This action effectively eliminates all data associated with the specific profile, effectively disabling it and erasing its presence from the Chrome browser.
By following these steps, users can effectively remove user data to disable a profile in Google Chrome, ensuring that all associated settings, bookmarks, and browsing history are thoroughly eliminated from the browser. This method provides a comprehensive solution for users seeking to completely eradicate a profile and its data from their browsing environment.
It's important to exercise caution when removing user data, as this action is irreversible and will result in the permanent deletion of all associated profile data. Therefore, users should consider backing up any essential data before proceeding with the removal of user data to disable a profile.
By exploring the method of removing user data to disable profiles, users can gain a deeper understanding of the comprehensive profile management capabilities offered by Google Chrome. This approach complements the user-friendly and policy-based methods, providing a thorough solution for managing and disabling user profiles within the browser.
Conclusion
In conclusion, the ability to manage and disable user profiles within Google Chrome is a valuable feature that empowers users to customize their browsing experience and maintain privacy. Throughout this article, we have explored three distinct methods for achieving this: utilizing Chrome settings, leveraging Chrome policies, and removing user data. Each method offers a unique approach to profile management, catering to users with varying technical expertise and specific requirements.
By disabling profiles through Chrome settings, users can easily remove unwanted profiles without delving into complex configurations. This user-friendly approach is ideal for individuals seeking a quick and intuitive method to streamline their browsing environment. However, it's important to note that this method primarily disables the profile within the browser interface and may not completely remove associated data.
For advanced users and administrators, the use of Chrome policies provides a centralized and controlled approach to profile management. By enforcing restrictions on profile creation, users can standardize browsing environments and limit the proliferation of user profiles across multiple devices. While this method offers powerful capabilities, it requires a deeper understanding of Chrome policies and may necessitate administrative privileges.
Furthermore, the method of removing user data offers a comprehensive solution for disabling profiles by erasing all associated settings, bookmarks, and browsing history. This thorough approach is beneficial when a complete cleanup of user-specific data is required, ensuring that the disabled profile is entirely eliminated from the browser.
In essence, the diverse methods presented in this article cater to a wide range of user preferences and technical proficiencies, empowering individuals to effectively manage and disable user profiles within Google Chrome. Whether it's streamlining the browsing experience, resolving technical issues, or maintaining a standardized environment across multiple devices, the knowledge gained from these methods equips users with the tools to navigate Chrome profiles with confidence and efficiency.
As users continue to harness the capabilities of Google Chrome for their browsing needs, understanding how to manage and disable profiles remains a valuable skill. By staying informed about these methods, users can optimize their browsing environment, enhance privacy, and troubleshoot profile-related issues with ease. Ultimately, the ability to disable Google Chrome profiles empowers users to tailor their browsing experience to their specific preferences, ensuring a seamless and personalized interaction with this popular web browser.