Introduction
Adding extensions to your Chrome browser can significantly enhance your browsing experience, providing you with additional features and functionalities tailored to your specific needs. Whether you're looking to boost productivity, improve security, or simply personalize your browsing environment, Chrome extensions offer a wide array of options to cater to your preferences.
In this guide, we will walk you through the process of adding Chrome extensions to your browser's toolbar. By following these simple steps, you can conveniently access your favorite extensions with just a click, streamlining your workflow and maximizing the utility of your browsing sessions.
From ad blockers and password managers to language translators and productivity tools, the Chrome Web Store hosts a diverse collection of extensions designed to cater to various user requirements. By customizing your toolbar with the extensions that matter most to you, you can streamline your browsing experience and access essential tools with ease.
Now, let's delve into the step-by-step process of adding Chrome extensions to your toolbar, empowering you to harness the full potential of your browser and tailor it to your unique preferences and needs.
Step 1: Open Chrome Web Store
The first step in adding Chrome extensions to your toolbar is to navigate to the Chrome Web Store. To do this, open your Chrome browser and click on the three-dot menu icon located in the top-right corner of the window. From the dropdown menu, select "More tools" and then click on "Extensions." Alternatively, you can directly access the Chrome Web Store by typing "chrome://extensions/" in the address bar and hitting Enter.
Once you are in the Extensions tab, look for the "Open Chrome Web Store" link located at the bottom of the page and click on it. This will redirect you to the official Chrome Web Store, where you can explore a vast selection of extensions across different categories.
Upon entering the Chrome Web Store, you will be greeted with a visually appealing interface, featuring a variety of extensions, themes, and apps. The homepage showcases popular and recommended extensions, allowing you to discover new and trending options. You can also explore specific categories such as productivity, ad blocking, security, and more, to narrow down your search based on your preferences and requirements.
Furthermore, the Chrome Web Store provides a search bar at the top of the page, enabling you to directly search for a specific extension by entering its name or relevant keywords. This search functionality simplifies the process of finding the exact extension you are looking for, saving you time and effort.
As you browse through the Chrome Web Store, you will encounter detailed descriptions, user reviews, and ratings for each extension, offering valuable insights into their functionality and user satisfaction. It's advisable to read through the descriptions and reviews to gain a better understanding of an extension's features, usability, and overall performance.
In addition to individual extensions, the Chrome Web Store also features collections curated by Google, showcasing a selection of extensions tailored for specific purposes or interests. These collections can help you discover a range of extensions that align with your needs, whether you're seeking tools for productivity, creativity, entertainment, or other areas of interest.
By exploring the Chrome Web Store, you can gain access to a diverse ecosystem of extensions that cater to a wide spectrum of user preferences and requirements. This step sets the foundation for discovering and selecting the extensions that will enhance your browsing experience and streamline your daily tasks.
With the Chrome Web Store at your fingertips, you have the opportunity to explore, evaluate, and ultimately choose the extensions that align with your specific needs and preferences, paving the way for a more personalized and efficient browsing experience.
Step 2: Choose an Extension
Once you have accessed the Chrome Web Store and familiarized yourself with the diverse array of extensions available, it's time to narrow down your selection and choose the extensions that align with your browsing habits and requirements. The Chrome Web Store offers a plethora of extensions across various categories, catering to productivity, security, entertainment, and more. Here's how you can effectively choose the right extensions for your browsing needs:
1. Define Your Needs:
Before diving into the vast selection of extensions, take a moment to identify your specific needs and the areas where you seek improvement or additional functionality. Are you looking to enhance productivity, streamline your workflow, bolster security, or simply personalize your browsing experience? By clarifying your objectives, you can focus on exploring extensions that directly address your requirements.
2. Explore Categories:
Navigate through the different categories available in the Chrome Web Store to streamline your search. Whether you're interested in ad blockers, language translators, note-taking tools, or any other specific functionality, the categorized layout of the store allows you to efficiently browse through extensions tailored to different purposes.
3. Read Descriptions and Reviews:
As you come across potential extensions, delve into their detailed descriptions to understand their features, functionalities, and compatibility. Additionally, take the time to read user reviews and ratings to gauge the overall satisfaction and performance of each extension. Real user experiences can provide valuable insights into the practicality and effectiveness of an extension.
4. Consider Reputable Developers:
When choosing extensions, consider those developed by reputable and trusted sources. Extensions from established developers often undergo rigorous testing and adhere to security best practices, minimizing the risk of potential vulnerabilities or performance issues.
5. Test and Evaluate:
Some extensions offer free trials or demo versions, allowing you to test their functionality before committing. Take advantage of these opportunities to assess how an extension integrates with your browsing experience and whether it delivers the desired benefits.
6. Prioritize Quality and Relevance:
Ultimately, prioritize quality and relevance when selecting extensions. Opt for extensions that not only align with your needs but also boast a high level of user satisfaction, positive reviews, and regular updates. By choosing extensions that are well-maintained and positively received, you can ensure a seamless and reliable browsing experience.
By following these steps, you can effectively choose extensions that complement your browsing habits and cater to your specific needs, setting the stage for a more personalized and efficient browsing experience.
Step 3: Add to Chrome
After identifying the extensions that align with your browsing needs, the next step is to add them to your Chrome browser. The process of adding an extension is straightforward and can be accomplished with just a few clicks. Here's a detailed guide on how to seamlessly integrate your chosen extensions into your browsing environment:
-
Click on the Extension: Once you have selected an extension from the Chrome Web Store, navigate to its page. You will find an "Add to Chrome" button prominently displayed on the extension's page. Click on this button to initiate the installation process.
-
Review Permissions: Upon clicking "Add to Chrome," a confirmation dialog box will appear, outlining the permissions required by the extension. It's essential to review these permissions to ensure that the extension will only access the necessary data and functionalities. This step allows you to make an informed decision regarding the extension's access to your browsing activities.
-
Confirm Installation: After reviewing the permissions, click on the "Add extension" button within the confirmation dialog box. This action will prompt Chrome to begin the installation process, seamlessly integrating the extension into your browser environment.
-
Monitor Installation Progress: Chrome will display the installation progress of the extension, typically denoted by a loading indicator on the "Add to Chrome" button. Once the installation is complete, the button will transform into a confirmation message, indicating that the extension has been successfully added to your browser.
-
Access the Extension: With the extension successfully added to Chrome, you can access its features and functionalities by locating its icon in the Chrome toolbar or the extensions menu. Depending on the extension, it may also prompt you to complete a setup process or configure specific settings to tailor its behavior to your preferences.
By following these steps, you can seamlessly add your chosen extensions to Chrome, enriching your browsing experience with enhanced functionalities and tailored features. Whether you're integrating productivity tools, security enhancements, or entertainment utilities, the process of adding extensions to Chrome empowers you to customize your browsing environment according to your unique preferences and requirements.
Step 4: Pin to Toolbar
Once you have successfully added an extension to your Chrome browser, you have the option to pin it to the toolbar for convenient access. Pinning an extension to the toolbar ensures that its icon is readily available, allowing you to access its features with a single click. This streamlined accessibility can significantly enhance your browsing experience, especially for extensions that you frequently utilize.
Here's a detailed guide on how to pin an extension to the toolbar:
-
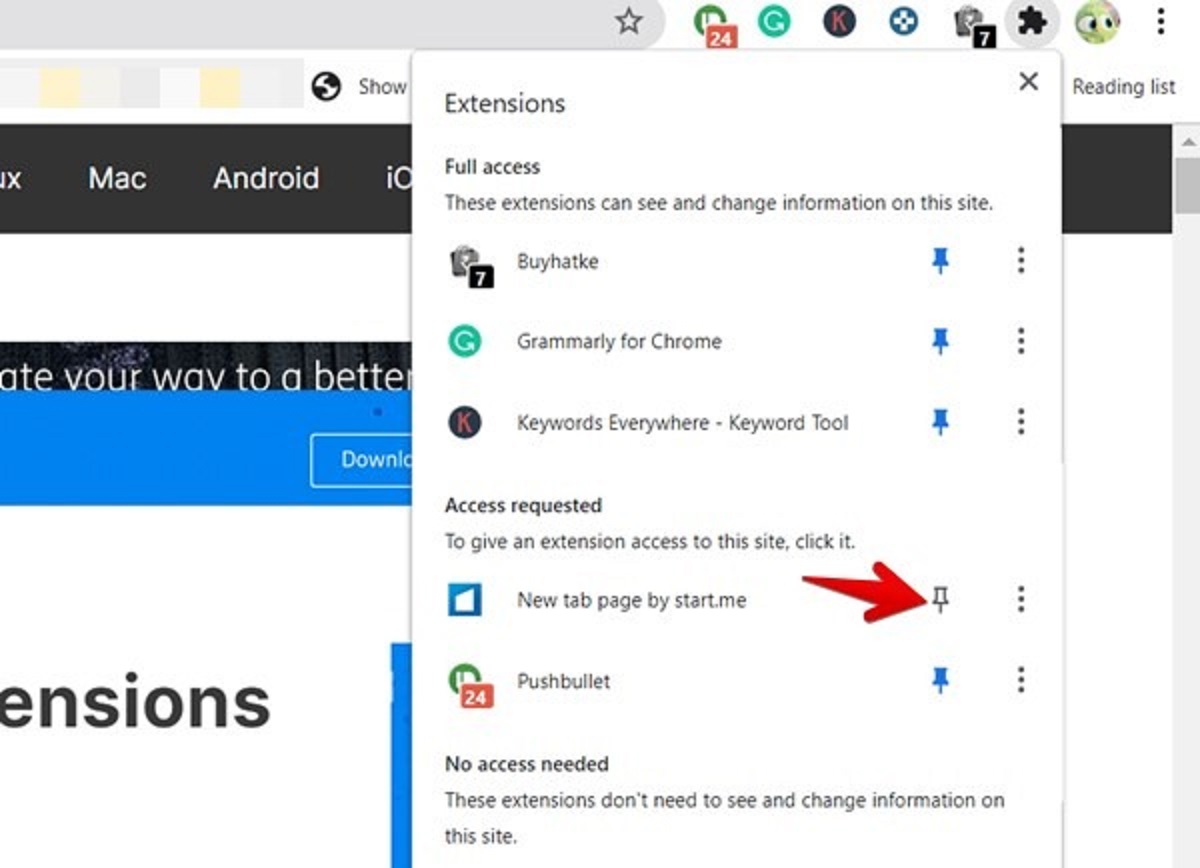
Locate the Extension Icon: After adding an extension to Chrome, its icon typically appears in the extensions area, which is accessible by clicking on the puzzle piece icon located at the top-right corner of the browser window. Alternatively, some extensions may display their icons directly in the toolbar upon installation.
-
Right-click the Extension Icon: Once you have located the icon of the extension you wish to pin, right-click on it to reveal a contextual menu. This menu presents various options related to the extension, including the ability to pin it to the toolbar.
-
Select "Pin": Within the contextual menu, look for the "Pin" or "Pin to toolbar" option and click on it. This action will anchor the extension's icon to the Chrome toolbar, ensuring that it remains visible and easily accessible whenever you open the browser.
-
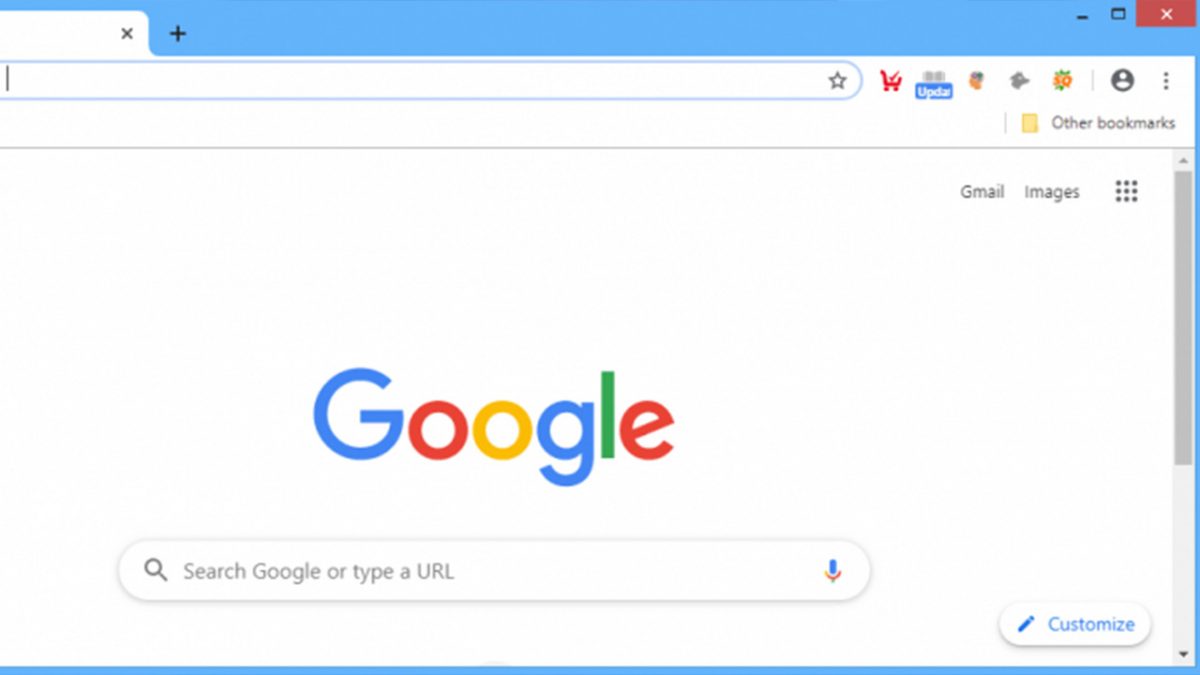
Verify the Pinned Icon: Upon selecting the "Pin" option, the extension's icon should seamlessly move to the toolbar, where it will be prominently displayed alongside other browser elements. This visual placement allows you to quickly identify and access the extension whenever the need arises.
By pinning your preferred extensions to the toolbar, you can streamline your browsing experience and optimize your workflow. Whether it's a productivity tool, a security enhancement, or a personalized utility, having quick access to the extension's features directly from the toolbar empowers you to leverage its functionalities efficiently.
Pinning extensions to the toolbar is a simple yet effective way to customize your browsing environment, ensuring that the tools and functionalities you value most are always within reach. This tailored accessibility enhances your overall browsing experience, allowing you to seamlessly integrate essential extensions into your daily workflow.
Conclusion
In conclusion, the process of adding Chrome extensions to your toolbar offers a gateway to a more personalized and efficient browsing experience. By following the steps outlined in this guide, you can seamlessly integrate extensions that align with your specific needs and preferences, enhancing the functionality of your Chrome browser.
The journey begins with exploring the Chrome Web Store, a vibrant marketplace showcasing a diverse array of extensions tailored to various user requirements. Navigating through categories, reading descriptions, and evaluating user reviews empowers you to make informed decisions when selecting extensions. This step ensures that the extensions you choose are well-suited to enhance your browsing habits, whether you seek productivity tools, security enhancements, or entertainment utilities.
Once you have identified the extensions that resonate with your needs, the process of adding them to Chrome is straightforward. With just a few clicks, you can seamlessly integrate the chosen extensions into your browsing environment, unlocking their features and functionalities. Reviewing permissions and monitoring the installation process ensures that the added extensions align with your privacy and security preferences, contributing to a seamless and secure browsing experience.
Furthermore, the option to pin extensions to the toolbar provides convenient access to their features with a single click. This streamlined accessibility optimizes your workflow, allowing you to leverage the functionalities of your preferred extensions effortlessly. Whether it's a password manager, a language translator, or a task management tool, pinning extensions to the toolbar ensures that essential tools are always within reach, enhancing your productivity and browsing efficiency.
By customizing your toolbar with the extensions that matter most to you, you can tailor your browsing environment to align with your unique preferences and requirements. This level of personalization empowers you to optimize your workflow, streamline your tasks, and maximize the utility of your browsing sessions.
In essence, the process of adding Chrome extensions to your toolbar is not merely about expanding the capabilities of your browser; it's about curating a browsing experience that reflects your individual needs and preferences. By embracing the diverse ecosystem of Chrome extensions and integrating them into your toolbar, you can elevate your browsing experience and unlock new levels of efficiency and convenience.