Introduction
Setting up and accessing a Netgear network switch is a fundamental aspect of network management. Whether you are a seasoned IT professional or a novice enthusiast, understanding how to access and configure a Netgear switch can significantly enhance the efficiency and performance of your network infrastructure. A Netgear switch serves as a central hub for connecting multiple devices within a network, allowing for seamless communication and data transfer. By following a few straightforward steps, you can gain access to the switch's interface and customize its settings to suit your specific networking requirements.
In this comprehensive guide, we will walk through the essential steps required to access a Netgear network switch and configure its settings. From connecting the switch to power to managing its features, this guide will provide you with the necessary knowledge to effectively utilize your Netgear switch. Whether you are setting up a new network or optimizing an existing one, mastering the process of accessing and configuring a Netgear switch is essential for maintaining a robust and reliable network infrastructure.
Throughout this guide, we will cover the following key steps:
-
Connecting the Netgear switch to power: This step involves the physical setup of the switch, ensuring that it is properly connected to a power source.
-
Connecting devices to the switch: Once the switch is powered on, connecting devices to its ports is crucial for establishing network connectivity.
-
Accessing the Netgear switch interface: Gaining access to the switch's interface is essential for configuring its settings and managing its features.
-
Configuring the switch settings: This step involves customizing the switch's settings to optimize its performance and functionality based on your network requirements.
-
Monitoring and managing the switch: After configuring the switch, it is important to monitor its performance and manage its features to ensure smooth network operations.
By following these steps, you will be equipped with the knowledge and skills needed to effectively access and configure a Netgear network switch. Let's delve into the details of each step to gain a comprehensive understanding of the process.
Step 1: Connect the Netgear Switch to Power
Before delving into the configuration and management of a Netgear network switch, the initial step involves physically connecting the switch to a power source. This foundational process ensures that the switch is operational and ready to facilitate network connectivity. Here’s a detailed walkthrough of how to connect the Netgear switch to power:
Locate a Suitable Power Outlet: Begin by identifying a nearby power outlet where the Netgear switch can be connected. Ensure that the power outlet is easily accessible and can provide a stable source of electricity to power the switch.
Use the Provided Power Cable: Netgear switches typically come with a power cable that is designed to connect the switch to a power source. Locate the power cable and ensure that it is free from any damage or defects before proceeding with the connection.
Connect the Power Cable to the Switch: On the rear panel of the Netgear switch, locate the power input port. Insert one end of the power cable into this port securely, ensuring that it is firmly connected to the switch.
Connect the Power Cable to the Outlet: With the power cable securely attached to the switch, plug the other end of the cable into the power outlet. Ensure that the connection is stable and that the power cable is not under strain or at risk of being disconnected accidentally.
Power On the Switch: Once the power cable is connected to both the switch and the power outlet, proceed to power on the switch using the designated power button or switch. Depending on the Netgear switch model, the power button may be located on the front or rear panel of the device.
Verify Power Indicator Lights: Upon powering on the switch, observe the indicator lights on the front panel to confirm that the switch is receiving power. These indicator lights provide visual feedback regarding the operational status of the switch, ensuring that it is successfully powered.
By following these steps, you can effectively connect the Netgear switch to a power source, laying the groundwork for its functionality within your network infrastructure. Once the switch is powered on, you can proceed to the next steps of connecting devices and accessing its interface to configure its settings.
Step 2: Connect Devices to the Switch
Once the Netgear switch is successfully powered on, the next crucial step is to connect devices to its ports, enabling network communication and data transfer. The switch serves as a central hub for interconnecting various devices within a network, facilitating seamless communication and resource sharing. Here’s a comprehensive guide on how to connect devices to the Netgear switch:
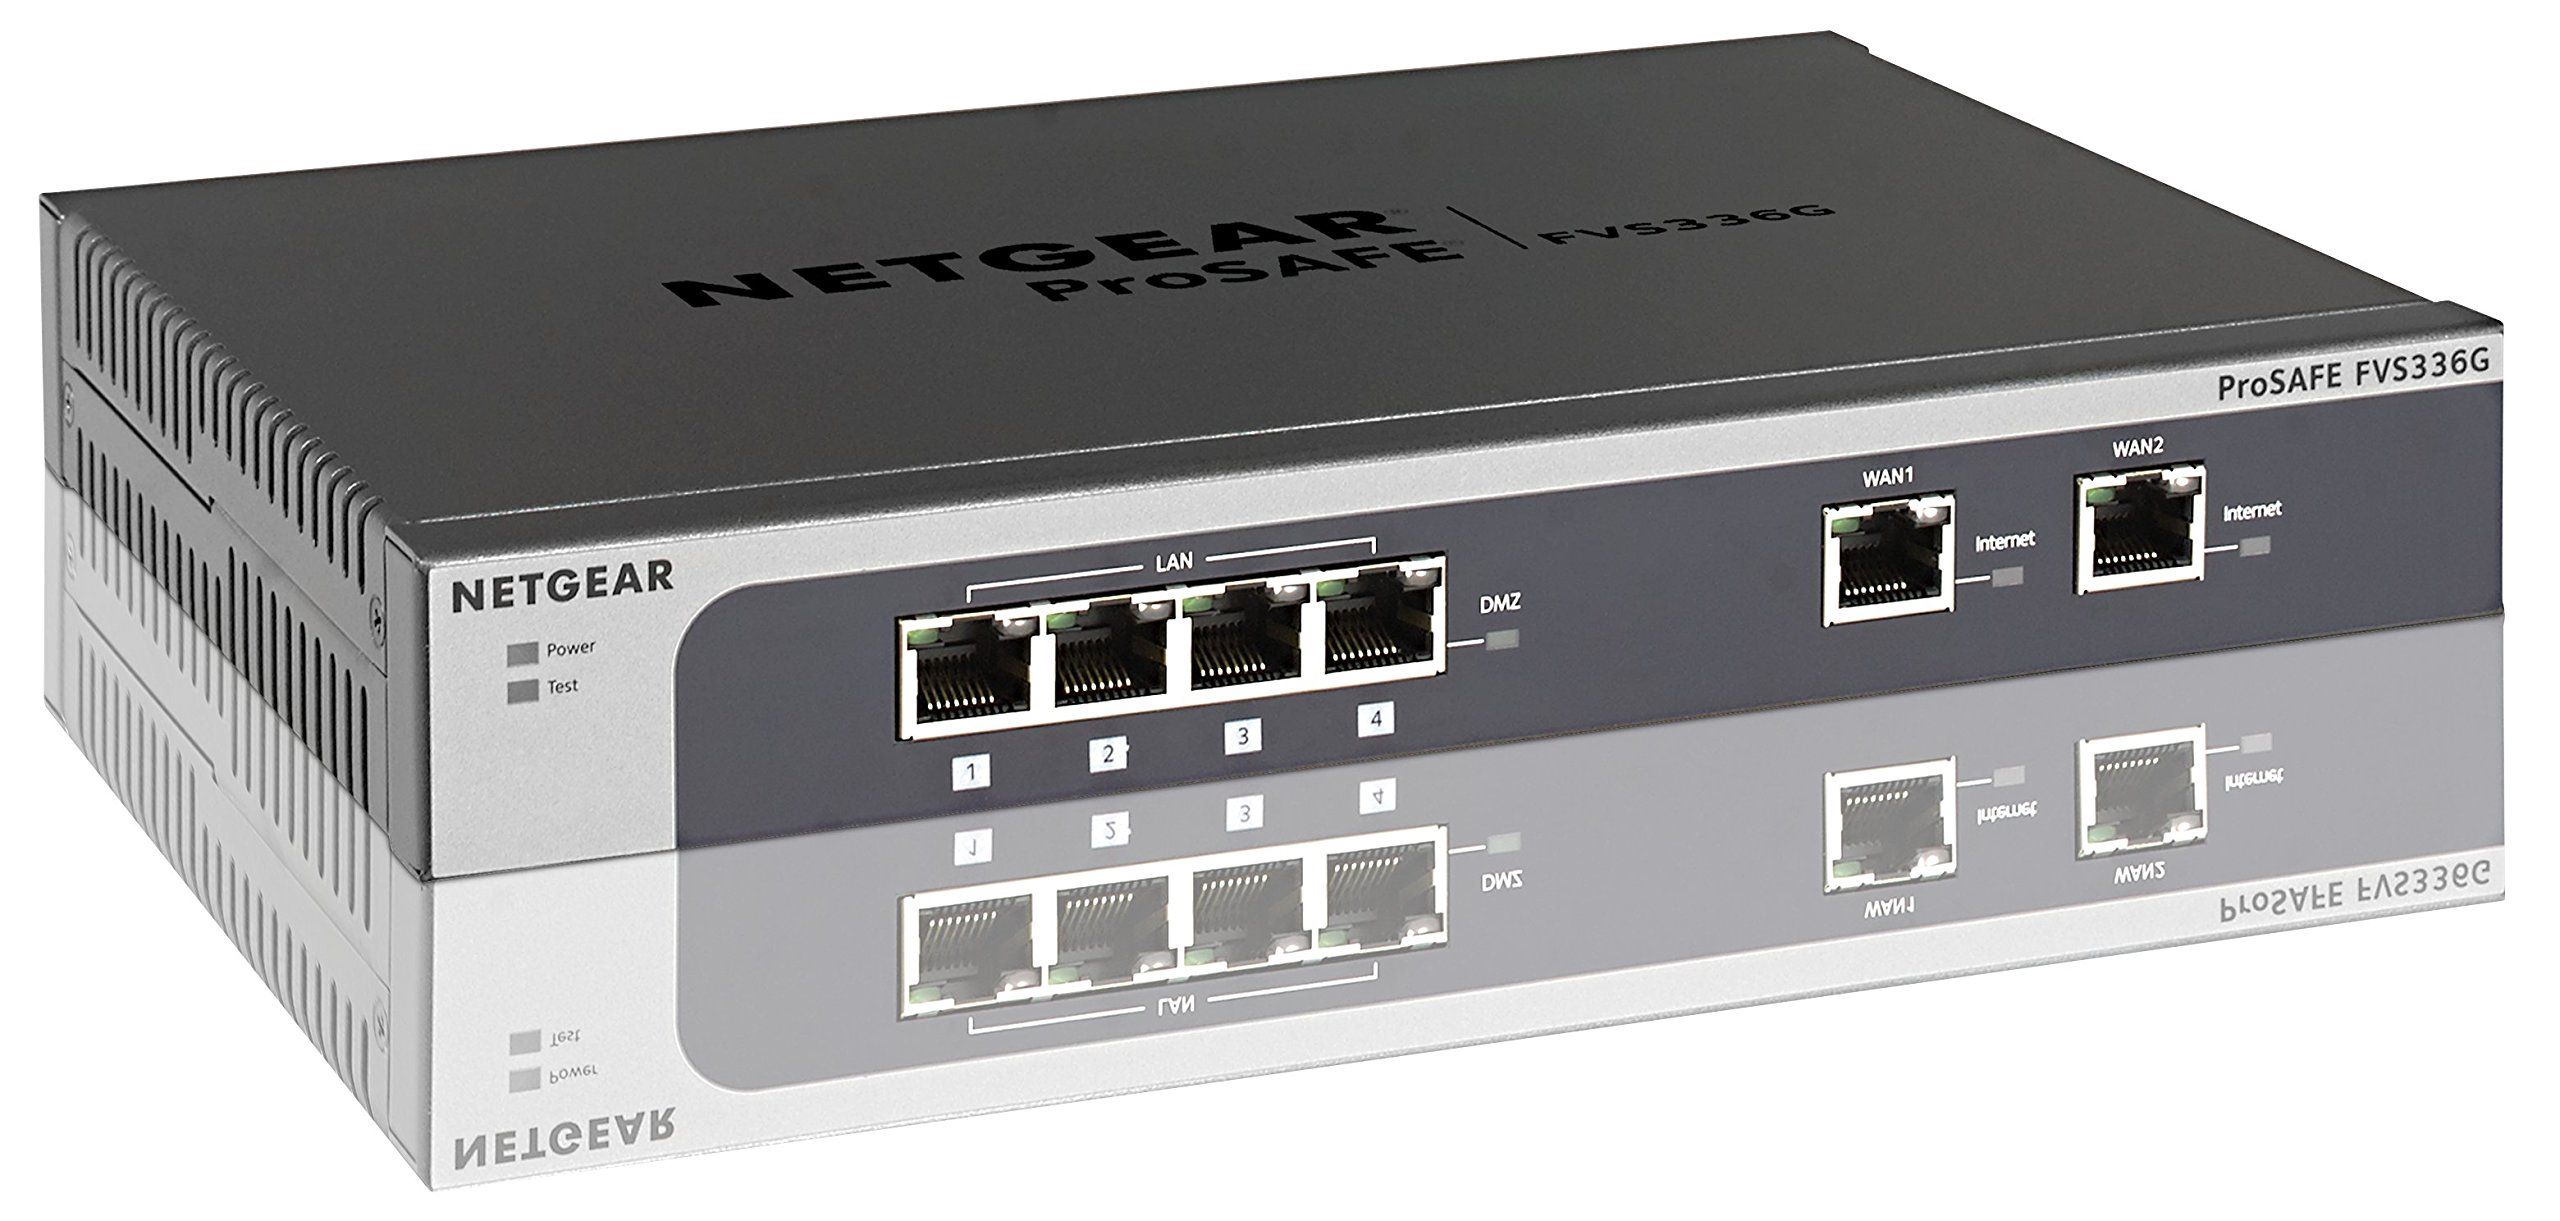
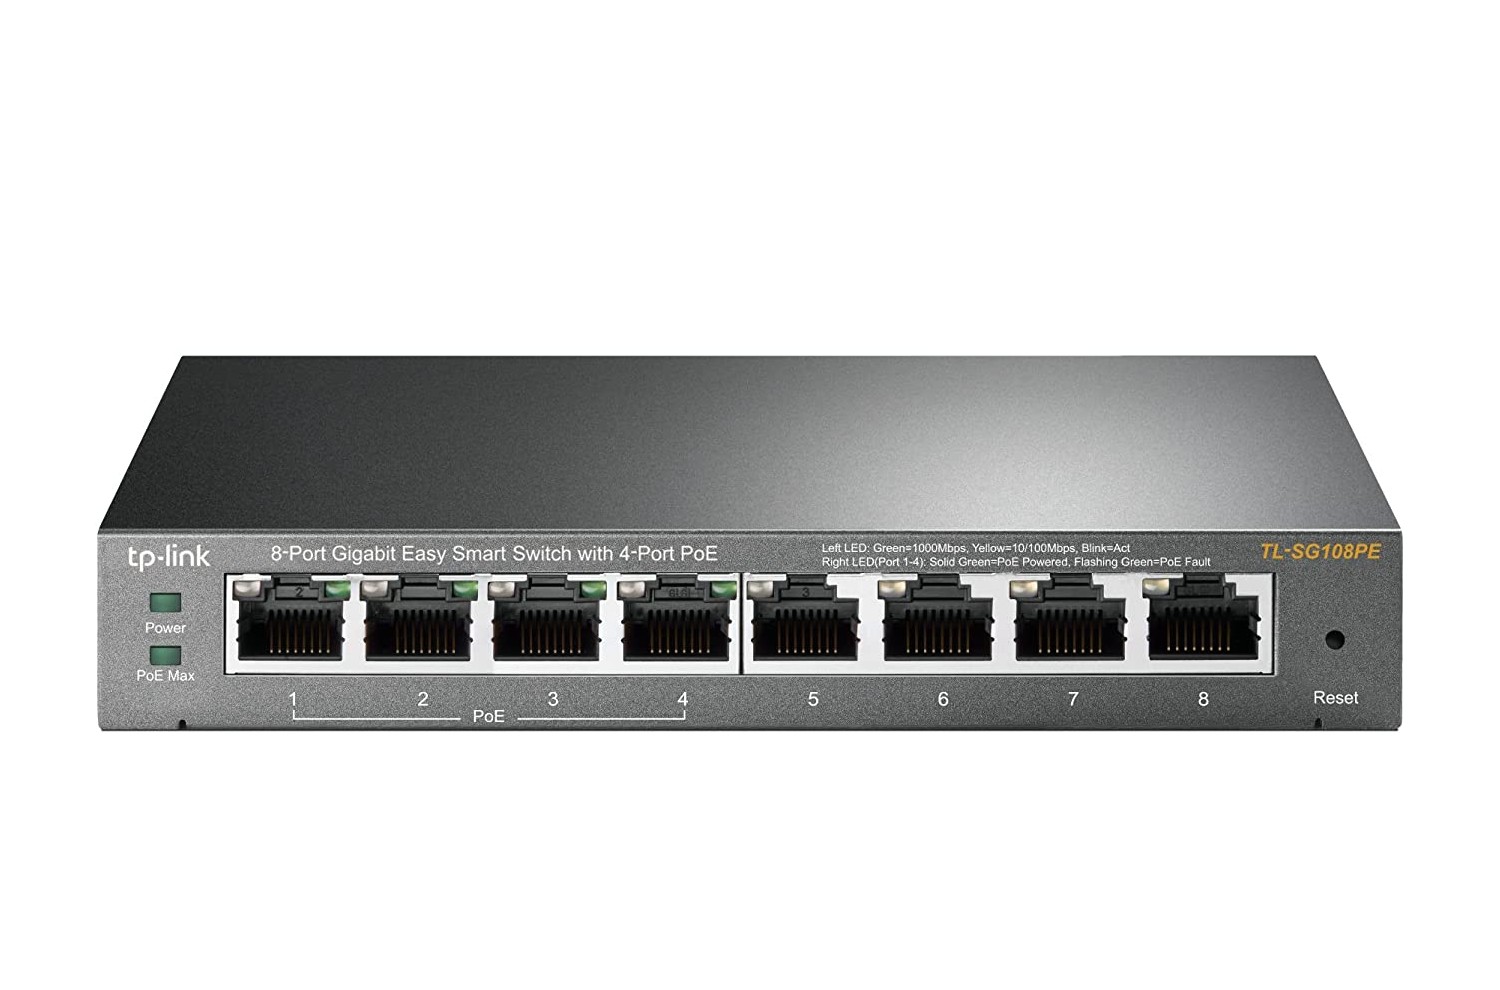
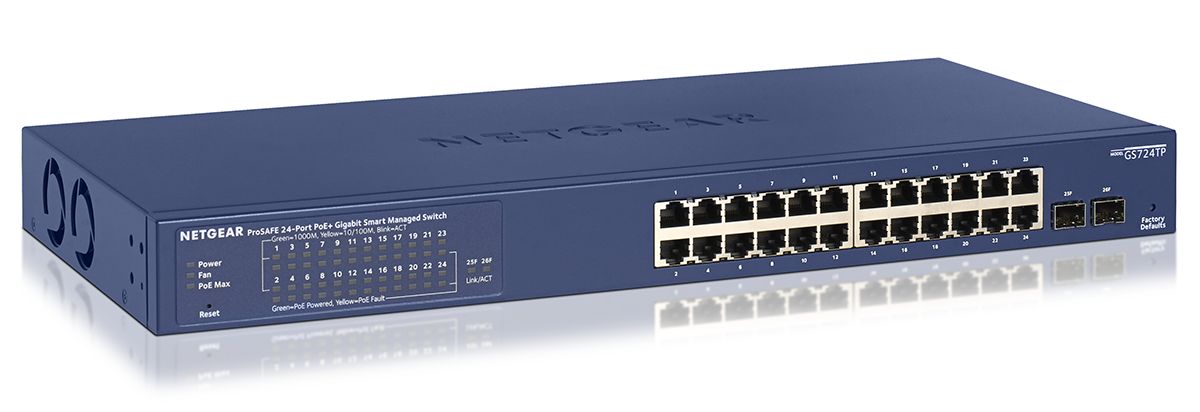
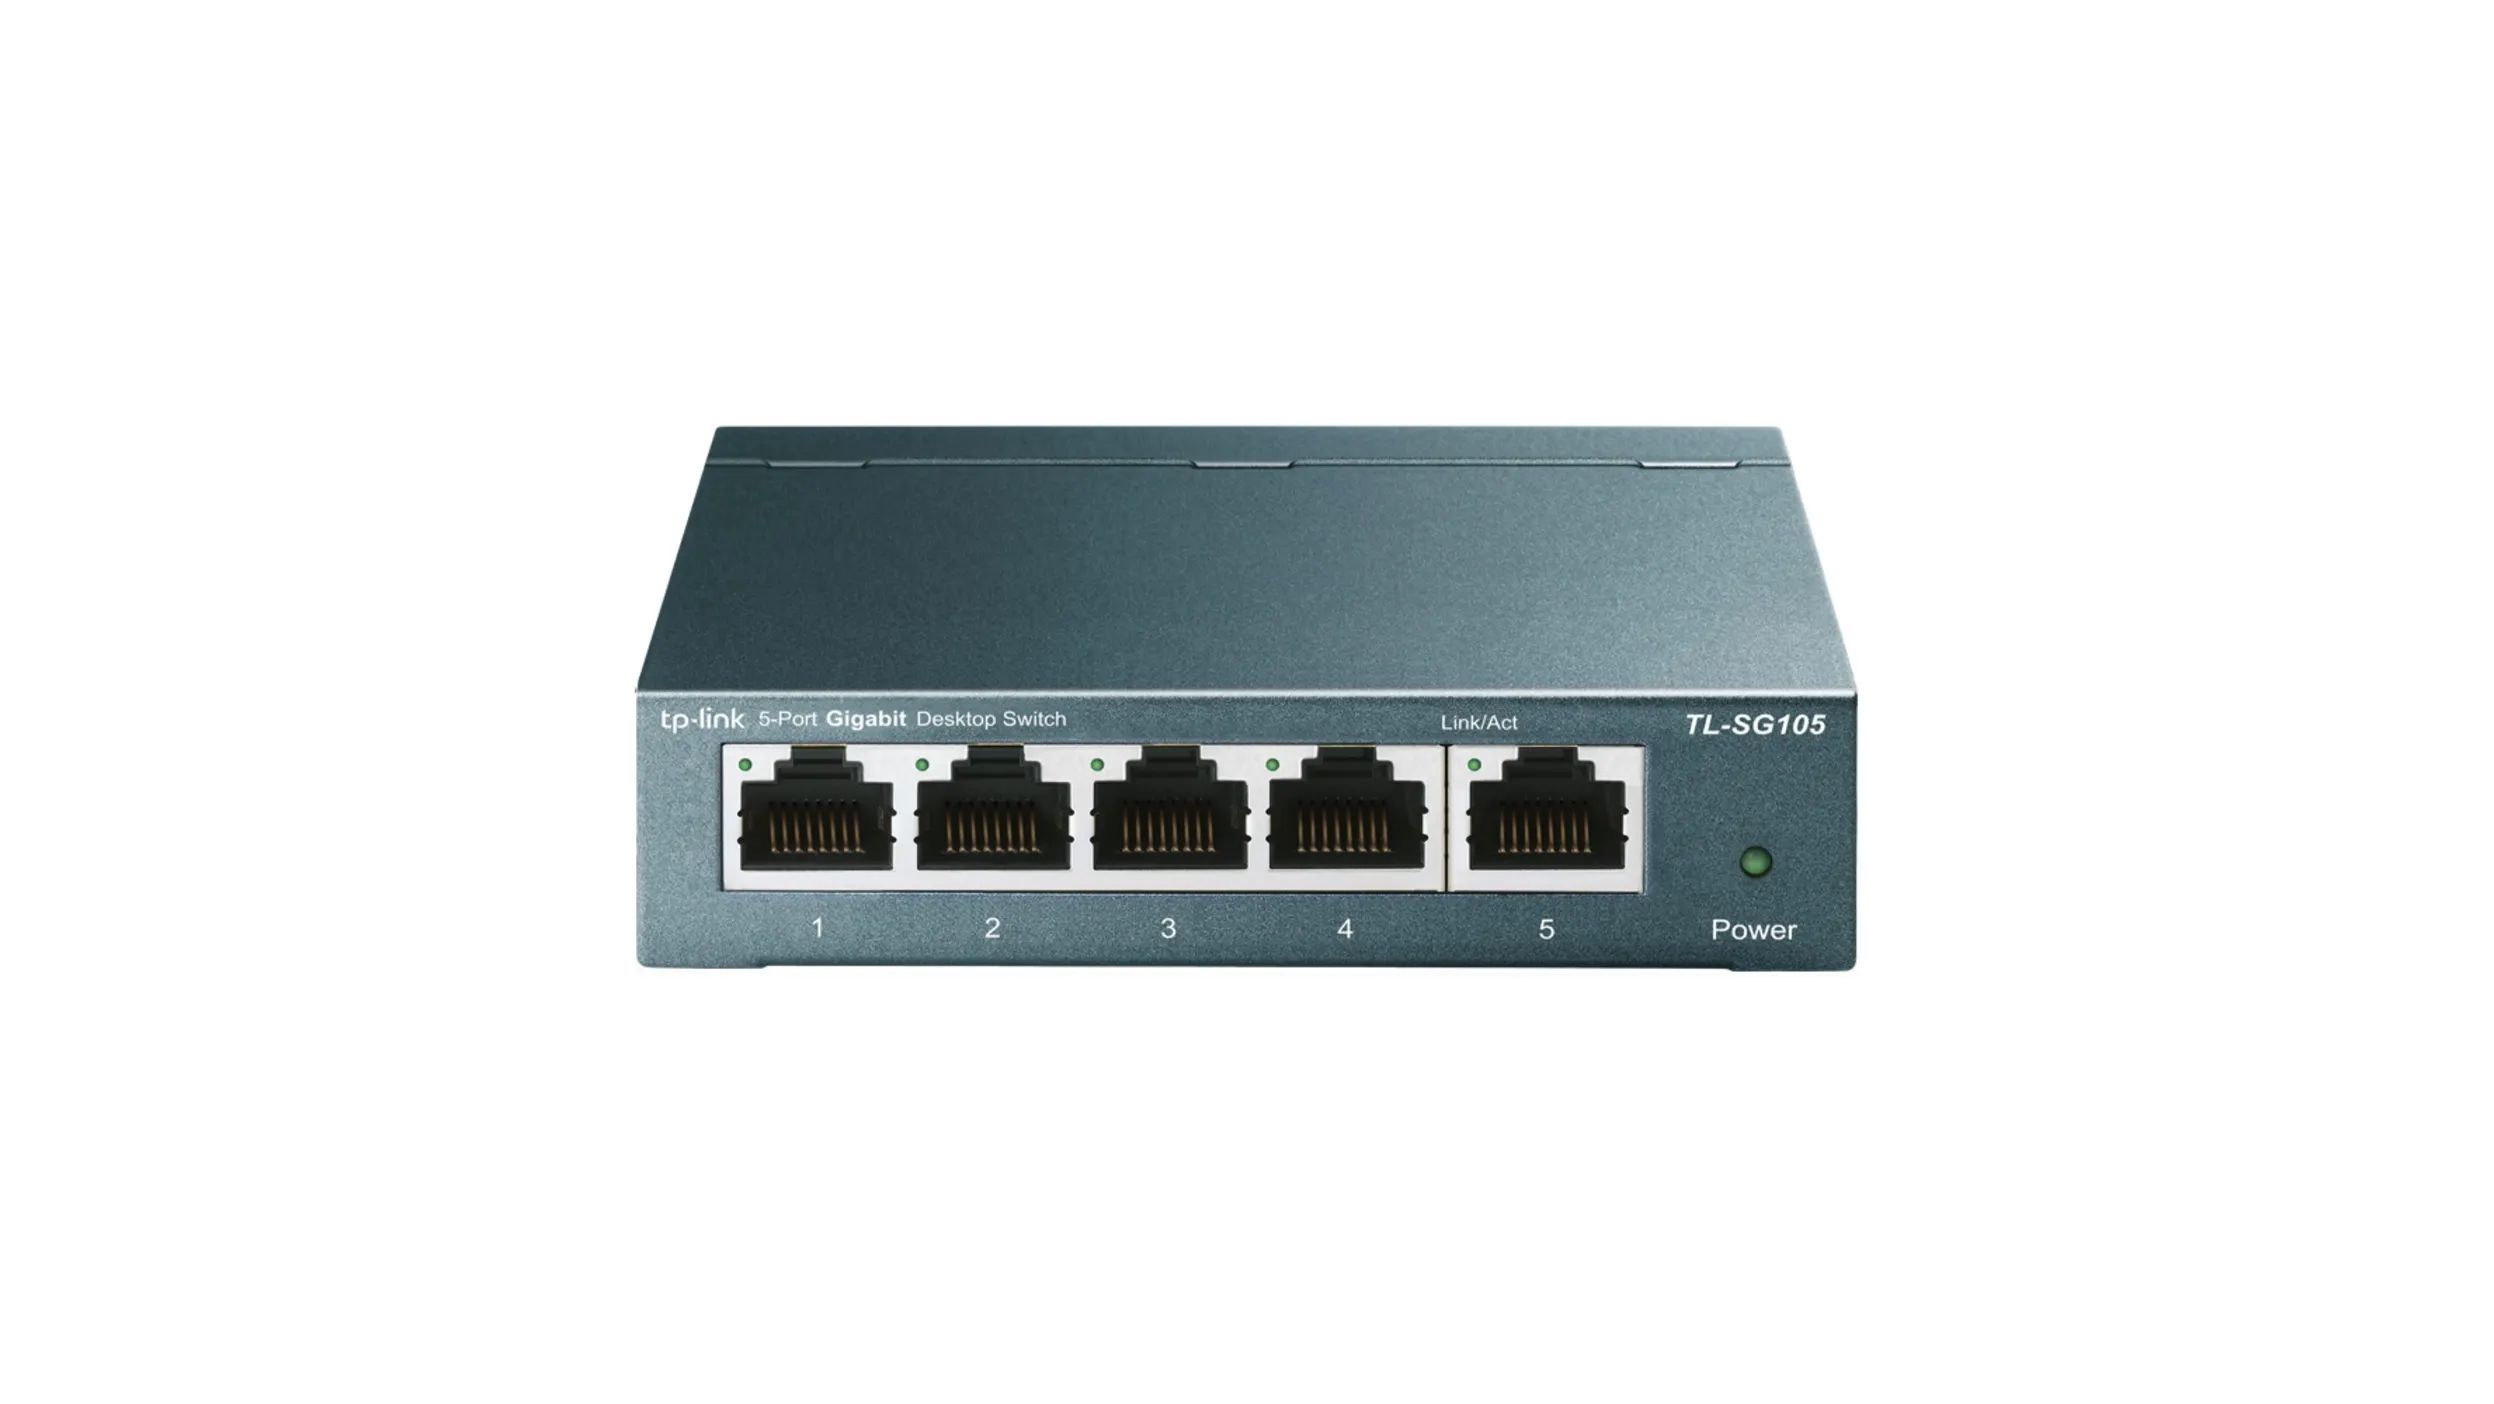
Identify Available Ports: Examine the front or rear panel of the Netgear switch to identify the available ports. Depending on the model, the switch may offer a varying number of Ethernet ports, typically ranging from 5 to 48 ports or more, catering to different network sizes and requirements.
Select the Appropriate Ports: Determine the number of devices you intend to connect to the switch and select the corresponding number of available ports. Each device, such as computers, printers, servers, or other networking equipment, will require a dedicated port on the switch for connectivity.
Use Ethernet Cables: Obtain Ethernet cables of suitable length to establish connections between the devices and the switch. Ensure that the Ethernet cables are in good condition, free from damage, and capable of supporting the desired network speeds and bandwidth requirements.
Connect Devices to the Ports: For each device, connect one end of the Ethernet cable to the respective device’s network port (e.g., Ethernet port on a computer or server) and the other end to an available port on the Netgear switch. Securely insert the Ethernet connectors into the ports, ensuring a snug fit to establish reliable connections.
Verify Link Status: Once the devices are connected to the switch, observe the indicator lights near the Ethernet ports to verify the link status. These indicator lights provide visual feedback, indicating whether the connections between the devices and the switch are successfully established and active.
Configure Device Settings (if necessary): Depending on the network configuration and device requirements, you may need to configure the network settings on the connected devices. This may involve assigning IP addresses, configuring VLANs, or adjusting other network parameters to ensure seamless communication within the network.
By following these steps, you can effectively connect devices to the Netgear switch, enabling them to communicate and share resources within the network environment. Once the devices are successfully connected, you can proceed to the next step of accessing the Netgear switch interface to configure its settings and optimize its performance.
Step 3: Access the Netgear Switch Interface
Accessing the Netgear switch interface is essential for configuring its settings, monitoring its performance, and managing its features. The switch interface provides a user-friendly platform through which network administrators can customize various aspects of the switch’s operation to suit their specific networking requirements. Here’s a detailed guide on how to access the Netgear switch interface:
Ensure Network Connectivity: Before accessing the switch interface, ensure that the device from which you intend to access the interface is connected to the Netgear switch and has network connectivity. This may involve connecting the device to an available port on the switch or ensuring wireless connectivity within the network.
Open a Web Browser: On the device connected to the switch, open a web browser such as Google Chrome, Mozilla Firefox, Microsoft Edge, or Safari. The web browser will serve as the platform through which you will access the Netgear switch interface.
Enter the Switch’s IP Address: In the address bar of the web browser, enter the IP address of the Netgear switch. The default IP address of the switch and the format for accessing the interface may vary based on the switch model and its configuration. Common default IP addresses for Netgear switches include 192.168.0.239 and 192.168.0.1.
Provide Login Credentials: Upon entering the switch’s IP address, the web browser will navigate to the switch interface login page. Enter the appropriate login credentials, including the username and password, to authenticate access to the switch interface. By default, Netgear switches may require the use of a username such as “admin” and a corresponding password.
Navigate the Switch Interface: Once successfully logged in, you will gain access to the Netgear switch interface, which presents a dashboard or control panel containing various configuration options and management tools. Navigate through the interface to explore the available settings, monitoring features, and management functions offered by the switch.
Customize Switch Settings: Within the switch interface, you can customize a wide range of settings, including port configurations, VLAN settings, Quality of Service (QoS) parameters, security features, and firmware updates. Tailor these settings to align with your network’s specific requirements and operational preferences.
By following these steps, you can effectively access the Netgear switch interface, gaining the ability to configure its settings, monitor its performance, and manage its features to optimize its functionality within your network infrastructure. Accessing the switch interface is a pivotal step in harnessing the full potential of your Netgear switch for network management and performance enhancement.
Step 4: Configure the Switch Settings
Configuring the settings of a Netgear switch is a critical task that allows network administrators to tailor the switch’s operation to meet the specific needs and demands of their network environment. By customizing various parameters and features, administrators can optimize the performance, security, and efficiency of the switch. Here’s a comprehensive guide on how to configure the settings of a Netgear switch:
Port Configuration: Within the switch interface, navigate to the port configuration settings to manage the behavior and attributes of individual ports on the switch. This may include setting port speeds, enabling or disabling port aggregation, and configuring port-based VLANs to segregate network traffic.
VLAN Settings: Virtual Local Area Network (VLAN) settings allow administrators to segment the network into distinct virtual LANs, enhancing network security and efficiency. Configure VLAN memberships, VLAN tagging, and inter-VLAN routing to create logical network partitions within the switch.
Quality of Service (QoS): QoS settings enable administrators to prioritize specific types of network traffic, ensuring that critical data, such as voice or video streams, receives preferential treatment in terms of bandwidth and latency. Configure QoS parameters to optimize network performance for different types of applications and services.
Security Features: Enhance the security of the network by configuring various security features within the switch, such as port security, MAC address filtering, and access control lists (ACLs). These settings help mitigate security risks and unauthorized access to the network infrastructure.
Firmware Updates: Regularly check for firmware updates for the Netgear switch to ensure that it is running the latest stable version of the operating system. Within the switch interface, navigate to the firmware update section to download and install the latest firmware, incorporating bug fixes, security patches, and feature enhancements.
Monitoring and Logging: Configure monitoring and logging settings to enable the switch to capture and record network events, errors, and performance metrics. Utilize these features to troubleshoot network issues, track bandwidth utilization, and generate reports on network activities.
Save and Apply Settings: After configuring the desired settings, ensure to save and apply the changes within the switch interface. This step ensures that the customized settings take effect and are persistently applied to the switch’s operation.
By following these steps, you can effectively configure the settings of a Netgear switch, tailoring its operation to align with the specific requirements and performance objectives of your network. Customizing the switch settings empowers administrators to optimize network performance, enhance security, and streamline network operations for maximum efficiency.
Step 5: Monitor and Manage the Switch
Monitoring and managing a Netgear switch is crucial for ensuring the smooth operation of the network, identifying potential issues, and proactively addressing performance concerns. By actively monitoring the switch’s performance and managing its features, network administrators can maintain an optimized and reliable network infrastructure. Here’s a comprehensive guide on how to monitor and manage a Netgear switch:
Performance Monitoring: Within the switch interface, access performance monitoring tools to track key metrics such as port utilization, bandwidth consumption, and error rates. Utilize graphical representations and statistical data to gain insights into the switch’s operational performance.
Alerts and Notifications: Configure alerting and notification settings to receive real-time notifications about critical events, such as port errors, link status changes, or security breaches. Set up email alerts or SNMP traps to stay informed about the switch’s status and potential issues.
Remote Management: Leverage remote management capabilities to access and manage the switch interface from a remote location. This facilitates efficient network administration and troubleshooting without the need for physical access to the switch’s location.
Configuration Backups: Regularly create backups of the switch’s configuration to safeguard against data loss and ensure quick recovery in the event of configuration errors or hardware failures. Store configuration backups in secure locations to prevent unauthorized access.
Firmware and Software Updates: Stay proactive in updating the switch’s firmware and software to incorporate the latest bug fixes, security patches, and feature enhancements. Regularly check for updates and schedule maintenance windows to apply the updates without disrupting network operations.
Traffic Analysis: Utilize traffic analysis tools to examine network traffic patterns, identify bandwidth-intensive applications, and detect potential security threats. Analyzing network traffic aids in optimizing network performance and enhancing security measures.
Resource Management: Manage resources such as VLANs, spanning tree protocol (STP) configurations, and port settings to ensure efficient resource utilization and minimize network congestion. Adjust resource allocations based on changing network demands and operational requirements.
Documentation and Reporting: Maintain comprehensive documentation of the switch’s configuration, network topology, and performance reports. Generate regular reports on network activities, performance trends, and security incidents to facilitate informed decision-making and compliance with regulatory requirements.
By actively monitoring and managing the Netgear switch, network administrators can uphold the reliability, security, and performance of the network infrastructure. Proactive management practices enable administrators to swiftly address network issues, optimize resource utilization, and adapt to evolving operational needs, ensuring a robust and resilient network environment.
Conclusion
Mastering the process of accessing and configuring a Netgear network switch is a fundamental skill for network administrators and IT professionals. By following the comprehensive steps outlined in this guide, you have gained the knowledge and proficiency to effectively set up, access, and manage a Netgear switch, empowering you to optimize your network infrastructure’s performance and reliability.
From the initial step of connecting the switch to power to the advanced tasks of configuring settings and monitoring performance, each stage plays a pivotal role in ensuring the seamless operation of the switch within the network environment. By connecting devices to the switch, accessing its interface, and customizing its settings, you have taken significant strides in harnessing the full potential of the Netgear switch for network management and performance enhancement.
As you continue to explore the capabilities of the Netgear switch, consider delving further into advanced features such as link aggregation, network redundancy protocols, and advanced security configurations to further fortify your network infrastructure. Additionally, stay informed about firmware updates, best practices in network management, and emerging technologies to continually refine your network administration skills.
By adhering to best practices in network management, staying vigilant in monitoring the switch’s performance, and proactively addressing network challenges, you can uphold a resilient and high-performing network environment that meets the demands of modern digital operations.
With the knowledge and skills acquired from this guide, you are well-equipped to navigate the intricacies of Netgear switch management, contributing to the efficiency, security, and reliability of your network infrastructure. Embrace the ongoing journey of network administration, and leverage the capabilities of the Netgear switch to build and maintain robust and responsive networks that power the digital landscape.