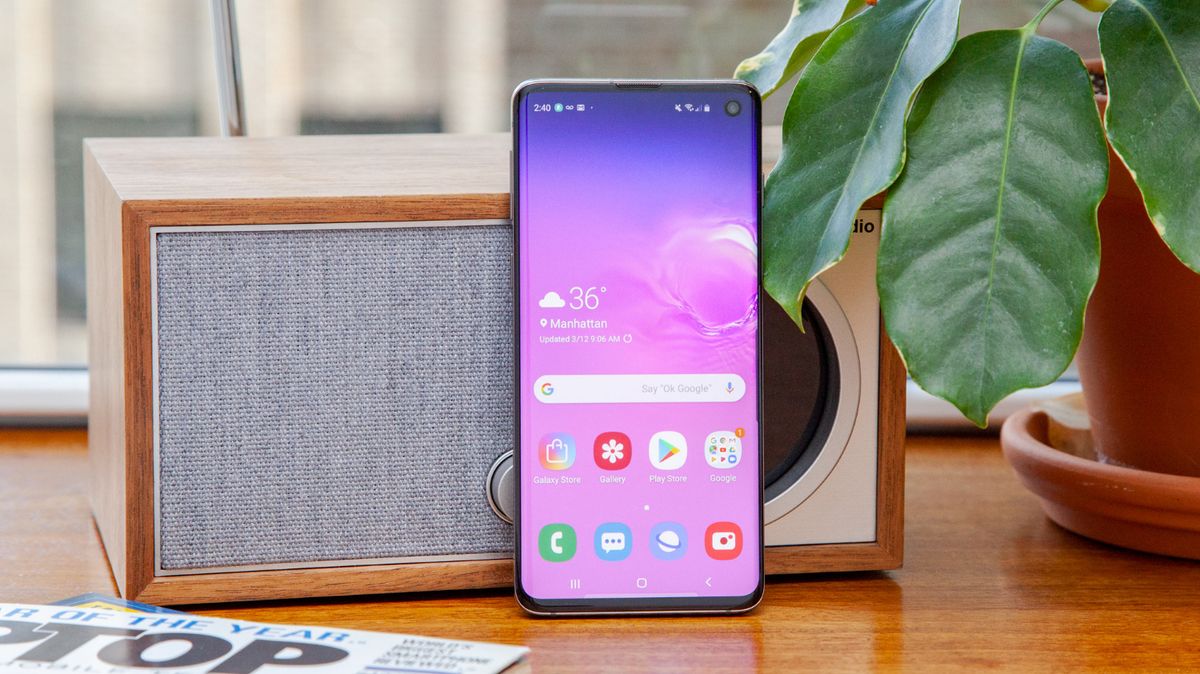
Introduction
Using your Galaxy S10 as a hotspot allows you to share its internet connection with other devices, such as laptops, tablets, or other smartphones. This feature comes in handy when you're in a location without a Wi-Fi network and need to get your other devices online. Whether you're at a café, on a road trip, or in a hotel with spotty Wi-Fi, turning your Galaxy S10 into a hotspot can provide a reliable internet connection for your other devices.
In this guide, we'll walk through the step-by-step instructions for setting up and using the hotspot feature on your Galaxy S10. You'll learn how to access the hotspot settings, enable the hotspot, configure the hotspot settings to suit your preferences, connect devices to the hotspot, and disable the hotspot when you no longer need it.
By the end of this tutorial, you'll be equipped with the knowledge to leverage your Galaxy S10 as a portable Wi-Fi hotspot, allowing you to stay connected wherever you go. Let's dive into the process of harnessing the power of your smartphone to share its internet connection with your other devices seamlessly.
Step 1: Accessing the Hotspot Settings
Accessing the hotspot settings on your Galaxy S10 is a straightforward process that allows you to customize and manage your hotspot preferences. Here's how to navigate to the hotspot settings:
-
Open Settings: Begin by unlocking your Galaxy S10 and locating the "Settings" app on your home screen or in the app drawer. The Settings icon typically resembles a gear or cogwheel.
-
Navigate to Connections: Within the Settings menu, scroll or swipe to find the "Connections" option. Tap on "Connections" to proceed to the next step.
-
Select Mobile Hotspot and Tethering: Under the "Connections" menu, you will find various connectivity options. Look for "Mobile Hotspot and Tethering" and tap on it to access the hotspot settings.
-
Access Hotspot Settings: Upon selecting "Mobile Hotspot and Tethering," you will be presented with the hotspot settings screen. Here, you can configure the hotspot name, set a password, and adjust additional settings according to your preferences.
By following these steps, you will successfully access the hotspot settings on your Galaxy S10, enabling you to tailor the hotspot to your specific requirements. Once you've accessed the hotspot settings, you can proceed to enable the hotspot and customize its configurations to create a personalized and secure internet sharing experience for your devices.
Accessing the hotspot settings is the initial step in harnessing the full potential of your Galaxy S10 as a portable Wi-Fi hotspot. With this foundational knowledge, you are now ready to move on to the next step of enabling the hotspot and sharing your device's internet connection with other devices seamlessly.
Step 2: Enabling the Hotspot
Enabling the hotspot on your Galaxy S10 is a pivotal step that empowers you to share your device's internet connection with other devices. Once the hotspot is enabled, your Galaxy S10 effectively becomes a wireless access point, allowing other devices to connect and utilize its internet connectivity. Here's a detailed walkthrough on how to enable the hotspot feature:
-
Access Hotspot Settings: After navigating to the "Mobile Hotspot and Tethering" section within the Settings menu, you will be presented with the hotspot settings screen. Here, you can customize the hotspot name, set a secure password, and configure additional settings to tailor the hotspot to your preferences.
-
Toggle the Hotspot Switch: Within the hotspot settings screen, you will find a toggle switch to enable the hotspot. Simply tap the switch to turn on the hotspot feature. Once enabled, your Galaxy S10 will start broadcasting its Wi-Fi signal, allowing other devices to detect and connect to it.
-
Review Hotspot Configuration: Before proceeding, take a moment to review the hotspot configuration. Ensure that the hotspot name (SSID) and password align with your preferences. You can also explore advanced settings to adjust the frequency band, security mode, and other parameters based on your specific requirements.
-
Confirmation and Activation: Upon toggling the hotspot switch, your Galaxy S10 will prompt you to confirm the activation of the hotspot. This confirmation step ensures that you intentionally enable the hotspot feature, preventing accidental activation and unauthorized access to your device's internet connection.
-
Hotspot Status Indicator: Once the hotspot is successfully enabled, your Galaxy S10 will display a visual indicator in the status bar, typically in the form of an icon depicting a hotspot or a tethering symbol. This indicator serves as a quick reference to confirm the active status of the hotspot.
By following these steps, you can seamlessly enable the hotspot feature on your Galaxy S10, transforming it into a portable Wi-Fi hotspot ready to share its internet connection with other devices. With the hotspot enabled, you can proceed to the next step of configuring the hotspot settings to ensure a secure and personalized internet sharing experience for your connected devices.
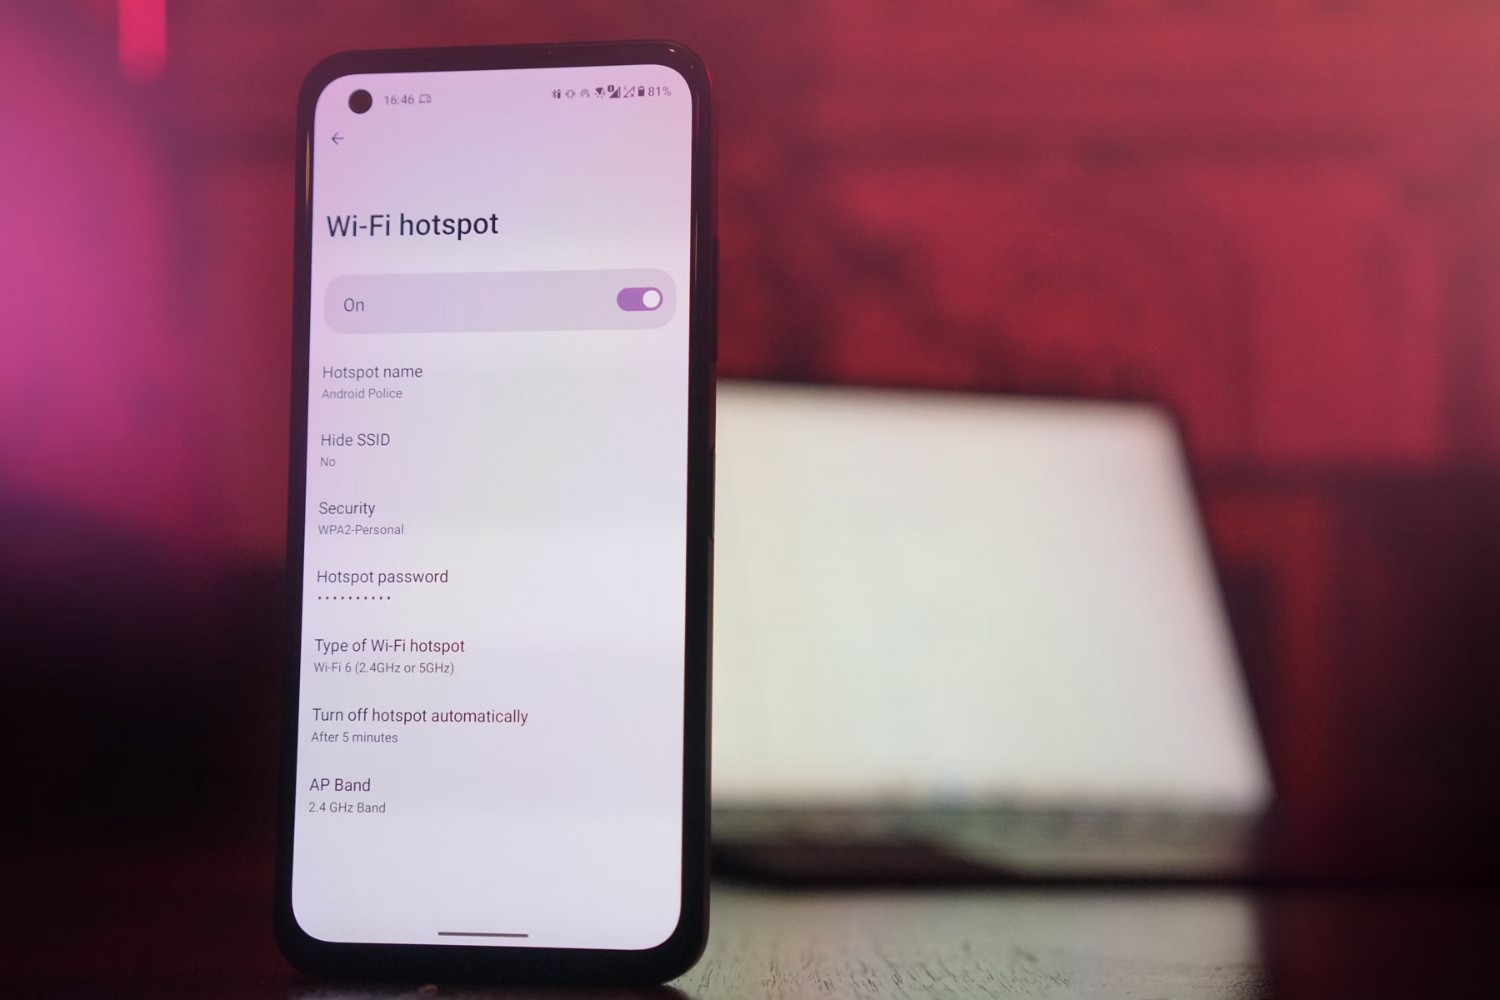
Step 3: Configuring Hotspot Settings
Configuring the hotspot settings on your Galaxy S10 allows you to personalize the internet sharing experience and enhance the security of your hotspot. By customizing the hotspot settings, you can ensure that the connected devices have a seamless and secure connection. Here's a detailed guide on how to configure the hotspot settings to align with your preferences:
Customize Hotspot Name (SSID):
The hotspot name, also known as the Service Set Identifier (SSID), is the name that identifies your Galaxy S10's hotspot to other devices. To customize the hotspot name, navigate to the hotspot settings screen and locate the "Network name" or "SSID" field. Tap on this field to enter a name of your choice. Consider using a recognizable and unique name that distinguishes your hotspot from others in the vicinity.
Set a Secure Password:
Establishing a strong and secure password for your hotspot is crucial to prevent unauthorized access and protect your internet connection. Within the hotspot settings, look for the "Password" or "Security key" field. Tap on this field to set a password that combines alphanumeric characters and special symbols for enhanced security. Creating a robust password adds a layer of defense against unauthorized users attempting to connect to your hotspot without permission.
Explore Advanced Settings:
Depending on your specific requirements, you can explore advanced settings within the hotspot configuration menu. These settings may include options to adjust the frequency band, security mode, and maximum number of connected devices. For instance, you can select the preferred frequency band (2.4 GHz or 5 GHz) for your hotspot, choose the appropriate security mode (e.g., WPA2-PSK), and define the maximum number of devices allowed to connect simultaneously. Exploring these advanced settings allows you to fine-tune the hotspot to align with your desired parameters.
Review and Confirm Configurations:
After customizing the hotspot settings, take a moment to review and confirm the configurations you've set. Ensure that the hotspot name and password align with your preferences, and verify that any advanced settings are adjusted according to your specific requirements. Confirming the configurations allows you to double-check the settings before making them active, ensuring that the hotspot is tailored to provide a secure and personalized internet sharing experience for your connected devices.
By following these steps, you can effectively configure the hotspot settings on your Galaxy S10, creating a personalized and secure environment for sharing your device's internet connection with other devices. With the hotspot settings customized to your preferences, you can proceed to the next step of connecting devices to the hotspot and leveraging your Galaxy S10 as a reliable Wi-Fi hotspot wherever you go.
Step 4: Connecting Devices to the Hotspot
Connecting devices to the hotspot created by your Galaxy S10 is a simple process that allows other devices to utilize your smartphone's internet connection. Once the hotspot is enabled and configured, other devices, such as laptops, tablets, or other smartphones, can easily connect to your Galaxy S10's hotspot. Here's a detailed guide on how to connect devices to the hotspot:
-
Locate Available Networks: On the device you wish to connect to the hotspot, navigate to the Wi-Fi settings. This can typically be found in the device's settings menu or through a quick access icon in the notification panel.
-
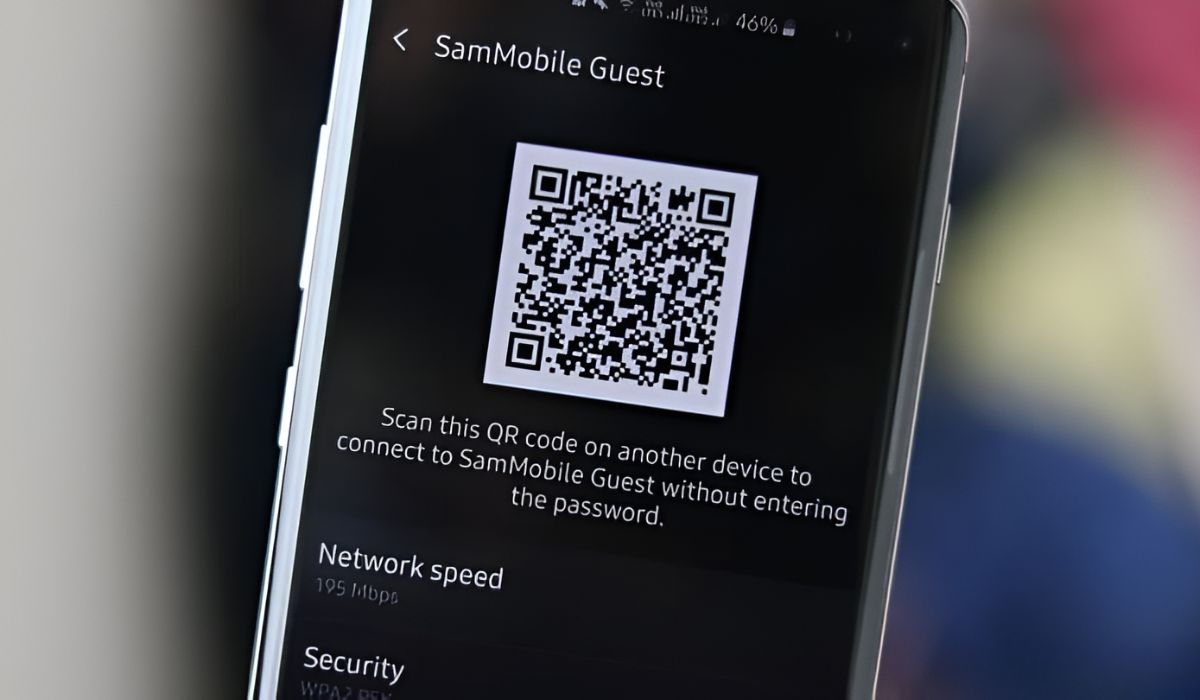
Scan for Wi-Fi Networks: Within the Wi-Fi settings, initiate a scan for available networks. Your Galaxy S10's hotspot, identified by the customized name (SSID) you set during the configuration, should appear in the list of available networks.
-
Select the Hotspot: From the list of available networks, locate and select your Galaxy S10's hotspot. You will be prompted to enter the password you set for the hotspot during the configuration process.
-
Enter Hotspot Password: Upon selecting the hotspot, enter the secure password you established for the hotspot. This password ensures that only authorized users can connect to your hotspot and access your device's internet connection.
-
Establish Connection: After entering the correct password, the device will initiate the connection process with your Galaxy S10's hotspot. Once the connection is established, the device will be able to utilize your smartphone's internet connection for browsing, streaming, or any other online activities.
-
Confirmation and Usage: Upon successful connection, the device will display a confirmation message or indicator, signifying that it is now connected to your Galaxy S10's hotspot. You can now use your smartphone's internet connection on the connected device as you would with a traditional Wi-Fi network.
By following these steps, you can seamlessly connect other devices to the hotspot created by your Galaxy S10, allowing them to benefit from your smartphone's internet connection. Whether you're sharing the connection with a friend's device, enabling internet access for a work-related task, or simply staying connected while on the go, the hotspot functionality of your Galaxy S10 provides a convenient and reliable solution for internet sharing.
Step 5: Disabling the Hotspot
Disabling the hotspot on your Galaxy S10 is a crucial step to conserve battery life and prevent unauthorized access to your device's internet connection. Once you've finished sharing your smartphone's internet connection with other devices, it's important to disable the hotspot to ensure that your device's resources are utilized efficiently and that the internet sharing feature is securely deactivated. Here's a detailed guide on how to disable the hotspot:
-
Access Hotspot Settings: Begin by navigating back to the "Mobile Hotspot and Tethering" section within the Settings menu on your Galaxy S10. This is where you initially enabled the hotspot and configured its settings.
-
Toggle the Hotspot Switch: Within the hotspot settings screen, you will find the toggle switch that enables the hotspot. Simply tap the switch to turn off the hotspot feature. Once disabled, your Galaxy S10 will stop broadcasting its Wi-Fi signal, effectively terminating the internet sharing functionality.
-
Confirmation Prompt: Upon toggling the hotspot switch to disable the feature, your Galaxy S10 may prompt you to confirm the deactivation of the hotspot. This confirmation step ensures that you intentionally disable the hotspot, preventing accidental deactivation and ensuring that the internet sharing capability is securely turned off.
-
Hotspot Status Indicator: Once the hotspot is successfully disabled, any visual indicator in the status bar, such as the hotspot or tethering symbol, will disappear. This serves as a visual confirmation that the hotspot feature is no longer active, and your Galaxy S10 is no longer broadcasting its Wi-Fi signal for other devices to connect.
By following these steps, you can effectively disable the hotspot feature on your Galaxy S10, ensuring that your device's resources are used efficiently and that the internet sharing capability is securely deactivated when not in use. Whether you've finished sharing the connection with other devices, or you simply want to conserve battery life, disabling the hotspot provides a seamless way to manage your device's internet sharing functionality with ease.
Conclusion
In conclusion, harnessing the power of your Galaxy S10 as a portable Wi-Fi hotspot opens up a world of connectivity possibilities, allowing you to share your device's internet connection with other devices seamlessly. By following the step-by-step instructions outlined in this guide, you've gained the knowledge and confidence to access the hotspot settings, enable the hotspot, configure its settings, connect devices to the hotspot, and efficiently disable the feature when not in use.
The ability to access the hotspot settings on your Galaxy S10 provides a gateway to personalized internet sharing, enabling you to tailor the hotspot name, set a secure password, and explore advanced settings to align with your specific requirements. With the hotspot enabled, your Galaxy S10 becomes a reliable wireless access point, empowering other devices to connect and utilize its internet connectivity for various online activities.
Configuring the hotspot settings allows you to create a personalized and secure environment for sharing your device's internet connection. By customizing the hotspot name, setting a strong password, and exploring advanced settings, you can ensure that the connected devices have a seamless and protected connection, enhancing the overall internet sharing experience.
Connecting devices to the hotspot created by your Galaxy S10 is a straightforward process that enables other devices to benefit from your smartphone's internet connection. Whether you're sharing the connection with a friend's device, enabling internet access for work-related tasks, or staying connected while on the go, the hotspot functionality of your Galaxy S10 provides a convenient and reliable solution for internet sharing.
Finally, disabling the hotspot when not in use ensures efficient use of your device's resources and securely deactivates the internet sharing capability. Whether you've finished sharing the connection with other devices or simply want to conserve battery life, the ability to seamlessly manage the hotspot feature on your Galaxy S10 reflects the device's versatility and user-friendly functionality.
By mastering the process of using your Galaxy S10 as a hotspot, you've unlocked a valuable feature that enhances your connectivity options, allowing you to stay connected wherever you go. Whether you're in a café, on a road trip, or in a location with limited Wi-Fi access, your Galaxy S10 serves as a reliable companion, providing a portable Wi-Fi hotspot that keeps you and your other devices connected with ease.