Introduction
Welcome to our comprehensive guide on how to install a UPS battery! A UPS (Uninterruptible Power Supply) is a critical piece of equipment that provides backup power to your electronic devices during power outages or fluctuations. While UPS systems are designed to be reliable, the batteries inside them may wear out over time and need to be replaced. Installing a new UPS battery is a relatively simple process that you can do on your own with just a few tools and some basic knowledge.
In this guide, we will walk you through the step-by-step process of installing a UPS battery, ensuring that your devices remain protected and your data remains safe. We will cover everything you need to know, from gathering the necessary tools to safely handling the installation process. By the end of this guide, you will be equipped with the skills and knowledge to replace the UPS battery with confidence.
Before we dive into the installation process, it is important to note that safety should always be your top priority. Make sure to follow the safety precautions outlined in this guide, including turning off and unplugging the UPS before making any changes. Additionally, if you are unsure about any steps or encounter any difficulties during the installation process, it is recommended to consult the manufacturer’s instructions or seek professional assistance.
Now, let’s get started with the first step – gathering the necessary tools and materials for the UPS battery installation.
Step 1: Gather the necessary tools and materials
Before you begin the UPS battery installation process, you will need to collect a few essential tools and materials. Having these items ready will ensure a smooth and efficient installation experience. Here’s what you will need:
- New UPS battery: Make sure to purchase a compatible UPS battery that matches the specifications of your UPS system. Check the manufacturer’s guidelines or consult the user manual to ensure you select the correct battery.
- Phillips screwdriver: This will be required to remove any screws or fasteners holding the UPS battery compartment. Ensure you have the appropriate size for your specific UPS model.
- Antistatic wrist strap (optional): While not mandatory, an antistatic wrist strap can help protect the UPS and your new battery from electrostatic discharge during the installation.
- Clean cloth or towel: Use a soft cloth or towel to wipe down the UPS and battery compartment, ensuring there is no dust or debris that may impact the performance of the new battery.
- Work gloves (optional): If you prefer to have extra protection for your hands, work gloves can be used during the installation process. This is especially helpful if the battery compartment is in a tight or confined space.
It is important to note that the specific tools and materials required may vary depending on the make and model of your UPS system. Refer to the manufacturer’s guidelines or user manual for any additional recommendations or requirements.
Once you have gathered all the necessary tools and materials, you are ready to move on to the next step – taking the appropriate safety precautions before starting the UPS battery installation.
Step 2: Safety precautions
Before you begin the UPS battery installation, it is crucial to prioritize safety to protect yourself and avoid any potential damage to the UPS system. Follow these safety precautions:
- Turn off and unplug the UPS: Ensure that the UPS is turned off and unplugged from the electrical outlet before you start working on it. This will minimize the risk of electric shock or damage to the equipment.
- Wear appropriate protective gear: Consider wearing safety glasses and, if necessary, work gloves to protect yourself during the installation process. This is especially important if there are any sharp edges or tight spaces in the battery compartment.
- Handle the UPS with care: UPS systems are delicate electronic devices, so avoid dropping or mishandling them. Be cautious while moving and opening the UPS to prevent any damage to the internal components.
- Avoid touching exposed wires or terminals: When removing or installing the UPS battery, avoid direct contact with any exposed wires or terminals to prevent electric shocks or short circuits.
- Keep the installation area clean: Ensure that the area where you’re working is clean and free from any liquid spills, debris, or other hazards that could potentially interfere with the installation process or compromise safety.
Following these safety precautions will minimize the risk of accidents, injury, or damage during the UPS battery installation. Remember, if you are unsure about any step or are facing difficulties, it is always wise to consult the manufacturer’s instructions or seek professional assistance.
Now that you have taken the necessary safety precautions, it’s time to move forward and identify the UPS battery location in the system.
Step 3: Identify the UPS battery location
Before you can start replacing the UPS battery, it’s essential to locate its position within the UPS system. Here’s how to identify the UPS battery location:
1. Consult the manufacturer’s documentation: Review the user manual or any documentation that came with the UPS system. Look for specific instructions or illustrations that indicate the battery’s location. You may find this information under a section titled “Replacing the Battery” or “Battery Installation.”
2. Examine the external features: Inspect the UPS system’s exterior for any visible signs of the battery compartment. Some UPS models have an easily accessible battery compartment located on the front or rear panel. On other systems, the battery may be concealed within the main body of the UPS.
3. Check for battery compartment indicators: Some UPS systems have visual indicators, such as labels, arrows, or icons, that point to the battery compartment’s location. Look for any markings that denote the presence of a battery or indicate where it can be found.
4. Look for battery access panels or doors: In some UPS models, the battery compartment is concealed by a panel or door. Carefully inspect the UPS system for any removable panels or doors that may provide access to the battery. These panels are often secured by screws or latches.
5. Refer to online resources: If you’re still unable to locate the UPS battery, consider visiting the manufacturer’s website or searching for online support forums or videos related to your specific UPS model. These resources may provide additional guidance or visual aids to help you find the battery compartment.
Once you have successfully identified the UPS battery’s location, you are ready to proceed to the next step. Remember to exercise caution when handling the UPS system to avoid accidental damage.
Step 4: Turn off the UPS and unplug it
Before you begin the UPS battery replacement process, it is essential to turn off the UPS and disconnect it from the power source. Follow these steps to safely power down and unplug the UPS:
1. Save your work and shut down connected devices: If your UPS is currently providing power to any connected devices, save any open files and safely shut down those devices. This will prevent any data loss or damage to the equipment during the power-off process.
2. Turn off the UPS unit: Locate the power button or switch on the UPS and press it to turn off the system. Depending on the model, the power button may be located on the front, top, or rear panel of the UPS unit. Refer to the user manual if you are unsure about the location of the power button.
3. Disconnect the power cord: Once the UPS is powered off, unplug the power cord from the wall outlet or power strip. This will ensure that no electrical current is running through the UPS, reducing the risk of electric shock during the battery replacement.
4. Verify that the UPS is completely powered off: After disconnecting the power cord, wait for a few seconds to ensure that all residual power is discharged from the UPS unit. This will help prevent any unintended electrical discharges during the battery installation.
It is crucial to follow these steps carefully to ensure your safety and prevent any potential damage to the UPS or connected devices. Remember, if you are unsure about any step or have concerns, refer to the manufacturer’s instructions or seek assistance from a professional.
With the UPS unit powered off and unplugged, you can now proceed to the next step – opening the UPS battery compartment.
Step 5: Open the UPS battery compartment
Now that the UPS is safely powered off and unplugged, it’s time to open the battery compartment. Follow these steps to access the UPS battery:
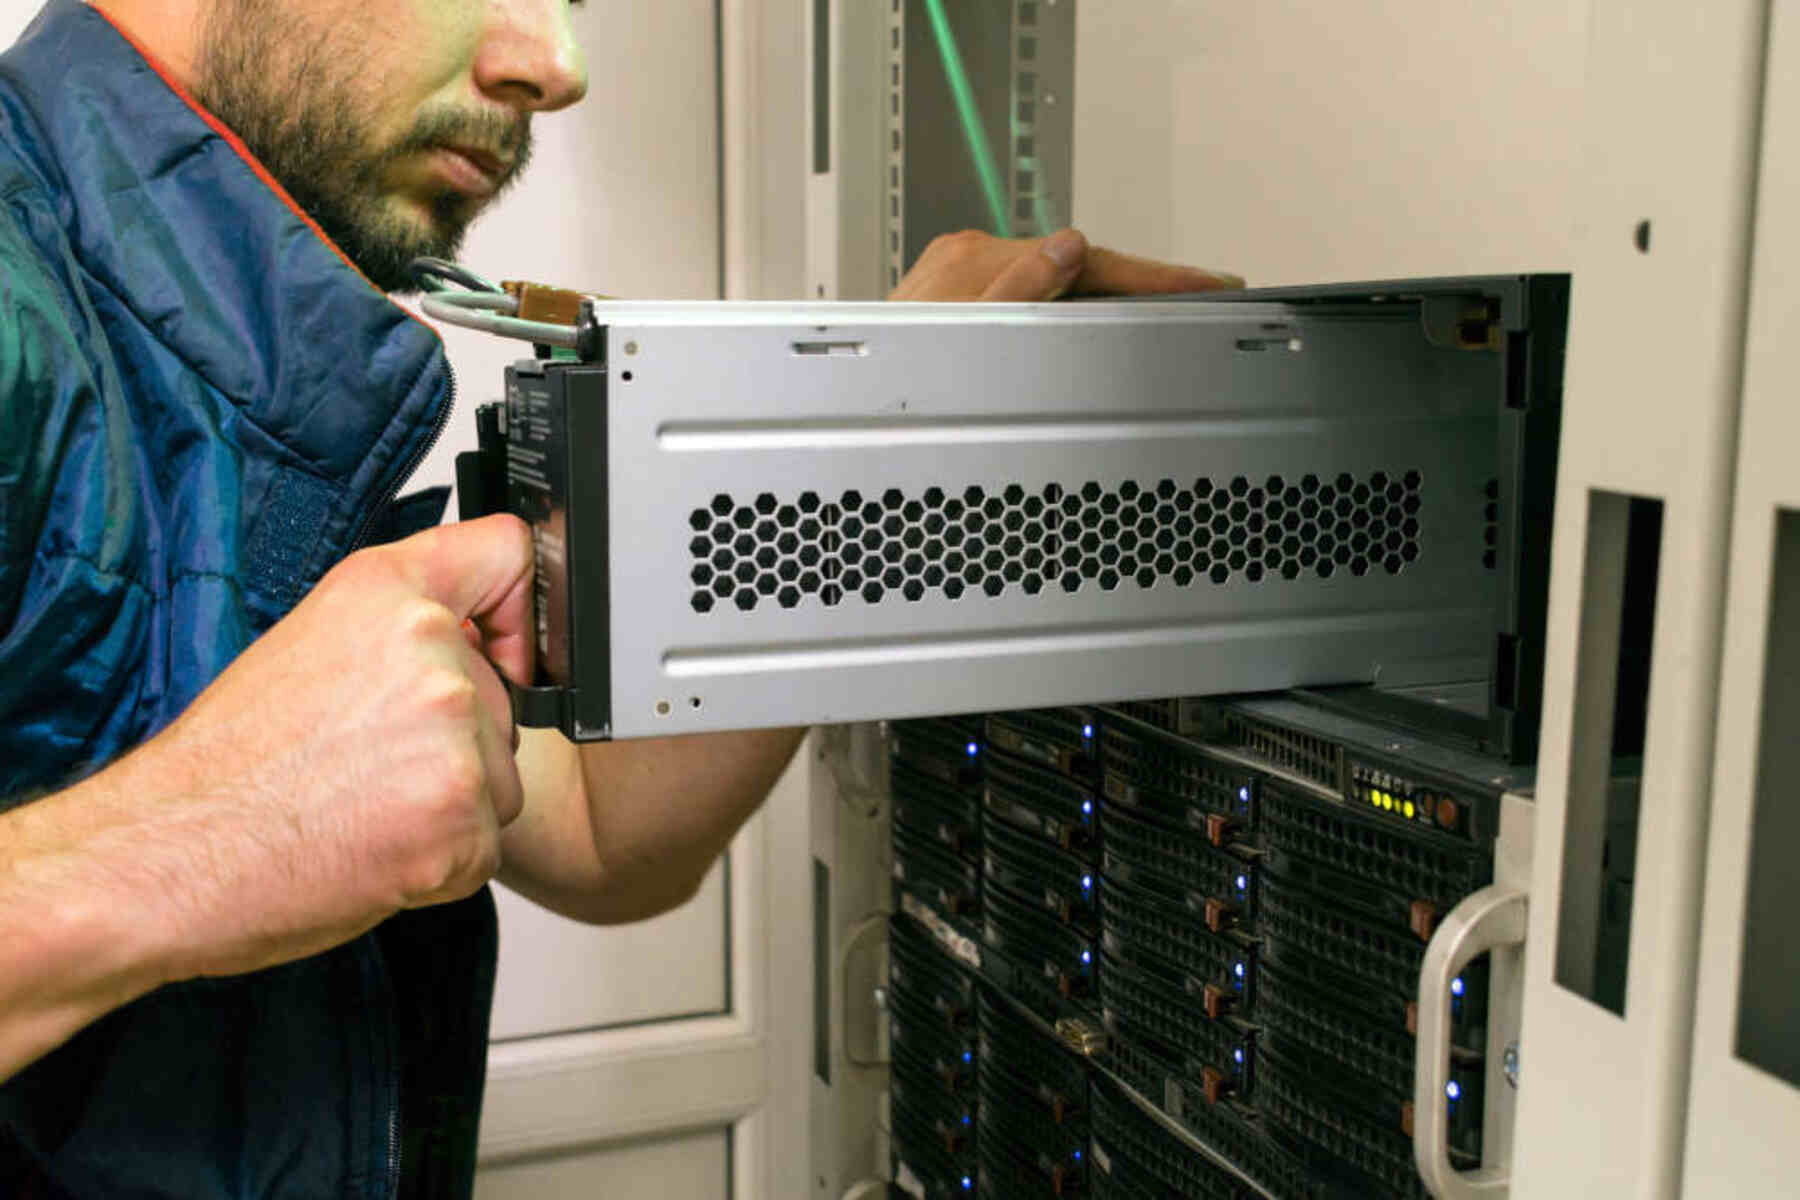
1. Locate the battery compartment: Refer to the manufacturer’s documentation or the visual indicators you identified in the previous step to find the UPS battery compartment. This may be a removable panel, a hinged door, or a slide-out tray, depending on the UPS model.
2. Remove any screws or fasteners: If the battery compartment is secured with screws, use a suitable Phillips screwdriver to remove them. Set the screws aside in a safe place to prevent loss.
3. Open the battery compartment: Once the screws or fasteners have been removed, carefully open the battery compartment. Be gentle and take note of any hinges or release mechanisms that may need to be disengaged to fully access the battery.
4. Inspect the interior: As you open the battery compartment, take a moment to visually inspect the area. Look for any signs of corrosion, loose connections, or damage to the battery or wiring. If you notice any issues, it may be necessary to contact the manufacturer or seek professional assistance before proceeding.
It’s important to handle the battery compartment with care during this step to avoid causing any damage to the UPS system or its components. If you encounter any difficulties or are unsure about any aspects of opening the battery compartment, refer to the manufacturer’s documentation or seek guidance from an expert.
With the UPS battery compartment open, you’re now ready to move on to the next step – removing the old UPS battery.
Step 6: Remove the old UPS battery
With the UPS battery compartment open, it’s time to remove the old battery. Follow these steps to safely and properly remove the old UPS battery:
1. Take note of the battery’s orientation: Before disconnecting any cables or wires, observe how the old battery is positioned within the compartment. Note the placement of the positive (+) and negative (-) terminals, as well as any connecting cables or harnesses.
2. Disconnect any cables or harnesses: Carefully detach the cables or harnesses that are connected to the old battery. Start by disconnecting the negative (-) cable, followed by the positive (+) cable. Depending on the model, you may need to use a small screwdriver or pliers to loosen the connectors or terminals.
3. Remove the old battery: Once all the cables are disconnected, gently lift the old battery out of the compartment. Be mindful of its weight and handle it with care to prevent any spills or damage. Place the old battery aside in a safe and designated area for proper disposal later.
4. Inspect the battery compartment and connections: With the old battery removed, take a moment to inspect the interior of the battery compartment. Check for any debris, corrosion, or loose connections. If necessary, use a clean, soft cloth to wipe away any dust or dirt and ensure a clean working environment for the new battery.
It’s important to adhere to proper safety practices while handling the old battery, as it may contain hazardous materials. Avoid touching any exposed terminals or leaking fluids, and always exercise caution when lifting or moving the battery.
Once the old UPS battery has been safely removed, you can proceed to the next step – preparing the new UPS battery for installation.
Step 7: Prepare the new UPS battery
Now that the old UPS battery has been removed, it’s time to prepare the new battery for installation. Proper preparation ensures a smooth and successful replacement process. Follow these steps to prepare the new UPS battery:
1. Verify compatibility: Double-check that the new UPS battery is compatible with your UPS system. Ensure that it matches the recommended specifications, including voltage, capacity, and form factor. Consult the manufacturer’s guidelines or user manual to confirm the compatibility.
2. Inspect the new battery: Carefully examine the new UPS battery for any visible damage or defects. Look for signs of leakage, bulging, or corrosion on the terminals or casing. If you notice any issues, contact the manufacturer or your supplier to seek a replacement unit.
3. Check the installation instructions: Review any provided instructions or guidelines that come with the new UPS battery. Familiarize yourself with any specific requirements or recommendations for the installation process. This will help ensure a proper and secure fit within the battery compartment.
4. Handle the new battery with care: When handling the new UPS battery, exercise caution to prevent any damage. Avoid touching the terminals directly and hold the battery by its edges or handle (if applicable). This will help prevent electrostatic discharge or accidental short-circuits.
5. Clean the battery compartment contacts (if necessary): If you notice any dirt or corrosion on the battery compartment contacts, use a clean, lint-free cloth or a small brush to gently remove it. Ensure that the contacts are clean and free from any debris before installing the new battery.
Taking the time to properly prepare the new UPS battery will ensure a secure and reliable installation. By following these steps, you’ll be ready to proceed to the next step – installing the new UPS battery.
Step 8: Install the new UPS battery
Now that the new UPS battery is prepared, it’s time to install it into the UPS system. Follow these steps to correctly install the new battery:
1. Position the new battery: Carefully lower the new UPS battery into the battery compartment, paying attention to its orientation. Match the positive (+) and negative (-) terminals of the battery with the corresponding connectors or terminals in the compartment.
2. Connect the cables: Begin by reconnecting the positive (+) cable to the corresponding terminal on the new battery. Ensure a secure connection by tightening the connector or terminal. Next, reconnect the negative (-) cable in the same manner.
3. Verify the connection: Double-check that both the positive and negative connections are secure and tight. Ensure that there is no excessive play or movement in the cables, as this can lead to poor electrical contact or disconnection.
4. Close the battery compartment: If the battery compartment has a panel, door, or lid, carefully close and secure it. If any screws or fasteners were removed earlier, use a Phillips screwdriver to reattach them, ensuring a tight fit.
5. Test the battery installation: Before proceeding with further steps, plug in the UPS system and turn it on. Verify that the new battery is functioning properly by checking the battery status indicators or monitoring the display on the UPS. If any issues are detected, refer to the manufacturer’s documentation or seek professional assistance.
It’s important to be gentle and avoid any unnecessary force during the installation process to prevent damage to the new battery or the UPS system. Take your time to ensure proper alignment and connection of the battery.
With the new UPS battery successfully installed and verified, you’re ready to move on to the next step – closing the UPS battery compartment securely.
Step 9: Close the UPS battery compartment
After successfully installing the new UPS battery, it’s important to securely close the battery compartment to ensure proper functioning and protection. Follow these steps to close the UPS battery compartment:
1. Align the battery compartment cover: If the battery compartment has a removable cover, align it carefully with the corresponding slots or hinges. Make sure the cover is correctly positioned before moving on to the next step.
2. Insert any screws or fasteners: If the battery compartment cover is secured with screws or fasteners, use a Phillips screwdriver to reinsert and tighten them. Ensure that the screws are snug, but avoid overtightening, as it may damage the cover or strip the screw threads.
3. Test the cover closure: Ensure that the battery compartment cover is securely closed by gently pressing on it or giving it a slight wiggle. It should not move or feel loose. If it does not close properly or feels unstable, double-check the alignment and connection of the cover.
4. Inspect for any gaps or openings: Take a moment to visually inspect the closed battery compartment for any gaps, misalignments, or openings. The compartment should be fully sealed to protect the battery and ensure proper functioning of the UPS.
5. Perform a final system check: Plug in the UPS and turn it on to verify that everything is functioning as expected. Monitor the UPS display or check the battery status indicators to ensure that the new battery is recognized and functioning properly.
By following these steps, you can securely close the UPS battery compartment, providing the necessary protection for the new battery. If you encounter any difficulties or notice any issues during this process, refer to the manufacturer’s documentation or consult a professional for assistance.
With the battery compartment closed and the UPS system operational, you have successfully completed the installation of the new UPS battery! Now you can proceed to the final step – plugging in and turning on the UPS.
Step 10: Plug in and turn on the UPS
With the UPS battery successfully installed and the battery compartment securely closed, it’s time to plug in the UPS and turn it on. Follow these steps to complete the UPS battery replacement process:
1. Locate the power cord: Ensure that the power cord of the UPS is easily accessible and free from any obstructions. If necessary, adjust the position of the UPS to provide easy access to an electrical outlet.
2. Plug in the UPS: Insert the power cord of the UPS into a working electrical outlet. Ensure that the outlet is properly grounded and can handle the power requirements of the UPS. Avoid overloading the outlet by plugging in too many devices.
3. Turn on the UPS: Locate the power switch or button on the UPS and press it to turn on the system. Depending on the model, the power switch may be located on the front, top, or rear panel. Refer to the user manual if you are unsure about the location of the power switch.
4. Monitor the UPS status: Once the UPS is turned on, monitor its status indicators or display to ensure that everything is functioning properly. Check for any error messages, warnings, or abnormal behavior. If any issues are detected, refer to the manufacturer’s documentation or seek professional assistance.
5. Perform a test run: To verify the functionality of the new UPS battery, consider performing a test run. Safely disconnect any connected devices from the UPS and monitor how the UPS performs during a simulated power outage or fluctuation. This will allow you to ensure that the UPS can provide the expected backup power when needed.
By following these steps, you can effectively plug in and turn on the UPS after replacing the battery. It’s important to closely monitor the UPS during the initial startup and perform any recommended tests to ensure that the system is fully operational.
Congratulations! You have completed the UPS battery installation process. Your electronic devices are now protected by a fresh battery, ready to provide backup power during unexpected power interruptions.
Conclusion
Replacing the UPS battery is a relatively straightforward process that can be accomplished with some basic tools, careful attention, and adherence to safety precautions. By following the step-by-step guide we’ve provided, you can successfully install a new UPS battery and ensure continued protection for your electronic devices.
We began by gathering the necessary tools and materials, including a new UPS battery and a Phillips screwdriver. Safety precautions were emphasized, stressing the importance of turning off and unplugging the UPS, wearing protective gear, and handling the UPS with care.
We then covered the steps to identify the UPS battery location, open the battery compartment, and safely remove the old battery. Preparing the new battery by verifying compatibility and inspecting for any damage or defects was also highlighted.
The installation process involved positioning the new battery correctly, connecting the cables securely, and closing the battery compartment. Finally, we discussed the crucial step of plugging in and turning on the UPS, ensuring that the UPS status indicators were monitored for proper functionality.
Remember, if you encounter any difficulties or have concerns during the UPS battery replacement process, consult the manufacturer’s documentation or seek assistance from a professional. Safety should always be a top priority!
By successfully installing a new UPS battery, you have taken an important step in protecting your electronic equipment from power outages and fluctuations. Regularly maintaining and replacing the UPS battery when necessary will help ensure the reliability and longevity of your UPS system.
Thank you for following our guide! We hope it has been helpful, and we wish you continued success in your endeavors to keep your devices powered and protected.


