Introduction
Accessing the admin page for your mobile hotspot is essential for managing and customizing its settings. Whether you want to change the network name, set a password, or modify other configurations, accessing the admin page provides you with the necessary control. This guide will walk you through the step-by-step process of accessing the admin page for your mobile hotspot, ensuring that you can easily navigate through the settings to optimize your hotspot's functionality.
Understanding how to access the admin page empowers you to personalize your mobile hotspot to suit your specific needs. By gaining access to the admin page, you can make adjustments to enhance security, improve network performance, and customize various features. This level of control allows you to tailor your mobile hotspot to your preferences, ensuring a seamless and secure internet connection.
Whether you're a novice user or someone experienced with technology, this guide will provide clear instructions for accessing the admin page of your mobile hotspot. By following the steps outlined in this guide, you can confidently navigate the admin page settings, making the most of your mobile hotspot's capabilities.
Now, let's delve into the step-by-step process of accessing the admin page for your mobile hotspot, enabling you to take full advantage of the customization options available to you.
Step 1: Connect to Your Mobile Hotspot
Before accessing the admin page for your mobile hotspot, the first step is to ensure that you are connected to the hotspot's network. This process involves establishing a connection between your device and the mobile hotspot, allowing you to access the admin page through a web browser. Here's a detailed walkthrough of this crucial initial step:
-
Turn on Your Mobile Hotspot: Begin by switching on your mobile hotspot device. Depending on the specific model, this may involve pressing a power button or activating the hotspot feature through the device's settings.
-
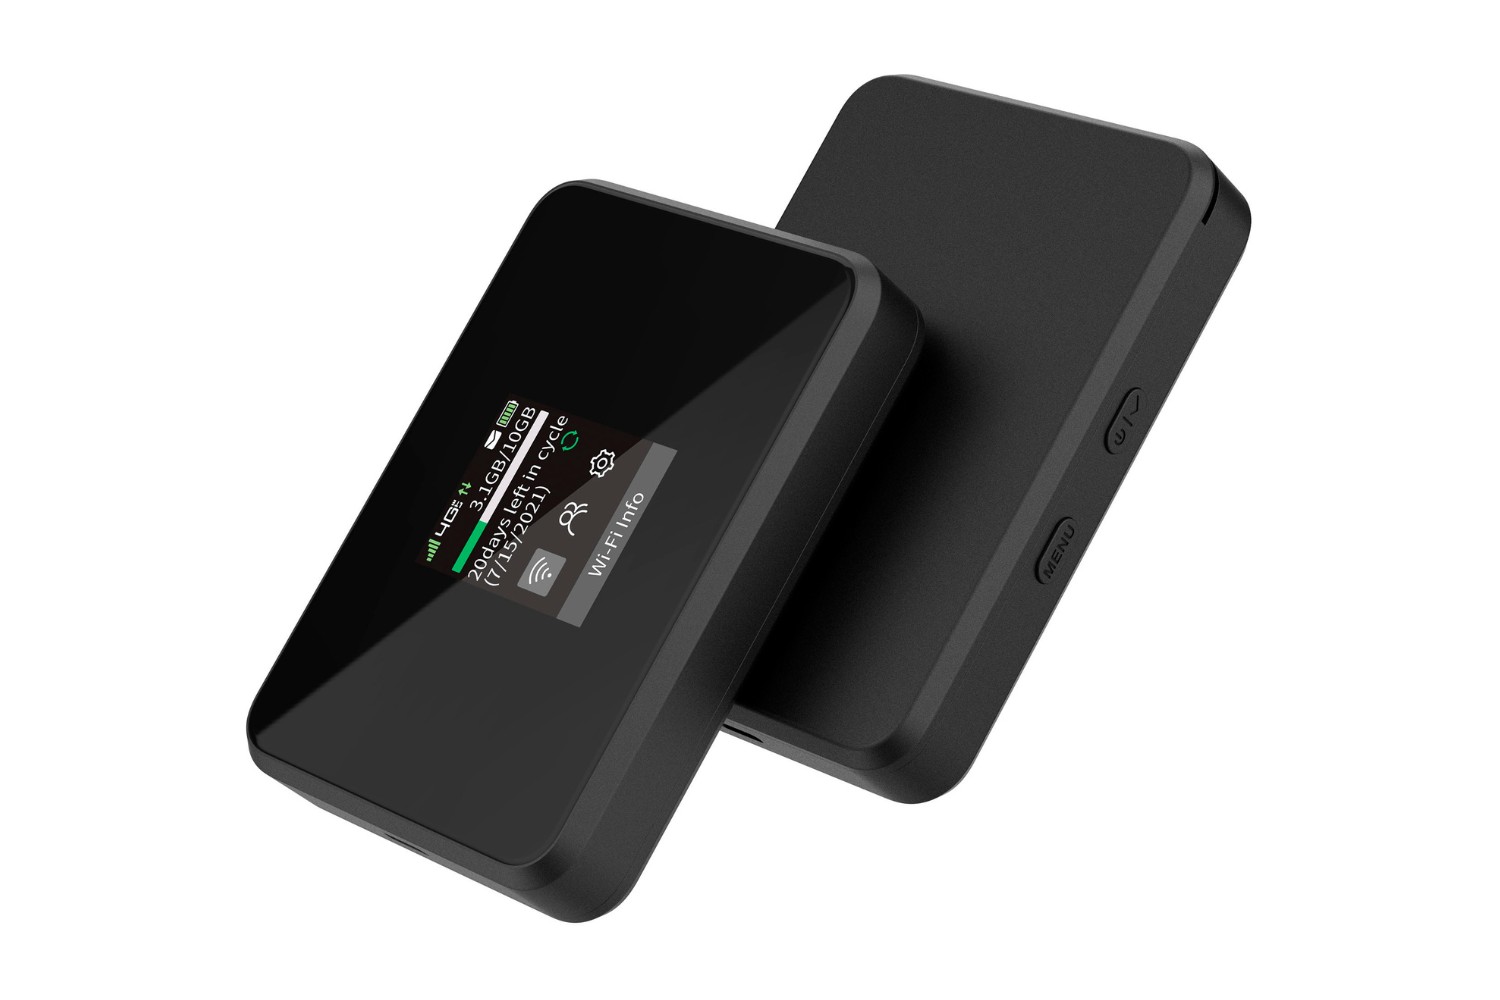
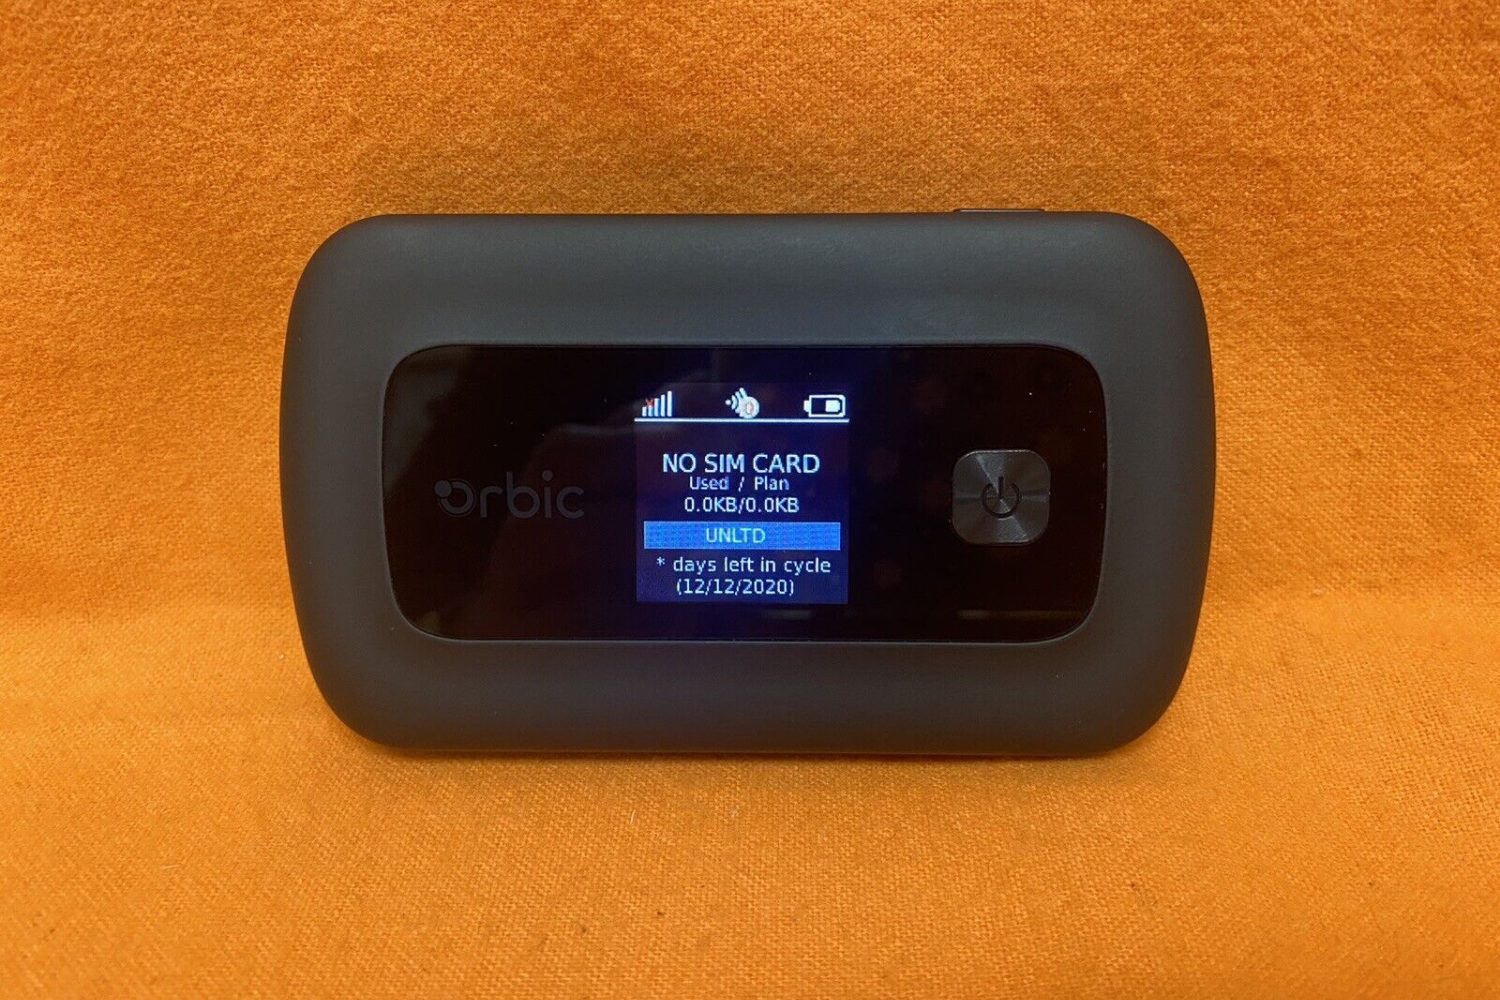
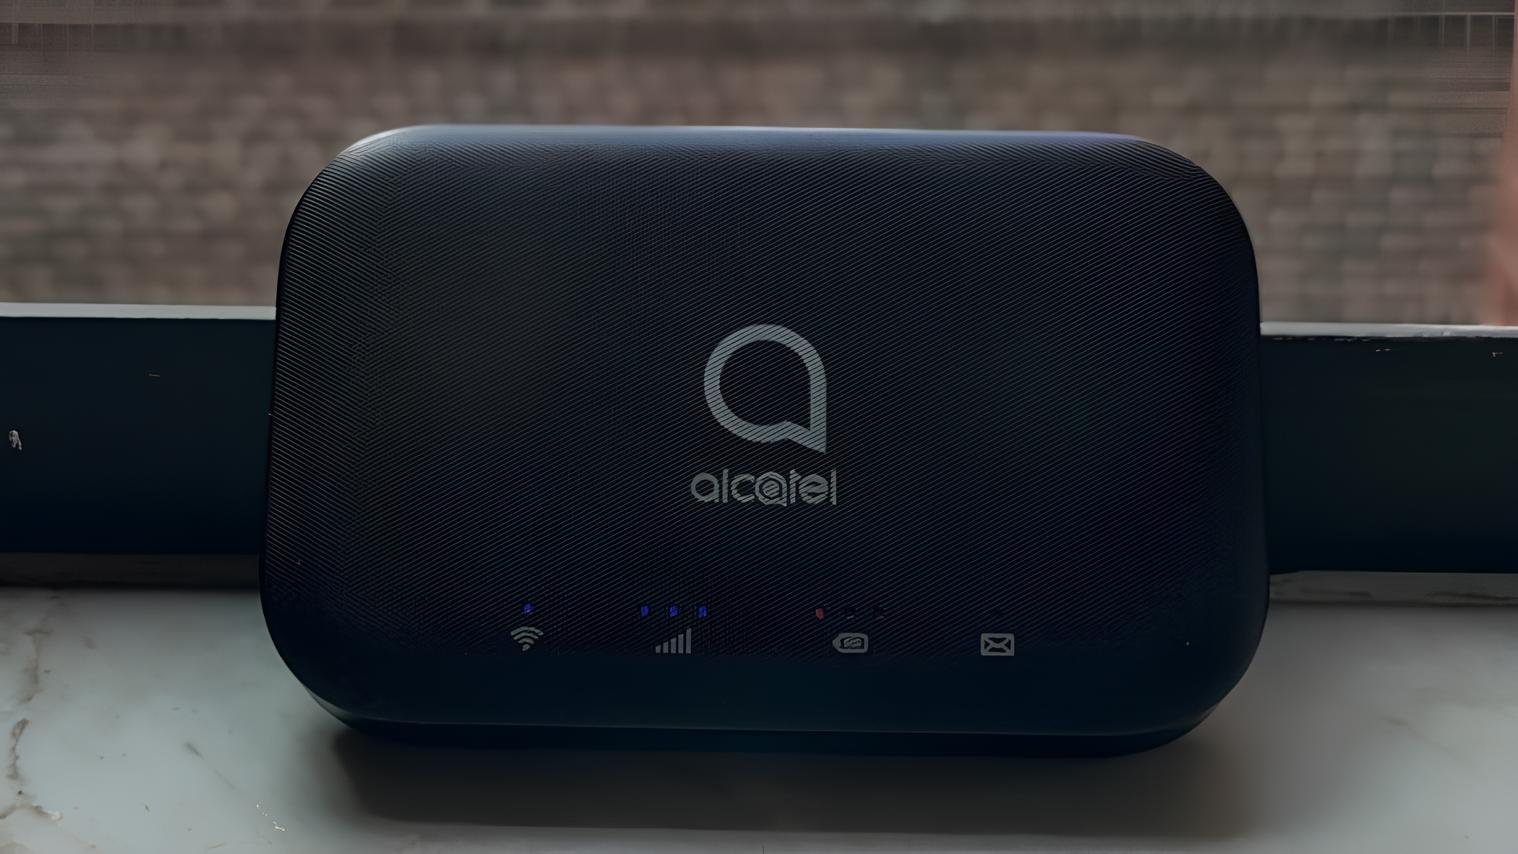
Locate the Network Name (SSID): Once the mobile hotspot is powered on, you need to identify the network name, also known as the Service Set Identifier (SSID). This is the name of the Wi-Fi network broadcasted by the hotspot. You can typically find the network name displayed on the hotspot device itself or in the device's user manual.
-
Connect Your Device: On the device you wish to use to access the admin page, navigate to the Wi-Fi settings and locate the list of available networks. Look for the network name (SSID) of your mobile hotspot and select it. If prompted, enter the network's password to establish a connection.
-
Establish a Stable Connection: Once you've selected the network and entered the correct password, your device will attempt to establish a connection with the mobile hotspot. After a successful connection, you should see a Wi-Fi symbol or indicator on your device's screen, confirming that you are now connected to the mobile hotspot's network.
-
Verify the Connection: To ensure that the connection is stable, open a web browser on your device and attempt to load a webpage. If the page loads without any issues, it indicates that you are successfully connected to the mobile hotspot and ready to proceed to the next step of accessing the admin page.
By following these steps, you can effectively connect your device to the mobile hotspot, laying the foundation for accessing the admin page and customizing the hotspot's settings to suit your preferences. This initial connection is essential for seamless access to the admin page, enabling you to make the most of your mobile hotspot's features and functionalities.
Step 2: Open Your Web Browser
After successfully connecting your device to the mobile hotspot, the next step is to open your web browser. This pivotal step allows you to initiate the process of accessing the admin page, where you can configure and customize various settings to optimize your mobile hotspot's performance.
-
Locate Your Web Browser Icon: On your device, navigate to the home screen or app drawer to locate the icon representing your web browser. Common web browsers include Google Chrome, Mozilla Firefox, Safari, Microsoft Edge, and Opera. Tap on the browser icon to launch the web browser application.
-
Ensure Network Connectivity: Before proceeding, ensure that your device is still connected to the mobile hotspot's network. Look for the Wi-Fi symbol or indicator on your device's screen to confirm the active connection. If the connection appears stable, you are ready to proceed with accessing the admin page.
-
Launch the Web Browser: Tap on the web browser icon to open the application. Upon launching the browser, you will be presented with the browser's homepage or the last viewed webpage, depending on your device's settings. If the browser prompts you to choose a search engine or enter a web address, proceed to the next step.
-
Enter the Admin Page Address: In the address bar of the web browser, type the specific web address or IP address required to access the admin page for your mobile hotspot. This address is typically provided in the user manual or documentation that accompanied your mobile hotspot device. It may resemble something like "http://192.168.1.1" or "http://admin.hotspot.com". Ensure that you accurately enter the address to avoid any errors in accessing the admin page.
-
Press Enter or Go: After entering the admin page address in the browser's address bar, press the "Enter" key on your device's keyboard or tap the "Go" button within the browser interface. This action instructs the browser to navigate to the specified address, initiating the process of accessing the admin page for your mobile hotspot.
By following these detailed steps, you can seamlessly open your web browser and proceed to enter the address required to access the admin page for your mobile hotspot. This sets the stage for the subsequent steps, allowing you to log in and navigate through the admin page settings to customize and manage your mobile hotspot with ease.
Step 3: Enter the Admin Page Address
Entering the admin page address is a critical step in the process of accessing and customizing the settings of your mobile hotspot. The admin page address, also known as the IP address or web address, serves as the gateway to the backend configuration interface of your hotspot device. This step-by-step guide will walk you through the process of entering the admin page address, ensuring that you can seamlessly proceed to the next stage of accessing and managing your hotspot's settings.
-
Retrieve the Admin Page Address: The admin page address is typically provided in the user manual or documentation that accompanies your mobile hotspot device. It may also be displayed on the hotspot device itself or within the device's settings menu. If you are unable to locate the admin page address, you can often find it by contacting the manufacturer's customer support or by visiting the official support website.
-
Open Your Web Browser: As outlined in the previous step, ensure that your web browser is open and ready for navigation. If you have not yet opened your web browser, refer to the instructions in Step 2 to launch the browser application on your device.
-
Type the Admin Page Address: In the address bar of your web browser, carefully type the admin page address that you retrieved in the first step. It is crucial to accurately enter the address to avoid any potential errors in accessing the admin page. The address may resemble a combination of numbers, such as "http://192.168.1.1," or it could be a specific web address, for example, "http://admin.hotspot.com." Take care to input the address exactly as provided to ensure seamless access to the admin page.
-
Press Enter or Go: After entering the admin page address in the browser's address bar, proceed to press the "Enter" key on your device's keyboard or tap the "Go" button within the browser interface. This action instructs the web browser to navigate to the specified address, initiating the process of accessing the admin page for your mobile hotspot.
By following these detailed steps, you can effectively enter the admin page address in your web browser, paving the way for accessing the admin page and gaining control over the customization and management of your mobile hotspot's settings. This crucial step sets the stage for logging in and navigating through the admin page interface, empowering you to tailor your hotspot to your specific preferences and requirements.
Step 4: Log in to the Admin Page
Upon successfully entering the admin page address in your web browser, you will be prompted to log in to the backend configuration interface of your mobile hotspot. This login process serves as a crucial security measure, ensuring that only authorized users can access and modify the settings of the hotspot. The login credentials are typically provided by the manufacturer or may have been customized by the user, depending on the specific configuration of the device.
Logging In:
-
Enter the Username and Password: The login screen will prompt you to enter your username and password. In most cases, the default login credentials are provided in the user manual or documentation accompanying the hotspot device. Common default usernames include "admin" or "user," while default passwords are often set to "admin," "password," or left blank. If you have customized the login credentials in the past, ensure that you enter the correct username and password to proceed.
-
Authenticate Your Identity: After entering the username and password, proceed to authenticate your identity by clicking the "Login" or "Submit" button on the login screen. This action verifies the provided credentials and grants access to the admin page if the login information is accurate. If the credentials are incorrect, you may encounter an error message prompting you to re-enter the login details.
-
Accessing the Admin Page: Upon successful authentication, you will gain access to the admin page of your mobile hotspot. This interface provides you with a comprehensive array of settings and configurations that allow you to customize various aspects of the hotspot's functionality. From network security and device management to advanced network settings, the admin page empowers you to tailor the hotspot to your specific requirements.
Customizing the Settings:
Once logged in, you can explore the admin page to customize a wide range of settings. This includes configuring the Wi-Fi network name (SSID), setting a secure password, managing connected devices, adjusting network preferences, and implementing advanced security measures such as firewall settings and access controls. The admin page serves as a centralized hub for managing all aspects of your mobile hotspot, ensuring that you have complete control over its operation and security.
By following the login process and gaining access to the admin page, you are equipped to make informed decisions regarding the configuration and management of your mobile hotspot. The ability to customize settings through the admin page empowers you to optimize the performance, security, and usability of your hotspot, creating a tailored and secure network environment that aligns with your specific needs and preferences.
Step 5: Accessing Admin Page Settings
After successfully logging in to the admin page of your mobile hotspot, you gain access to a comprehensive array of settings and configurations that allow you to customize various aspects of the hotspot's functionality. This step is crucial as it empowers you to tailor the hotspot to your specific requirements and make informed decisions regarding its configuration and management.
Upon accessing the admin page, you will encounter a user-friendly interface that provides access to a wide range of settings and controls. These settings typically include network management options, security configurations, device management features, and advanced network settings. Navigating through these settings allows you to optimize the performance, security, and usability of your mobile hotspot, creating a tailored and secure network environment that aligns with your specific needs and preferences.
Here are some key areas within the admin page settings that you can explore and customize:
1. Network Settings
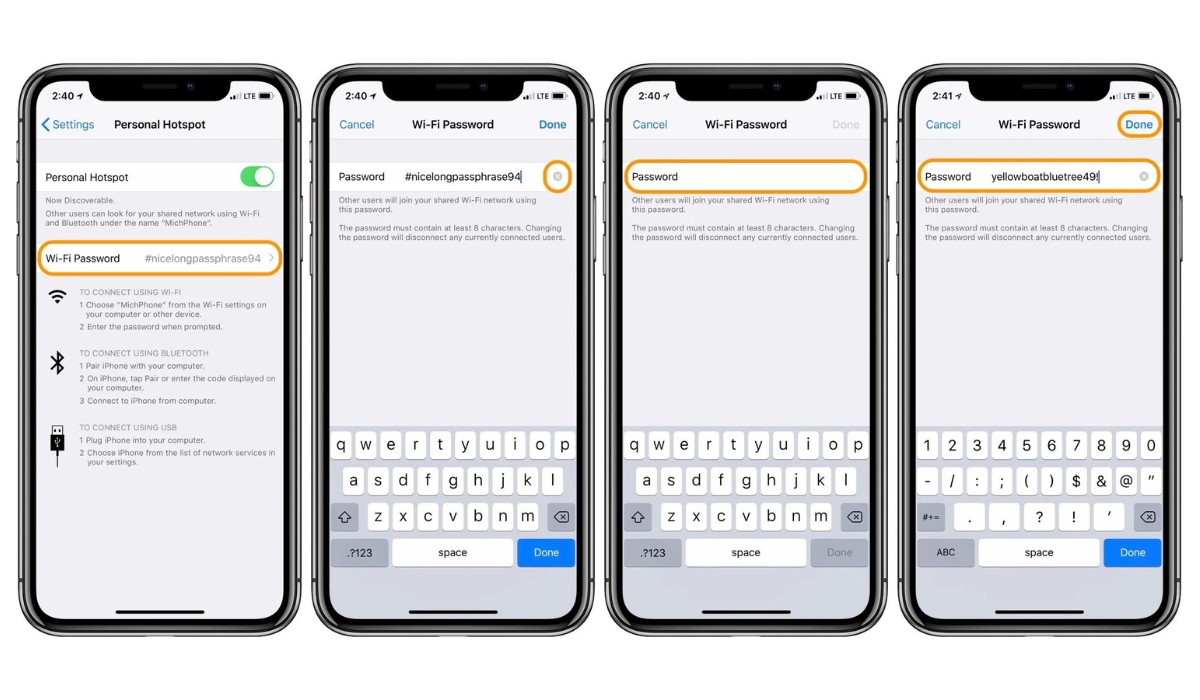
Within the network settings section, you can configure the Wi-Fi network name (SSID) and set a secure password to control access to the hotspot. Additionally, you may have the option to adjust the network mode, channel settings, and transmission power, allowing you to optimize the wireless network for improved coverage and performance.
2. Device Management
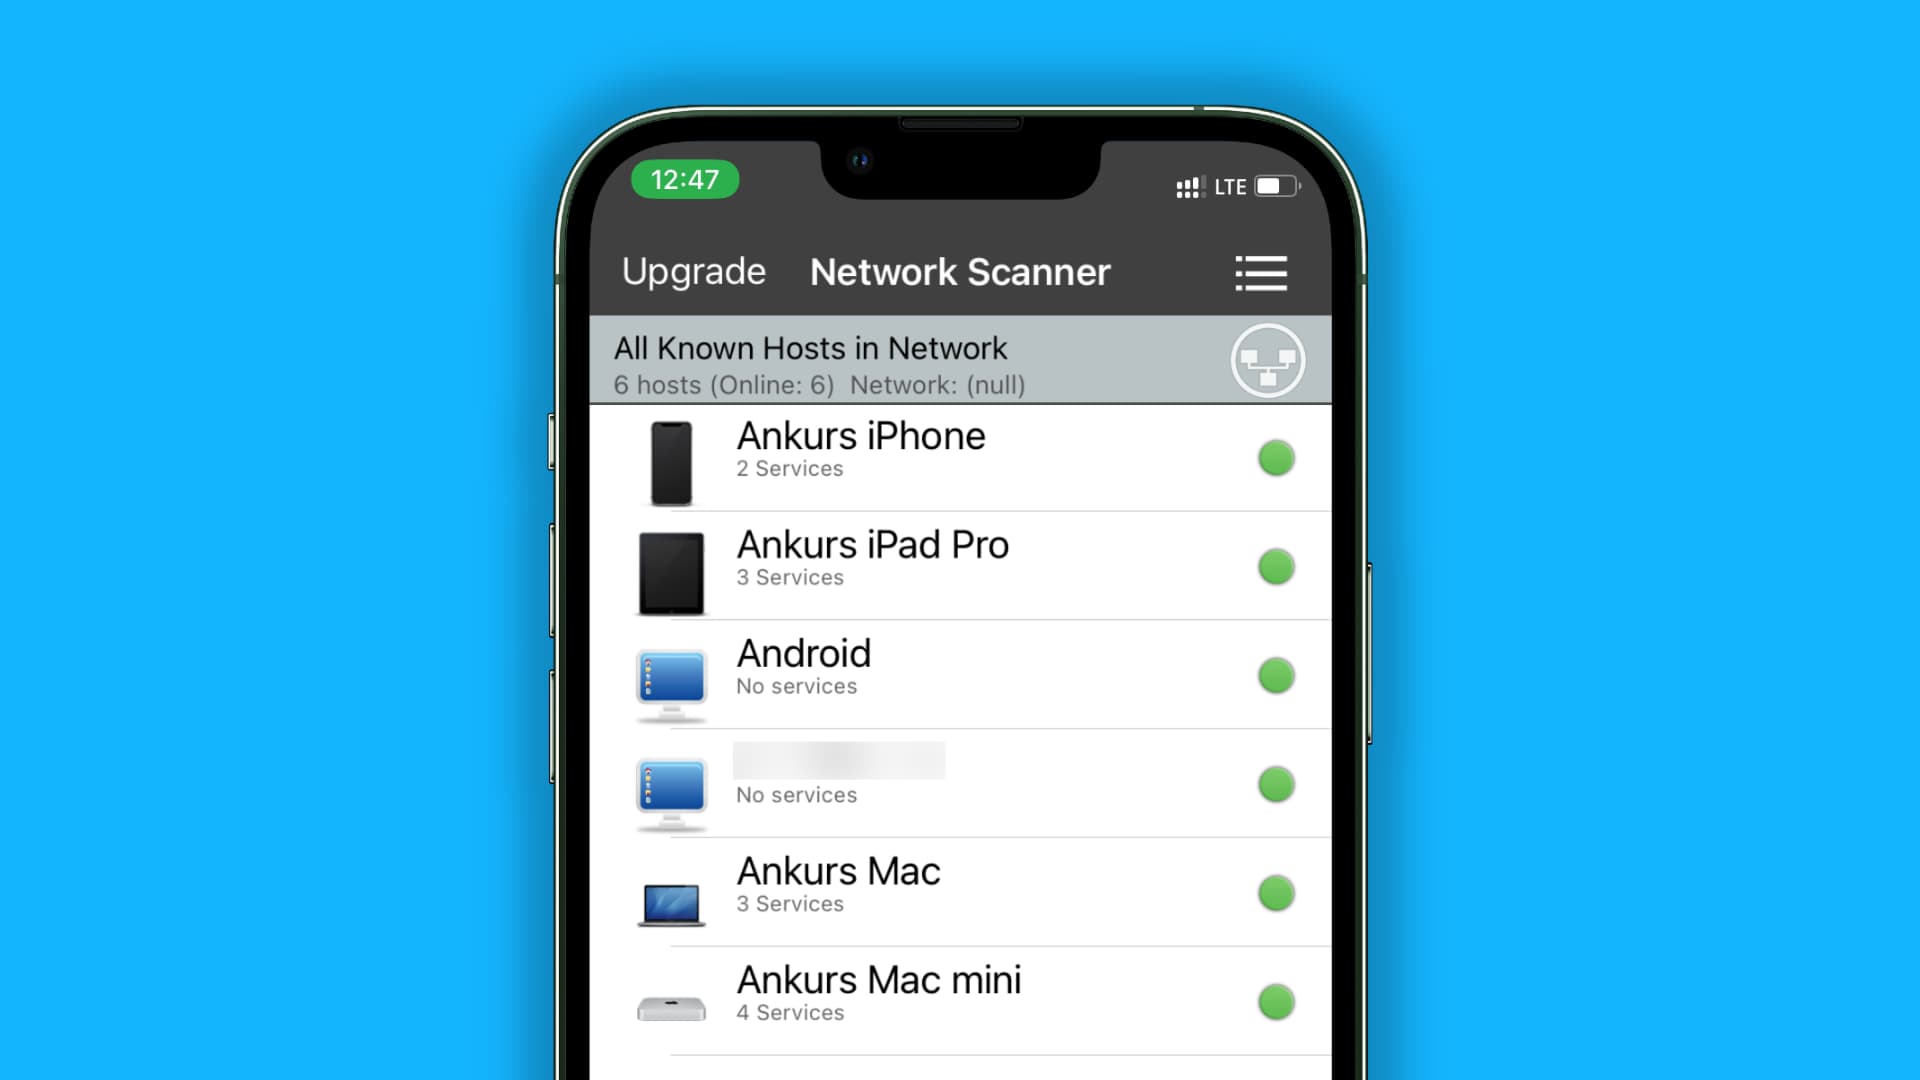
The admin page often includes features for managing connected devices, enabling you to view a list of devices currently connected to the hotspot. This functionality allows you to monitor and control the devices accessing the network, providing insights into usage patterns and the ability to manage access privileges as needed.
3. Security Configurations
Advanced security measures such as firewall settings, access controls, and encryption protocols are typically available within the admin page settings. By customizing these security configurations, you can enhance the protection of your network, safeguarding it against unauthorized access and potential security threats.
4. Network Preferences
You may have the option to adjust network preferences, including DHCP settings, IP address allocation, and DNS configurations. These preferences allow you to fine-tune the network's behavior and optimize its compatibility with your specific devices and applications.
5. Firmware Updates
The admin page often provides the capability to check for and install firmware updates for your mobile hotspot. Keeping the device's firmware up to date is essential for ensuring optimal performance, compatibility with new technologies, and addressing potential security vulnerabilities.
By exploring and customizing these settings within the admin page, you can take full advantage of the customization options available to you. This level of control empowers you to personalize your mobile hotspot, enhancing its performance, security, and overall functionality to create a network environment that meets your specific needs and preferences.


