Introduction
Connecting a headset to your Xbox One opens up a world of immersive gaming experiences, allowing you to communicate with friends, strategize with teammates, and truly become part of the action. Whether you prefer a wired or wireless headset, the process of setting up your audio device can vary, but the end goal remains the same: to enhance your gaming experience with clear and crisp audio.
In this guide, we will walk you through the steps to connect your headset to your Xbox One, covering both wired and wireless options. Additionally, we will explore how to adjust headset settings to ensure optimal audio quality and troubleshoot common issues that may arise during the setup process.
By the end of this comprehensive guide, you will have the knowledge and confidence to seamlessly integrate your preferred headset with your Xbox One, immersing yourself in the rich audio landscape of your favorite games. So, grab your headset, power up your Xbox One, and let's embark on this journey to elevate your gaming experience to new heights.
Checking Compatibility
Before diving into the process of connecting your headset to your Xbox One, it's crucial to ensure that your chosen headset is compatible with the console. Compatibility is the key to a seamless and frustration-free setup experience, allowing you to harness the full potential of your gaming audio. Here's how to confirm the compatibility of your headset with the Xbox One:
Wired Headset Compatibility:
If you're opting for a wired headset, the first step is to verify that it is designed to work with the Xbox One. Many wired headsets are explicitly labeled as compatible with the Xbox One, ensuring that they are equipped with the necessary connections and drivers to seamlessly integrate with the console. Additionally, some headsets may require an adapter to connect to the Xbox One controller, so be sure to check for any such requirements.
Wireless Headset Compatibility:
For wireless headsets, compatibility is equally important. Xbox One supports a range of wireless headsets that utilize different connectivity methods, such as Bluetooth or proprietary wireless technology. It's essential to confirm that your wireless headset is specifically designed for use with the Xbox One, ensuring that it can establish a stable wireless connection and deliver high-quality audio without any compatibility hiccups.
Officially Licensed Products:
To streamline the compatibility verification process, consider opting for officially licensed Xbox One headsets. These products are rigorously tested and certified by Microsoft to ensure seamless integration with the console, providing peace of mind that your headset is designed to deliver optimal performance and compatibility.
By taking the time to confirm the compatibility of your headset with the Xbox One, you can preemptively address any potential issues and embark on the setup process with confidence. Once you've verified the compatibility of your headset, you're ready to proceed to the next step: connecting your headset to your Xbox One and immersing yourself in the captivating audio landscape of your favorite games.
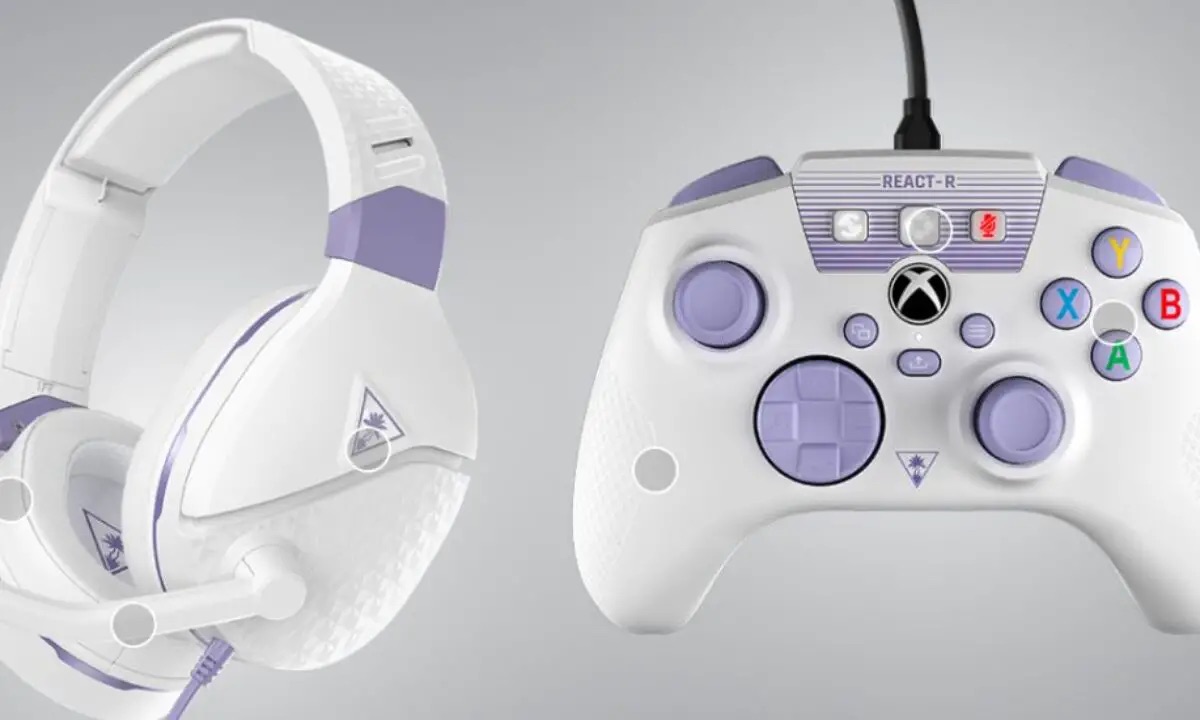
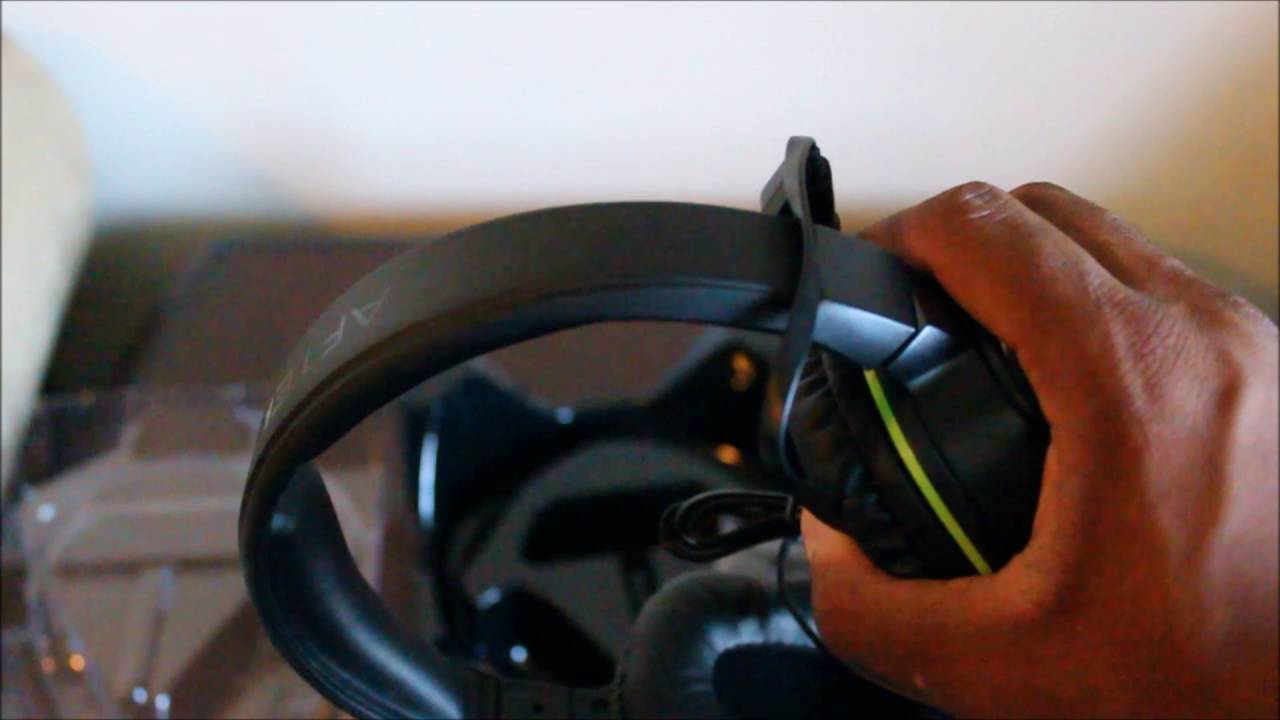
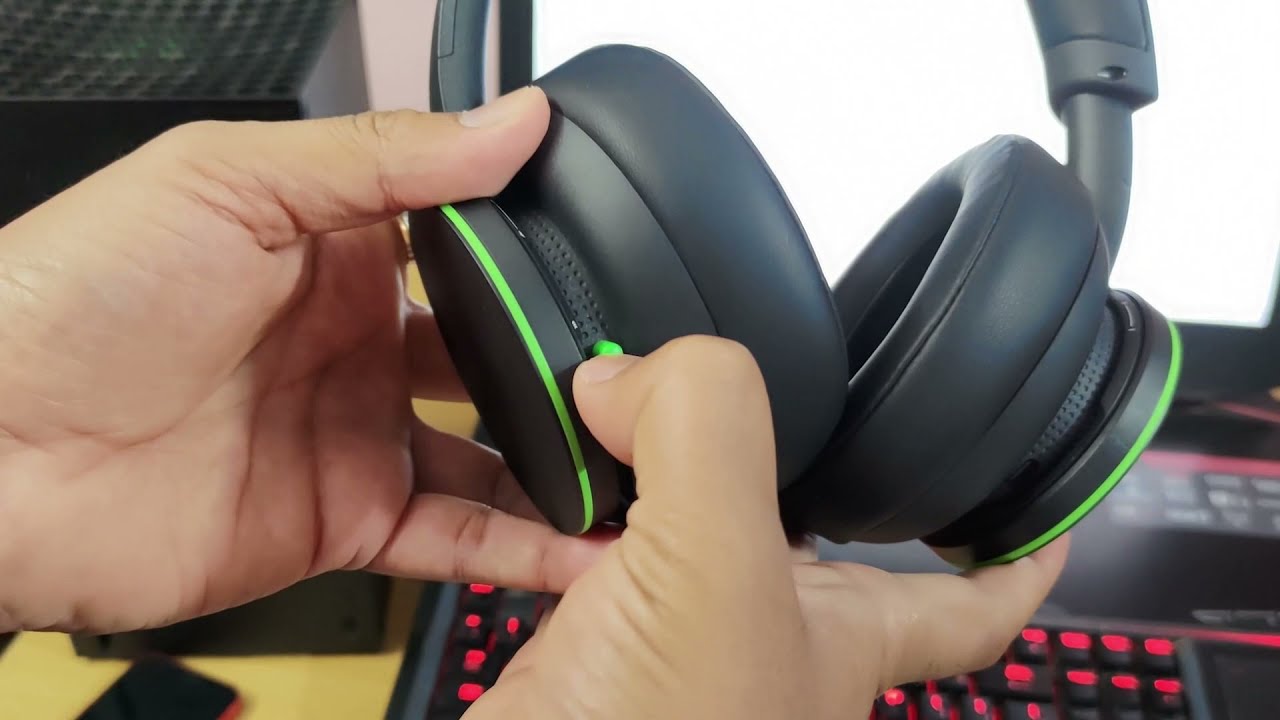
Connecting Wired Headset
Connecting a wired headset to your Xbox One is a straightforward process that allows you to enjoy high-quality audio without the need for additional wireless connectivity. Here's a detailed walkthrough of the steps involved in setting up your wired headset with the console:
-
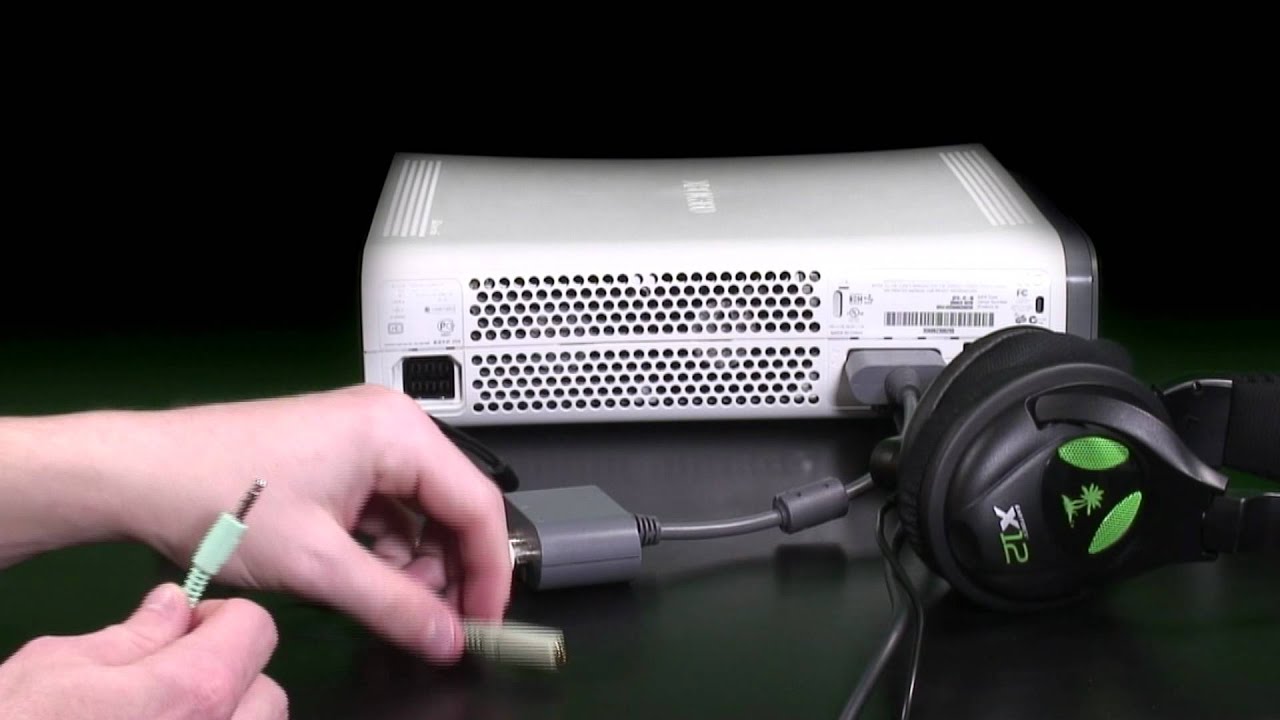
Check the Headset's Connection Type: Before initiating the connection process, it's essential to identify the type of connection supported by your wired headset. Most wired headsets for Xbox One utilize a 3.5mm audio jack, which can be directly plugged into the controller for seamless audio transmission. Ensure that your headset is equipped with the standard 3.5mm audio connector, which is compatible with the Xbox One controller's audio input.
-
Locate the 3.5mm Audio Jack on the Controller: The Xbox One controller features a built-in 3.5mm audio jack, typically located at the bottom of the controller. This dedicated audio port serves as the primary connection point for wired headsets, enabling direct audio input and output without the need for additional adapters or accessories.
-
Insert the 3.5mm Connector into the Controller: With the 3.5mm audio jack on the controller readily accessible, simply insert the 3.5mm connector from your wired headset into the corresponding audio port on the controller. Ensure a secure and snug connection to facilitate uninterrupted audio transmission between the headset and the console.
-
Adjust Headset Audio Settings: Once the wired headset is connected to the controller, navigate to the Xbox One's settings menu to configure the audio settings according to your preferences. You can adjust the headset volume, microphone sensitivity, and audio balance to create a personalized audio experience tailored to your gaming needs.
-
Test the Headset Audio: After completing the connection and adjusting the audio settings, it's advisable to conduct a brief audio test to ensure that the headset is functioning as intended. Launch a game or multimedia application and listen for clear and crisp audio output through the connected wired headset, confirming that the setup process was successful.
By following these steps, you can seamlessly connect your wired headset to your Xbox One, unlocking the immersive audio capabilities of your favorite games and enhancing your overall gaming experience. With the convenience of a wired connection, you can enjoy reliable audio transmission without the constraints of battery life or wireless interference, immersing yourself in the captivating audio landscape of your gaming adventures.
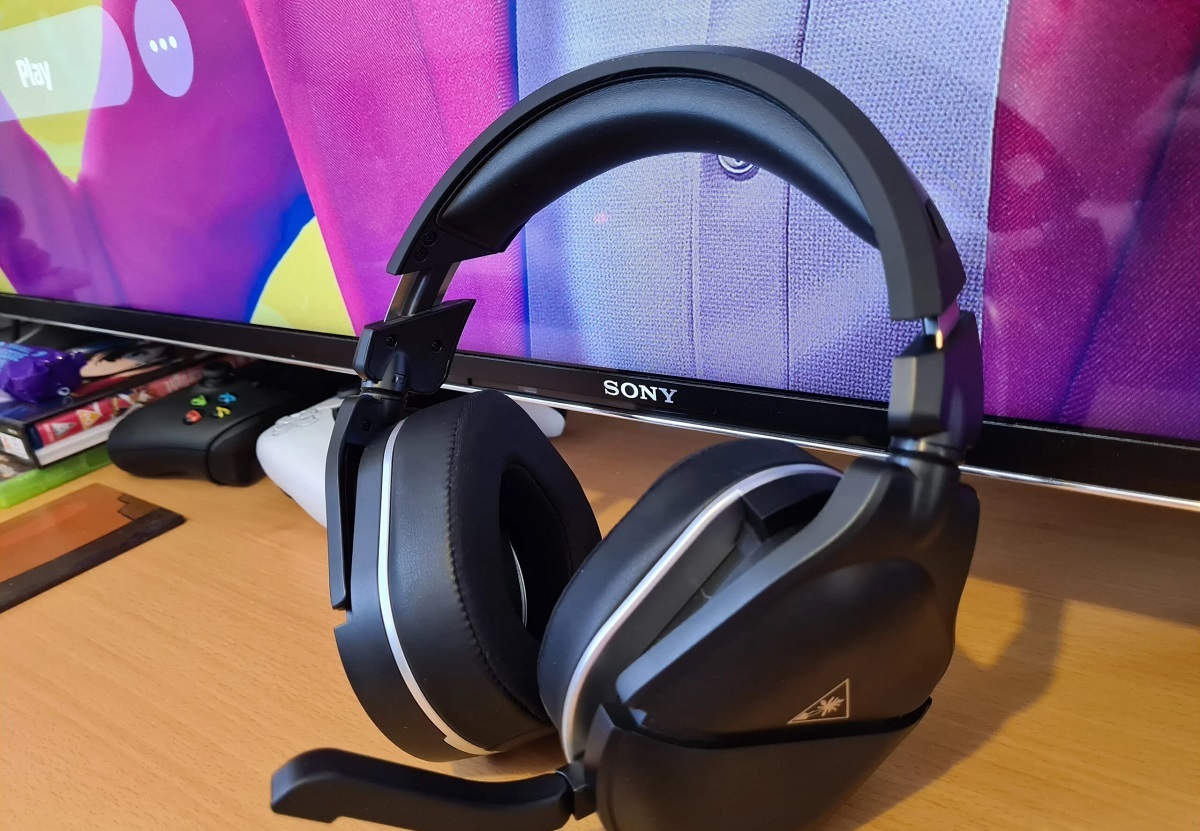
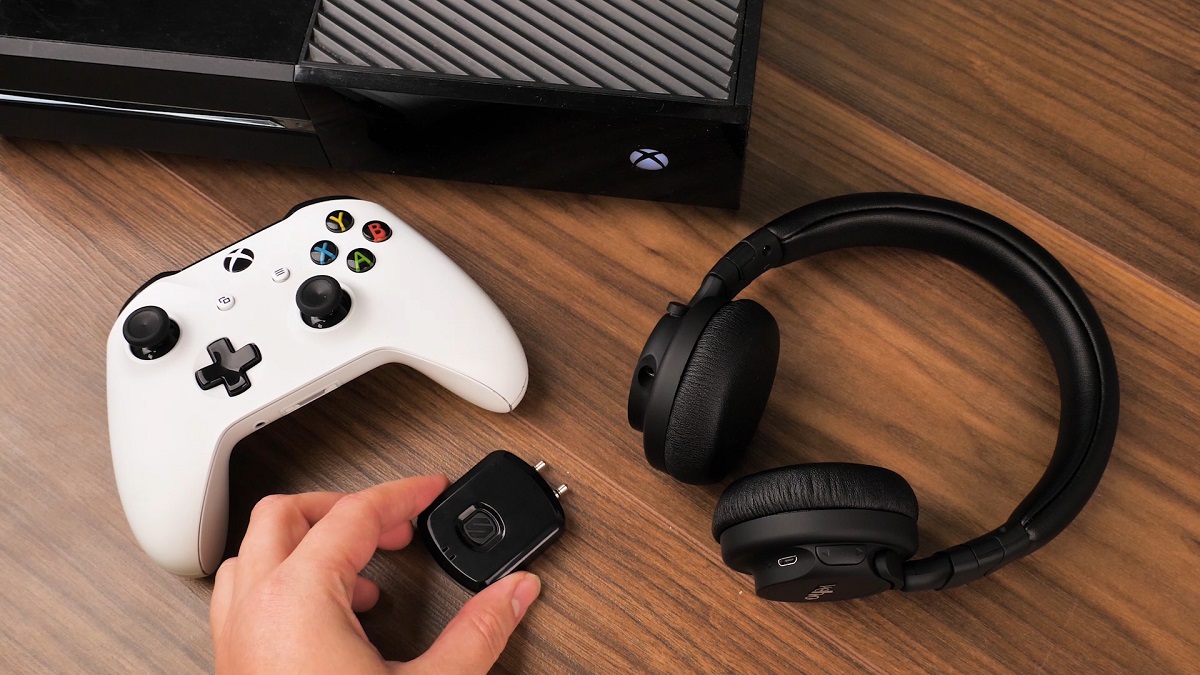
Connecting Wireless Headset
Connecting a wireless headset to your Xbox One introduces a new dimension of convenience and freedom, allowing you to enjoy immersive gaming audio without being tethered by cables. The process of setting up a wireless headset involves establishing a reliable wireless connection between the headset and the console, ensuring seamless audio transmission and a hassle-free gaming experience. Here's a comprehensive guide to connecting your wireless headset to your Xbox One:
-
Check Wireless Connectivity Method:
Before initiating the connection process, it's crucial to identify the wireless connectivity method utilized by your headset. Xbox One supports various wireless headset options, including those that utilize Bluetooth technology or proprietary wireless adapters. Ensure that your wireless headset is designed to establish a compatible wireless connection with the Xbox One, providing the foundation for uninterrupted audio transmission. -
Pairing the Wireless Headset:
Depending on the wireless connectivity method employed by your headset, the pairing process may vary. For Bluetooth-enabled headsets, initiate the pairing mode on the headset and navigate to the Xbox One's settings to discover and pair the headset with the console. If your wireless headset utilizes a proprietary wireless adapter, follow the manufacturer's instructions to establish a secure wireless connection between the headset and the Xbox One. -
Confirming Wireless Connection:
Once the pairing process is complete, verify that the wireless headset is successfully connected to the Xbox One. Check the console's audio settings to ensure that the wireless headset is recognized as the primary audio output device, facilitating seamless audio transmission during your gaming sessions. -
Adjusting Headset Audio Settings:
After establishing the wireless connection, navigate to the Xbox One's audio settings to customize the audio output according to your preferences. You can adjust the headset volume, microphone sensitivity, and audio balance to fine-tune the audio experience, ensuring optimal audio quality tailored to your gaming preferences. -
Testing the Wireless Headset:
To confirm the successful setup of your wireless headset, launch a game or multimedia application and listen for clear and immersive audio output through the connected headset. Conduct a brief audio test to ensure that the wireless connection facilitates seamless audio transmission, allowing you to fully immerse yourself in the captivating audio landscape of your gaming adventures.
By following these steps, you can seamlessly connect your wireless headset to your Xbox One, unlocking the freedom of wireless audio transmission and enhancing your gaming experience with immersive and high-quality audio. With the convenience of a wireless connection, you can enjoy unrestricted movement and audio clarity, immersing yourself in the rich audio environment of your favorite games.
Adjusting Headset Settings
Once your headset is successfully connected to your Xbox One, it's essential to fine-tune the headset settings to ensure an optimal audio experience tailored to your preferences. The ability to customize audio settings allows you to adjust the volume, microphone sensitivity, and audio balance, creating a personalized audio environment that enhances your overall gaming immersion.
Volume Adjustment
Adjusting the headset volume directly impacts the intensity of in-game audio, dialogue, and ambient sound effects. To modify the volume settings, navigate to the Xbox One's audio settings and locate the option to adjust headset volume. By fine-tuning the volume levels, you can achieve a balanced audio output that complements your gaming experience, whether you prefer thunderous explosions or subtle environmental nuances.
Microphone Sensitivity
For gamers who engage in multiplayer interactions or live streaming, optimizing microphone sensitivity is crucial. Fine-tuning the microphone sensitivity settings ensures that your voice is accurately captured without being distorted or muffled. Within the Xbox One's settings menu, explore the microphone sensitivity options to customize the input levels, allowing for clear and articulate communication with fellow players or audience members.
Audio Balance
The ability to adjust audio balance empowers you to prioritize specific audio elements based on your preferences. Whether you seek heightened environmental sounds or crystal-clear dialogue, the Xbox One's audio settings provide the flexibility to fine-tune the audio balance to suit your gaming style. By customizing the audio balance, you can create a sonic landscape that accentuates the aspects of gameplay that matter most to you.
Equalization (EQ) Settings
Some headsets offer built-in equalization (EQ) settings, enabling you to further refine the audio output based on predefined profiles or custom adjustments. Explore the EQ settings within your headset's companion app or the Xbox One's audio settings to access a range of audio presets or manual EQ adjustments. This feature allows you to enhance bass response, fine-tune treble frequencies, or optimize audio profiles for specific game genres, enriching your gaming audio with tailored EQ enhancements.
Surround Sound Configuration
For headsets that support surround sound technology, configuring the spatial audio settings can significantly elevate the immersive qualities of your gaming experience. Within the Xbox One's audio settings or the headset's companion app, explore the options for surround sound configuration, enabling you to harness the full potential of multi-directional audio cues and spatial awareness within games. By activating surround sound features, you can immerse yourself in a three-dimensional audio environment that heightens the realism and intensity of your gaming adventures.
By meticulously adjusting these headset settings, you can personalize your gaming audio experience to align with your preferences, creating an immersive and captivating auditory backdrop for your gaming endeavors. Whether you prioritize clear communication in multiplayer engagements or seek to immerse yourself in the rich audio tapestry of single-player narratives, the ability to fine-tune headset settings empowers you to tailor your audio experience to perfection.
Troubleshooting Common Issues
Even with careful setup, encountering technical hiccups is not uncommon when integrating a headset with your Xbox One. However, armed with troubleshooting knowledge, you can swiftly address common issues, restoring seamless audio functionality and ensuring an uninterrupted gaming experience.
1. Audio Distortion or No Sound Output:
If you encounter audio distortion or no sound output from your headset, begin by checking the physical connections. Ensure that the headset's audio cable or wireless adapter is securely connected to the Xbox One console or controller. Additionally, inspect the headset's audio jack or wireless receiver for any damage or debris that may impede proper connectivity. If using a wireless headset, verify that the batteries are adequately charged or the charging cable is connected to a power source.
2. Mic Sensitivity and Voice Capture Problems:
In scenarios where microphone sensitivity or voice capture quality is compromised, review the microphone settings within the Xbox One's audio menu. Adjust the microphone sensitivity levels to optimize voice capture without distortion or background noise interference. If using a wired headset, inspect the microphone boom for any physical damage or obstruction that may impact voice transmission. For wireless headsets, ensure that the wireless connection is stable to facilitate clear voice capture.
3. Wireless Interference and Connectivity Issues:
Wireless headsets may encounter connectivity issues due to interference from other wireless devices or environmental factors. To mitigate this, relocate potential sources of wireless interference, such as routers or other electronic devices, away from the headset and console. Additionally, ensure that the wireless headset's signal receiver is within optimal range of the Xbox One, minimizing the impact of signal degradation or disconnection.
4. Firmware Updates and Compatibility Checks:
Periodically check for firmware updates for your headset, as manufacturers often release updates to address compatibility issues and enhance performance. Utilize the manufacturer's official website or companion app to download and install the latest firmware for your headset, ensuring seamless integration with the Xbox One. Furthermore, confirm that the headset is compatible with the Xbox One's current system software version, as outdated firmware may lead to functional inconsistencies.
5. In-Game Audio Imbalance or Distorted Surround Sound:
When experiencing in-game audio imbalance or distorted surround sound, revisit the Xbox One's audio settings to recalibrate the audio balance and surround sound configurations. Adjust the equalization (EQ) settings, if available, to refine the audio output based on the specific nuances of your gaming environment. Additionally, consult the game's audio settings to ensure that in-game audio presets align with your headset's capabilities, optimizing the overall audio experience.
By proactively addressing these common issues and implementing targeted troubleshooting measures, you can swiftly overcome technical obstacles, restoring the seamless functionality of your headset and immersing yourself in the captivating audio landscape of your gaming adventures.