Introduction
Crafting lanyards is a delightful and practical way to express your creativity and make personalized accessories. Whether you're a seasoned crafter or a novice looking to explore a new hobby, making lanyards with three strings, also known as triplet crafting, offers a unique and rewarding creative outlet.
Lanyards serve a multitude of purposes, from holding identification badges and keys to adding a touch of personal flair to everyday items. By mastering the art of triplet crafting, you can create custom lanyards that reflect your individual style and preferences. The process of crafting lanyards with three strings involves braiding techniques that allow for endless variations in color, pattern, and texture, making each lanyard a one-of-a-kind creation.
Not only is triplet crafting a fun and enjoyable activity, but it also provides an opportunity to unleash your imagination and experiment with different materials and embellishments. From vibrant, multicolored designs to sleek and sophisticated monochromatic patterns, the possibilities for crafting unique lanyards are as diverse as the individuals creating them.
In this comprehensive guide, we will explore the step-by-step process of crafting lanyards with three strings, covering everything from selecting the right materials to adding personalized touches with beads or charms. Whether you're crafting lanyards for yourself, as gifts for friends and family, or to sell as part of a creative endeavor, this guide will equip you with the knowledge and skills to embark on a fulfilling lanyard-making journey.
With a blend of creativity, precision, and a dash of patience, you can transform ordinary strings into beautiful, functional lanyards that are sure to turn heads and serve a practical purpose in various settings. So, gather your crafting supplies, let your imagination run wild, and let's dive into the art of triplet crafting to create stunning lanyards that are as unique as you are.
Materials Needed
Crafting lanyards with three strings requires a few essential materials to bring your creative vision to life. Before diving into the intricate art of triplet crafting, it's important to gather the following supplies to ensure a smooth and enjoyable crafting experience:
-
Lanyard Strings: The foundation of any lanyard creation, the strings you choose will determine the overall look and feel of the finished product. Opt for durable and visually appealing strings in a variety of colors to unleash your creativity. Nylon, satin, or cotton strings are popular choices, offering a balance of strength and flexibility.
-
Scissors: A pair of sharp scissors is indispensable for cutting the lanyard strings to the desired length and ensuring clean, precise cuts. Look for scissors with fine, pointed tips to facilitate intricate trimming and shaping as you craft your lanyard masterpiece.
-
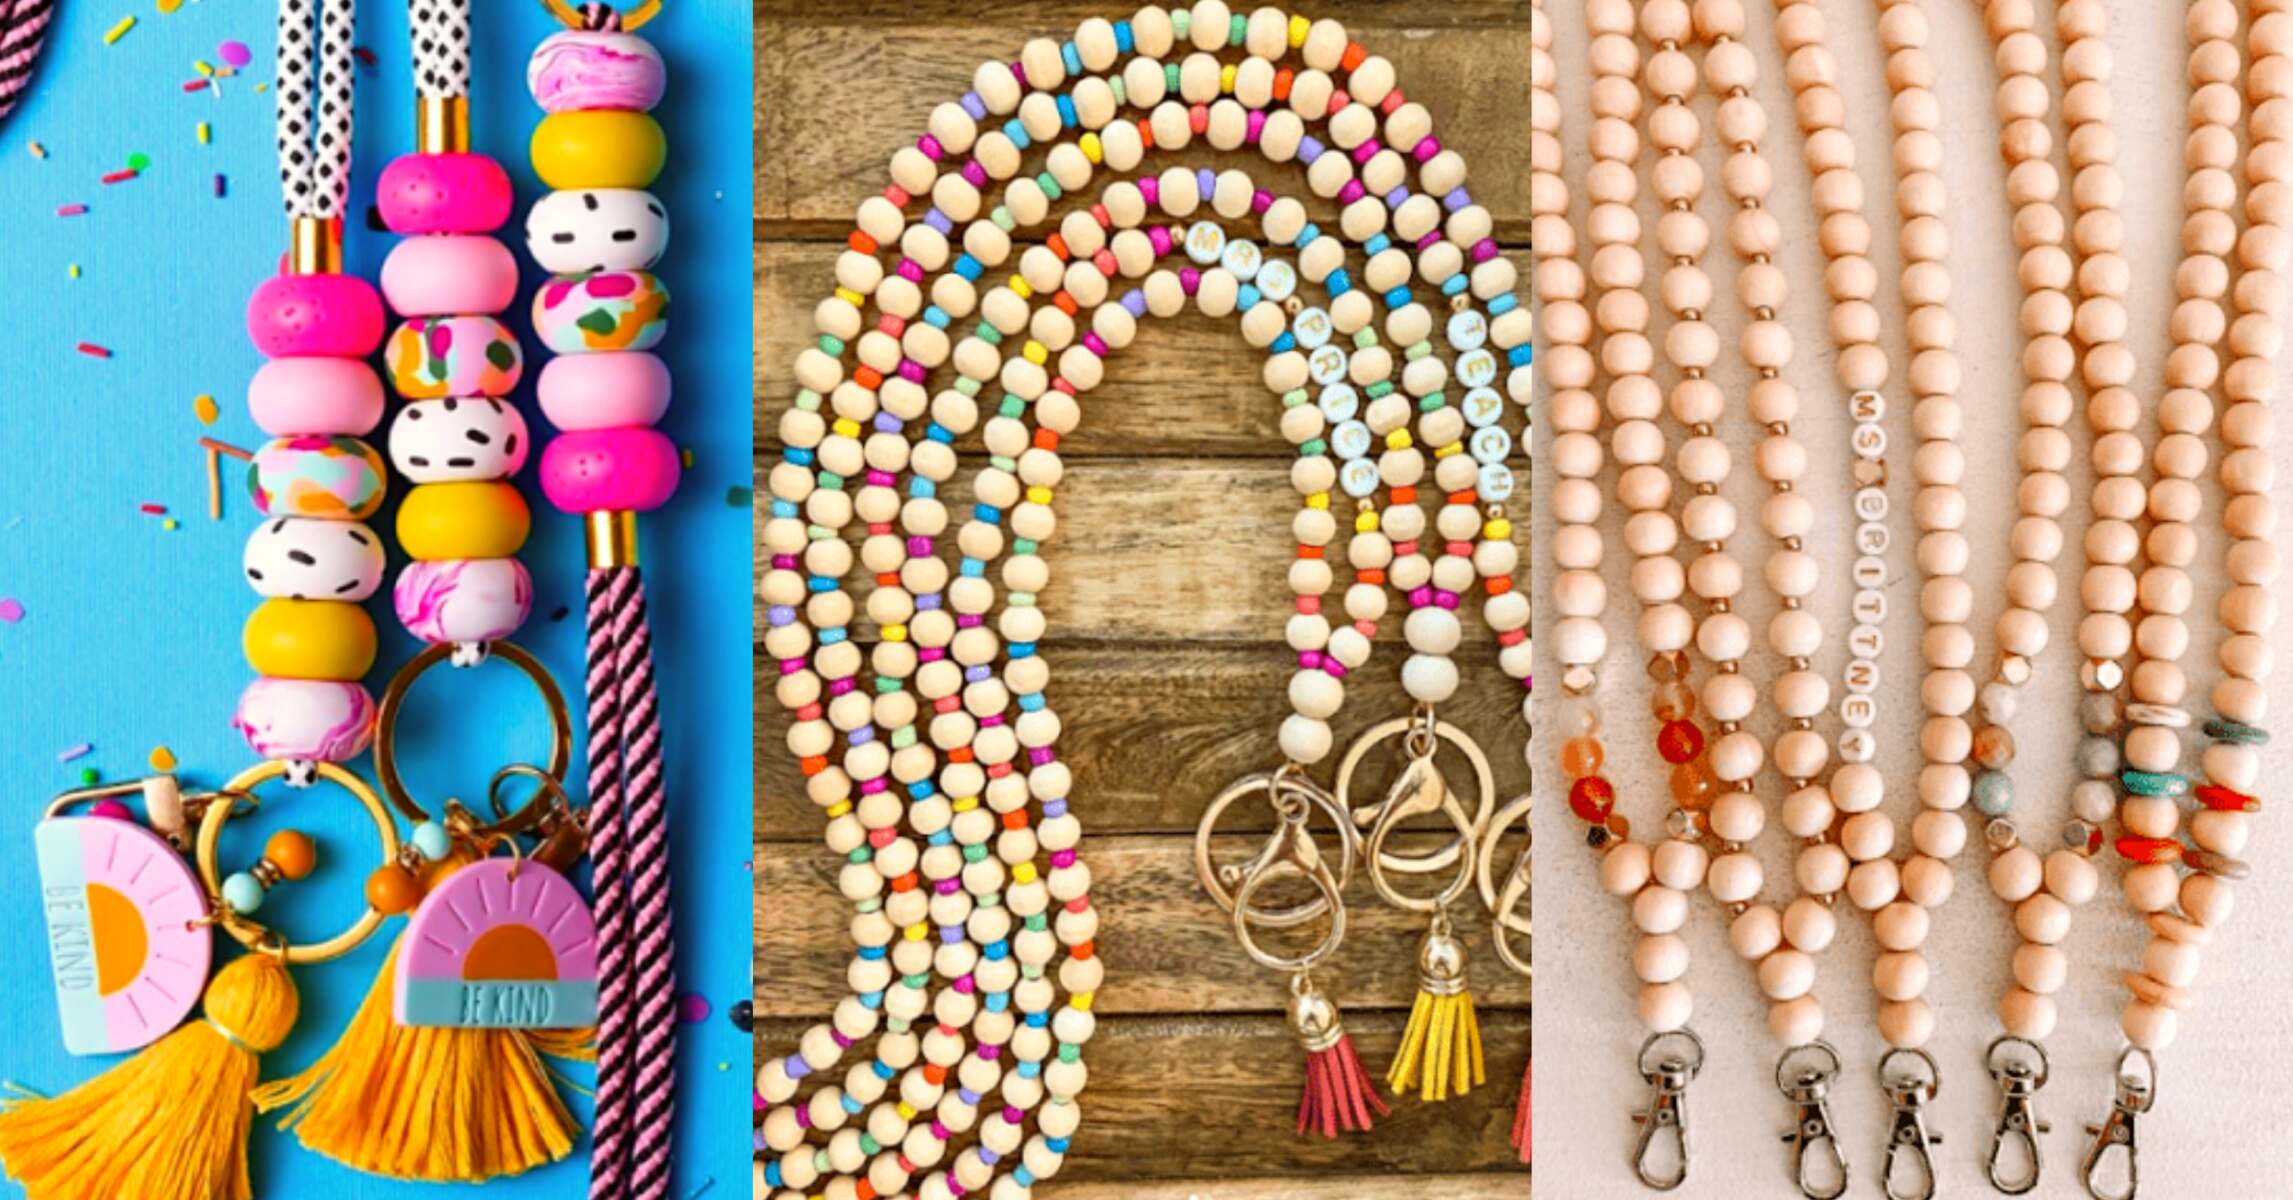
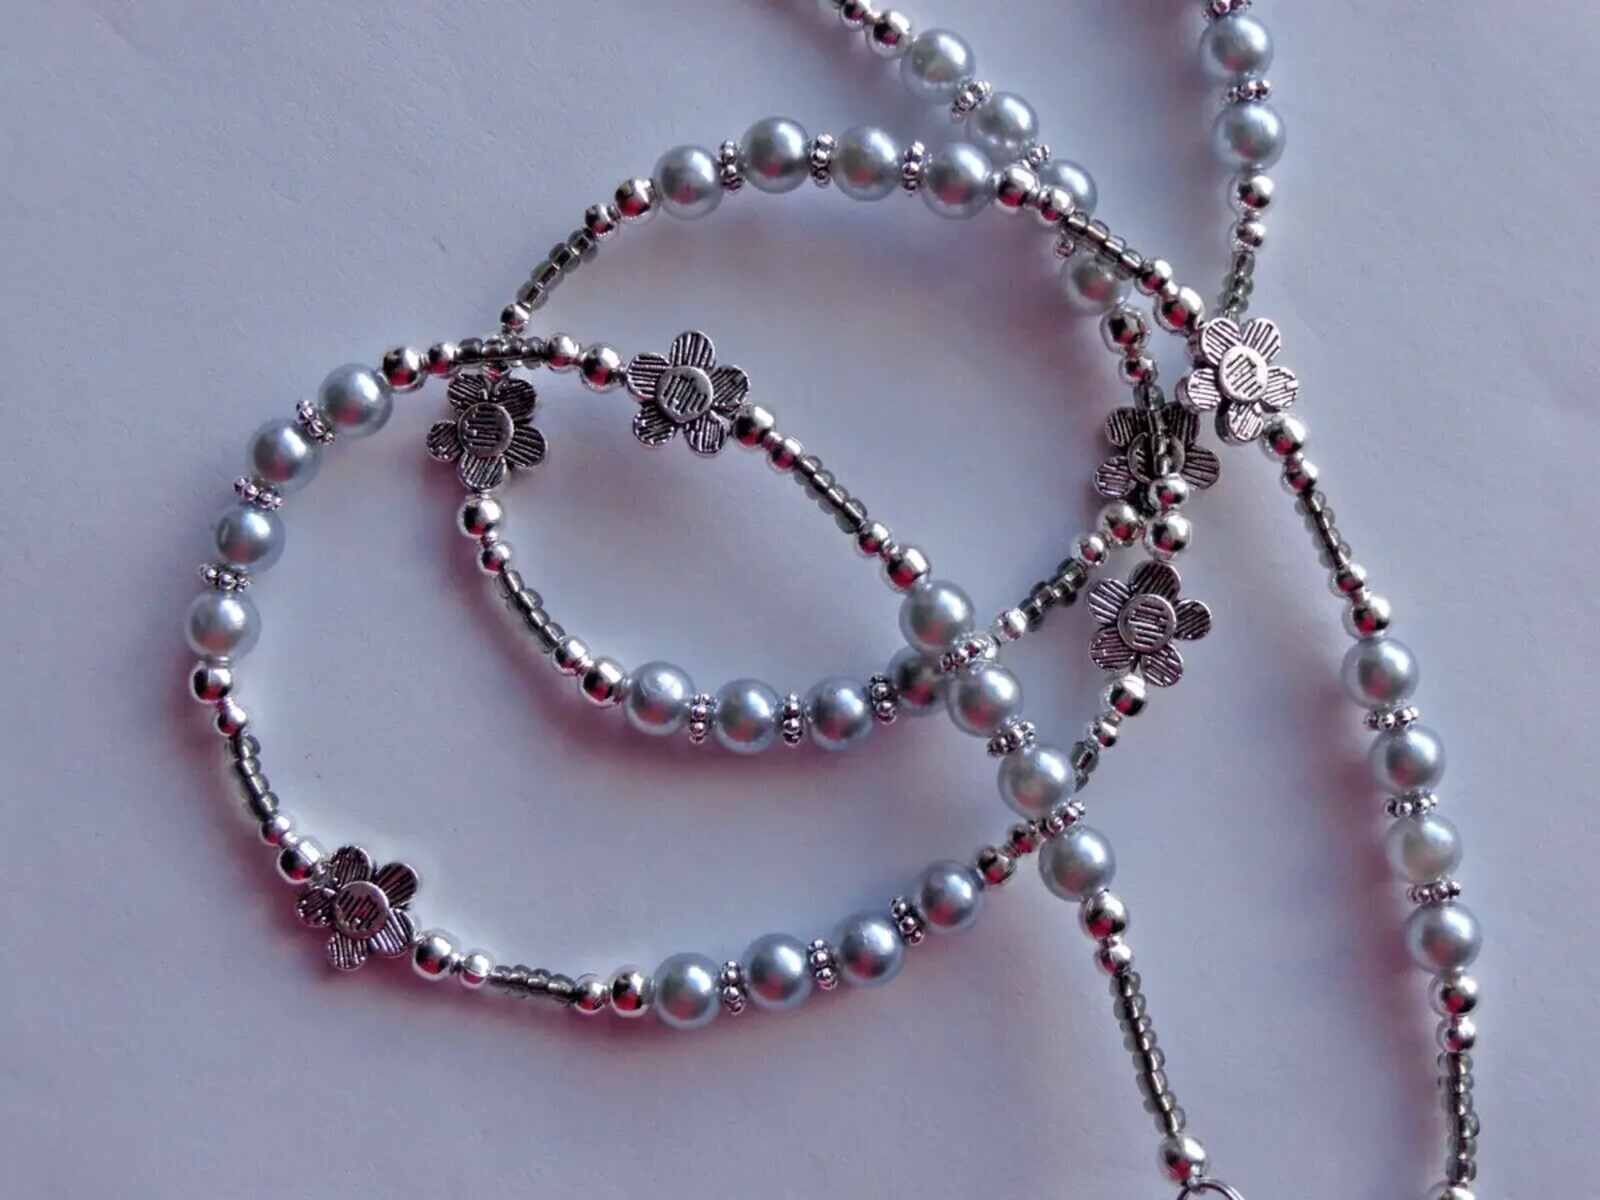
Beads or Charms (Optional): Adding beads or charms to your lanyard design can elevate its aesthetic appeal and lend a personalized touch. Whether you prefer sleek metallic charms or vibrant, eye-catching beads, incorporating these embellishments can transform a simple lanyard into a striking accessory.
-
Clipboard or Safety Pin: To secure the lanyard while braiding, a clipboard or safety pin can be used to anchor the top of the lanyard to a stable surface. This ensures that the braid remains taut and consistent throughout the crafting process, resulting in a polished and professional-looking lanyard.
-
Measuring Tape or Ruler: Precision is key when crafting lanyards, making a measuring tape or ruler indispensable for accurately determining the length of the lanyard strings. This ensures that each string is of uniform length, resulting in a balanced and visually appealing final product.
-
Lighter (Optional): While not essential, a lighter can be used to carefully seal the ends of the lanyard strings to prevent fraying and ensure longevity. This simple yet effective technique adds a professional touch to your crafted lanyards, enhancing their durability and overall quality.
By assembling these fundamental materials, you'll be well-equipped to embark on your lanyard-making journey and explore the art of triplet crafting with confidence and creativity. With these supplies at your disposal, you're ready to move on to the next step: choosing the right strings for your lanyard creation.
Step 1: Choosing the Right Strings
Selecting the ideal strings is a pivotal first step in the process of crafting lanyards with three strings. The strings you choose will not only dictate the visual appeal of the lanyard but also influence its durability and overall feel. When considering lanyard strings, it's essential to prioritize both aesthetic and practical factors to ensure a successful crafting experience.
First and foremost, consider the material of the lanyard strings. Nylon strings are a popular choice due to their durability and versatility. They offer a balance of strength and flexibility, making them well-suited for crafting intricate braids while withstanding everyday wear and tear. Satin strings, on the other hand, impart a luxurious sheen and a soft, smooth texture to the lanyard, adding an elegant touch to the finished product. Meanwhile, cotton strings are favored for their natural feel and breathability, making them a comfortable option for prolonged wear.
In addition to material, the color and thickness of the lanyard strings play a crucial role in the overall aesthetic of the finished lanyard. Vibrant, multicolored strings can create eye-catching patterns and designs, making a bold fashion statement. Conversely, monochromatic or complementary color schemes can exude sophistication and versatility, seamlessly complementing a variety of outfits and accessories. When it comes to thickness, thinner strings allow for intricate braiding patterns, while thicker strings can impart a substantial, substantial look and feel to the lanyard.
Furthermore, consider the intended use of the lanyard when selecting the strings. If the lanyard will primarily hold keys or identification badges, prioritize durability and strength in the chosen strings. For lanyards intended as fashion accessories, prioritize visual appeal and comfort, ensuring that the selected strings align with the desired aesthetic and style.
Ultimately, the right strings for your lanyard creation will align with your personal preferences, the intended use of the lanyard, and the visual impact you aim to achieve. By carefully considering the material, color, thickness, and intended use of the strings, you can lay a strong foundation for crafting a stunning and functional lanyard that reflects your unique style and creativity. With the strings chosen, you're ready to embark on the next step of the lanyard-making journey: starting the braid.
Step 2: Starting the Braid
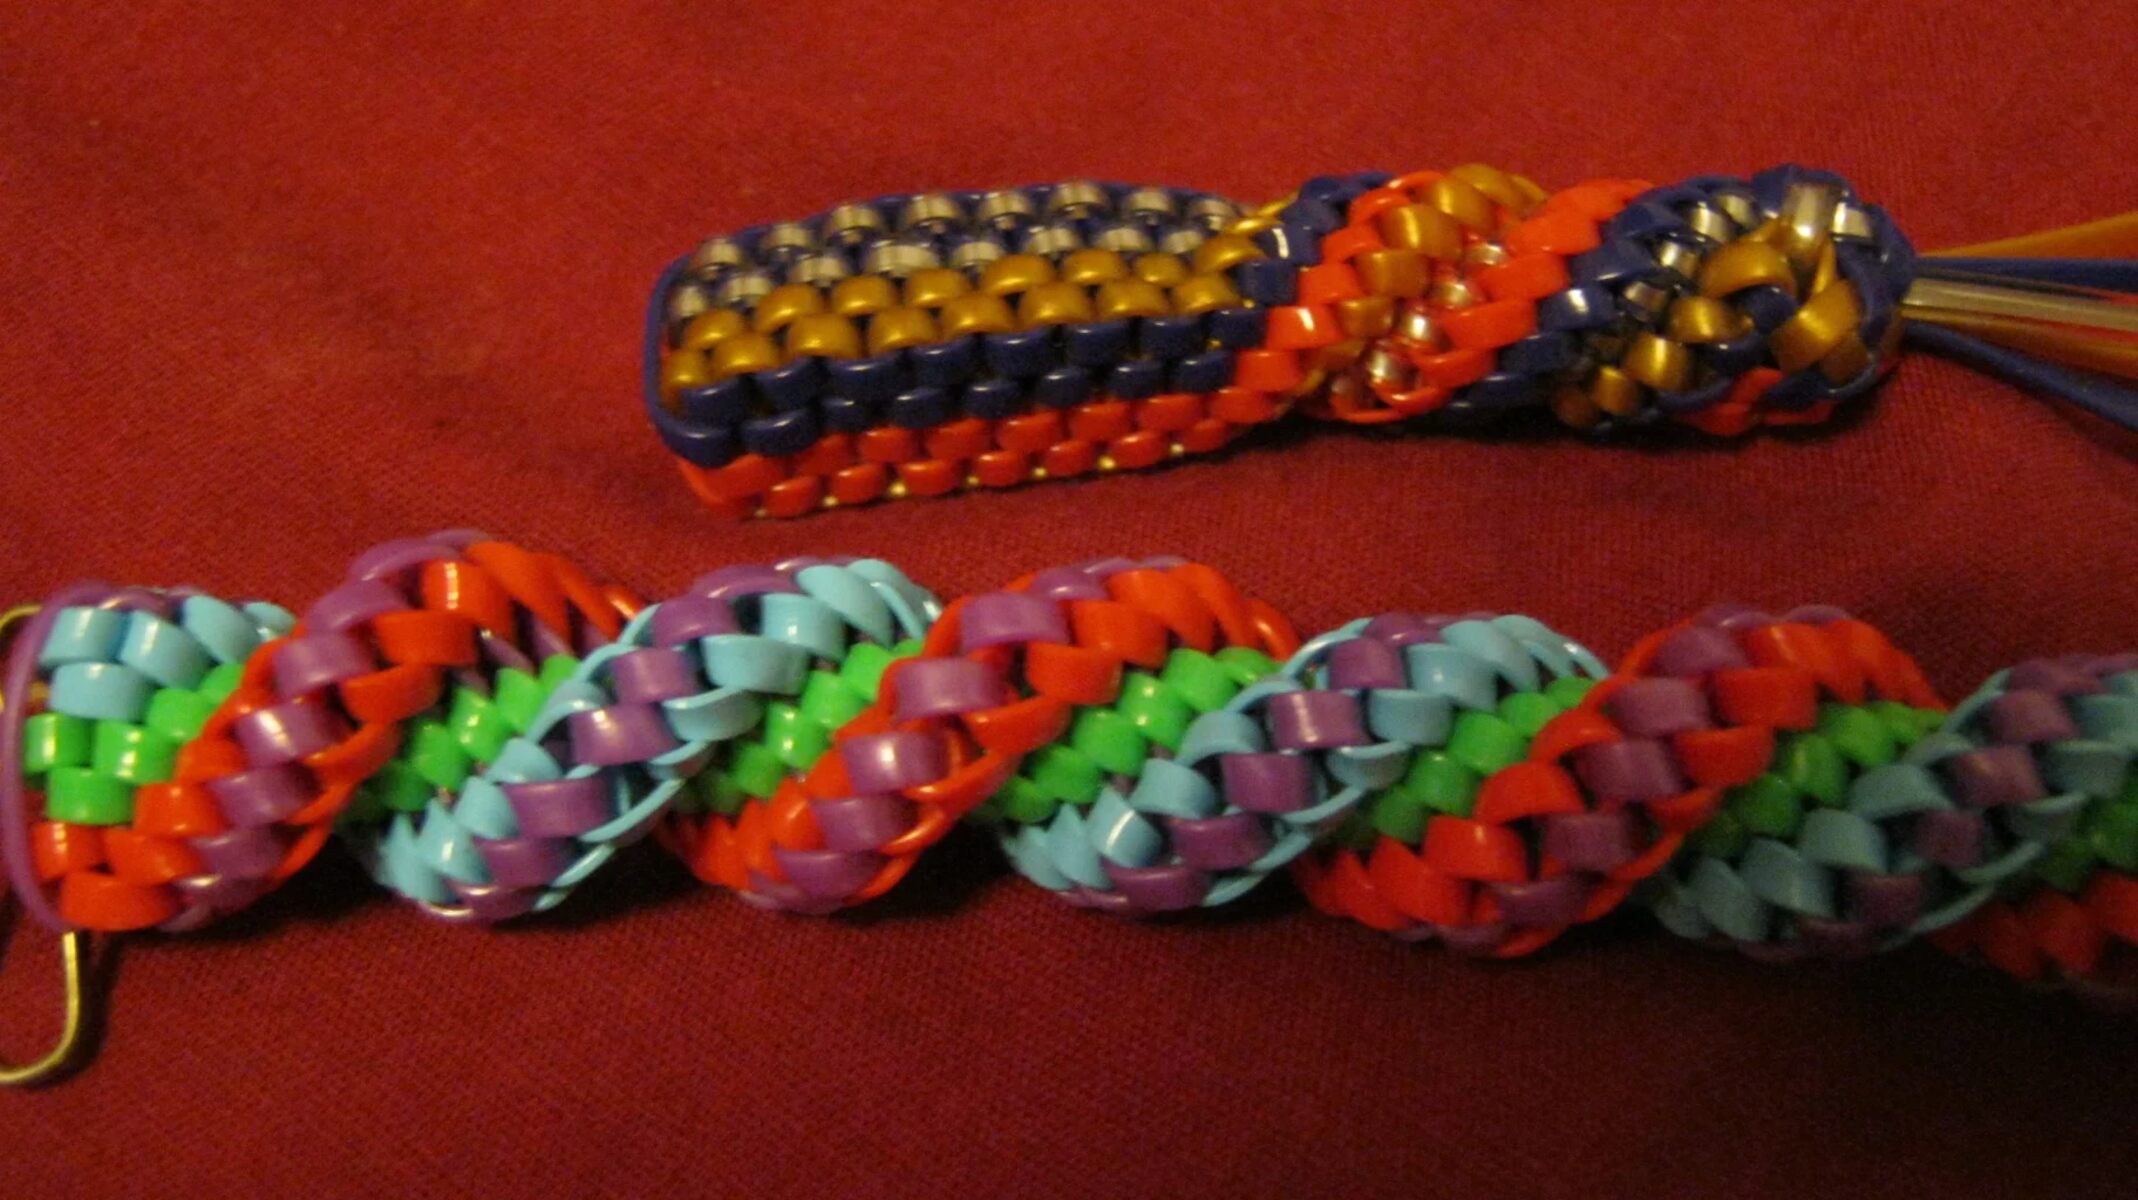
Initiating the braid marks a pivotal phase in the process of crafting lanyards with three strings. This step sets the foundation for the intricate interweaving of the lanyard strings, ultimately shaping the visual appeal and structural integrity of the finished product. As you embark on this step, you'll delve into the art of braiding, employing precision and creativity to bring your lanyard design to life.
To begin the braid, gather the selected lanyard strings and align their ends evenly. Next, secure the aligned ends with a clipboard or a safety pin, ensuring that the strings remain taut and well-positioned for the braiding process. With the strings secured, it's time to initiate the braiding technique, which involves a series of interlacing movements to create a cohesive and visually appealing braid.
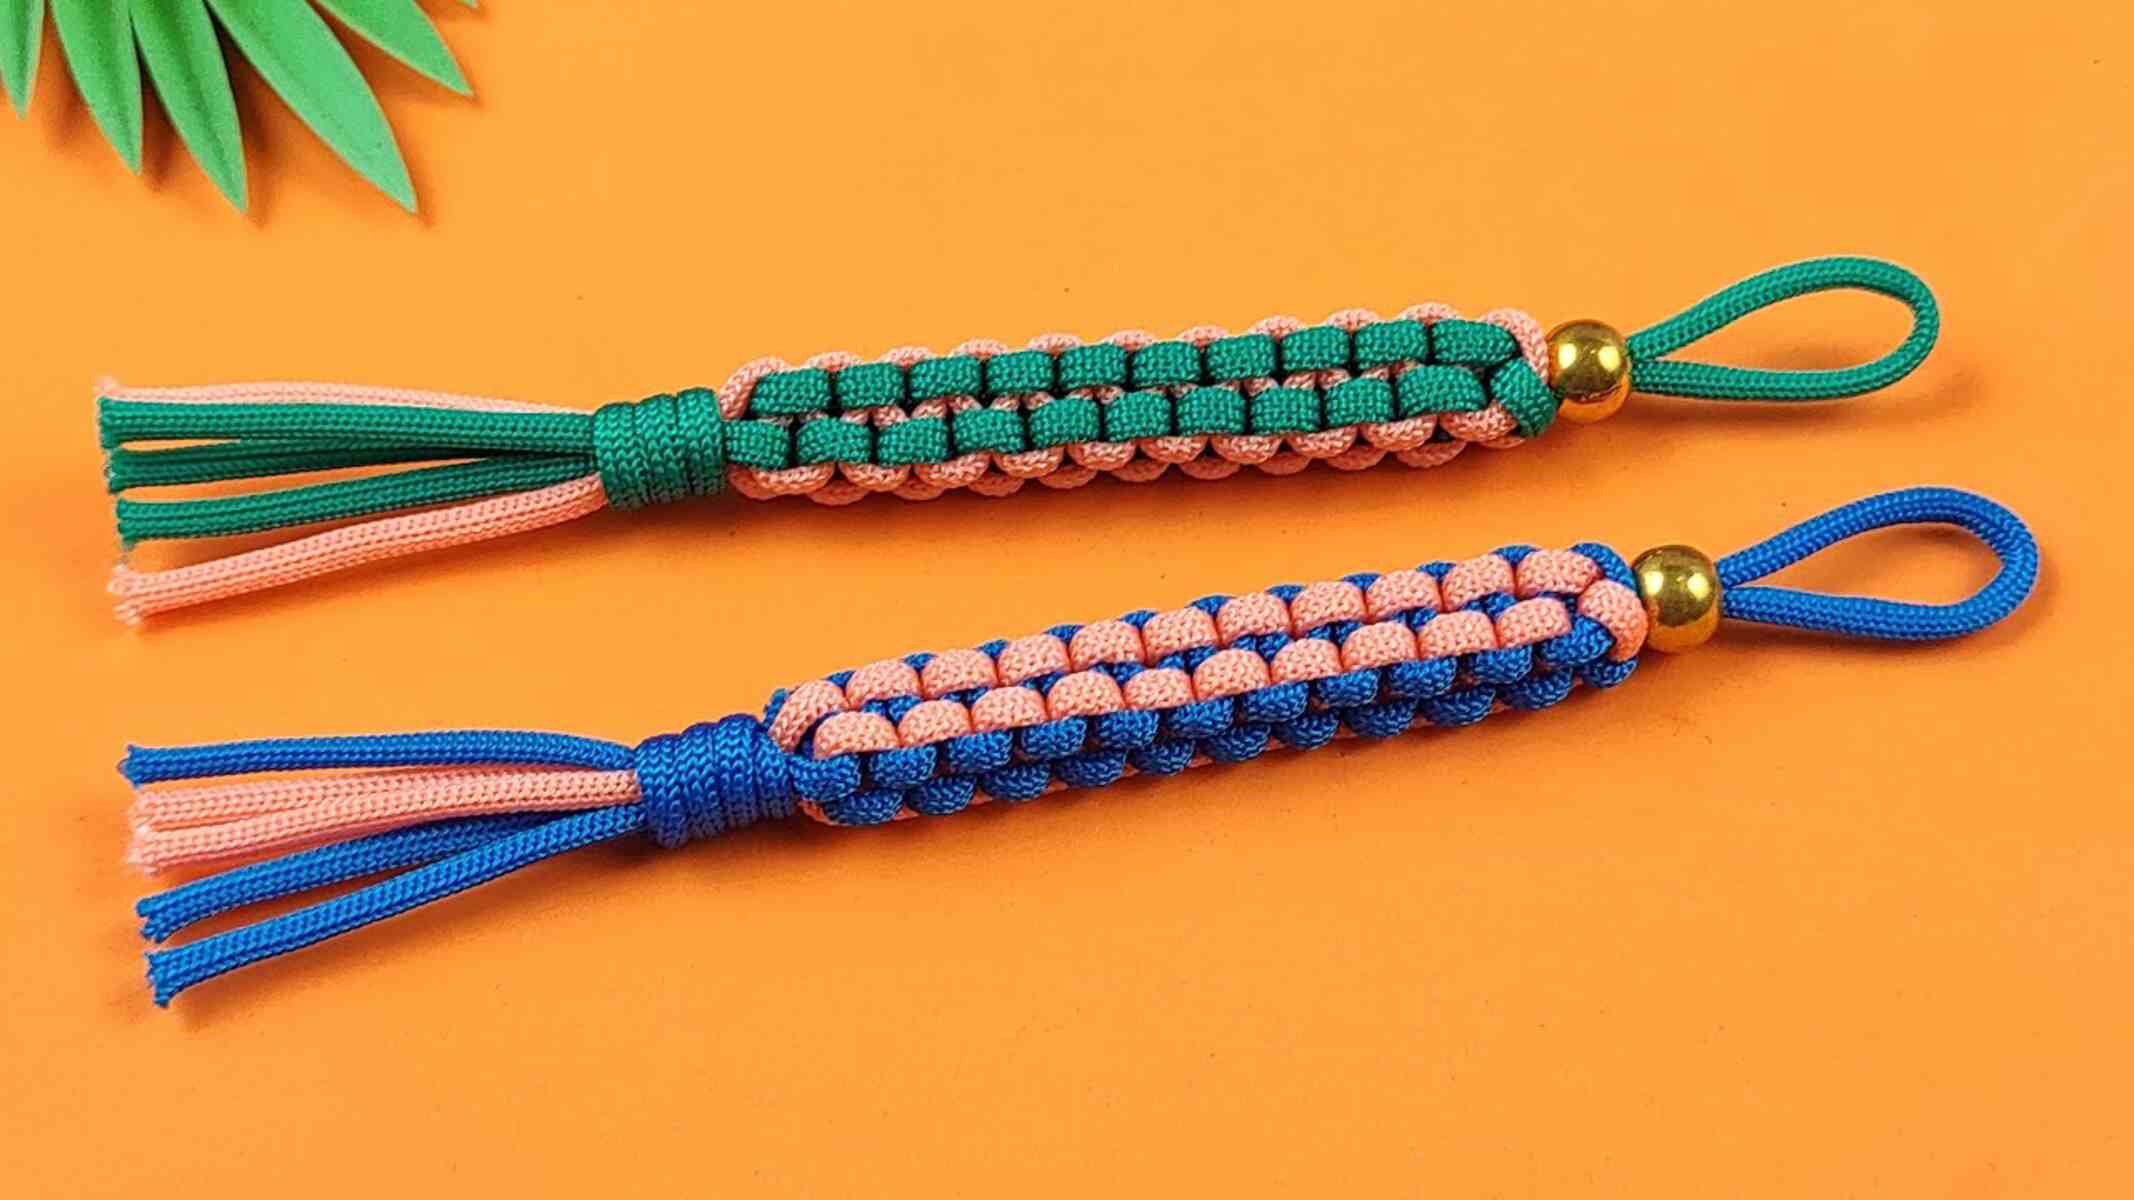
The most common braiding technique for lanyards with three strings is the classic "left over middle, right over middle" pattern. To execute this technique, start by identifying the left, middle, and right strings. Cross the left string over the middle string, creating a looping motion that positions the left string in the center. Next, cross the right string over the middle string, mirroring the looping motion and positioning the right string in the center. This sequence forms the foundational pattern of the braid and sets the rhythm for subsequent braiding movements.
As you continue the braiding process, maintain a consistent and even tension on the strings to ensure a uniform braid. Each interlacing movement should be executed with precision, resulting in a neatly woven braid that showcases the chosen colors and patterns. Embrace creativity by experimenting with different braiding styles, such as fishtail or herringbone patterns, to infuse your lanyard with a distinctive and personalized touch.
Throughout the braiding process, periodically assess the length of the lanyard to ensure it aligns with your desired dimensions. This allows for adjustments and refinements as needed, ensuring that the braid remains symmetrical and visually appealing. Once the desired length is achieved, secure the end of the braid with a temporary knot to prevent unraveling, preparing the lanyard for the next phase of embellishment and finishing touches.
By mastering the art of starting the braid, you lay the groundwork for a meticulously crafted lanyard that reflects your creativity and attention to detail. The braid serves as the visual centerpiece of the lanyard, showcasing the harmonious interplay of colors and patterns. With the braid initiated, you're now poised to elevate your lanyard creation with personalized embellishments and the final steps of the crafting process.
Step 3: Adding Beads or Charms
As you delve into the third step of crafting lanyards with three strings, the opportunity to infuse your creation with personalized flair arises. Adding beads or charms serves as a captivating way to elevate the visual appeal and individualize your lanyard, transforming it from a functional accessory into a striking fashion statement.
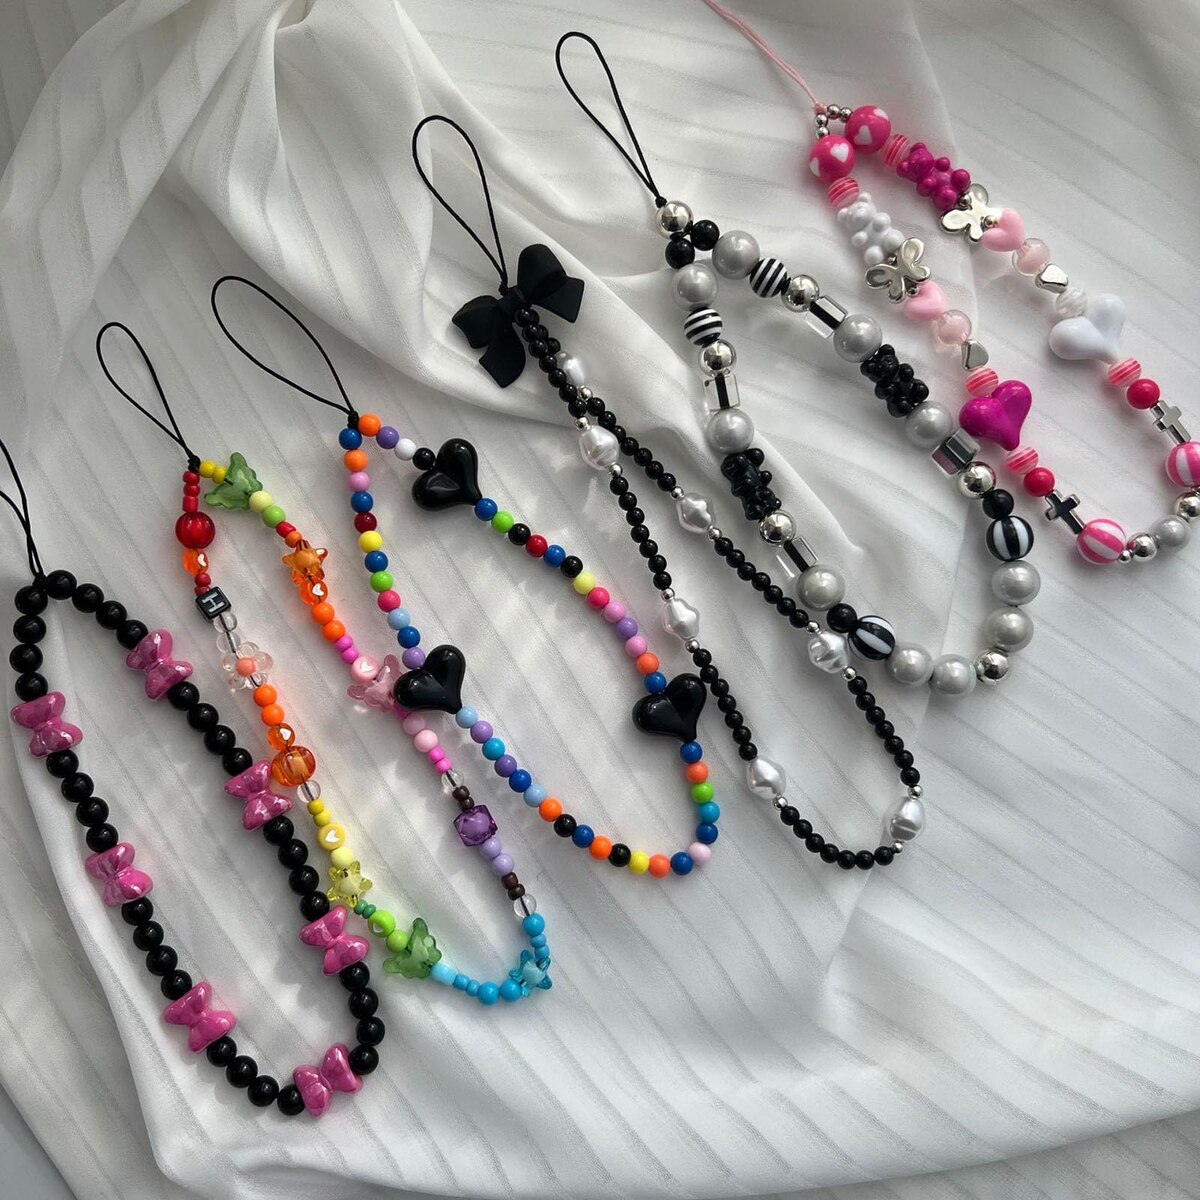
Before incorporating beads or charms, consider the overall aesthetic and theme of your lanyard. Whether you aim to achieve a bohemian, minimalist, or eclectic look, selecting embellishments that align with your vision is crucial. Beads come in a myriad of shapes, sizes, and materials, offering endless possibilities for customization. From sleek metal charms to vibrant glass beads, the selection process presents an exciting opportunity to tailor your lanyard to your unique style.
To integrate beads or charms into the lanyard, begin by identifying the most strategic placement for these embellishments. Depending on your design preferences, beads can be interspersed throughout the braid, creating a captivating visual rhythm, or positioned as focal points at regular intervals along the lanyard. Charms, on the other hand, can be attached to the ends of the lanyard or integrated into the braid itself, adding a touch of whimsy and individuality to the finished product.
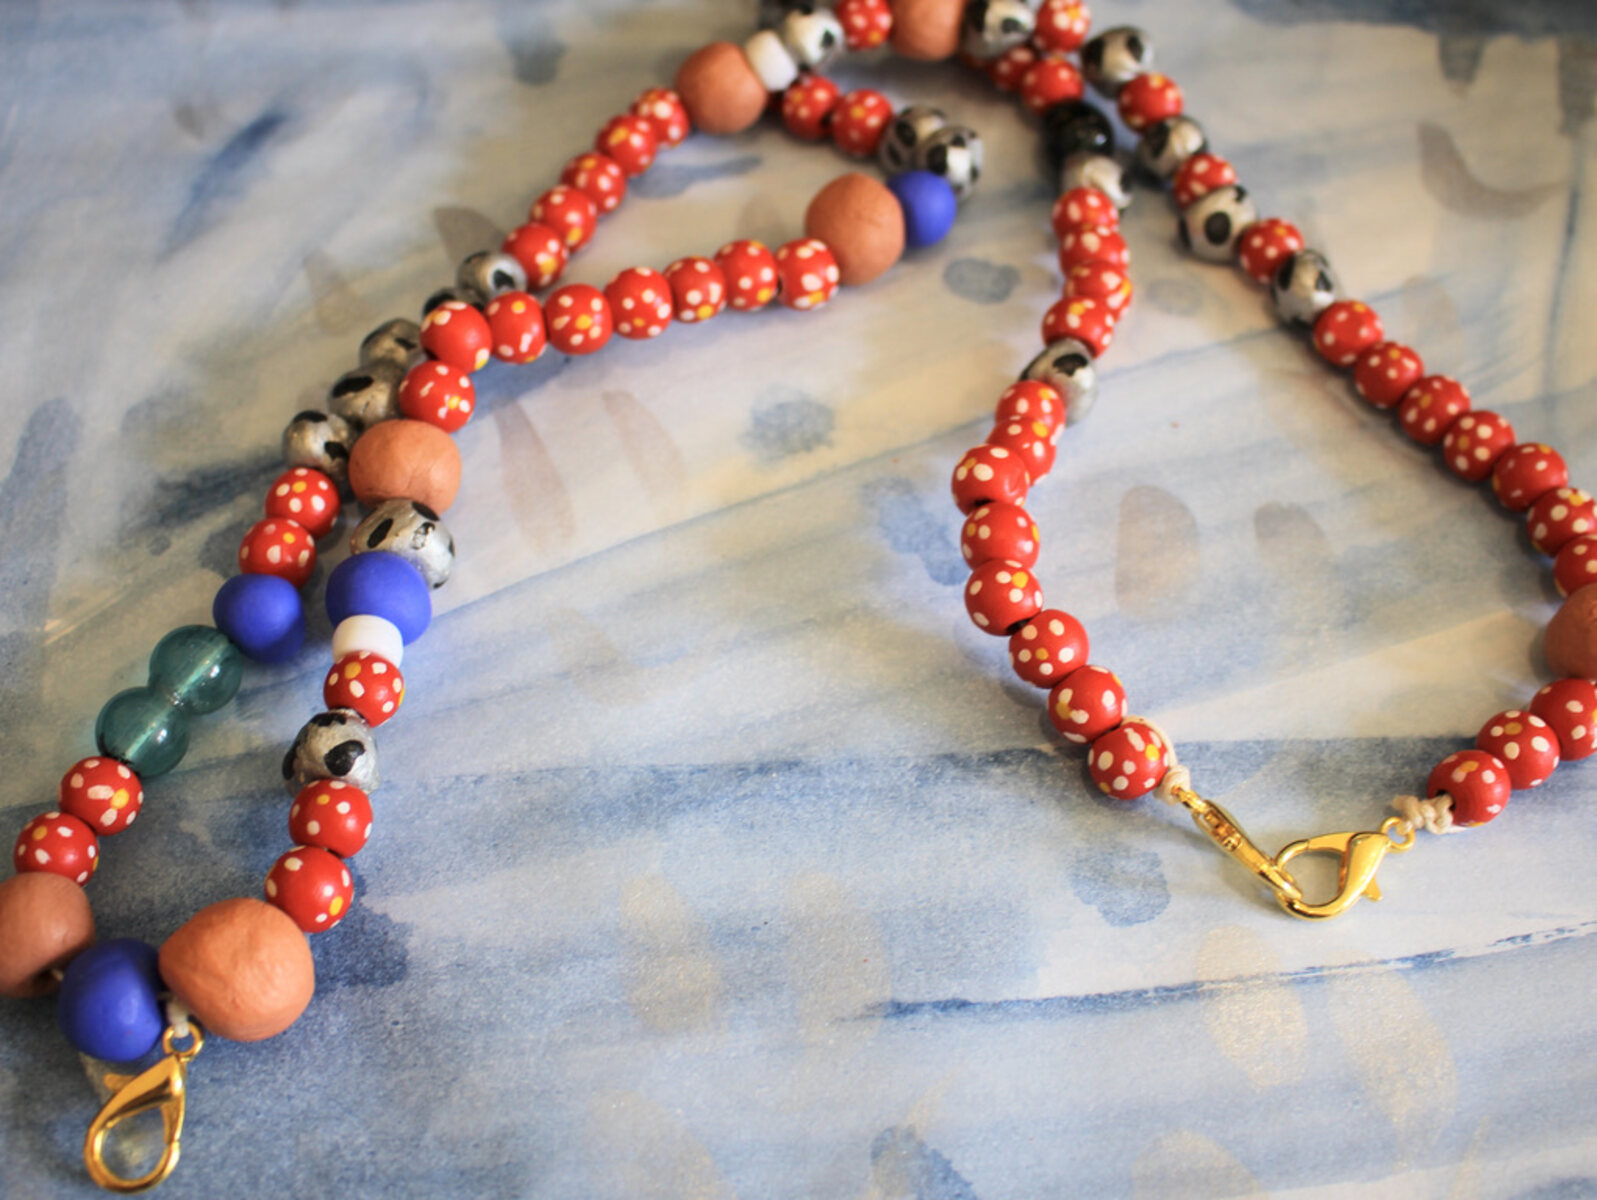
As you embark on this embellishment phase, thread the beads or charms onto the lanyard strings, ensuring a secure and visually appealing arrangement. Pay attention to spacing and symmetry, as these elements contribute to the overall cohesiveness and aesthetic impact of the embellished lanyard. Experiment with different bead sizes and colors to achieve a balanced and harmonious composition that resonates with your personal style.
While adding beads or charms, maintain a steady and deliberate pace to ensure precision and consistency. This phase offers an opportunity for creative expression, allowing you to infuse your lanyard with a touch of your personality and artistic sensibility. Embrace the process as a form of self-expression, and allow your creativity to guide the placement and selection of beads or charms, resulting in a lanyard that reflects your unique identity.
By integrating beads or charms into your lanyard, you impart a distinctive and personalized touch that sets your creation apart. Whether you opt for subtle, understated embellishments or bold, eye-catching accents, this phase of the crafting process allows you to infuse your lanyard with character and charm. With the beads or charms elegantly incorporated, your lanyard is poised for the final step: finishing touches and securing the completed masterpiece.
Step 4: Finishing the Lanyard
As you approach the final phase of crafting your lanyard with three strings, attention to detail and precision are paramount to ensure a polished and professional finish. The finishing touches not only enhance the aesthetic appeal of the lanyard but also contribute to its durability and longevity, elevating it from a mere craft project to a functional and stylish accessory.
The first step in finishing the lanyard involves securing the braided section to prevent unraveling. Carefully tie a knot at the end of the braid, ensuring that it is tight and secure. This knot serves as a foundational element that anchors the braid and prepares it for additional reinforcement, contributing to the lanyard's overall structural integrity.
Following the initial knot, consider utilizing a lighter to carefully seal the ends of the lanyard strings. This simple yet effective technique involves applying heat to the trimmed ends of the strings, causing them to melt and fuse together, preventing fraying and ensuring a clean, professional appearance. Exercise caution and precision during this step to achieve optimal results without compromising the integrity of the lanyard.
Once the ends are sealed, evaluate the length of the lanyard to ensure it aligns with your desired dimensions. Trim any excess length from the ends of the strings, employing sharp scissors to achieve clean and even cuts. Attention to detail at this stage contributes to the overall symmetry and visual appeal of the finished lanyard, ensuring a cohesive and polished appearance.
To complete the finishing process, consider adding a closure mechanism to the lanyard to facilitate its practical use. Options for closures include lobster clasps, key rings, or swivel hooks, each offering functionality and versatility. Secure the chosen closure to the ends of the lanyard, ensuring a firm and reliable attachment that withstands daily use and movement.
As the final step, inspect the lanyard for any imperfections or irregularities, addressing them with meticulous care. Smooth out any uneven sections of the braid and adjust the positioning of beads or charms as needed to achieve a harmonious and visually appealing composition. This attention to detail ensures that your crafted lanyard meets the highest standards of quality and craftsmanship.
With the finishing touches in place, your lanyard with three strings is now a completed masterpiece, ready to serve as a stylish and functional accessory in various settings. By meticulously attending to each detail, from securing the braid to adding a closure and refining the overall appearance, you have transformed ordinary strings into a personalized and eye-catching lanyard that reflects your creativity and dedication to the craft.
Conclusion
Crafting lanyards with three strings, also known as triplet crafting, is a deeply rewarding and creative endeavor that offers a multitude of benefits. Throughout this comprehensive guide, we have explored the step-by-step process of transforming ordinary strings into personalized and functional accessories through the art of triplet crafting. From selecting the right materials to adding personalized touches with beads or charms and completing the finishing touches, each phase of the crafting journey presents an opportunity for self-expression, creativity, and meticulous attention to detail.
By mastering the art of triplet crafting, individuals can unleash their imagination, experiment with different materials and embellishments, and create custom lanyards that reflect their unique style and preferences. The process of crafting lanyards with three strings transcends mere hobbyism, offering a means of self-expression and a tangible outlet for creativity. Whether crafting lanyards for personal use, as gifts for loved ones, or as part of a creative enterprise, the art of triplet crafting empowers individuals to infuse everyday accessories with character, charm, and individuality.
Furthermore, the act of crafting lanyards with three strings fosters a sense of mindfulness and relaxation, providing a therapeutic escape from the hustle and bustle of daily life. Engaging in the intricate braiding process, adding embellishments, and meticulously refining the finishing touches creates a meditative and immersive experience, allowing crafters to immerse themselves in the present moment and channel their creative energy into tangible, functional creations.
Moreover, the lanyards crafted through triplet crafting serve a practical purpose in various settings, from holding keys and identification badges to accessorizing bags and purses. The personalized touch infused into each lanyard elevates it from a mundane accessory to a statement piece that reflects the individuality and creativity of its creator. Whether adorning a work lanyard with vibrant beads or gifting a meticulously crafted lanyard to a friend, the art of triplet crafting offers a means of personalizing everyday items and infusing them with meaning and sentiment.
In conclusion, the art of crafting lanyards with three strings transcends the realms of creativity, self-expression, and practicality, offering a fulfilling and versatile creative outlet for individuals of all ages. By embarking on the lanyard-making journey, crafters can unleash their creativity, elevate everyday accessories, and experience the joy of transforming simple strings into personalized works of art. So, gather your crafting supplies, let your imagination run wild, and embark on a lanyard-making adventure that promises to be as unique and fulfilling as the lanyards you'll create.