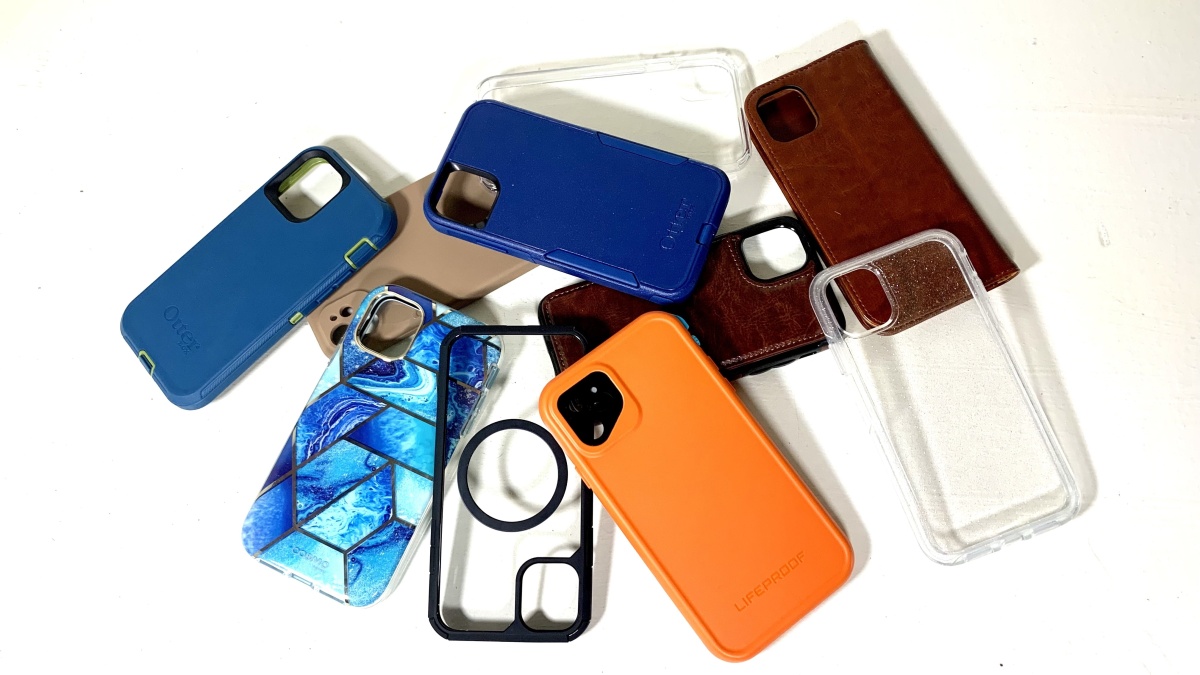
Introduction
Owning a waterproof case for your iPhone is a smart choice to protect it from water damage, but there comes a time when you need to remove the case for cleaning or maintenance. Safely removing a waterproof case from your iPhone is crucial to ensure that both the case and the device remain in optimal condition. By following the proper steps, you can safely detach the case without risking any damage to your iPhone.
In this guide, we will walk you through the step-by-step process of safely removing a waterproof case from your iPhone. Whether you're getting ready to clean the case, switch to a different case, or simply want to enjoy the sleek design of your iPhone without the added bulk of the waterproof case, these instructions will help you accomplish the task with ease and confidence.
It's important to note that each waterproof case may have unique features and opening mechanisms, so it's essential to familiarize yourself with the specific instructions provided by the manufacturer. By following the general guidelines outlined in this article, along with any specific instructions from the case's manufacturer, you can ensure a smooth and safe removal process.
Now, let's dive into the step-by-step process of safely removing a waterproof case from your iPhone, allowing you to maintain the functionality and appearance of both the case and your device.
Step 1: Prepare a clean and stable surface
Before beginning the process of removing the waterproof case from your iPhone, it's essential to set the stage for a safe and hassle-free experience. Preparing a clean and stable surface not only ensures the protection of your iPhone and the case but also minimizes the risk of accidental damage during the removal process.
To start, find a well-lit and spacious area where you can comfortably work without any distractions. Choose a clean and flat surface, such as a table or countertop, to serve as your workspace. It's crucial to select a stable surface to prevent any accidental bumps or slips that could potentially harm your iPhone or the waterproof case.
Next, gather a soft and clean cloth to place on the surface. This cloth will act as a protective barrier between your iPhone and the hard surface, reducing the risk of scratches or abrasions during the removal process. Ensure that the cloth is free from any debris or particles that could potentially transfer onto your iPhone or the case.
Additionally, consider the surrounding environment when choosing your workspace. Avoid areas with excessive dust, dirt, or moisture, as these elements can pose a risk to the internal components of your iPhone and the waterproof case. By selecting a clean and controlled environment, you can create a safe and conducive space for the removal process.
Lastly, take a moment to organize any tools or accessories you may need for the removal process, such as a small screwdriver or any specialized tools recommended by the case manufacturer. Having these items readily available will streamline the process and minimize the chances of misplacing or damaging the case during removal.
By preparing a clean and stable surface before removing the waterproof case from your iPhone, you set the stage for a smooth and worry-free experience. This simple yet crucial step helps safeguard your iPhone and the case, ensuring that the removal process is carried out with the utmost care and attention to detail.
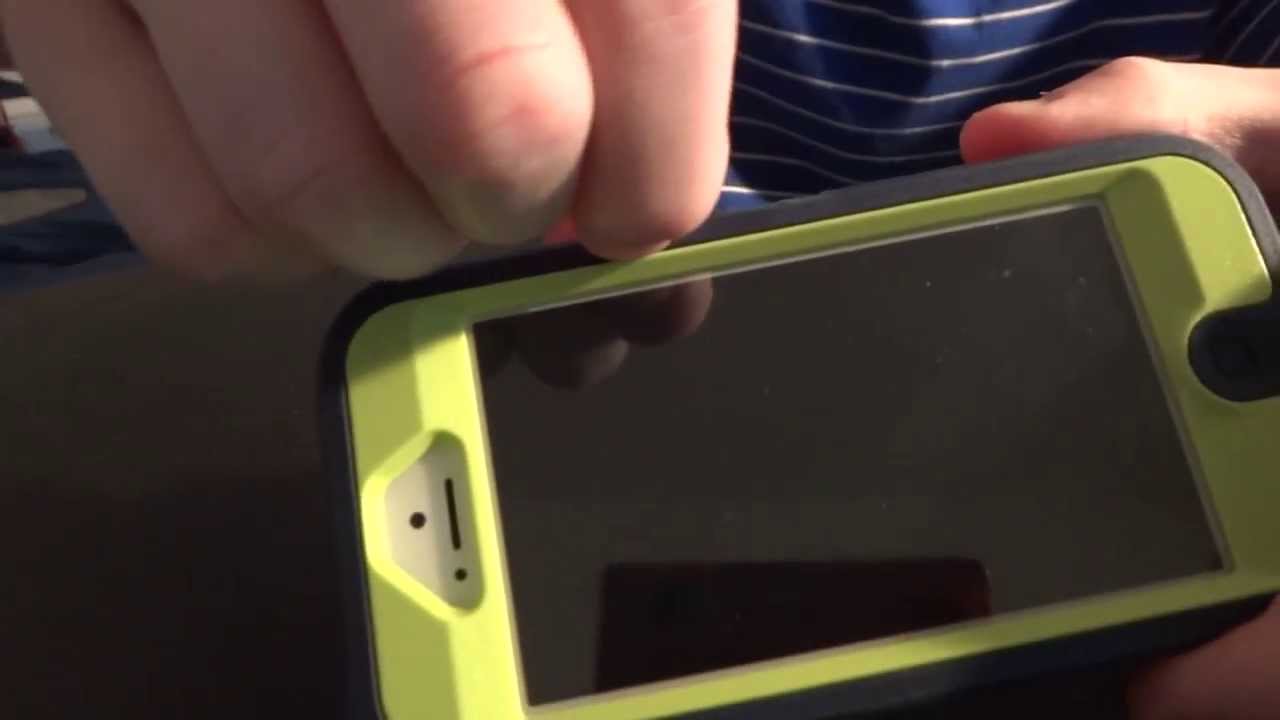
Step 2: Use a soft cloth to wipe the case and iPhone
After preparing a clean and stable surface for the removal process, the next step involves using a soft cloth to wipe both the waterproof case and the iPhone. This crucial step serves multiple purposes, including the removal of dirt, dust, and moisture, as well as ensuring that the case and device are free from any potential abrasive particles that could cause scratches or damage during the removal process.
Begin by selecting a high-quality, lint-free cloth that is specifically designed for cleaning delicate surfaces such as electronic devices and protective cases. Microfiber cloths are an excellent choice due to their gentle yet effective cleaning properties. Ensure that the cloth is clean and free from any debris or residue that could potentially transfer onto the case or iPhone during the wiping process.
Gently wipe the exterior of the waterproof case using the soft cloth, paying close attention to any areas where dirt, fingerprints, or smudges are visible. By using light and circular motions, you can effectively remove surface-level contaminants without applying excessive pressure that could potentially damage the case or its protective features.
Next, carefully wipe the surface of your iPhone using the same soft cloth, focusing on the areas that come into direct contact with the waterproof case. Pay particular attention to the edges and corners of the device, as these areas are more susceptible to accumulating debris and moisture when the case is attached.
In addition to removing visible dirt and smudges, this gentle wiping process helps prepare the case and iPhone for safe removal by ensuring that no abrasive particles are present on the surfaces. By taking the time to thoroughly clean both the case and the device, you minimize the risk of inadvertently causing scratches or damage during the subsequent steps of the removal process.
Overall, using a soft cloth to wipe the waterproof case and iPhone is a vital preparatory step that sets the stage for a safe and seamless removal process. By gently removing surface contaminants and ensuring that both the case and the device are free from potential abrasive particles, you lay the foundation for a successful and damage-free removal experience.
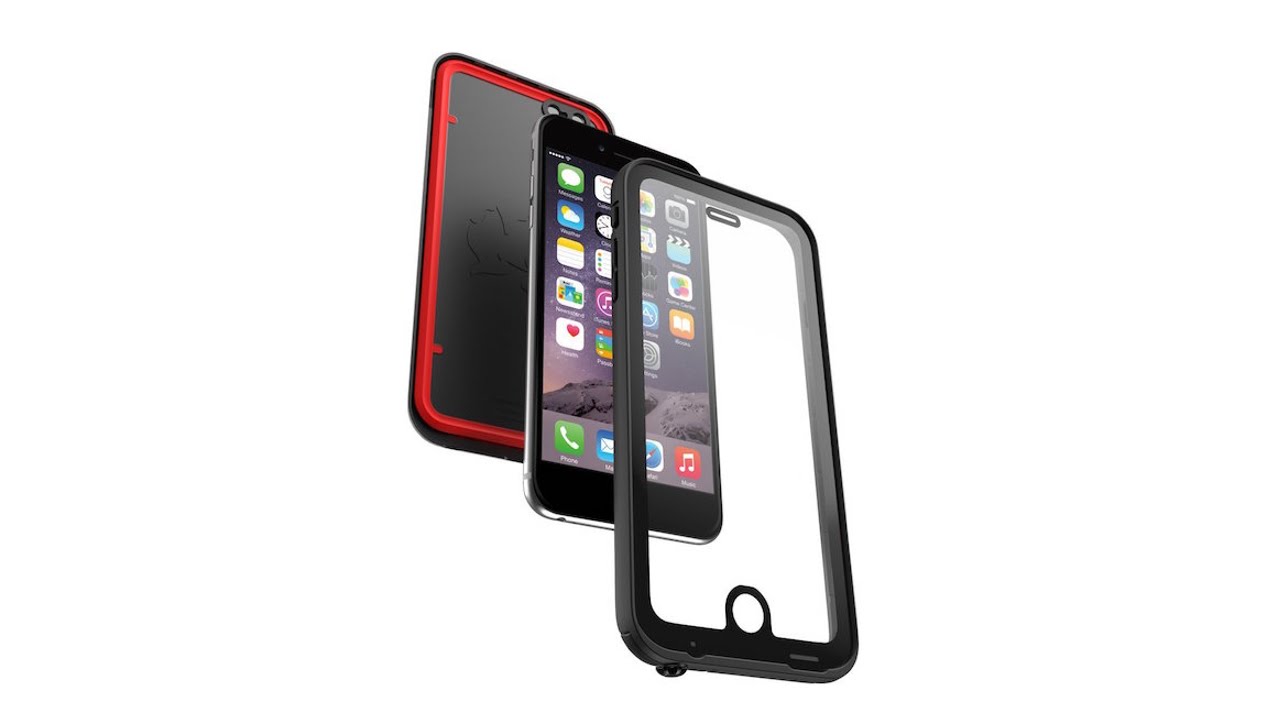
Step 3: Locate the opening mechanism of the waterproof case
Locating the opening mechanism of your waterproof case is a critical step in the process of safely removing it from your iPhone. Each waterproof case is designed with a specific opening mechanism, which may include latches, seals, or specialized locking mechanisms. Familiarizing yourself with the unique features of your case's opening mechanism is essential for a smooth and successful removal process.
Start by carefully examining the exterior of the waterproof case to identify any visible indicators of the opening mechanism. Some cases feature prominent latches or release buttons, while others may have discreetly integrated seals that require a specific method of disengagement. Take note of any markings, symbols, or instructions provided by the manufacturer that indicate the location or operation of the opening mechanism.
If your waterproof case includes a user manual or instructional guide, refer to it for detailed information on locating and operating the opening mechanism. The manual may contain illustrations, diagrams, or step-by-step instructions that clarify the specific steps required to access the interior of the case. Pay close attention to any warnings or precautions related to the opening process to ensure that it is carried out safely and effectively.
In cases where the opening mechanism is not immediately apparent, consider reaching out to the manufacturer's customer support or consulting online resources for guidance. Many manufacturers provide customer support services to assist users with product-related inquiries, including the proper method for opening and removing the waterproof case from a device.
Once you have located the opening mechanism and familiarized yourself with its operation, take a moment to ensure that the surrounding area is clear of any obstructions or potential hazards. Creating a clear and unobstructed space around the case allows for easier access and manipulation of the opening mechanism, reducing the risk of accidental damage during the removal process.
By taking the time to locate and understand the opening mechanism of your waterproof case, you set the stage for a successful and stress-free removal experience. This proactive approach ensures that you are well-prepared to engage with the specific features of the case's design, ultimately leading to a safe and efficient removal process that preserves the integrity of both the case and your iPhone.
Step 4: Gently open the case following the manufacturer's instructions
Opening a waterproof case requires precision and adherence to the manufacturer's instructions to ensure the safety of both the case and your iPhone. Each waterproof case is designed with specific features and mechanisms that facilitate secure closure and protection against water and other elements. By carefully following the manufacturer's instructions, you can safely and effectively open the case without compromising its integrity.
Begin by referring to the user manual or any provided instructional materials for detailed guidance on opening the waterproof case. The manufacturer's instructions may include step-by-step procedures, visual diagrams, or explanatory text that outline the proper method for disengaging the case's closure mechanism. Pay close attention to any warnings, cautions, or special considerations mentioned in the instructions to avoid potential damage or mishandling.
If the case features a latch or locking mechanism, follow the prescribed steps for releasing the closure in a controlled and deliberate manner. Some cases may require simultaneous manipulation of multiple latches or buttons, while others may utilize a sequential unlocking process. By adhering to the specific instructions provided by the manufacturer, you can navigate the opening process with confidence and precision.
In cases where the waterproof case incorporates a seal or gasket system, carefully follow the recommended method for breaking the seal without applying excessive force. Some seals may require a gentle twisting motion, while others may necessitate the use of specialized tools or accessories provided by the manufacturer. By approaching the opening process in accordance with the manufacturer's instructions, you can ensure that the integrity of the case's protective features remains intact.
Throughout the opening process, maintain a steady and controlled approach to avoid sudden or forceful actions that could potentially damage the case or compromise its waterproofing capabilities. If at any point you encounter resistance or uncertainty, refer back to the manufacturer's instructions for clarification or seek assistance from their customer support channels.
By gently opening the waterproof case following the manufacturer's instructions, you uphold the integrity of the case's design and protective features while safely accessing your iPhone. This meticulous approach ensures that the case can be removed without incident, allowing for maintenance, cleaning, or the use of alternative cases as needed.
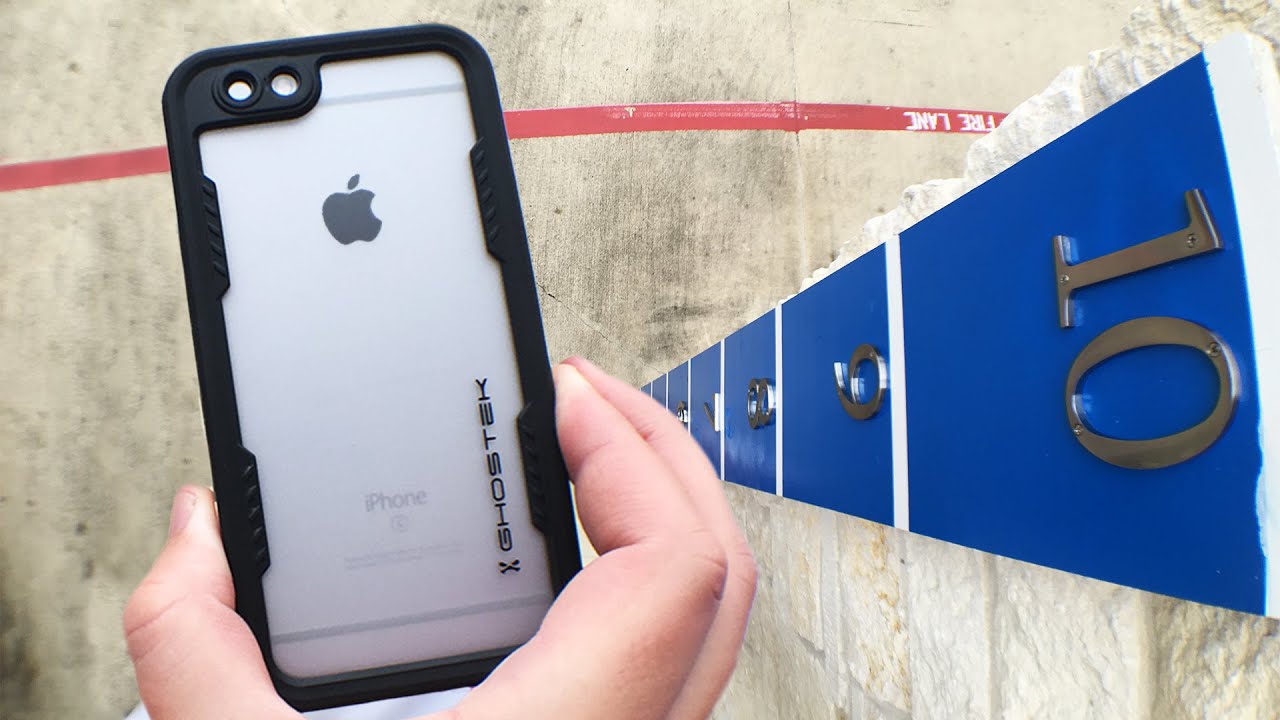
Step 5: Remove the iPhone from the case
After successfully opening the waterproof case according to the manufacturer's instructions, it is time to delicately remove your iPhone from its protective enclosure. This step requires patience and precision to ensure that both the case and the device remain unharmed during the extraction process.
Begin by gently grasping the edges of the iPhone within the case, taking care to avoid placing excessive pressure on any specific areas of the device. Slowly and steadily lift the iPhone from the case, paying attention to any resistance or sticking points that may arise. If the case fits snugly around the device, it may require a slight wiggling motion to facilitate the removal without causing any strain on the iPhone or the case.
As you begin to lift the iPhone from the case, be mindful of any cables or accessories that may be attached to the device, such as charging cables or headphone connectors. Ensure that these attachments are carefully disengaged from the iPhone before fully removing it from the case to prevent any accidental damage or strain on the connections.
In cases where the waterproof case features a two-piece design or additional internal components, such as protective padding or inserts, take extra care to support and stabilize these elements as the iPhone is being removed. By maintaining awareness of the case's internal structure, you can prevent any components from shifting or dislodging during the extraction process, preserving the overall integrity of the case.
Throughout the removal process, maintain a steady and deliberate approach, avoiding sudden or jerky movements that could potentially lead to accidental drops or impacts. By exercising patience and attentiveness, you can safely extract the iPhone from the case, preparing it for cleaning, maintenance, or the installation of an alternative protective case.
By following these careful steps, you can seamlessly remove your iPhone from the waterproof case, ensuring that both the device and the case remain in optimal condition for future use. This methodical approach guarantees the safe and damage-free removal of the iPhone, allowing you to proceed with any necessary maintenance or adjustments with confidence and peace of mind.
Step 6: Clean and dry the case and iPhone
After safely removing your iPhone from the waterproof case, the next crucial step is to clean and dry both the case and the device. This process is essential for maintaining the hygiene and functionality of your iPhone and ensuring that the waterproof case remains free from debris and moisture.
Begin by inspecting the interior and exterior of the waterproof case for any accumulated dirt, dust, or moisture. Use a soft, lint-free cloth to gently wipe the surfaces of the case, removing any visible contaminants. Pay particular attention to the areas where the iPhone makes direct contact with the case, as these regions are more susceptible to collecting debris and residue.
For more thorough cleaning, consider using a mild solution of water and gentle soap to cleanse the interior and exterior of the case. Dampen a clean cloth with the diluted soap solution and carefully wipe the surfaces of the case, taking care to avoid excessive moisture that could potentially seep into the case's openings or ports.
After cleaning the case, allow it to air dry in a well-ventilated area, ensuring that all moisture is completely evaporated before reassembling it with your iPhone. Avoid using heat sources or excessive force to dry the case, as these methods may cause damage to the case's materials or protective features.
Moving on to the iPhone, use a separate clean cloth to gently wipe its exterior, paying close attention to the areas that were in direct contact with the waterproof case. Take care to remove any residual moisture or debris that may have transferred from the case to the device during the removal process.
If your iPhone's screen or surfaces require more thorough cleaning, consider using specialized electronic device cleaning solutions or wipes that are designed to safely remove fingerprints, smudges, and other contaminants without causing damage to the device's display or finish.
Once the cleaning process is complete, allow your iPhone to air dry in a controlled environment, ensuring that no moisture remains on the device before reattaching it to the waterproof case or using it without the protective enclosure.
By diligently cleaning and drying both the waterproof case and your iPhone, you maintain the cleanliness and functionality of these essential devices, ensuring that they are ready for future use without the risk of damage or performance issues. This proactive maintenance approach prolongs the lifespan of your iPhone and its protective accessories, allowing you to enjoy their benefits with confidence and peace of mind.
Conclusion
Safely removing a waterproof case from your iPhone is a task that demands attention to detail, patience, and adherence to manufacturer guidelines. By following the step-by-step process outlined in this guide, you can ensure that both your iPhone and the waterproof case remain in optimal condition throughout the removal process.
The importance of preparing a clean and stable surface cannot be overstated. By selecting an appropriate workspace and using a soft cloth to wipe the case and iPhone, you lay the foundation for a safe and damage-free removal experience. These initial steps not only protect your devices from potential scratches or debris but also create a conducive environment for the subsequent stages of the removal process.
Locating and understanding the opening mechanism of the waterproof case is a critical preparatory step that sets the stage for a successful removal process. By familiarizing yourself with the specific features of the case's closure system and following the manufacturer's instructions, you can approach the opening process with confidence and precision, ensuring the integrity of the case's protective design.
Gently opening the case and removing the iPhone with care are pivotal steps that require attentiveness and a steady approach. By following the manufacturer's instructions and exercising patience during the extraction process, you can safeguard both the case and the device from potential damage or mishandling, setting the stage for future use or maintenance.
Finally, cleaning and drying the case and iPhone after the removal process is essential for maintaining their hygiene and functionality. By employing gentle cleaning methods and allowing both devices to air dry thoroughly, you ensure that they are free from contaminants and moisture, ready for future use or reassembly.
In conclusion, the process of safely removing a waterproof case from your iPhone is a meticulous yet rewarding endeavor. By approaching each step with care and attention to detail, you can preserve the integrity of your devices and ensure their continued functionality and protection. Whether you are preparing for maintenance, cleaning, or a change of protective cases, following the outlined steps will help you accomplish the task with confidence and peace of mind.