Introduction
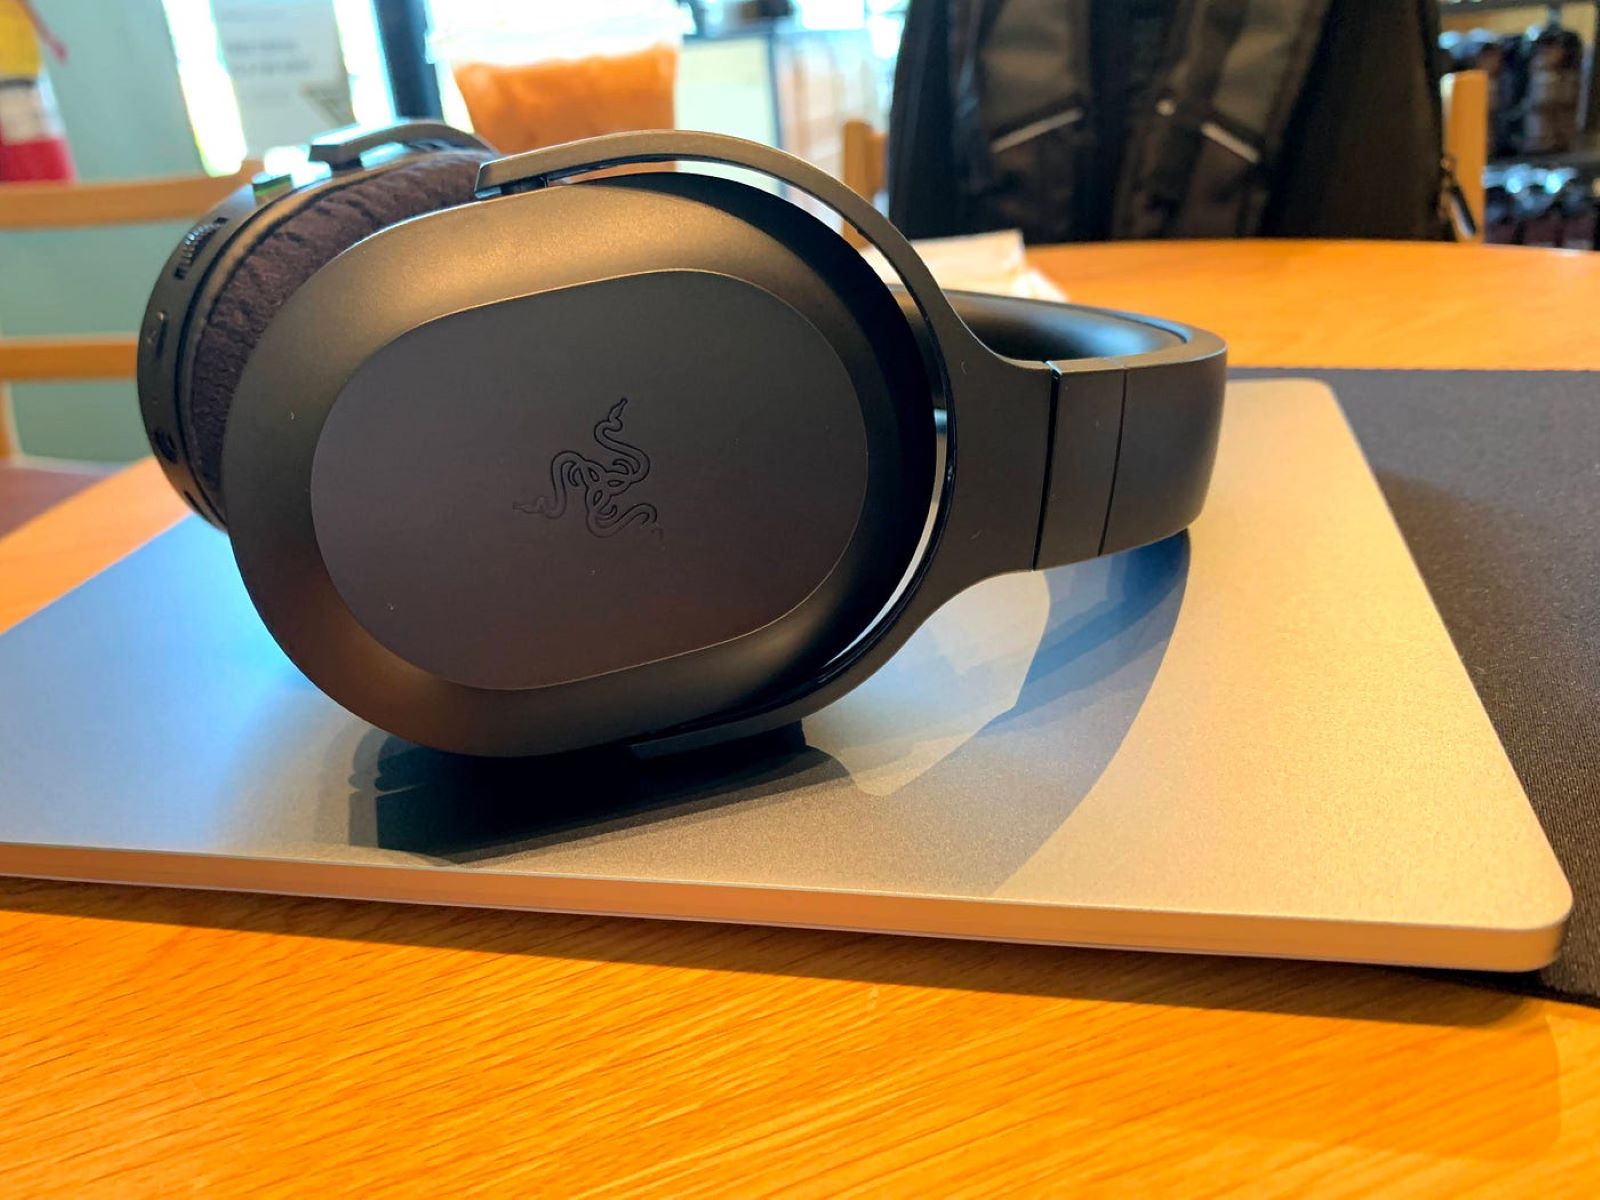
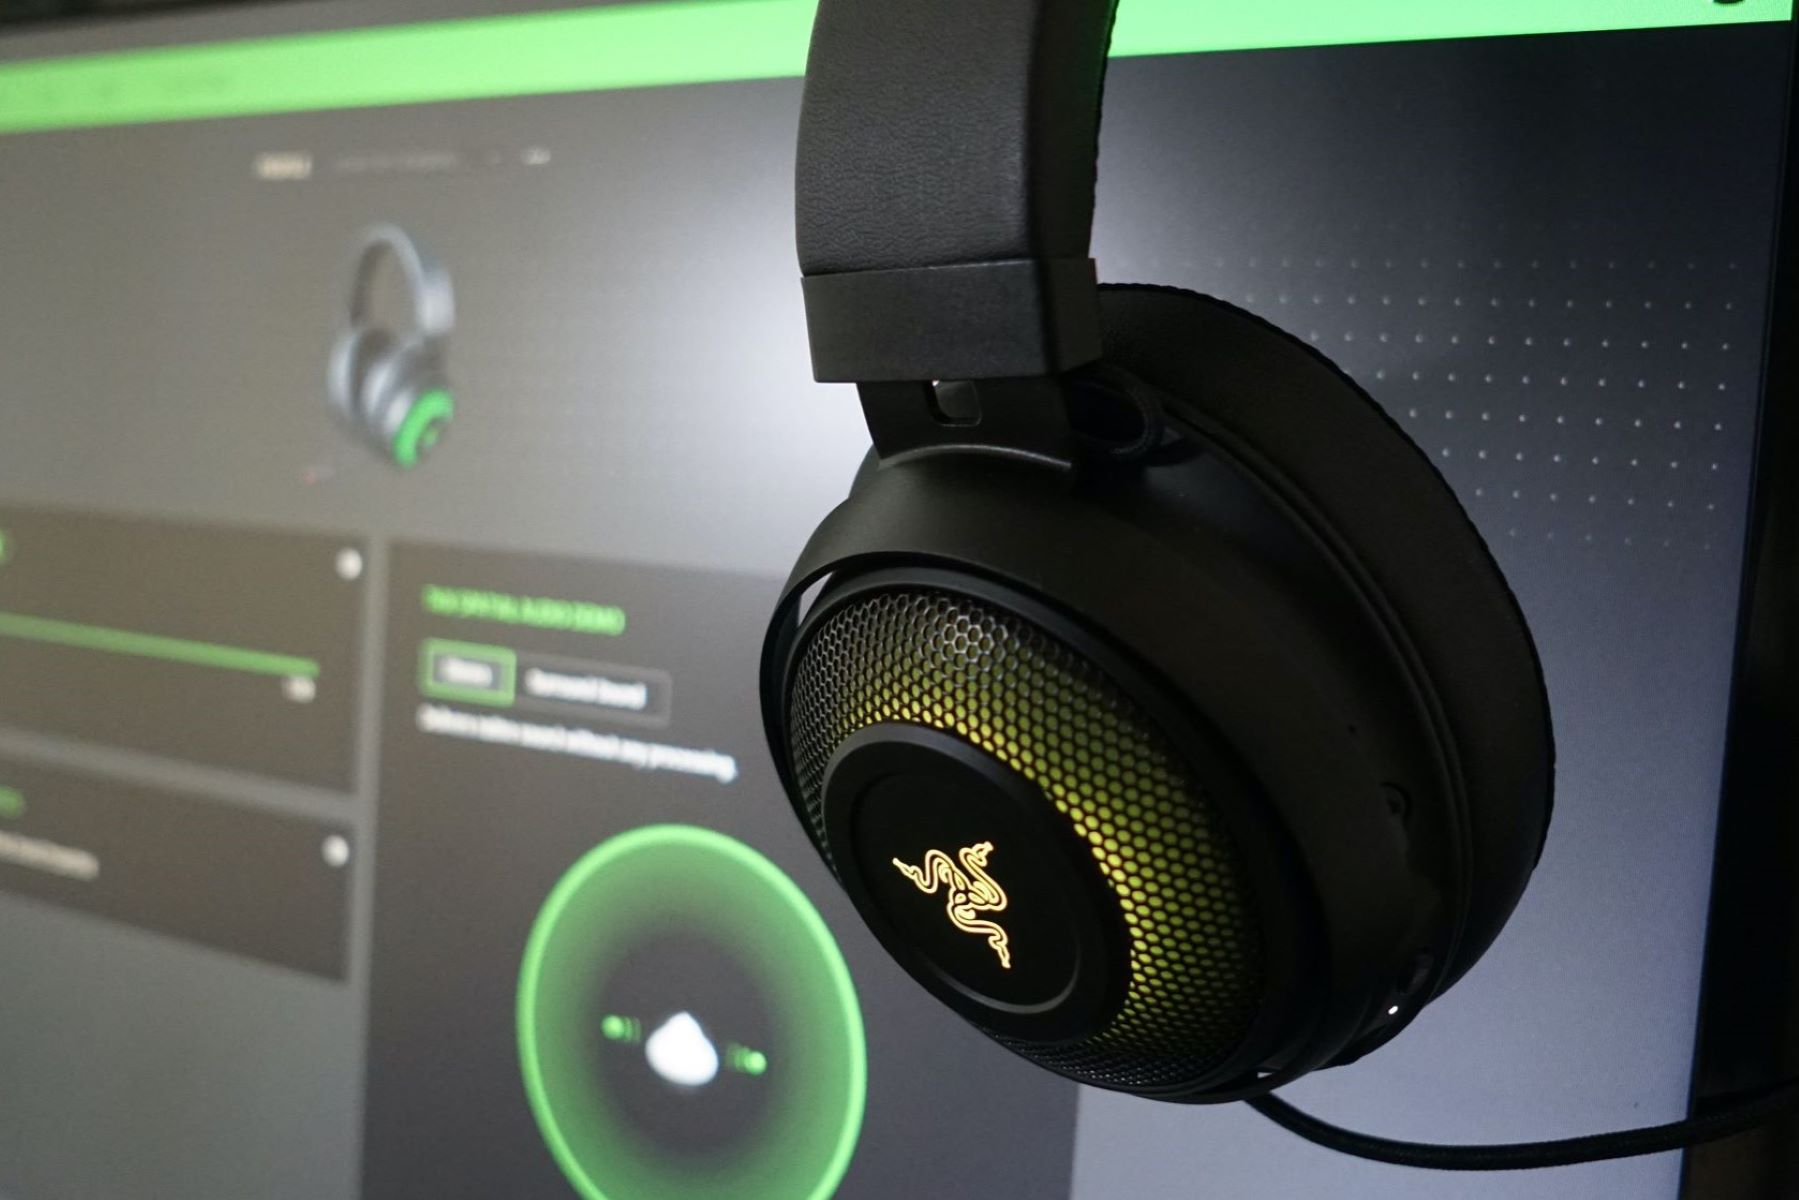
Taking care of your Razer headset is essential to ensure its longevity and optimal performance. Proper cleaning and maintenance not only keep your headset looking great but also contribute to a hygienic and enjoyable gaming experience. Whether you're a dedicated gamer, a remote worker, or an audiophile, maintaining your Razer headset is a worthwhile investment in both comfort and functionality.
A well-maintained headset not only enhances your overall gaming or audio experience but also reflects your dedication to preserving your valuable tech gear. In this guide, we will explore effective strategies for cleaning and maintaining various components of your Razer headset. From the ear cups to the headband and microphone, we will cover comprehensive care tips to help you keep your headset in top condition.
By implementing these cleaning and maintenance practices, you can extend the lifespan of your Razer headset and ensure that it continues to deliver immersive sound quality and comfort during extended use. Let's dive into the details of how to care for each part of your Razer headset, so you can enjoy a pristine and reliable audio experience every time you put it on.
Cleaning the Ear Cups
The ear cups of your Razer headset are crucial for delivering immersive sound and ensuring comfort during extended use. Over time, these ear cups can accumulate dust, dirt, and oils from your skin, affecting both the aesthetic appeal and the overall hygiene of your headset. To maintain the ear cups and preserve the audio quality, regular cleaning is essential. Here's a comprehensive guide on how to effectively clean the ear cups of your Razer headset:
Materials Needed
- Mild soap or detergent
- Warm water
- Soft microfiber cloth
- Cotton swabs
- Rubbing alcohol (optional)
Step-by-Step Cleaning Process
-
Remove the Ear Cushions: Most Razer headsets feature removable ear cushions for easy cleaning. Gently detach the cushions from the ear cups according to the manufacturer's instructions.
-
Wipe with a Damp Cloth: Dampen a soft microfiber cloth with warm water and a small amount of mild soap or detergent. Ensure the cloth is not dripping wet, as excess moisture can damage the headset. Gently wipe the ear cups to remove surface dust, dirt, and oils.
-
Clean the Ear Cushions: If the ear cushions are detachable, soak them in warm, soapy water for a few minutes. Gently scrub the cushions to remove any buildup, then rinse them thoroughly and allow them to air dry completely before reattaching them to the ear cups.
-
Detail Cleaning: For hard-to-reach areas and crevices, use cotton swabs lightly dampened with rubbing alcohol to remove stubborn dirt and grime. Be gentle to avoid damaging the delicate components of the ear cups.
-
Air Dry: After cleaning, allow the ear cups and cushions to air dry completely before reassembling the headset. Ensure that no moisture is trapped in the ear cups, as this can lead to mold or mildew growth.
By following these simple yet effective cleaning steps, you can maintain the cleanliness and integrity of the ear cups on your Razer headset. Regular cleaning not only keeps your headset looking fresh but also ensures that the audio quality remains uncompromised. Incorporating this maintenance routine into your regular headset care regimen will contribute to a more enjoyable and hygienic audio experience with your Razer headset.
Cleaning the Headband
The headband of your Razer headset plays a crucial role in providing comfort and stability during extended wear. As an integral part of the headset's design, the headband is susceptible to accumulating dirt, oils, and sweat from prolonged usage. To maintain the headband and ensure a clean and hygienic experience, regular cleaning is essential. Here's a detailed guide on how to effectively clean the headband of your Razer headset:
Materials Needed
- Mild soap or detergent
- Warm water
- Soft microfiber cloth
- Cotton swabs
- Rubbing alcohol (optional)
Step-by-Step Cleaning Process
-
Remove Detachable Components: If your Razer headset features a detachable headband cushion or padding, carefully detach it according to the manufacturer's instructions. This step ensures thorough cleaning without damaging any components.
-
Wipe with a Damp Cloth: Dampen a soft microfiber cloth with a mixture of warm water and a small amount of mild soap or detergent. Gently wipe the entire surface of the headband to remove accumulated dirt, oils, and sweat. Pay attention to any textured or grooved areas to ensure a thorough clean.
-
Detail Cleaning: For stubborn stains or hard-to-reach areas, use cotton swabs lightly dampened with rubbing alcohol. This method helps to effectively remove any ingrained dirt or residue without causing damage to the headband material.
-
Air Dry Completely: After cleaning, allow the headband and any detachable components to air dry completely before reattaching them to the headset. It's essential to ensure that no moisture is trapped within the headband, as this can lead to unpleasant odors or even mold growth over time.
-
Regular Maintenance: Incorporate headband cleaning into your regular headset care routine. Depending on usage frequency, aim to clean the headband at least once a month to maintain its cleanliness and integrity.
By following these detailed cleaning steps, you can effectively maintain the headband of your Razer headset, ensuring both hygiene and comfort during prolonged use. Keeping the headband clean not only contributes to a more pleasant wearing experience but also prolongs the lifespan of your headset, allowing you to enjoy uninterrupted gaming sessions or immersive audio experiences with confidence in the cleanliness of your gear.
Cleaning the Microphone
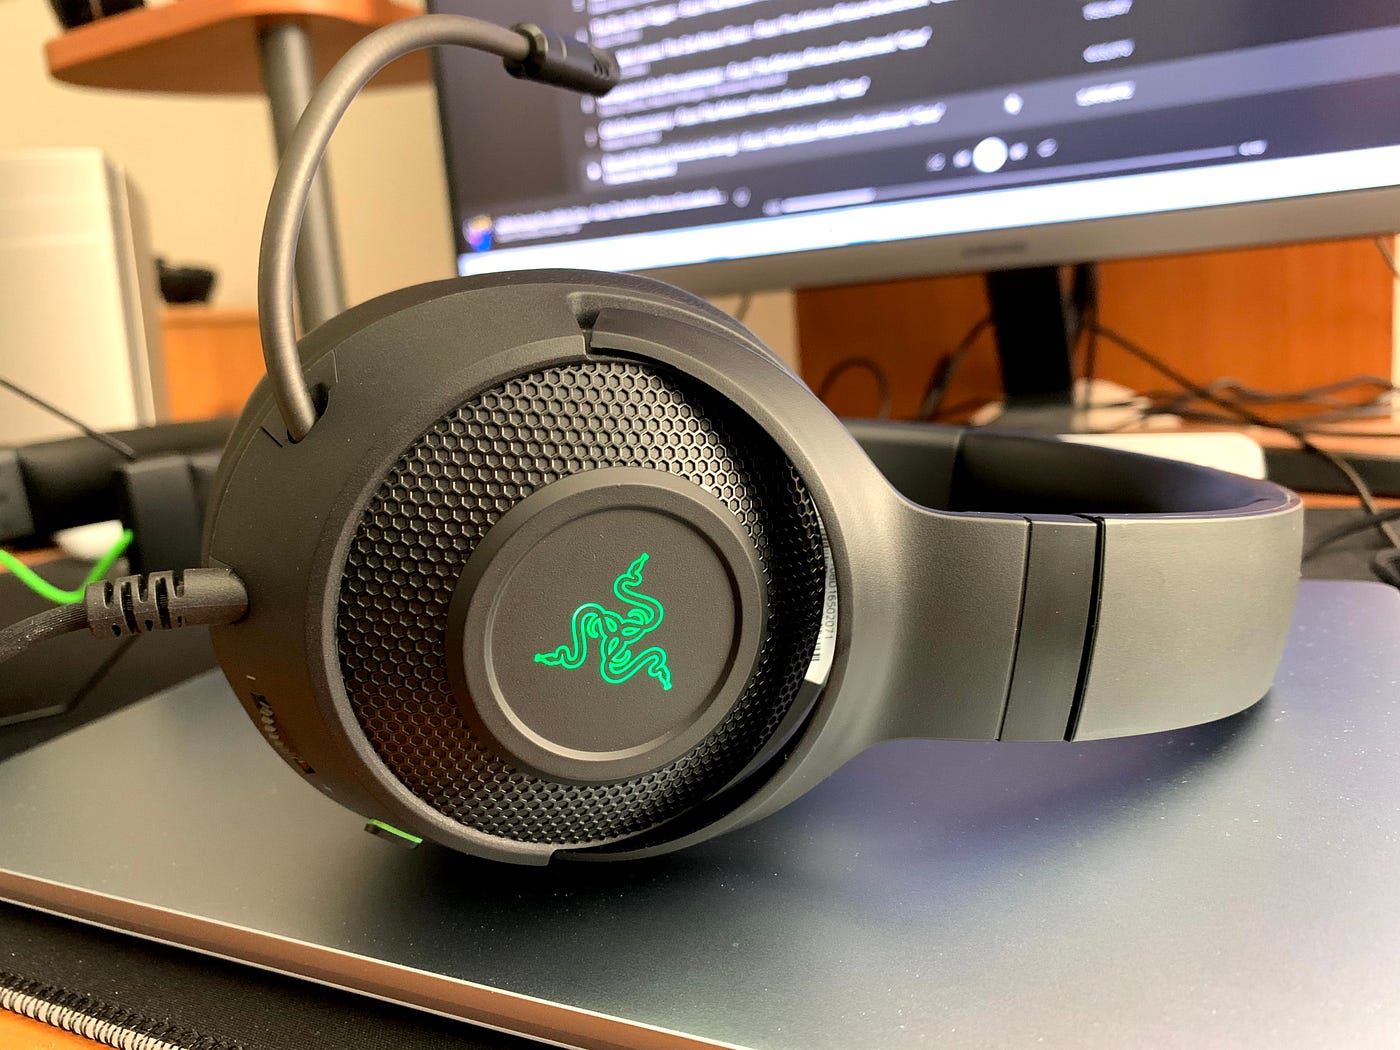
The microphone of your Razer headset is a crucial component that ensures clear and precise communication during gaming sessions, virtual meetings, or online calls. Over time, the microphone can accumulate dust, debris, and oils from regular use, potentially affecting its performance and audio quality. To maintain the microphone and ensure optimal functionality, regular cleaning is essential.
Materials Needed
- Soft bristle brush
- Compressed air canister
- Isopropyl alcohol
- Cotton swabs
- Microfiber cloth
Step-by-Step Cleaning Process
-
Inspect the Microphone: Begin by inspecting the microphone for any visible debris or dust. Check the microphone mesh and surrounding areas for accumulated dirt or particles.
-
Use Compressed Air: Gently use a compressed air canister to blow away any loose debris or dust from the microphone. Ensure that the air pressure is at a safe distance to prevent damage to the microphone components.
-
Brush Away Debris: For stubborn particles or debris, use a soft bristle brush to delicately remove them from the microphone mesh and surrounding areas. Avoid using excessive force to prevent damage to the microphone.
-
Isopropyl Alcohol Cleaning: Dampen a cotton swab with a small amount of isopropyl alcohol. Carefully swab the microphone mesh and surrounding areas to remove any remaining oils or stubborn residue. It's important to be gentle and avoid saturating the microphone with alcohol.
-
Final Clean with Microfiber Cloth: Gently wipe the entire microphone area with a dry microfiber cloth to ensure that any remaining moisture or residue is removed. This step also helps in restoring the microphone's appearance to its pristine state.
-
Allow to Air Dry: After cleaning, allow the microphone to air dry completely before using the headset. This step ensures that no moisture is trapped within the microphone, preventing potential damage or malfunctions.
-
Regular Maintenance: Incorporate microphone cleaning into your regular headset care routine. Depending on usage frequency, aim to clean the microphone at least once a month to maintain its cleanliness and ensure optimal performance.
By following these meticulous cleaning steps, you can effectively maintain the microphone of your Razer headset, ensuring clear and uninterrupted communication during gaming, virtual meetings, or online conversations. Keeping the microphone clean not only contributes to a more professional and immersive audio experience but also prolongs the lifespan of your headset, allowing you to communicate with confidence in the cleanliness of your gear.
Storing the Headset
Proper storage of your Razer headset is essential for preserving its integrity and safeguarding it from potential damage. Whether you're taking a break from gaming or need to store your headset after a remote work session, following the right storage practices can significantly impact its longevity and performance. Here's a comprehensive guide on how to effectively store your Razer headset:
Clean Before Storage
Before stowing away your headset, it's crucial to ensure that it's clean and free from any accumulated dirt, oils, or residue. Following the cleaning processes outlined for the ear cups, headband, and microphone, make sure to remove any debris and maintain a pristine condition. This step not only contributes to the overall hygiene of the headset but also prevents the buildup of grime during storage, which could potentially affect its functionality.
Utilize a Protective Case or Bag
Investing in a dedicated protective case or bag for your Razer headset can provide an added layer of safeguarding during storage. Look for a case that offers a snug fit for your specific headset model, providing protection from dust, moisture, and accidental impacts. A well-padded case can also prevent the headset from shifting or getting damaged when not in use, especially during travel or storage in crowded spaces.
Avoid Extreme Temperatures and Humidity
When choosing a storage location for your Razer headset, it's important to avoid areas prone to extreme temperatures or high humidity. Prolonged exposure to heat or moisture can potentially damage the headset's components, impacting its performance and longevity. Opt for a cool, dry storage space, away from direct sunlight and potential sources of moisture, to preserve the headset in optimal condition.
Store in a Secure Location
Select a secure and stable location for storing your Razer headset to prevent accidental falls or damage. Whether it's a dedicated spot on your desk, a designated compartment in your gaming setup, or a specific shelf in your storage area, ensure that the headset is placed securely to minimize the risk of it being knocked over or mishandled.
Unplug and Secure Cables
If your Razer headset features detachable cables, it's advisable to unplug them before storage. This prevents any strain on the connectors and ensures that the cables remain undamaged. Securely coil the cables and store them alongside the headset to maintain a tidy and organized setup, ready for the next use.
Regularly Check and Maintain
Periodically check on your stored Razer headset to ensure that it remains in optimal condition. Wipe down the surfaces, inspect for any signs of dust or debris, and reorganize the storage space as needed. Regular maintenance and care during storage contribute to the headset's longevity, ensuring that it's always ready for immersive gaming sessions or audio experiences.
By implementing these effective storage practices, you can safeguard your Razer headset from potential damage and maintain its pristine condition, ultimately prolonging its lifespan and ensuring a reliable and enjoyable audio experience every time you reach for your headset.
Conclusion
In conclusion, caring for your Razer headset through regular cleaning and maintenance is a vital aspect of preserving its longevity, ensuring optimal performance, and enhancing your overall audio experience. By following the comprehensive cleaning guidelines for the ear cups, headband, and microphone, you can effectively remove dirt, oils, and debris, contributing to a hygienic and pristine headset condition. The meticulous cleaning processes outlined for each component not only maintain the cleanliness of your headset but also safeguard its audio quality and comfort during extended use.
Furthermore, the proper storage practices highlighted in this guide offer essential insights into safeguarding your Razer headset from potential damage and preserving its integrity. By ensuring that the headset is clean before storage, utilizing a protective case or bag, and selecting a secure and stable storage location, you can prolong the lifespan of your headset and protect it from environmental factors that could compromise its functionality.
Ultimately, incorporating these cleaning, maintenance, and storage practices into your regular headset care routine can significantly impact the longevity and performance of your Razer headset. Whether you're an avid gamer, a dedicated remote worker, or an audio enthusiast, the commitment to caring for your headset reflects your dedication to preserving your valuable tech gear and ensuring a consistently enjoyable audio experience.
By implementing these effective care strategies, you can extend the lifespan of your Razer headset, maintain its pristine condition, and continue to enjoy immersive gaming sessions, productive work hours, and captivating audio experiences with confidence in the cleanliness and reliability of your gear. Embracing these care practices not only enhances the functionality and aesthetics of your Razer headset but also demonstrates a commitment to preserving and maximizing the value of your audio equipment.


