Introduction
Are you eager to free up space on your Moto G Stylus by transferring your cherished photos to your computer? Whether you're looking to safeguard your precious memories or simply declutter your device, this guide will walk you through the seamless process of migrating your photos. By following these simple steps, you can ensure that your photos are securely stored on your computer, ready to be accessed whenever you desire.
Transferring photos from your Moto G Stylus to your computer not only creates additional space on your device but also provides a backup of your treasured moments. This safeguard ensures that your memories remain intact even if your phone is lost or damaged. Additionally, organizing your photos on your computer allows for easier access and management, making it effortless to revisit and share your favorite snapshots.
In this comprehensive guide, you'll learn how to connect your Moto G Stylus to your computer, effortlessly transfer your photos, and organize and back them up for safekeeping. With these essential skills at your disposal, you can confidently manage your photo library, ensuring that every precious moment is preserved for years to come. Let's embark on this photo migration journey and empower you to take control of your digital memories.
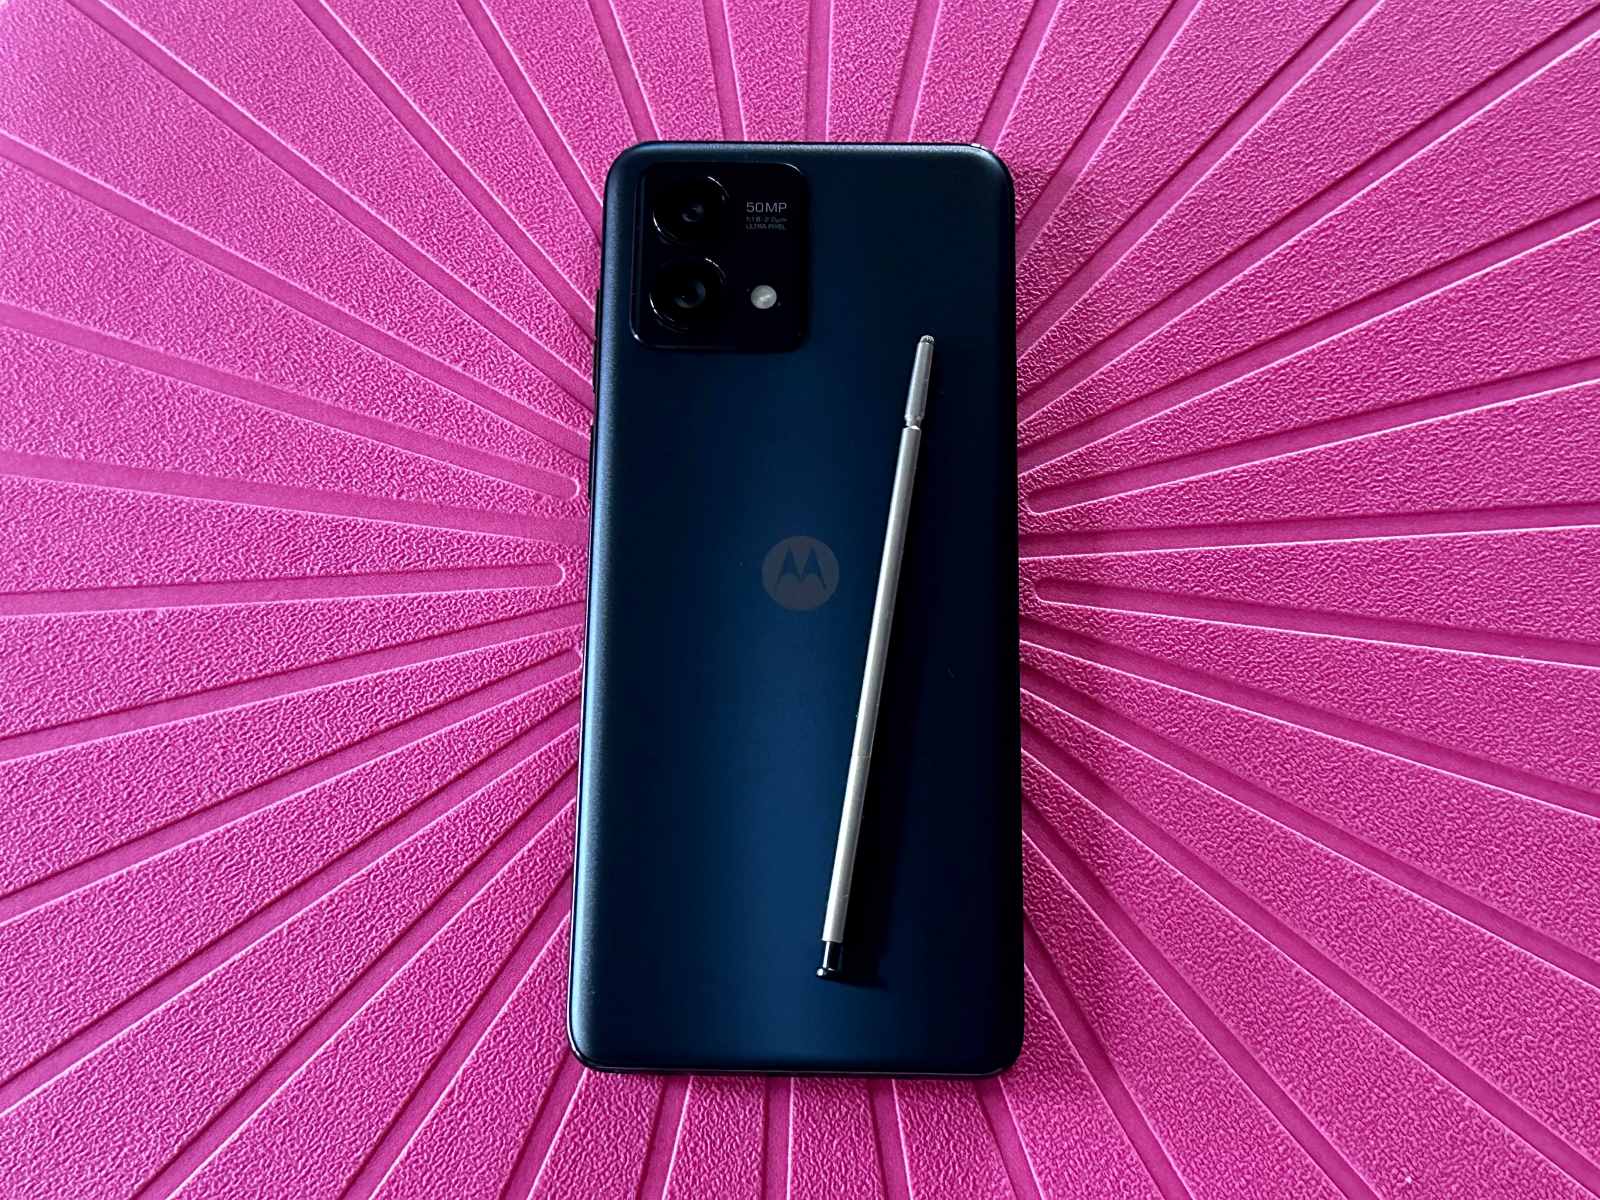
Step 1: Connecting Moto G Stylus to Computer
Before embarking on the photo transfer process, it’s crucial to establish a seamless connection between your Moto G Stylus and your computer. This initial step sets the stage for the smooth transfer of your cherished photos, ensuring that the migration process is efficient and hassle-free.
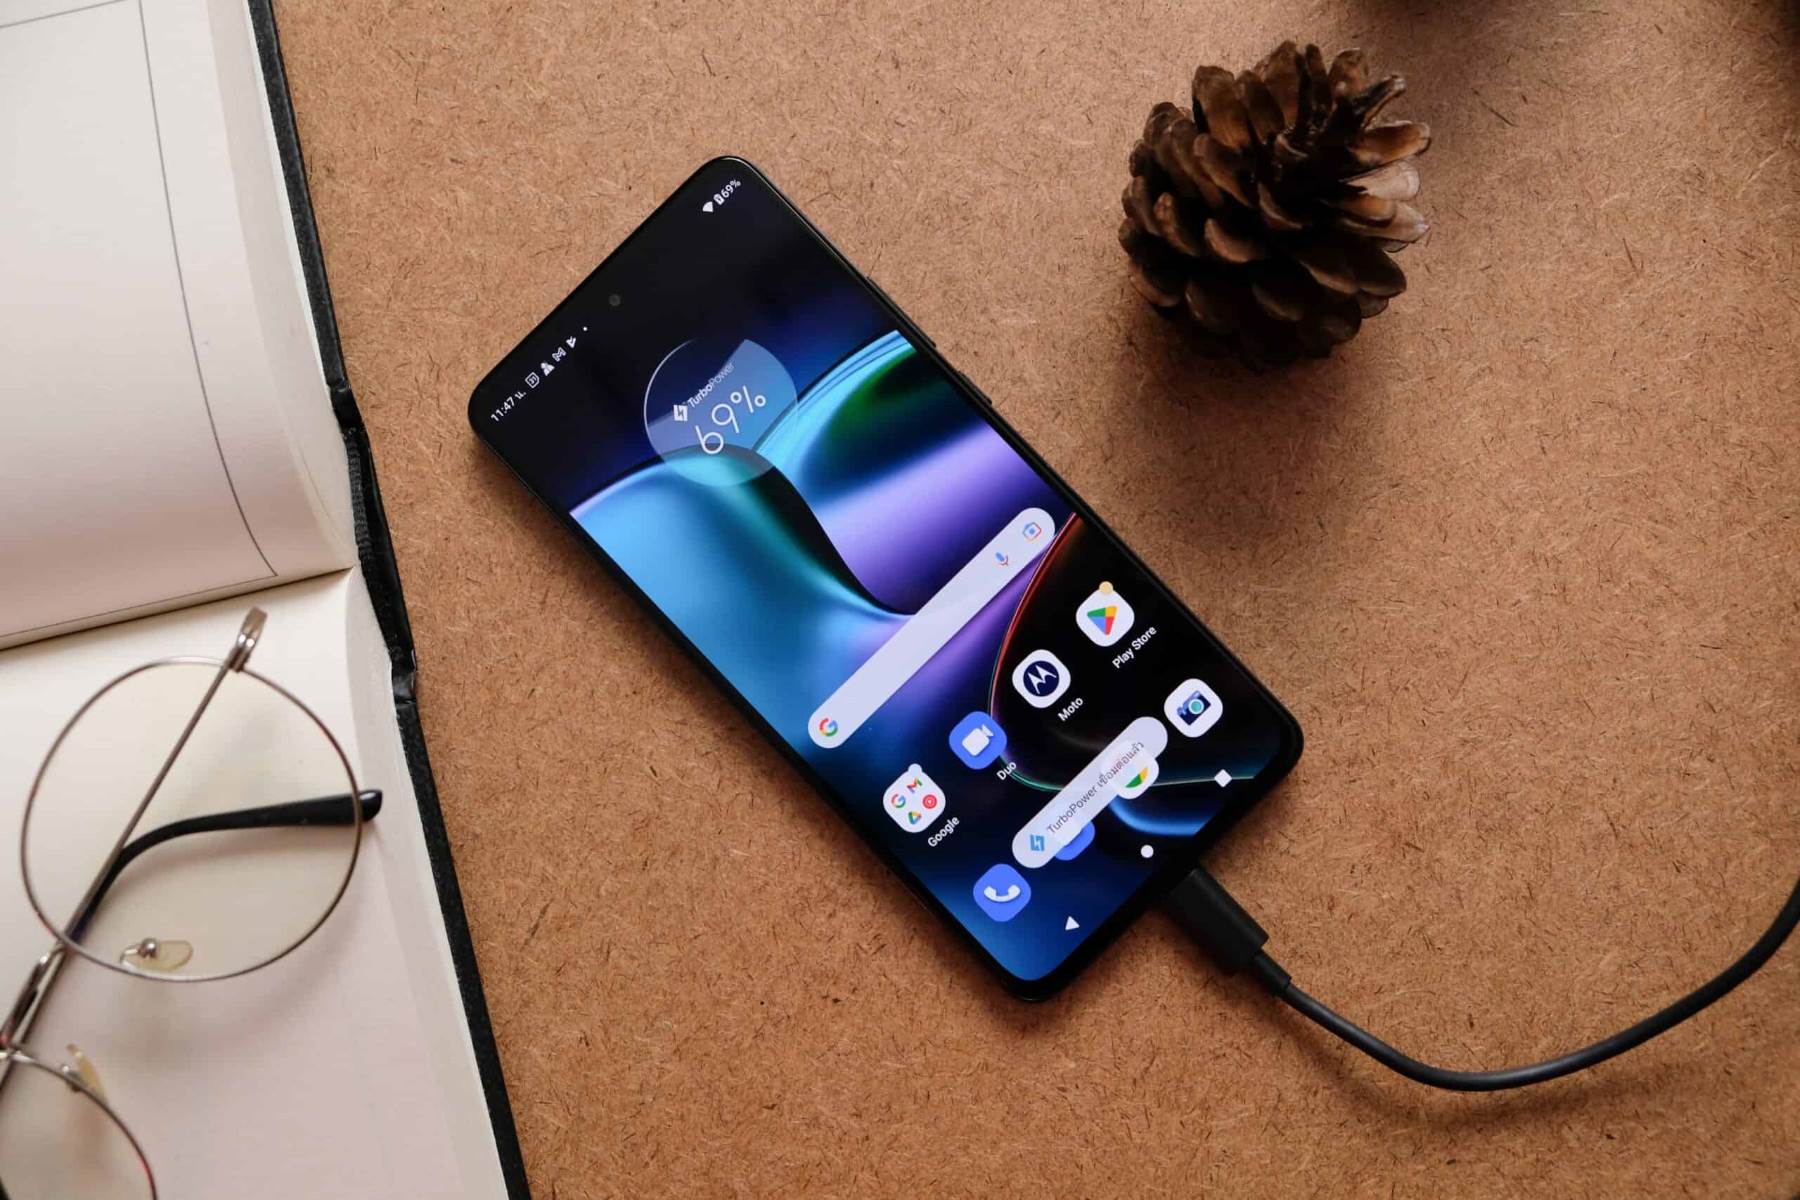
To connect your Moto G Stylus to your computer, begin by locating the USB-C charging cable that was included with your device. This cable serves as the bridge between your phone and computer, facilitating the transfer of data, including your precious photos. With the USB-C cable in hand, follow these simple steps to establish a secure connection:
- Step 1: Locate the USB-C port on your Moto G Stylus. This port is typically located at the bottom of the device, allowing for easy access when connecting the charging cable.
- Step 2: Connect one end of the USB-C cable to the port on your Moto G Stylus, ensuring a snug and secure fit. The cable should slide into place effortlessly, establishing a stable connection with your device.
- Step 3: Once the cable is securely attached to your Moto G Stylus, locate an available USB port on your computer. Depending on your computer’s make and model, the USB ports may be located on the front, back, or sides of the device.
- Step 4: Insert the opposite end of the USB-C cable into the USB port on your computer, gently pushing it into place. As the cable connects to your computer, you’ll hear a subtle click, indicating that the connection has been established.
Upon completing these straightforward steps, your Moto G Stylus is successfully linked to your computer, laying the foundation for the seamless transfer of your photos. With this vital connection in place, you’re now ready to embark on the next phase of the photo migration process, ensuring that your cherished memories are securely stored on your computer for safekeeping and easy access.
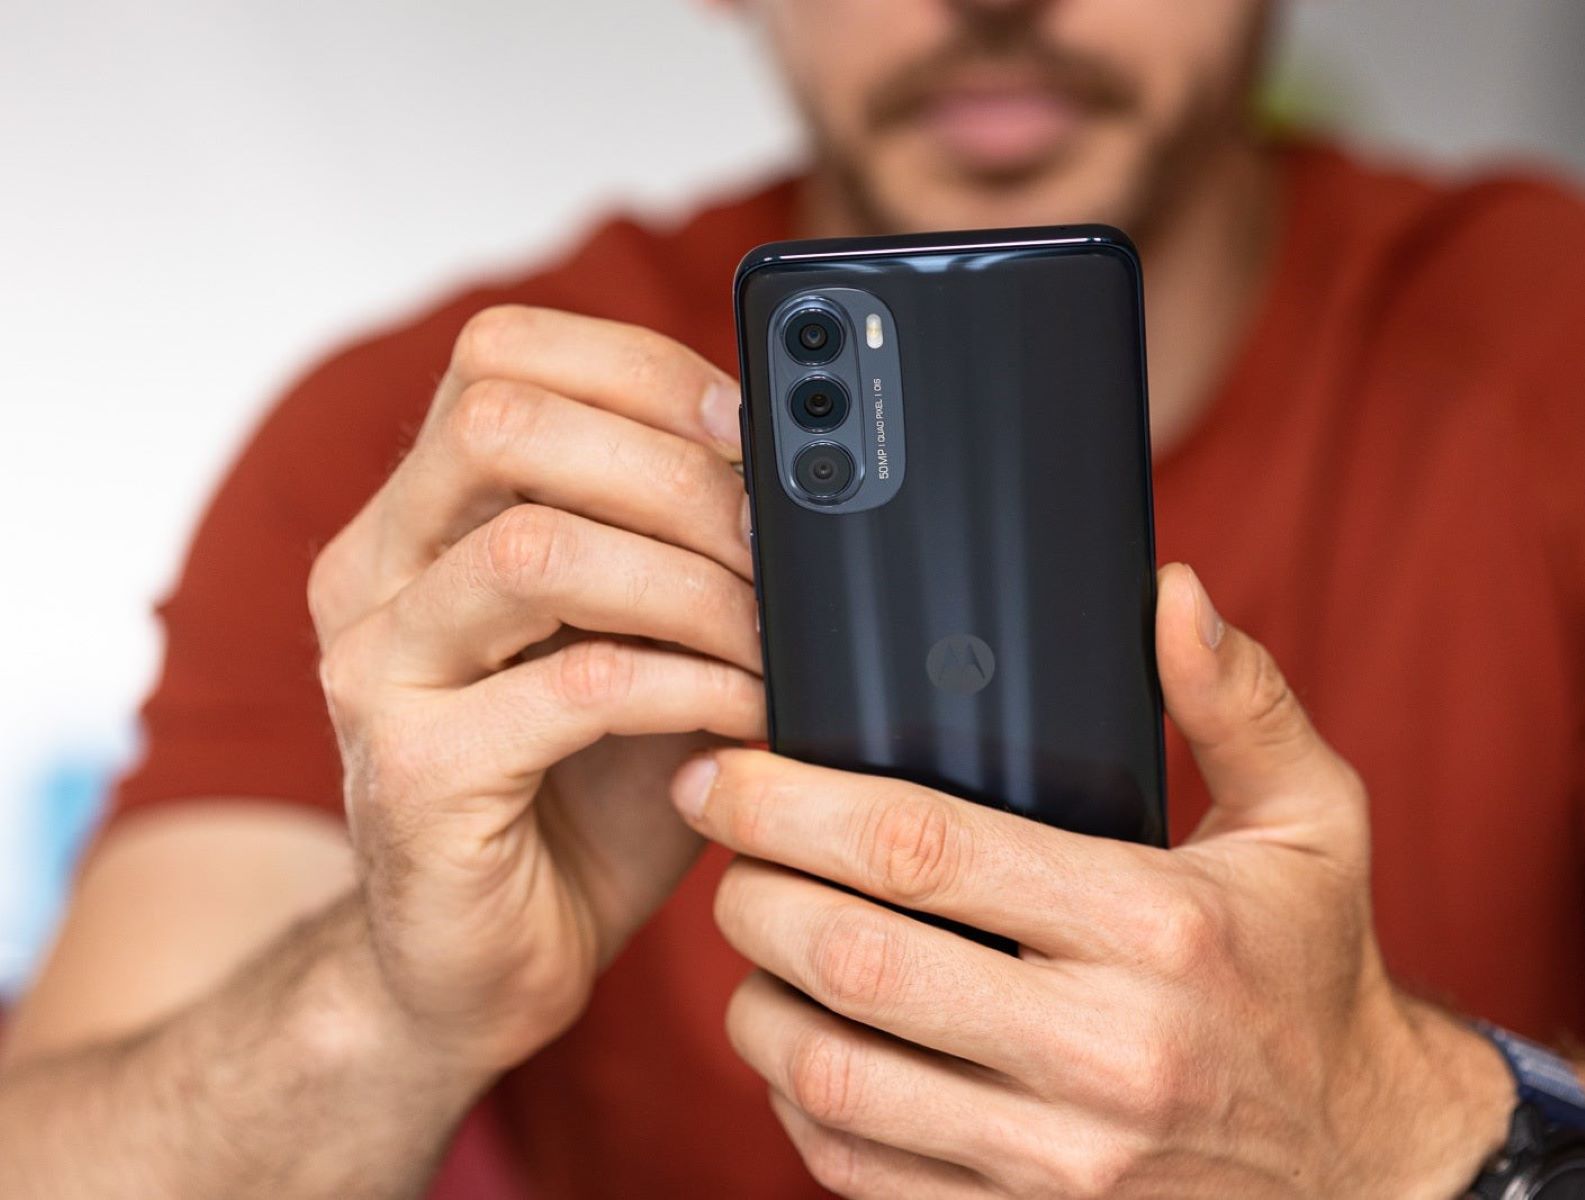
Step 2: Transferring Photos from Moto G Stylus to Computer
With your Moto G Stylus successfully connected to your computer, the next crucial step is to initiate the seamless transfer of your beloved photos. This process ensures that your treasured memories are securely migrated from your device to your computer, creating additional space on your phone while establishing a reliable backup on your computer. Follow these straightforward steps to effortlessly transfer your photos:
- Step 1: On your Moto G Stylus, navigate to the home screen and unlock your device, ensuring that it is accessible for data transfer.
- Step 2: Once your device is unlocked, you’ll receive a notification on your Moto G Stylus, prompting you to select the USB connection type. Choose the “File Transfer” or “Transfer Photos” option to enable the transfer of your photos to your computer.
- Step 3: After selecting the appropriate USB connection type, navigate to your computer and open the file explorer or file manager application. Locate your Moto G Stylus in the list of available devices or drives, and click to open it. You should see a list of folders and files stored on your device.
- Step 4: Within the list of folders, locate the “DCIM” folder, which stands for “Digital Camera Images.” This folder contains your photos and videos captured by your Moto G Stylus. Open the “DCIM” folder to reveal the subfolders containing your cherished photos.
- Step 5: Select the desired photos that you wish to transfer to your computer. You can either transfer individual photos or entire folders containing multiple images, depending on your preferences.
- Step 6: Once you’ve selected the photos for transfer, copy or drag them to a designated folder on your computer. This folder can be located on your desktop, in your documents, or any preferred location for easy access.
- Step 7: As the transfer progresses, monitor the process to ensure that all selected photos are successfully copied to your computer. Once the transfer is complete, you’ll have a secure backup of your photos on your computer, ready to be organized and cherished.
By following these simple steps, you can seamlessly transfer your photos from your Moto G Stylus to your computer, ensuring that your cherished memories are safely preserved and easily accessible. With this essential process complete, your photos are now securely stored on your computer, providing peace of mind and additional space on your device for new memories to be captured.
Step 3: Organizing and Backing Up Photos
Now that your photos have been successfully transferred from your Moto G Stylus to your computer, it’s essential to organize and back them up for convenient access and secure storage. This crucial step ensures that your cherished memories are easily navigable and safeguarded from potential data loss. Follow these simple guidelines to organize and back up your photos effectively:
- Organizing Your Photos: Begin by creating a designated folder on your computer to store your transferred photos. This folder can be named according to the date, event, or any preferred categorization that suits your organizational preferences. Once the folder is created, transfer your photos into it, ensuring that they are neatly arranged and easily accessible.
- Backing Up Your Photos: In addition to organizing your photos on your computer, it’s vital to establish a backup to safeguard against potential data loss. Consider utilizing cloud storage services, external hard drives, or dedicated backup software to create redundant copies of your photo library. This proactive approach ensures that your memories are protected even in the event of hardware failure or unforeseen circumstances.
- Creating Photo Albums: Leverage the organizational capabilities of your computer to create photo albums or collections based on specific themes, events, or individuals. By categorizing your photos into albums, you can easily locate and share them with friends and family, enhancing the enjoyment and accessibility of your cherished memories.
- Implementing Metadata Tags: Explore the option of adding metadata tags to your photos, such as location, date, and keywords, to enhance searchability and categorization. By incorporating metadata, you can streamline the process of locating specific photos within your organized library, saving time and simplifying the retrieval of treasured memories.
By diligently organizing and backing up your photos, you ensure that your digital memories are preserved in an orderly and secure manner. This proactive approach not only facilitates easy access to your cherished photos but also provides peace of mind, knowing that your memories are safeguarded against unforeseen data loss. With your photos organized and backed up, you can confidently navigate your digital photo library, reliving and sharing your treasured moments with ease.