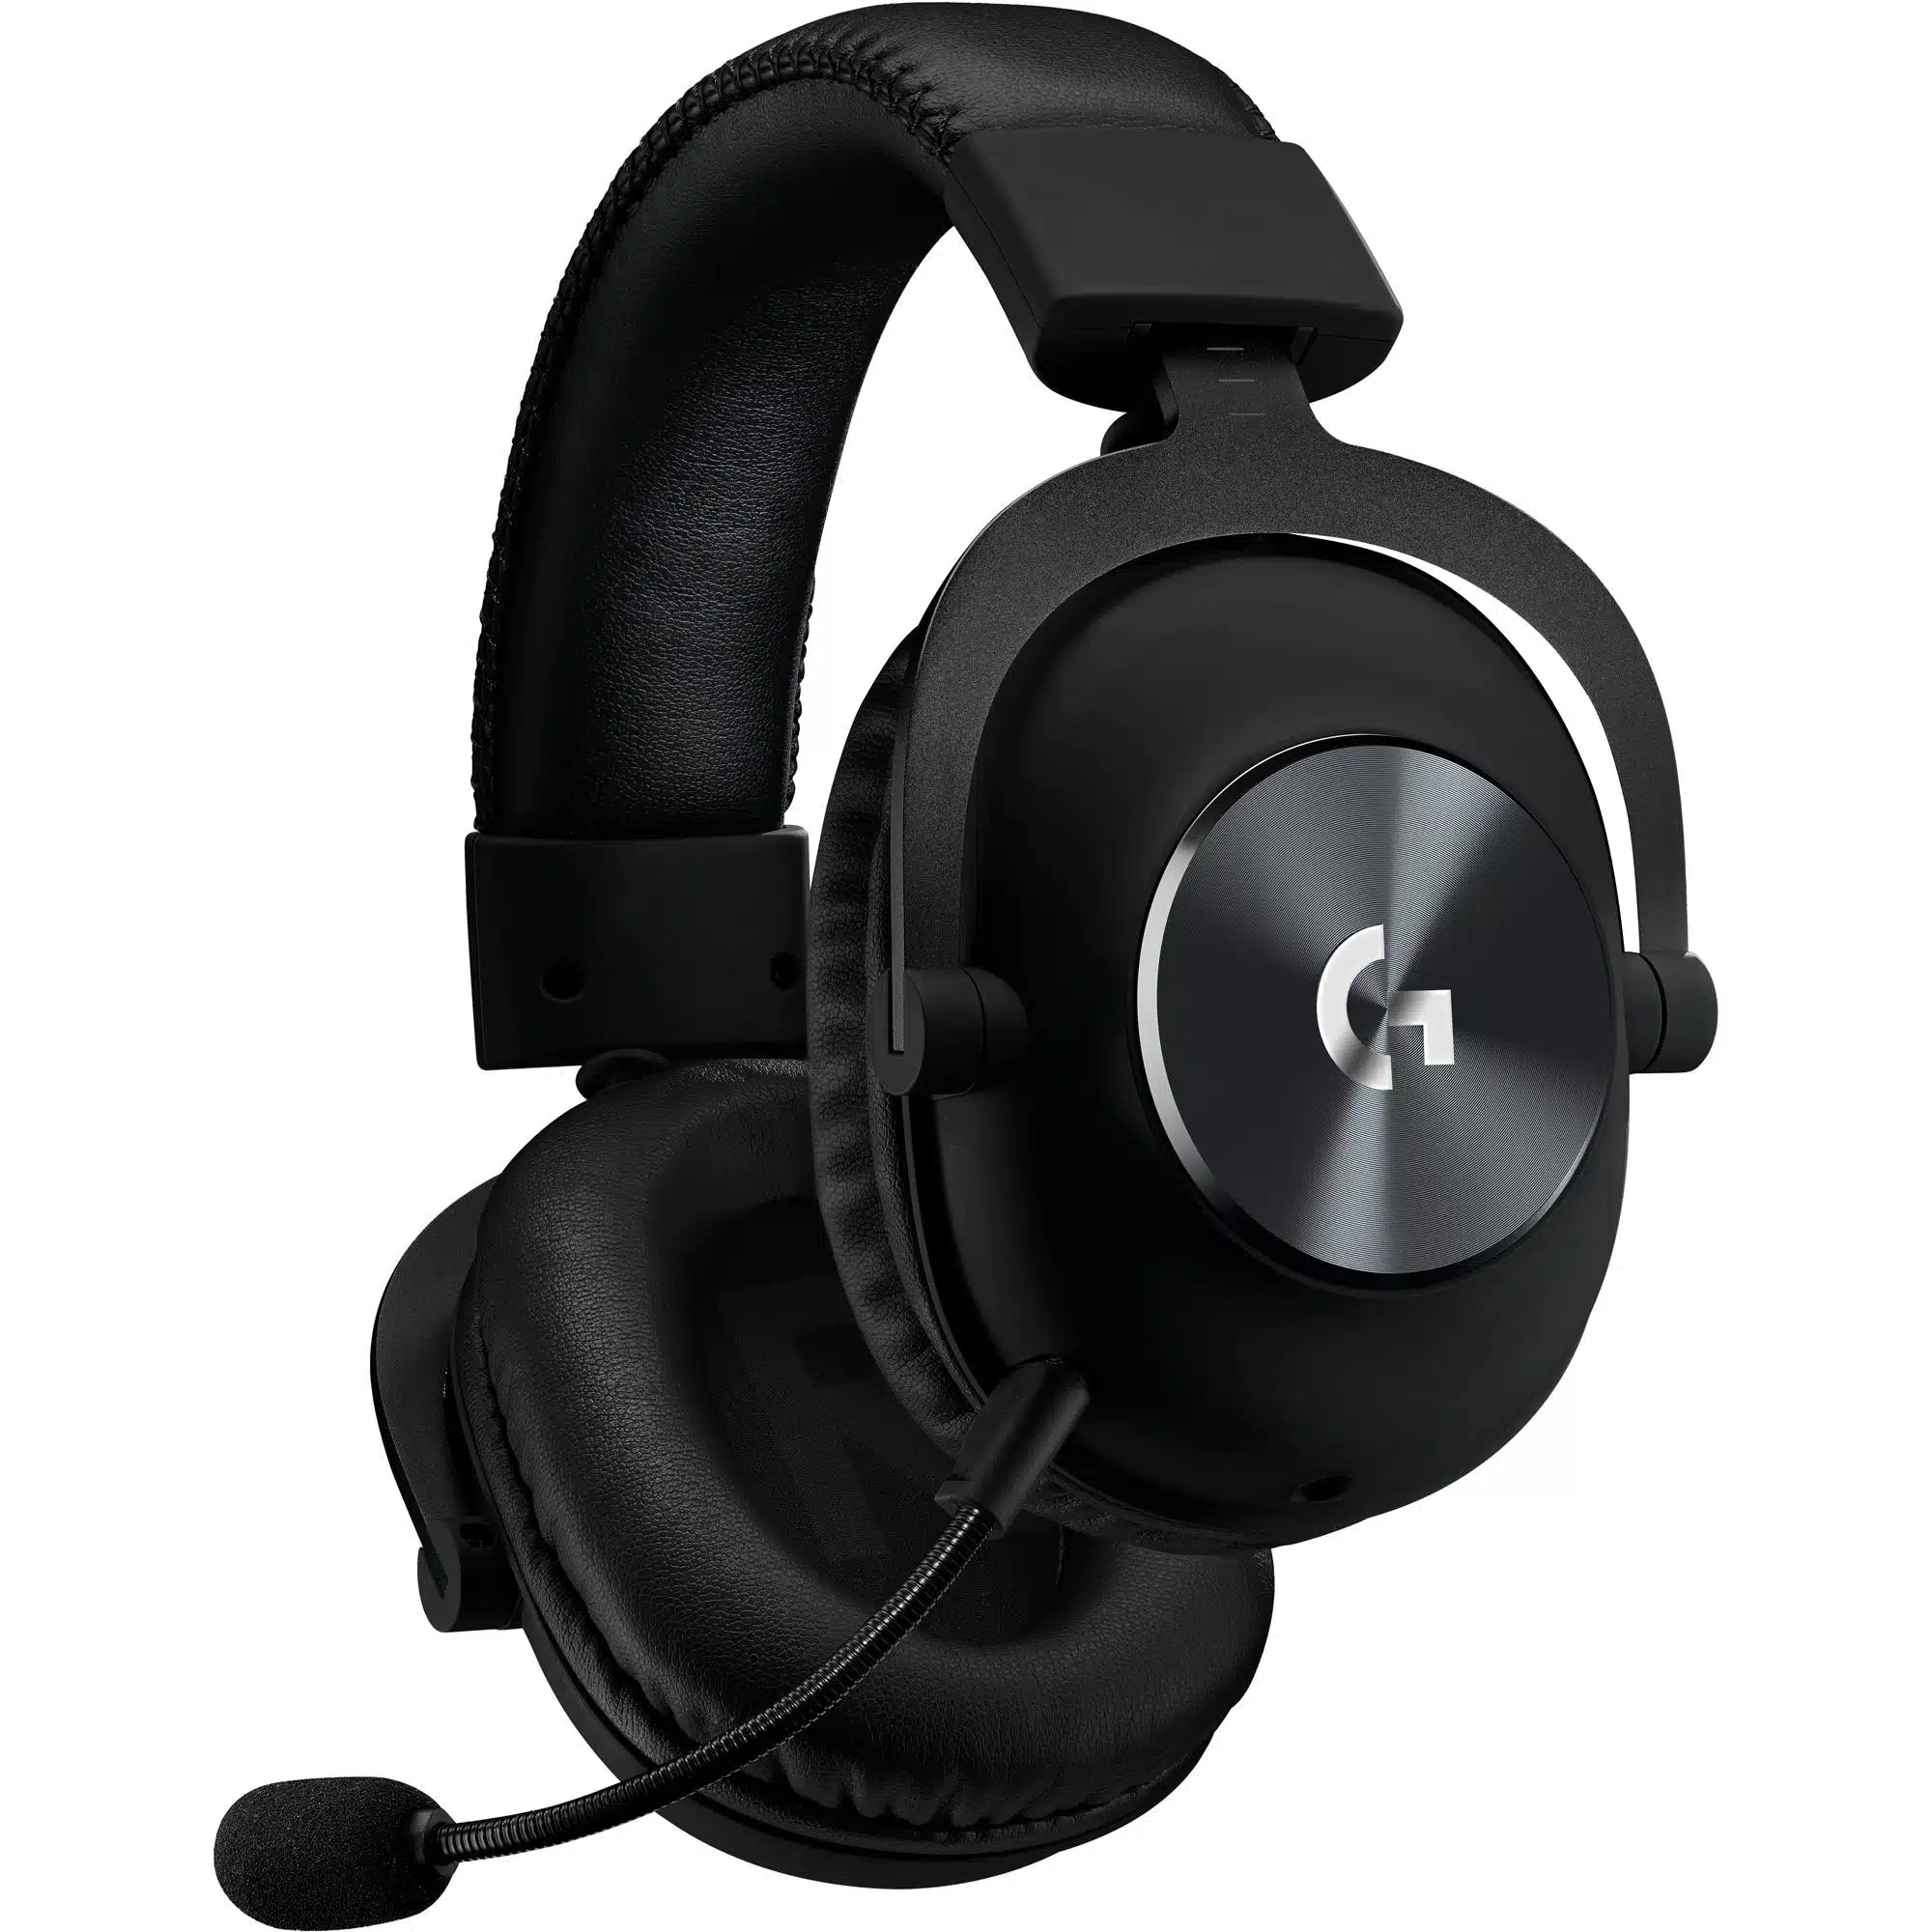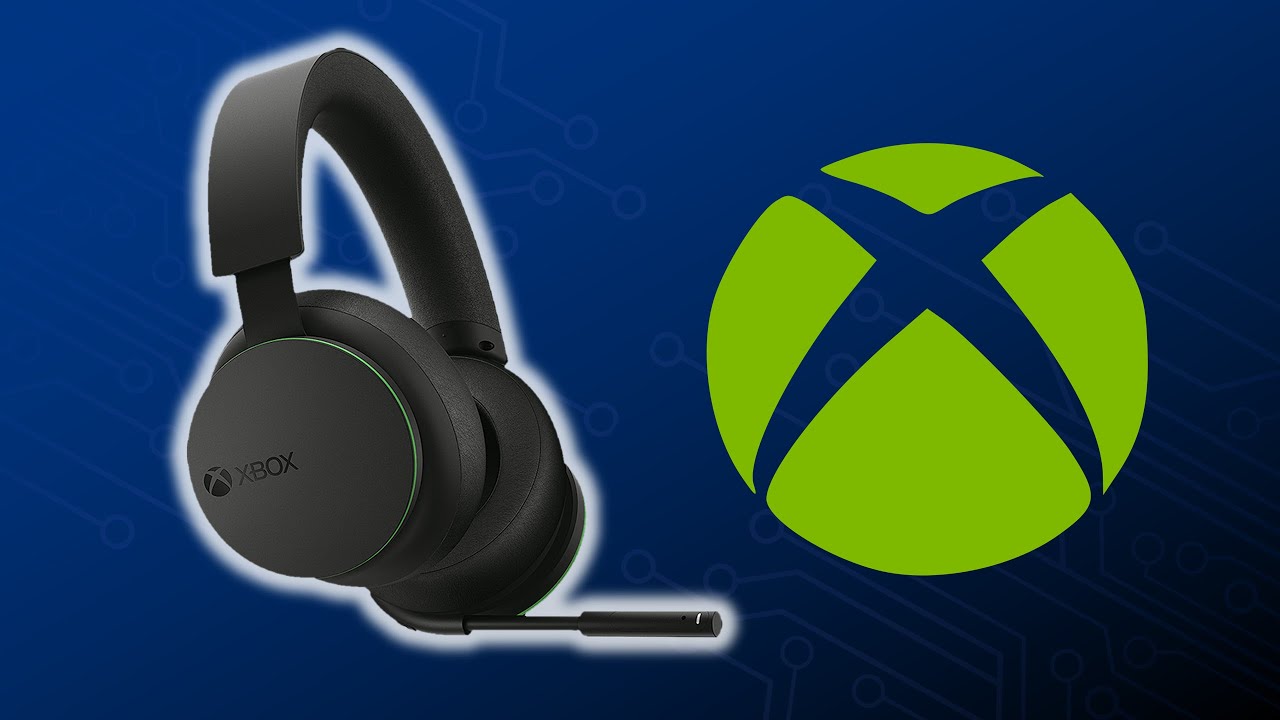
Introduction
Disassembling your Xbox One headset can be an insightful and rewarding experience, providing a deeper understanding of its internal components and functionality. Whether you're looking to customize your headset, replace damaged parts, or simply satisfy your curiosity, this quick guide will walk you through the process step by step. By following these instructions, you'll gain valuable insight into the intricate design of your headset and learn how its various components work together to deliver high-quality audio.
Exploring the internal structure of your headset can also enhance your overall gadget-usage knowledge, allowing you to appreciate the engineering that goes into creating these essential accessories for gaming and communication. Moreover, by understanding how to disassemble and reassemble your headset, you'll be better equipped to troubleshoot any potential issues that may arise in the future.
This guide aims to empower you with the knowledge and confidence to disassemble your Xbox One headset with ease. As you embark on this disassembly journey, you'll gain a hands-on perspective of the intricate craftsmanship that goes into creating these advanced audio devices. So, gather your tools and let's dive into the fascinating world of headset disassembly!
Tools and Materials Needed
Before embarking on the disassembly process, it's essential to gather the necessary tools and materials to ensure a smooth and efficient experience. Here's a comprehensive list of the items you'll need to disassemble your Xbox One headset:
-
Precision Screwdriver Set: A precision screwdriver set is indispensable for removing the small screws that secure the components of your headset. Opt for a set that includes various Phillips and flathead screwdriver sizes to accommodate different screw types.
-
Plastic Opening Tools: These non-conductive tools are designed to pry open electronic devices without causing damage. They are particularly useful for separating the delicate components of the headset without scratching or scuffing them.
-
Tweezers: Fine-tipped tweezers are essential for handling small components and delicate wires during the disassembly process. They provide precision and control when manipulating intricate parts inside the headset.
-
Anti-Static Wrist Strap: To prevent electrostatic discharge (ESD) from damaging the sensitive electronic components of the headset, an anti-static wrist strap is crucial. By grounding yourself and dissipating any static electricity, you'll protect the internal circuitry from potential harm.
-
Clean Workspace: Set up a clean and well-lit workspace to perform the disassembly. A clutter-free environment will minimize the risk of misplacing small components and facilitate a systematic approach to the process.
-
Magnifying Glass or Headset Magnifier: A magnifying tool can be immensely helpful for inspecting small details and identifying intricate connections within the headset. It aids in ensuring precision and accuracy during the disassembly and reassembly stages.
-
Replacement Parts (Optional): If your goal is to replace specific components or customize your headset, ensure that you have the necessary replacement parts on hand. This may include new ear cushions, headband padding, or speaker units, depending on your disassembly objectives.
By assembling these tools and materials, you'll be well-equipped to embark on the disassembly process with confidence and precision. With the right tools at your disposal, you can approach the intricate task of dismantling your Xbox One headset with ease and finesse.
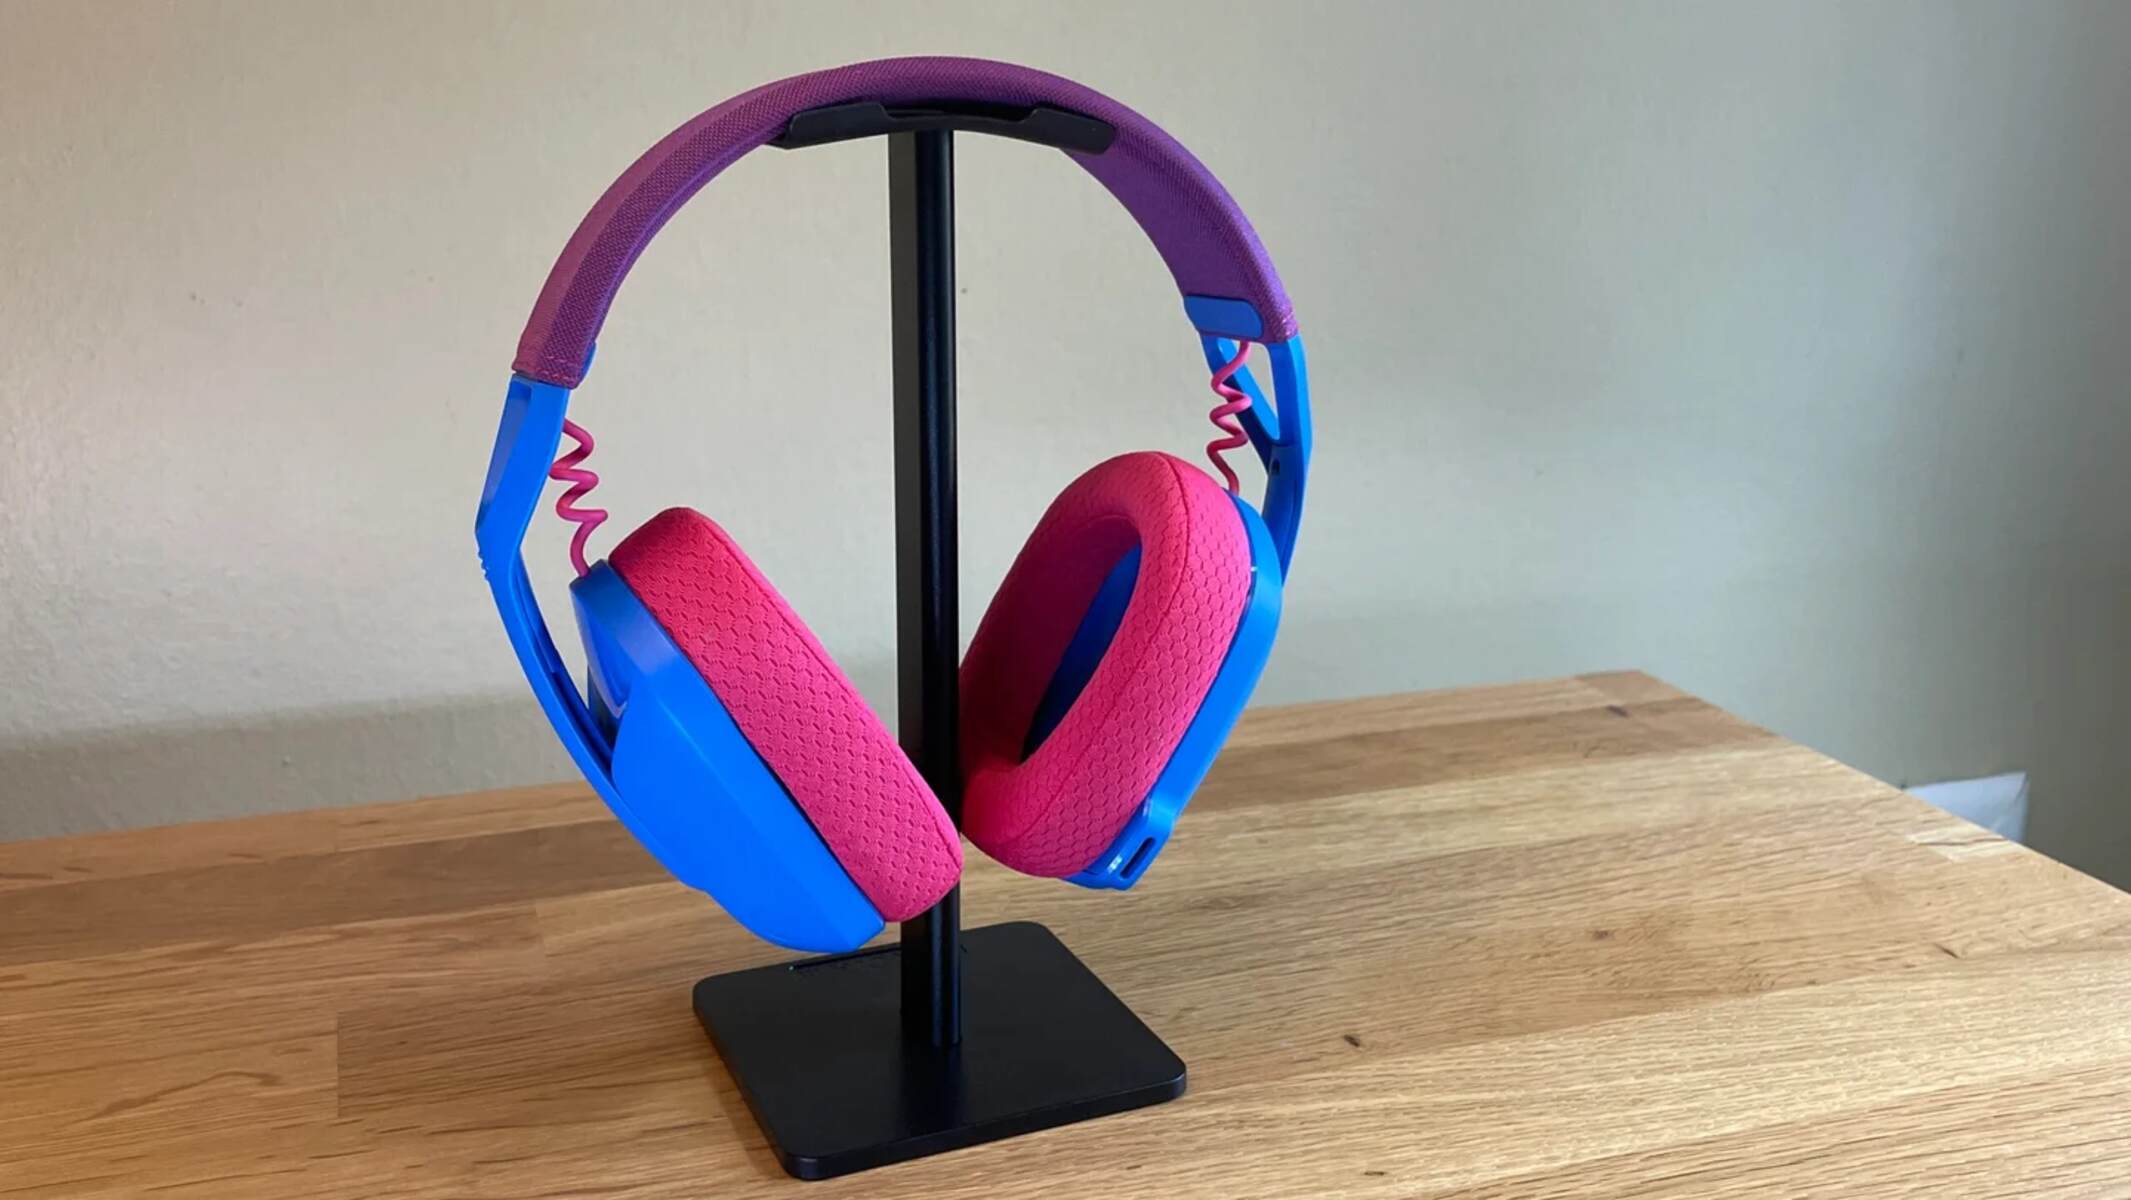
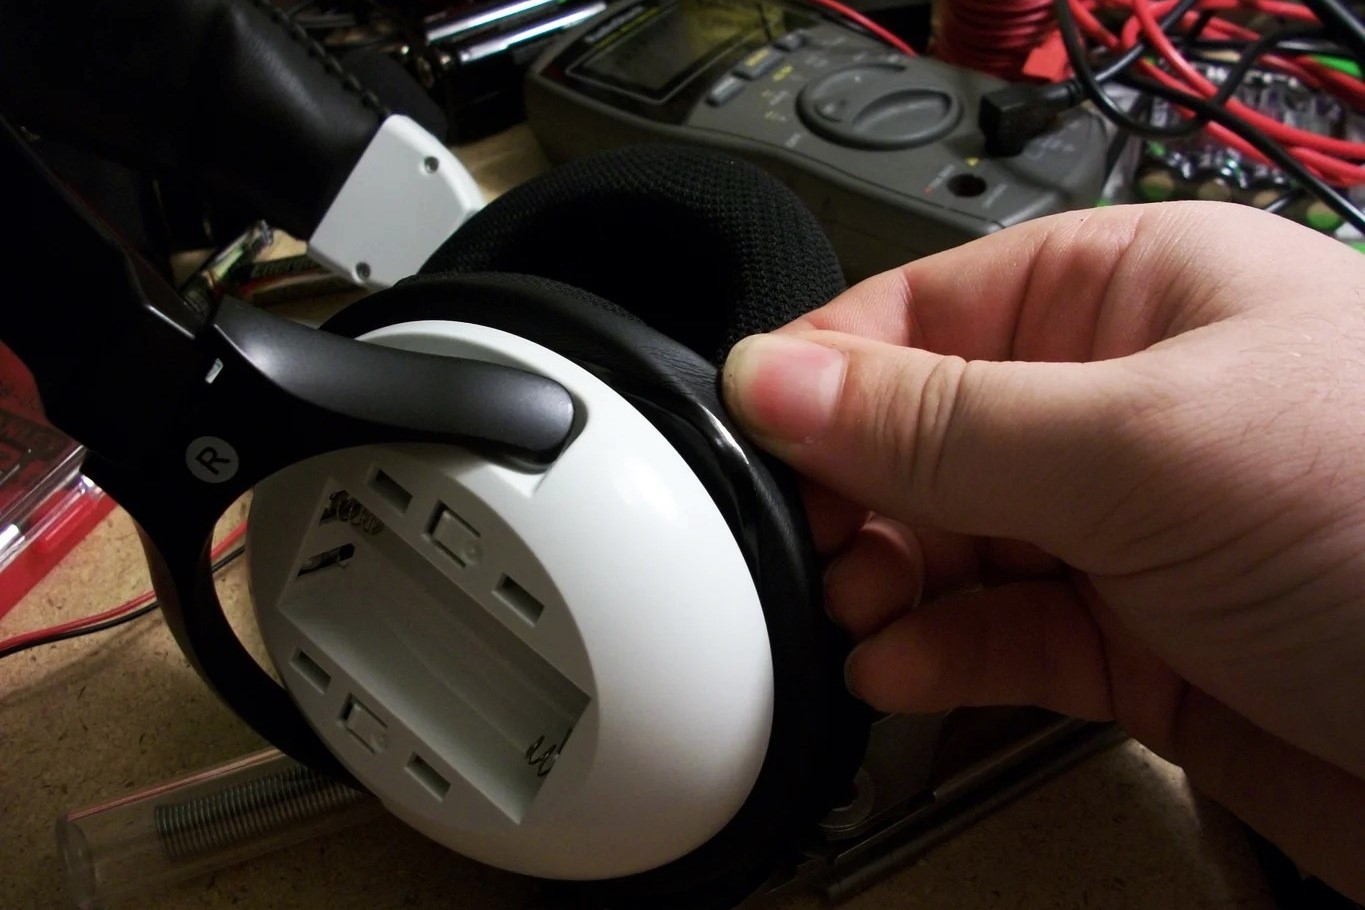
Step 1: Removing the Ear Cushions
The first step in disassembling your Xbox One headset involves removing the ear cushions to gain access to the internal components. The ear cushions are typically attached to the ear cups using a combination of clips, adhesive, or a twist-lock mechanism. To begin, gently grasp the outer edge of the ear cushion and carefully pull it away from the ear cup. Depending on the design of your headset, you may encounter clips that secure the cushion in place. In such cases, apply even pressure around the circumference of the cushion to release the clips and detach it from the ear cup.
If the ear cushions are adhered to the ear cups with adhesive, use a plastic opening tool to carefully separate the cushion from the housing. Insert the edge of the opening tool between the cushion and the ear cup, and gently pry it away, taking care not to damage the cushion or the underlying components. Alternatively, if your headset features a twist-lock mechanism, rotate the cushion counterclockwise to unlock it from the ear cup, then lift it away to reveal the internal structure.
As you remove the ear cushions, take note of any wires or connectors that may be attached to the cushion assembly. Some headsets incorporate wiring for features such as active noise cancellation or integrated controls. If your ear cushions are equipped with such wiring, carefully disconnect any connectors to ensure a smooth removal process. By exercising caution and attentiveness during this step, you'll preserve the integrity of the ear cushions and pave the way for accessing the inner workings of the headset.
Once the ear cushions have been successfully removed, set them aside in a safe location to prevent damage or misplacement. With the ear cushions out of the way, you'll now have a clear view of the internal components housed within the ear cups, setting the stage for the subsequent steps of the disassembly process. This initial phase not only grants access to the inner mechanisms of the headset but also sets the tone for a methodical and meticulous disassembly experience, laying the groundwork for a deeper exploration of the headset's intricate construction.
Step 2: Removing the Headband
After successfully removing the ear cushions and gaining access to the internal components of your Xbox One headset, the next step involves removing the headband to further unveil the intricate design of the device. The headband, which provides structural support and comfort, is typically secured to the ear cups via an adjustable mechanism and attachment points. To begin the process of detaching the headband, follow these detailed steps:
-
Identify Attachment Points: Examine the connection points where the headband meets the ear cups. Depending on the headset model, you may find screws, clips, or a combination of both securing the headband in place. These attachment points are crucial to the structural integrity of the headset and must be carefully addressed during the disassembly process.
-
Unscrew Fastening Screws: If your headset features screws securing the headband to the ear cups, utilize the appropriate size of the precision screwdriver from your toolkit to carefully remove these fasteners. Exercise caution to avoid stripping the screw heads or causing damage to the surrounding components. Keep track of the removed screws to ensure they can be reinstalled correctly during the reassembly phase.
-
Release Clasps or Clips: In some headset designs, the headband may be affixed to the ear cups using clasps or clips that require gentle manipulation for disengagement. Employ plastic opening tools or your fingertips to release these clasps, taking care not to exert excessive force that could lead to breakage or deformation of the attachment points.
-
Lift and Separate: Once the fasteners or clasps have been addressed, carefully lift the headband away from the ear cups, ensuring a smooth separation without placing undue stress on the connecting components. Pay attention to any wires or cables that may be routed through the headband assembly, as these will need to be disconnected to facilitate complete removal.
-
Disconnect Internal Wiring (if applicable): If your headset incorporates wiring that runs through the headband for features such as microphone connectivity or audio controls, delicately disconnect these internal connections to free the headband from the ear cups. Utilize tweezers or your fingertips to handle the small connectors with precision and care.
By methodically following these steps, you can successfully remove the headband from your Xbox One headset, revealing the underlying framework and internal connections. This pivotal stage of the disassembly process provides a deeper glimpse into the headset's construction, setting the stage for further exploration and a comprehensive understanding of its inner workings.
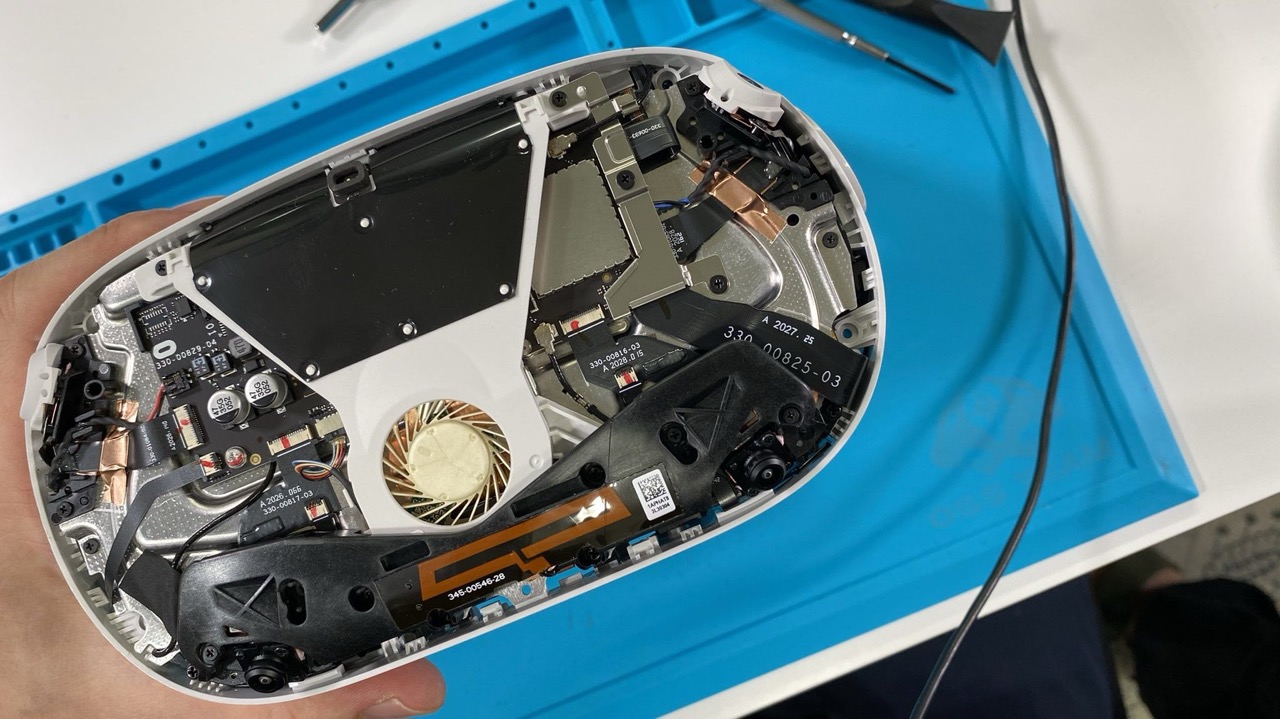
Step 3: Opening the Ear Cups
As you progress through the disassembly of your Xbox One headset, the next crucial step involves opening the ear cups to reveal the internal components housed within this integral part of the device. The ear cups, which encapsulate the speaker units and intricate circuitry, are designed to deliver immersive audio experiences while maintaining a comfortable fit for the user. By carefully opening the ear cups, you'll gain a deeper understanding of the technology and craftsmanship that contribute to the headset's audio performance.
To begin the process of opening the ear cups, follow these detailed steps:
-
Inspect the Perimeter: Before proceeding, take a close look at the outer edge of each ear cup to identify the method of attachment and any visible fasteners. Depending on the design of your headset, you may encounter screws, adhesive seals, or snap-fit mechanisms securing the ear cups together.
-
Remove Fastening Screws: If the ear cups are fastened with screws, utilize the appropriate size of the precision screwdriver from your toolkit to carefully remove these fasteners. Exercise caution to avoid damaging the surrounding components and keep track of the removed screws for reassembly.
-
Address Adhesive Seals: In cases where adhesive seals are employed to secure the ear cups, gently apply pressure around the seam using plastic opening tools to gradually separate the components. Take care to avoid excessive force that could lead to damage or deformation of the ear cups.
-
Release Snap-Fit Mechanisms: Some headsets feature snap-fit mechanisms that require careful manipulation to disengage. Utilize plastic opening tools to gently pry apart the ear cups, ensuring a gradual and controlled separation to prevent breakage.
-
Inspect Internal Connections: As you open the ear cups, be mindful of any internal wiring or connectors that may be routed through the assembly. These connections may be linked to the speaker units, control modules, or other essential components within the ear cups.
By meticulously following these steps, you can effectively open the ear cups of your Xbox One headset, unveiling the intricate internal components and circuitry that contribute to its audio performance. This phase of the disassembly process offers a firsthand view of the headset's internal architecture, providing valuable insights into its construction and functionality. With the ear cups opened, you're poised to delve deeper into the inner workings of the headset, setting the stage for a comprehensive exploration of its technological prowess.
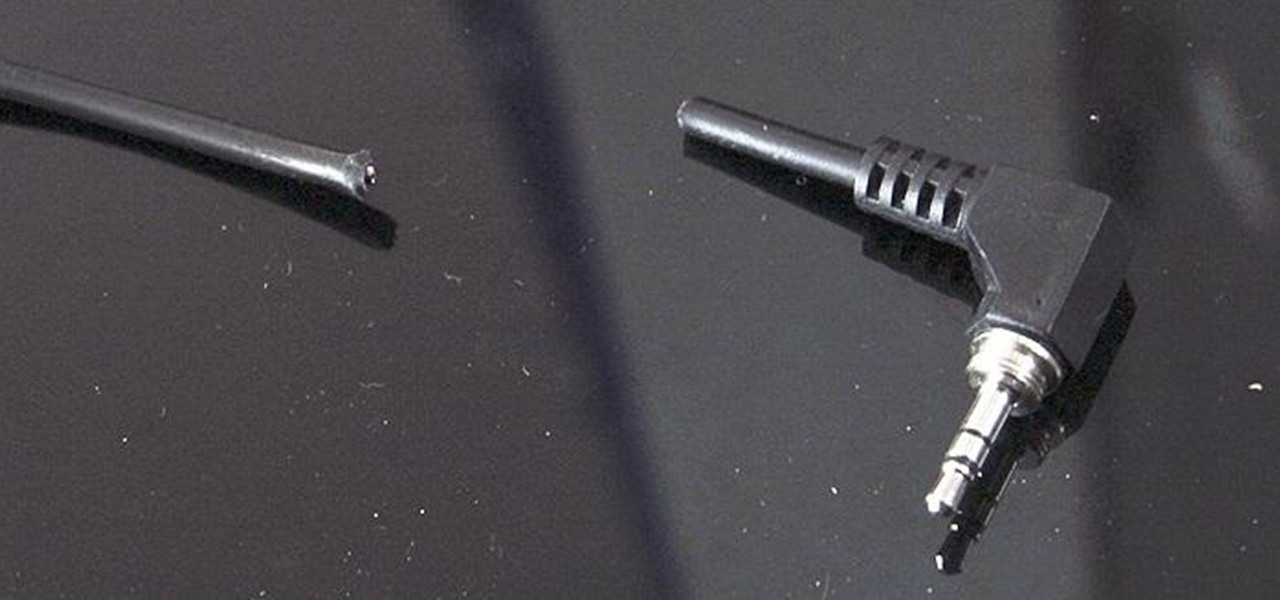
Step 4: Disconnecting the Wires
As you proceed with the disassembly of your Xbox One headset, the pivotal step of disconnecting the wires emerges as a crucial phase in the process. The intricate internal wiring within the headset plays a fundamental role in facilitating audio transmission, powering essential components, and enabling functionality such as microphone input and control interfaces. By methodically disconnecting the wires, you pave the way for a comprehensive exploration of the headset's internal circuitry and components.
To effectively disconnect the wires, follow these detailed steps:
-
Identify Wiring Connections: Begin by carefully inspecting the internal wiring within the ear cups and headband assembly. Take note of the various connectors, soldered joints, and cable routing to gain a clear understanding of the wiring layout.
-
Unplug Connectors: If your headset features connectors that facilitate easy disconnection, delicately unplug these connectors to separate the wiring from the main circuitry. Exercise caution to avoid applying excessive force that could damage the connectors or their corresponding sockets.
-
Address Soldered Joints (if applicable): In instances where the wiring is soldered directly to the circuit board or other components, utilize a soldering iron and desoldering wick to carefully remove the solder and disconnect the wires. Take care to follow proper soldering and desoldering techniques to prevent damage to the surrounding components.
-
Secure Disconnected Wires: As you disconnect the wires, ensure that they are safely secured and organized to prevent tangling or accidental damage. Utilize cable ties or small resealable bags to keep the disconnected wires neatly arranged and labeled for ease of reassembly.
-
Exercise Precision and Care: Throughout the process of disconnecting the wires, prioritize precision and gentle handling to safeguard the integrity of the internal wiring and connectors. Utilize tweezers or fine-tipped tools to manipulate the small connectors and wires with precision and attention to detail.
By meticulously following these steps, you can effectively disconnect the wires within your Xbox One headset, preparing the internal components for further exploration and inspection. This phase of the disassembly process offers a firsthand view of the intricate wiring and electrical connections that underpin the headset's functionality, providing valuable insights into its internal architecture and design. With the wires safely disconnected, you're poised to delve deeper into the inner workings of the headset, setting the stage for a comprehensive exploration of its technological prowess.
Step 5: Removing the Speaker Units
The final and pivotal step in the disassembly of your Xbox One headset involves the careful removal of the speaker units, which are integral to delivering high-quality audio performance. The speaker units, also known as drivers, are responsible for converting electrical signals into sound waves, thereby immersing users in a rich auditory experience during gaming sessions, communication, or multimedia consumption. By methodically removing the speaker units, you gain a comprehensive view of the advanced audio technology embedded within your headset, furthering your understanding of its internal architecture and functionality.
To effectively remove the speaker units, follow these detailed steps:
-
Locate the Speaker Mounting Points: Begin by identifying the mounting points or fasteners that secure the speaker units within the ear cups. Depending on the headset model, you may encounter screws, adhesive seals, or snap-fit mechanisms holding the speaker units in place.
-
Unfasten Mounting Screws: If the speaker units are secured with screws, utilize the appropriate size of the precision screwdriver from your toolkit to carefully unfasten these screws. Exercise caution to avoid damaging the delicate components surrounding the speaker units and keep track of the removed screws for reassembly.
-
Address Adhesive Seals: In cases where adhesive seals are employed to secure the speaker units, gently apply pressure around the perimeter using plastic opening tools to gradually release the adhesive bond. Take care to avoid excessive force that could lead to damage or deformation of the speaker housing.
-
Release Snap-Fit Mechanisms: Some headsets utilize snap-fit mechanisms to secure the speaker units within the ear cups. Employ plastic opening tools to carefully disengage these snap-fit connections, ensuring a gradual and controlled separation to prevent damage to the speaker units or surrounding components.
-
Lift and Disconnect: Once the fasteners or seals have been addressed, carefully lift the speaker units away from the ear cups, ensuring a smooth separation without placing undue stress on the internal wiring or connectors. Take note of any wiring or cables that may be connected to the speaker units and delicately disconnect these to facilitate complete removal.
By meticulously following these steps, you can successfully remove the speaker units from your Xbox One headset, gaining a firsthand view of the advanced audio technology embedded within the device. This phase of the disassembly process offers valuable insights into the intricate design and engineering of the speaker units, shedding light on the components responsible for delivering immersive audio experiences. With the speaker units removed, you've completed a comprehensive exploration of your headset's internal components, enhancing your gadget-usage knowledge and fostering a deeper appreciation for the sophisticated audio technology at the heart of your Xbox One headset.
Conclusion
In conclusion, the disassembly process of your Xbox One headset has provided a captivating journey into the intricate craftsmanship and advanced technology that underpin this essential audio accessory. By meticulously following the step-by-step guide, you've gained valuable insights into the internal components, wiring, and speaker units that collectively contribute to the headset's immersive audio performance. As you reflect on the disassembly experience, it's evident that this hands-on exploration has not only deepened your understanding of the headset's construction but also enriched your overall gadget-usage knowledge.
Throughout the disassembly process, you've honed your skills in precision handling, delicate component manipulation, and the systematic approach required for intricate tasks. The careful removal of the ear cushions, headband, ear cups, wiring, and speaker units has provided a comprehensive view of the headset's internal architecture, allowing you to appreciate the engineering ingenuity that goes into creating these sophisticated audio devices.
Moreover, this disassembly journey has empowered you with the confidence to troubleshoot potential issues, customize your headset with replacement parts, or gain a deeper understanding of its functionality. The knowledge gained from this experience serves as a testament to your growing expertise in gadget disassembly and reassembly, positioning you as a more informed and capable user of advanced audio accessories.
As you prepare to reassemble your Xbox One headset, the insights gleaned from the disassembly process will guide you in ensuring a meticulous and precise reconstruction, thereby enhancing your appreciation for the intricacies of the device. Whether your objective is to customize the headset, replace specific components, or simply gain a deeper understanding of its internal workings, the disassembly experience has undoubtedly enriched your connection with this essential gadget.
Ultimately, the disassembly of your Xbox One headset has transcended the realm of a technical task, evolving into a captivating exploration that has deepened your appreciation for the fusion of technology and craftsmanship. This newfound understanding will undoubtedly enrich your future interactions with audio accessories, empowering you to approach them with a heightened sense of curiosity and insight.
As you conclude this disassembly journey, the knowledge and skills acquired will continue to resonate in your gadget-usage endeavors, fostering a deeper connection with the intricate technology that enriches our daily experiences. With a newfound appreciation for the inner workings of your Xbox One headset, you're poised to embark on future gadget-related endeavors with enhanced confidence and expertise.