Introduction
Are you an avid gamer looking to enhance your gaming experience without breaking the bank? Creating your own gaming headset using a pair of headphones and a microphone is a cost-effective and rewarding endeavor. By following this step-by-step guide, you can transform your ordinary headphones into a fully functional gaming headset tailored to your specific needs.
Not only does this DIY project offer a budget-friendly alternative to purchasing a high-end gaming headset, but it also allows you to customize the microphone and headphones to suit your preferences. Whether you're a casual gamer or a dedicated enthusiast, this tutorial will equip you with the knowledge and skills to create a personalized gaming headset that delivers exceptional audio quality and clear communication during intense gaming sessions.
By repurposing your existing headphones and adding a microphone, you can enjoy the benefits of a gaming headset without the hefty price tag. This project is also a fantastic way to unleash your creativity and resourcefulness, as you'll be taking a hands-on approach to crafting a practical gaming accessory from everyday materials.
So, roll up your sleeves, gather your tools, and get ready to embark on an exciting DIY journey to create your very own gaming headset. With a bit of patience and a willingness to learn, you'll soon be immersing yourself in the captivating world of gaming with a customized headset that reflects your unique style and preferences. Let's dive into the step-by-step process of crafting a gaming headset that will elevate your gaming experience to new heights.
Step 1: Gather the Necessary Materials
Before diving into the process of creating your gaming headset, it’s essential to gather all the required materials. By ensuring that you have everything on hand, you can streamline the assembly process and avoid interruptions. Here’s a comprehensive list of the materials you’ll need:
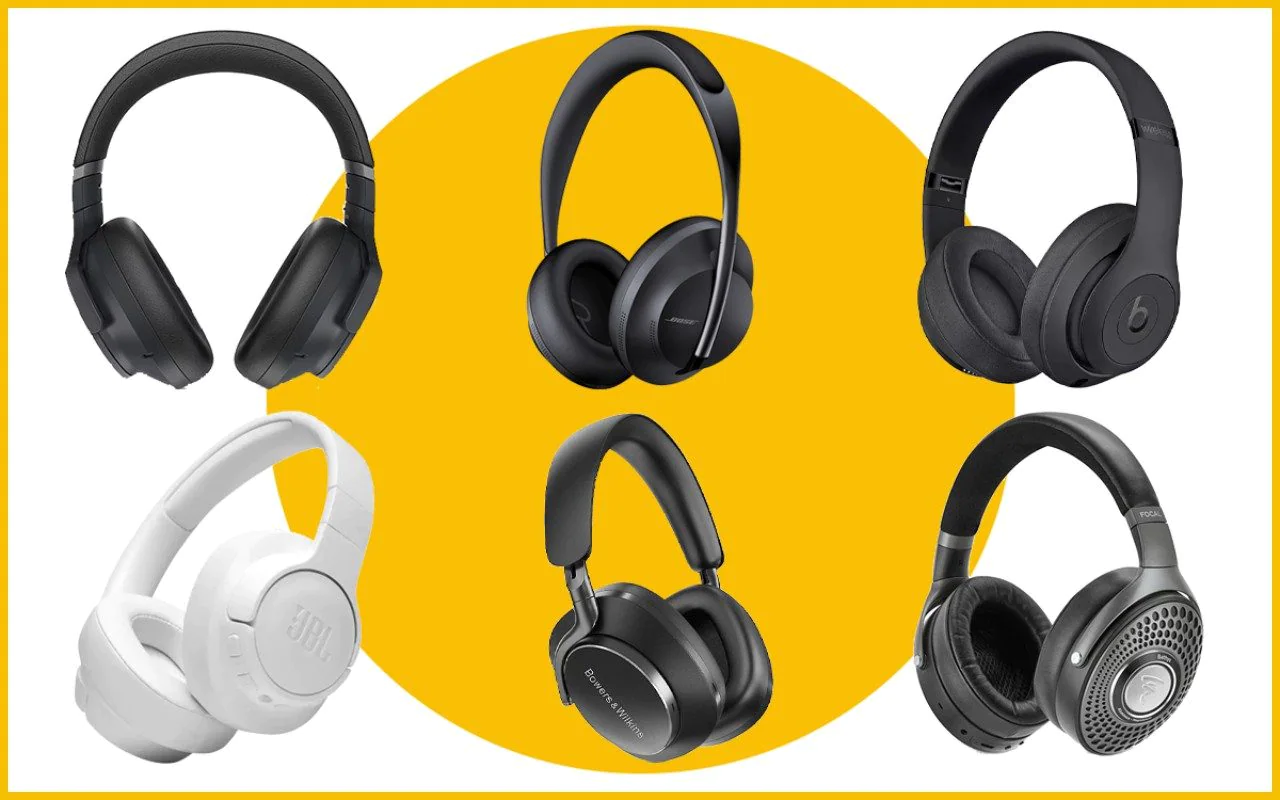
- Headphones: Select a pair of over-ear or on-ear headphones with a comfortable fit and good sound quality. Wired or wireless models can both be used for this project, depending on your preferences.
- Microphone: Choose a high-quality microphone that is compatible with your gaming setup. A detachable or clip-on microphone is ideal for this DIY project, as it can be easily attached to your headphones.
- Wire Strippers: These tools will come in handy for removing the insulation from the wires, allowing you to connect the microphone to the headphones securely.
- Soldering Iron and Solder: If your headphones and microphone require soldering for the connection, make sure you have a soldering iron and solder at your disposal. This will enable you to create durable and reliable connections.
- Electrical Tape or Heat Shrink Tubing: To insulate the connections and provide a clean finish, electrical tape or heat shrink tubing is essential. This will help prevent shorts and ensure a professional-looking result.
- Small Screwdriver Set: Depending on the design of your headphones, you may need a small screwdriver set to disassemble and reassemble the components. Ensure you have the appropriate screwdriver sizes for your specific headphones.
- Adhesive Velcro Strips: These strips will allow you to securely attach the microphone to your headphones without causing damage to the materials.
- Cable Management Clips: To keep the wires organized and prevent tangling, cable management clips can be used to neatly secure the microphone and headphone cables together.
By gathering these materials, you’ll be well-prepared to proceed with the subsequent steps of creating your custom gaming headset. With everything in place, you can approach the project with confidence and focus on bringing your vision to life.
Step 2: Disassemble the Headphones
Before integrating the microphone with your headphones, it’s essential to carefully disassemble the headphones to access the internal components. This step may vary depending on the design of your headphones, so it’s crucial to approach the disassembly process with precision and patience. Here’s a general guide to disassembling typical headphones:
- Locate the Screws: Inspect the exterior of the headphones to identify any visible screws or fasteners holding the components together. Use an appropriate screwdriver to carefully remove these screws without causing damage to the headphone casing.
- Separate the Ear Cups: Once the screws are removed, gently separate the ear cups from the headband and the main body of the headphones. Take note of any additional cables or connectors inside the ear cups that may need to be detached.
- Remove the Speaker Drivers: If necessary, carefully detach the speaker drivers from the ear cups. These are the components responsible for producing sound and are typically connected to the headphone’s wiring.
- Identify the Internal Wiring: As you disassemble the headphones, take note of the internal wiring layout and the connections between the various components. This will be crucial when integrating the microphone into the headset.
- Secure Small Components: Keep track of any small screws, washers, or other components that may be inside the headphones. It’s advisable to organize and store these components in a secure container to prevent loss.
During the disassembly process, it’s important to handle the headphone components with care to avoid causing any damage. Take your time and refer to any available documentation or online resources specific to your headphone model if you encounter any challenges during disassembly.
Once the headphones are disassembled, you’ll be ready to proceed with preparing the microphone for integration and establishing the necessary connections to transform your headphones into a fully functional gaming headset.
Step 3: Prepare the Microphone
Preparing the microphone for integration with your headphones is a crucial step in creating a functional gaming headset. Whether you’re using a detachable microphone or a clip-on microphone, the preparation process involves ensuring that the microphone is compatible with your headphones and ready to be seamlessly integrated. Here’s a detailed guide to preparing the microphone:
- Check Compatibility: Verify that the microphone you’ve chosen is compatible with your gaming setup and can be easily connected to your headphones. If the microphone requires any adapters or additional components for compatibility, acquire them before proceeding.
- Inspect the Microphone Mounting Options: Assess the mounting options available for the microphone. If it’s a detachable microphone, ensure that it can be securely attached to your headphones without obstructing the ear cups or causing discomfort during extended use.
- Test the Microphone: Before integration, test the microphone to ensure it’s functioning correctly. Connect it to your gaming device or computer and perform a test recording to verify the audio quality and clarity. This step allows you to address any potential issues before finalizing the integration.
- Adjust the Microphone Position: Determine the optimal position for the microphone on your headphones. Depending on the microphone’s design, you may need to adjust its position to achieve the best audio capture while minimizing background noise and interference.
- Secure the Microphone: If necessary, use adhesive Velcro strips or other suitable mounting solutions to securely attach the microphone to your headphones. Ensure that the attachment is stable and doesn’t compromise the comfort or functionality of the headphones.
- Organize the Microphone Cable: Neatly route and organize the microphone cable alongside the headphone cable to prevent tangling and maintain a tidy appearance. Utilize cable management clips to keep the cables neatly secured and minimize clutter.
By thoroughly preparing the microphone for integration, you’ll set the stage for a seamless and effective combination with your headphones. This step is essential for ensuring that the microphone complements the headphones, resulting in a well-integrated and functional gaming headset tailored to your preferences.
Step 4: Connect the Microphone to the Headphones
With the headphones disassembled and the microphone prepared, it’s time to proceed with connecting the microphone to the headphones. This step involves establishing the necessary electrical connections and ensuring that the integration is secure and reliable. Follow these guidelines to effectively connect the microphone to the headphones:
- Identify the Connection Points: Examine the internal wiring of the headphones to identify suitable connection points for integrating the microphone. Depending on the headphone design and the microphone’s requirements, you may need to solder or securely attach the microphone’s cable to specific terminals within the headphones.
- Strip and Prepare the Wires: If soldering is necessary, use wire strippers to carefully remove insulation from the wires, exposing the conductive cores. Ensure that the exposed wires are clean and free from any damage to facilitate a reliable connection.
- Establish the Connections: Connect the microphone’s cable to the designated terminals within the headphones, following any provided instructions or reference guides. If soldering is required, use a soldering iron and solder to create durable and secure connections, taking care to avoid overheating or damaging the headphone components.
- Insulate the Connections: Once the connections are established, insulate the soldered or connected wires using electrical tape or heat shrink tubing. This insulation serves to protect the connections from short circuits, mechanical stress, and environmental factors, ensuring the longevity and reliability of the integrated microphone.
- Reassemble the Headphones: Carefully reassemble the headphones, taking care to route the microphone cable alongside the headphone cable and secure any internal components that were removed during the disassembly process. Ensure that the microphone’s position and attachment remain stable and secure during reassembly.
- Test the Integrated Microphone: Once the microphone is connected and the headphones are reassembled, perform a thorough test of the integrated microphone. Verify that the microphone captures clear and crisp audio, and check for any issues such as interference or loose connections.
By meticulously connecting the microphone to the headphones and ensuring the reliability of the integration, you’ll be one step closer to completing your custom gaming headset. Attention to detail and precision during this process will result in a well-integrated and functional gaming accessory that enhances your gaming experience.
Step 5: Reassemble the Headphones
After successfully integrating the microphone with the headphones, the next crucial step is to reassemble the headphones, ensuring that all components are securely put back together. This process requires attention to detail and precision to restore the headphones to their functional and comfortable state. Follow these steps to effectively reassemble the headphones:
- Position the Speaker Drivers: If the speaker drivers were removed during the disassembly process, carefully position and secure them back into the ear cups. Ensure that the drivers are aligned correctly and that any associated cables are properly connected.
- Reattach the Ear Cups: Align the ear cups with the headband and the main body of the headphones, ensuring that any protruding cables or connectors are appropriately routed and secured. Use the previously removed screws to reattach the ear cups securely.
- Secure the Headphone Casing: If the headphone casing was separated into multiple parts, carefully align and secure them together, ensuring a snug fit without any gaps or misalignments. Use the appropriate screws to fasten the casing securely.
- Organize the Cables: Neatly organize the headphone cable and the integrated microphone cable to prevent tangling and maintain a tidy appearance. Utilize cable management clips or channels within the headphone design to keep the cables neatly secured and out of the way.
- Verify the Comfort and Fit: Before finalizing the reassembly, verify that the headphones maintain their comfort and fit. Ensure that the ear cups are aligned correctly, the headband adjustment functions smoothly, and the integrated microphone does not cause any discomfort during use.
- Perform a Functionality Test: Once the headphones are reassembled, perform a comprehensive functionality test to verify that all components, including the integrated microphone, are functioning as intended. Test the audio output and microphone input to ensure that the gaming headset is fully operational.
By meticulously reassembling the headphones and verifying their functionality, you’ll complete the transformation of your ordinary headphones into a fully functional gaming headset. Attention to detail during this process will ensure that the integrated microphone enhances your gaming experience without compromising comfort or performance.
Step 6: Test the Gaming Headset
With the gaming headset fully assembled, it’s time to put it to the test and ensure that both the audio output and microphone input meet your expectations. Testing the gaming headset allows you to fine-tune its performance and address any potential issues before immersing yourself in gaming sessions. Follow these steps to thoroughly test the gaming headset:
- Audio Quality Test: Connect the gaming headset to your gaming device or computer and play audio from various sources, such as games, music, and videos. Pay close attention to the sound quality, ensuring that the audio is clear, balanced, and free from distortion or anomalies.
- Microphone Test: Use communication applications or software that support microphone input to test the performance of the integrated microphone. Record audio samples and engage in voice communication to verify that the microphone captures your voice accurately and clearly, with minimal background noise and interference.
- Comfort and Fit Assessment: Wear the gaming headset for an extended period to assess its comfort and fit during prolonged gaming sessions. Verify that the ear cups provide adequate cushioning and that the headband exerts comfortable pressure without causing discomfort or fatigue.
- Functionality Evaluation: Test any additional features or controls integrated into the gaming headset, such as volume adjustments, microphone muting, or specialized audio enhancements. Ensure that these features function as intended and contribute to an enhanced gaming experience.
- Environmental Noise Isolation: Assess the gaming headset’s ability to isolate external noise, allowing you to focus on the audio output and maintain clear communication through the microphone. Verify that the headset provides effective noise isolation without causing discomfort or pressure buildup.
- Compatibility Check: If using the gaming headset with multiple devices or platforms, verify its compatibility and performance across different gaming setups. Ensure that the headset functions seamlessly with your preferred gaming devices and software applications.
By conducting a thorough testing process, you can fine-tune the gaming headset to meet your specific preferences and requirements. Addressing any potential issues and optimizing the headset’s performance will ensure that it enhances your gaming experience, providing immersive audio and reliable communication capabilities.
Conclusion
Congratulations on successfully creating your custom gaming headset from a pair of headphones and a microphone! By following the step-by-step process outlined in this guide, you’ve transformed ordinary components into a fully functional gaming accessory that reflects your preferences and enhances your gaming experience. This DIY project not only offers a budget-friendly alternative to purchasing a dedicated gaming headset but also allows you to customize the microphone and headphones to suit your specific needs.
Throughout the process, you’ve demonstrated resourcefulness, precision, and a willingness to take a hands-on approach to crafting a practical and personalized gaming accessory. By repurposing existing materials and integrating them with careful attention to detail, you’ve created a gaming headset that delivers exceptional audio quality and clear communication during intense gaming sessions.
As you enjoy your new gaming headset, take pride in the knowledge that you’ve embarked on an exciting DIY journey that has resulted in a practical and rewarding creation. Your custom gaming headset reflects your unique style and preferences, providing a personalized touch to your gaming setup.
Whether you’re a casual gamer or a dedicated enthusiast, this DIY project has equipped you with valuable skills and knowledge that can be applied to future endeavors. The process of disassembling, preparing, integrating, and testing the gaming headset has honed your problem-solving abilities and provided insights into the inner workings of audio equipment.
As you continue to explore the captivating world of gaming with your customized headset, consider sharing your experience with fellow gaming enthusiasts. Your journey in creating a gaming headset from headphones and a microphone may inspire others to embark on their own DIY projects, fostering creativity and innovation within the gaming community.
Embrace the unique qualities of your custom gaming headset and revel in the satisfaction of having crafted a practical and personalized accessory that elevates your gaming experience. Your resourcefulness and dedication have culminated in a valuable addition to your gaming setup, showcasing the potential for creativity and customization within the realm of gaming accessories.