Introduction
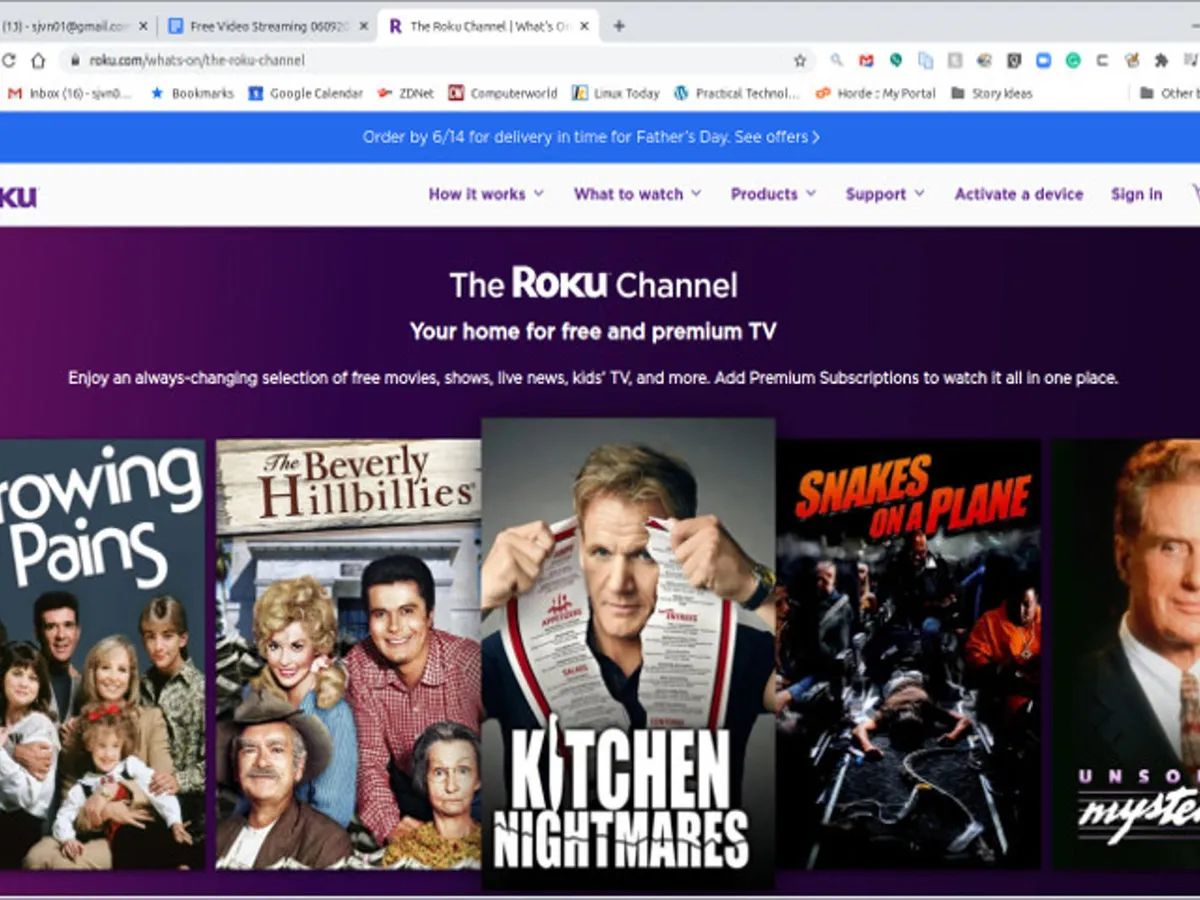
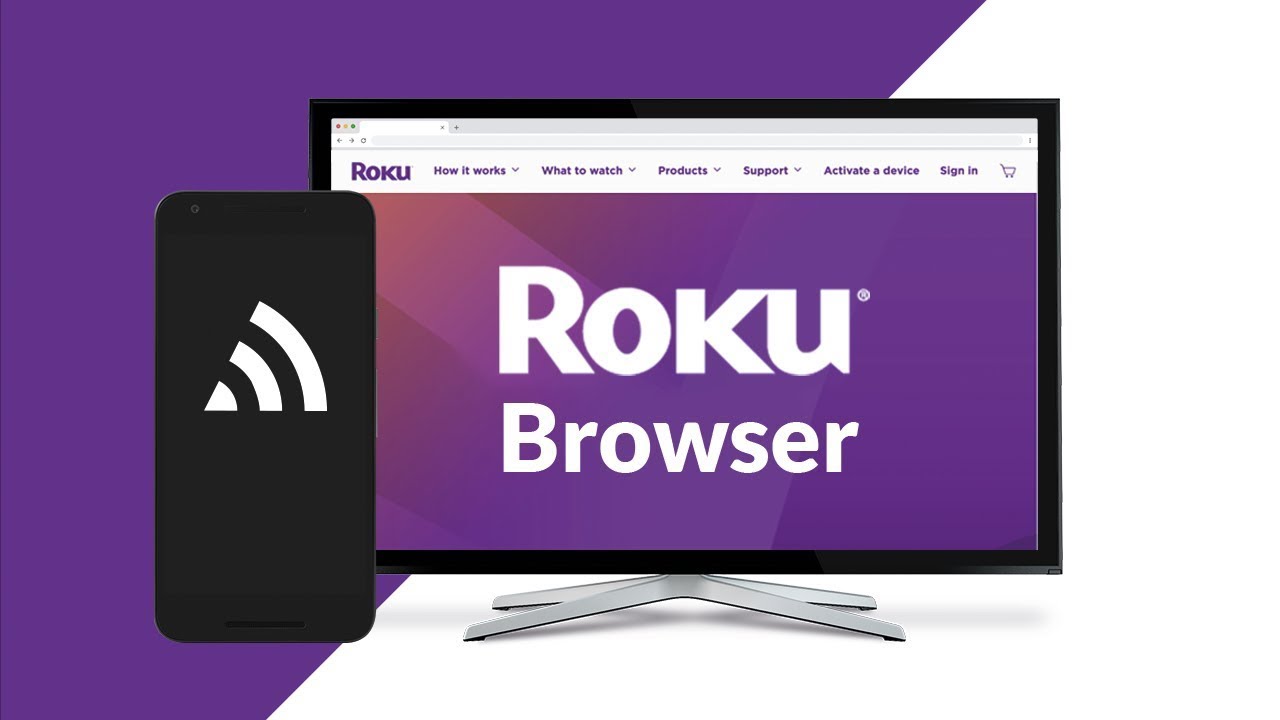
Welcome to this comprehensive guide on how to download a web browser on Roku. With the increasing popularity of streaming devices, Roku has become a prominent choice for many users. While Roku provides access to a wide range of streaming services and channels, it does not come with a built-in web browser.
However, by following this step-by-step tutorial, you will be able to download and install a web browser on your Roku device, giving you the flexibility to browse the internet and access websites directly from your television.
Having a web browser on your Roku can open up a whole new world of possibilities. You can stream videos from websites that don’t have a dedicated Roku app, browse social media, check email, read articles, and even shop online from the comfort of your couch.
Whether you want to catch up on the latest news, stream videos, or simply browse the web, having a web browser on your Roku can greatly enhance your streaming experience.
So, without further ado, let’s dive into the step-by-step process of downloading and installing a web browser on your Roku device.
Step 1: Accessing the Roku Channel Store
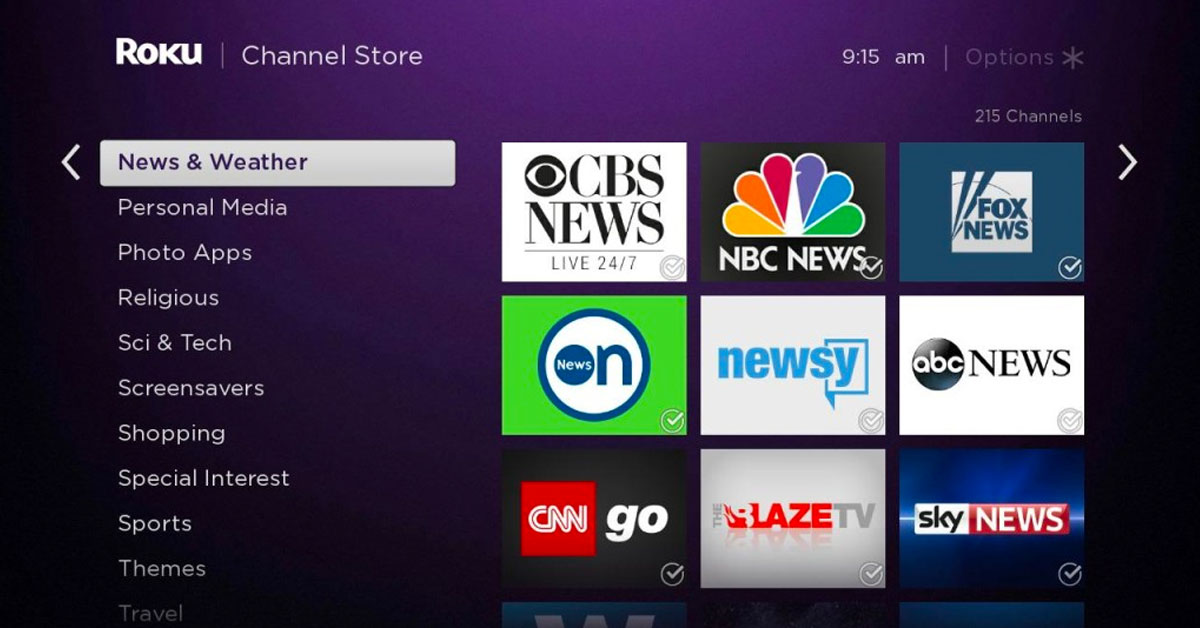
Before we can download a web browser on Roku, we need to access the Roku Channel Store, where all the available channels and apps are located.
1. Start by turning on your Roku device and the television it is connected to. Ensure that you are on the home screen of the Roku interface.
2. Using your Roku remote, navigate to the left-hand side of the screen and select “Streaming Channels” from the menu. Press the OK button to proceed.
3. This will take you to the Roku Channel Store, which is essentially the app store for Roku devices. You will see a wide range of categories and channels available for download.
4. To make things easier, you can use the search function to directly find the web browser you want to download. Move your cursor to the top of the screen and select the magnifying glass icon to access the search function.
5. Using the on-screen keyboard, type in the name of the web browser you wish to download. As you type, you will see search results populating below the keyboard.
6. Once you have found the desired web browser, select it from the search results. You will be taken to the app’s details page.
7. On the app’s details page, you will find information about the web browser, including its features, reviews, and screenshots. Take a moment to review this information to ensure it meets your requirements.
8. When you are ready to proceed, select the “Add Channel” or “Download” button to initiate the download.
9. Depending on the size of the web browser, it may take a few seconds or minutes for the download to complete. Once the download is finished, you will see a confirmation message on your screen.
Now that you have successfully accessed the Roku Channel Store, the next step is to search for and download the web browser onto your Roku device. Let’s move on to Step 2.
Step 2: Searching for a Web Browser
Now that we have accessed the Roku Channel Store, it’s time to search for the web browser you want to download. Roku offers a variety of web browsers, each with its own unique features and functionalities.
1. On the Roku Channel Store homepage, you can browse through the featured channels and categories to find the web browser of your choice. Alternatively, you can use the search function to save time and quickly find the specific browser you’re looking for.
2. To use the search function, move your cursor to the top of the screen and select the magnifying glass icon. This will bring up the search bar, where you can enter the name of the web browser you want to download.
3. As you type in the name, you will see search results appearing below the search bar. The results will include channels and apps that match your search query.
4. Scroll through the search results to find the web browser you’re interested in. Read the descriptions, user reviews, and ratings to get a better understanding of each browser’s features and performance.
5. If you’re not sure which web browser to choose, you can also search for “web browsers” in the Roku Channel Store search bar. This will provide you with a list of available web browsers, making it easier to compare and decide which one suits your needs.
6. Once you’ve decided on a web browser, select it from the search results to view its details page. Here, you’ll find additional information about the browser, such as its size, requirements, and any associated costs (if applicable).
7. Take the time to review the details and ensure that the web browser is compatible with your Roku device. Pay attention to any specific instructions or limitations mentioned by the developer.
8. If you’re satisfied with your choice, select the “Add Channel” or “Download” button to begin the installation process. The web browser will then be added to your Roku’s list of channels.
Now that you have successfully searched and found the web browser of your choice, it’s time to proceed to the next step: downloading and installing the web browser on your Roku device. Follow along with Step 3 to learn how.
Step 3: Downloading the Web Browser
Now that you have decided on the web browser you want to download on your Roku device, it’s time to initiate the download process. Follow these simple steps to download the web browser onto your Roku:
1. From the web browser’s details page in the Roku Channel Store, select the “Add Channel” or “Download” button. This will start the download process and add the web browser to your Roku’s list of channels.
2. Depending on the size of the web browser, the download may take a few moments. You’ll see a progress indicator on your screen, letting you know the status of the download.
3. Once the download is complete, you will see a confirmation message indicating that the web browser has been successfully added to your Roku device.
4. At this point, you can either proceed to the installation process or continue exploring the Roku Channel Store to download any other desired channels or apps.
Downloading the web browser is a crucial step as it ensures that the browser is available on your Roku device, ready for installation. Now that the web browser is downloaded, let’s move on to the next step: installing the web browser on your Roku.
Step 4: Installing the Web Browser
Now that you have successfully downloaded the web browser on your Roku device, it’s time to proceed with the installation process. Follow these steps to install the web browser:
1. On your Roku device’s home screen, locate the web browser channel that you just downloaded. You can either scroll through the list of channels or use the search function to quickly find it.
2. Once you’ve located the web browser channel, select it to open the channel details and options.
3. On the channel details page, you will see an option to “Install” or “Add Channel.” Select this option to start the installation process.
4. The installation process may vary depending on the specific web browser you are installing, but in most cases, it should only take a few seconds.
5. Once the installation is complete, you will see a notification or confirmation message indicating that the web browser has been successfully installed on your Roku device.
6. At this point, you can either launch the web browser directly by selecting the “Open” or “Launch” option, or you can continue customizing and organizing your channels before accessing the web browser.
Installing the web browser allows you to access it easily from your Roku device without having to go through the download process each time. Now that you have successfully installed the web browser, let’s move on to the next step: launching the web browser on your Roku.
Step 5: Launching the Web Browser
You’ve reached an exciting stage in the process – it’s time to launch the web browser you have installed on your Roku device. Follow these steps to get started:
1. Begin by navigating to your Roku device’s home screen using the remote control.
2. Look for the web browser channel that you installed in the previous steps. It should be visible among your list of channels.
3. Use your remote control to highlight the web browser channel and press the OK button to launch it.
4. The web browser will open, and you will now have access to the internet on your Roku device.
5. You can start by using the arrow keys on your remote control to move the cursor within the web browser. This allows you to navigate web pages, select links, fill out forms, and interact with the browser’s interface.
6. To enter a website URL, use the on-screen keyboard that appears when you select the address bar. Simply type in the URL and press Enter to navigate to the desired website.
7. Once you’ve accessed a website, you can use the web browser features and settings to enhance your browsing experience. Some common features include bookmarks, history, tabs, and customizable settings.
8. To exit the web browser and return to the Roku interface, press the Home button on your remote control.
Launching the web browser allows you to access the internet directly from your Roku device. Now that you have successfully launched the web browser, you can start exploring the various features and settings available. Take your time to familiarize yourself with the browser’s capabilities, and enjoy browsing the web from your television!
Step 6: Exploring Features and Settings
Now that you have successfully launched the web browser on your Roku device, it’s time to explore the various features and settings that it offers. Here’s how you can make the most out of your browsing experience:
1. Bookmarks: Most web browsers allow you to save websites as bookmarks for easy access in the future. Look for the bookmark icon or menu option within the web browser. Select it to add a bookmark and give it a meaningful name for quick reference.
2. History: The history feature keeps track of the websites you have visited. This can be helpful when you want to revisit a previously viewed website. Navigate to the history section of the web browser to view and manage your browsing history.
3. Tabs: Web browsers with tab functionality allow you to open multiple websites simultaneously, each in its own tab. This makes it easy to switch between different web pages without losing your place. Look for a plus (+) sign or a dedicated tab icon to open new tabs.
4. Settings: Explore the settings menu of the web browser to customize your browsing experience. You may find options to change the homepage, adjust the font size, enable/disable cookies, manage privacy settings, and much more. Take your time to navigate through the settings and make adjustments according to your preferences.
5. Keyboard Shortcuts: Some web browsers support keyboard shortcuts, which can make navigating and using the browser more efficient. Familiarize yourself with any available keyboard shortcuts to streamline your browsing experience.
6. Full-Screen Mode: If you prefer a more immersive browsing experience, look for the full-screen mode option. This will maximize the web browser window, hiding any distractions and allowing you to focus solely on the content of the website you are viewing.
7. Customization: Depending on the web browser, you may have additional customization options. Look for themes, extensions, and other features that allow you to personalize the appearance and functionality of the browser to suit your preferences.
Take your time to explore these features and settings within the web browser. Experiment with different options to optimize your browsing experience on Roku. Remember, each web browser may have its own unique features, so make sure to read the documentation or help resources provided by the browser developer for more detailed information.
Now that you’re familiar with the features and settings, you can make the most out of your browsing experience on Roku. Enjoy surfing the web from the comfort of your living room!
Conclusion
Congratulations! You have successfully learned how to download and install a web browser on your Roku device. By following the step-by-step process outlined in this guide, you now have the ability to browse the internet directly from your television.
A web browser on Roku opens up a world of possibilities, allowing you to access websites, stream videos, check email, browse social media, and much more. It enhances your streaming experience by providing additional functionality and convenience.
Remember to explore the various features and settings offered by the web browser. You can customize your browsing experience, save bookmarks for quick access to your favorite websites, and take advantage of other useful tools like history and tab management.
It’s important to note that web browsers on Roku may have different capabilities and limitations. Some browsers may have limited support for certain websites or may not offer all the features that you’re accustomed to on traditional web browsers. Therefore, it’s always a good idea to familiarize yourself with the specific features and limitations of the web browser you choose to download.
Now, you can enjoy the convenience of browsing the web from the comfort of your couch, accessing a wealth of information and entertainment with just a few clicks of your remote control.
We hope this guide has been helpful in assisting you with downloading and using a web browser on your Roku device. Happy browsing!