Introduction
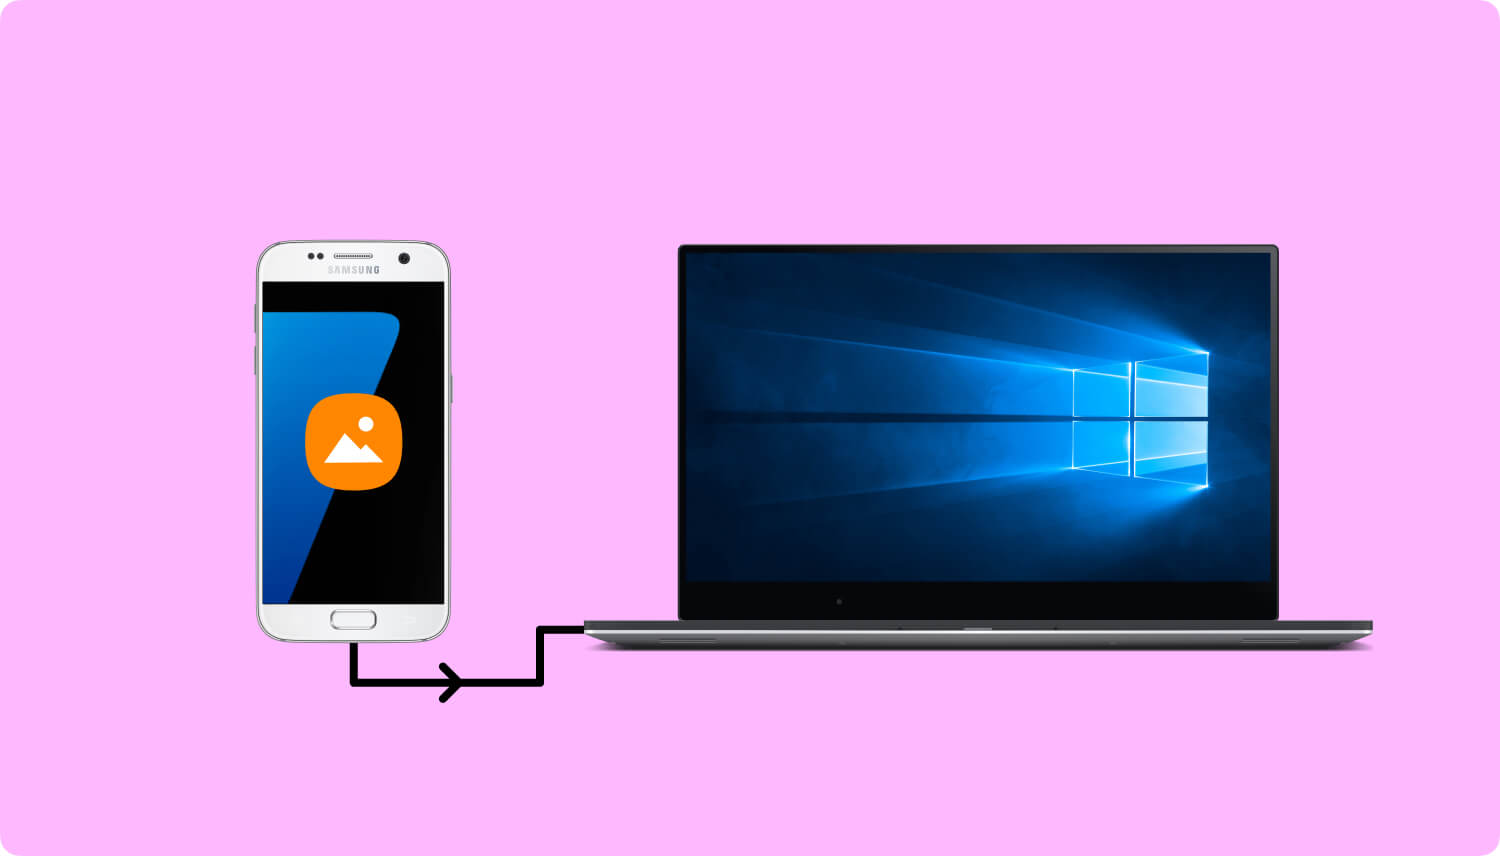
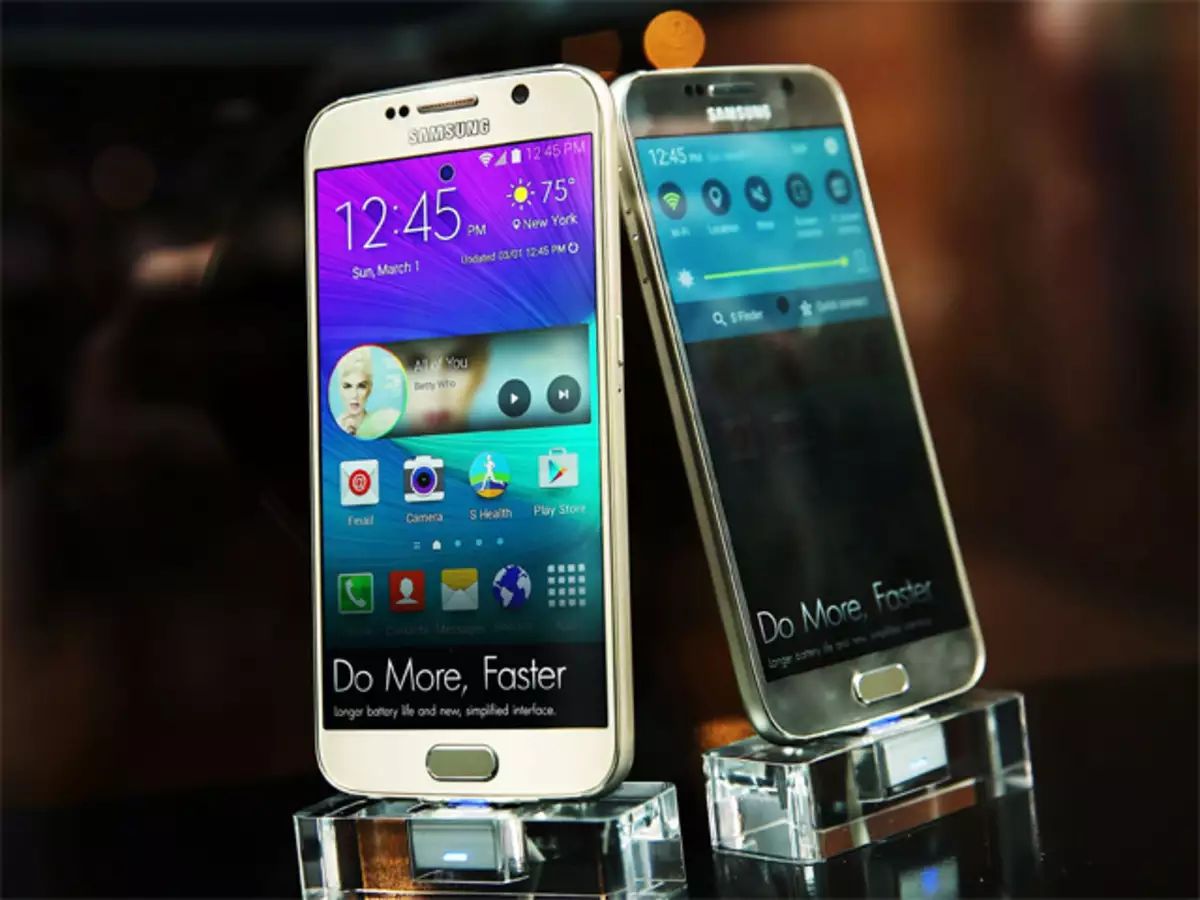
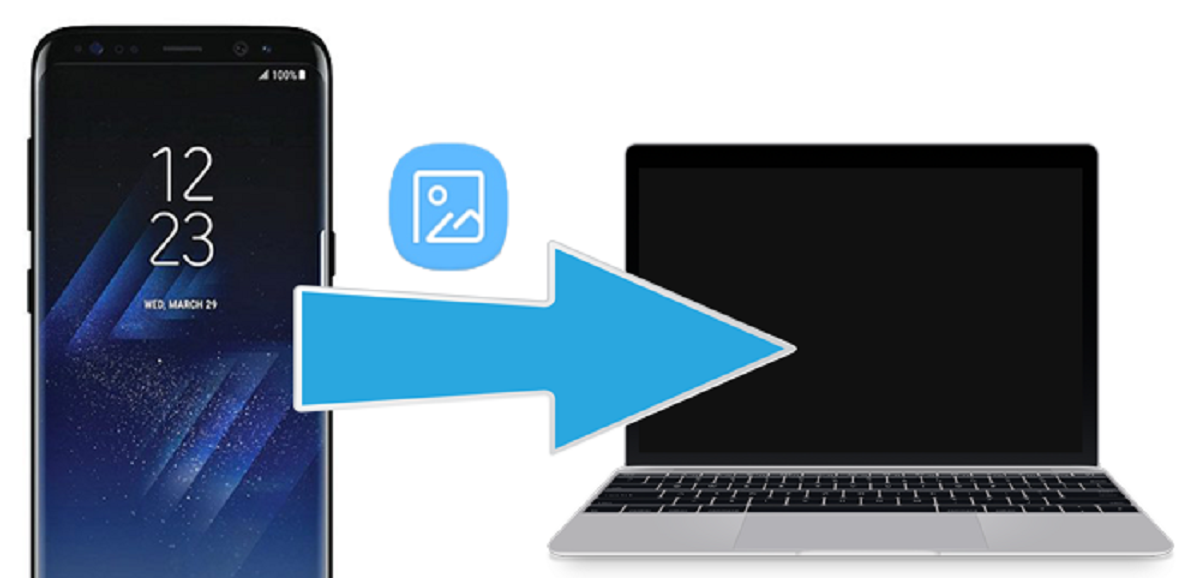
Do you have a Samsung Galaxy S6 and want to transfer your pictures to your PC? Whether it’s to free up space on your device, create backups, or simply share your photos with others, downloading pictures from your Samsung Galaxy S6 to your PC is a straightforward process. In this step-by-step guide, we will walk you through the entire process.
The Samsung Galaxy S6, with its high-quality camera and ample storage capacity, allows you to capture stunning photos and store them on your device. However, as you take more pictures, the storage space on your device may become limited. Transferring your pictures to your PC not only gives you more storage space on your phone but also provides a secure backup of your precious memories.
Transferring pictures from your Samsung Galaxy S6 to your PC also allows for easier editing and organizing. With the larger screen and more powerful editing tools available on your PC, you can enhance and retouch your photos with greater precision and creativity. Additionally, by transferring your pictures to your PC, you can easily create albums, share them with friends and family, or even print them out for display.
In the following steps, we will guide you through the process of connecting your Galaxy S6 to your PC and downloading your pictures. No matter if you are a complete beginner or have some experience with technology, this guide will help you accomplish this task effortlessly.
Step 1: Connect your Galaxy S6 to your PC
The first step to download pictures from your Samsung Galaxy S6 to your PC is to establish a physical connection between the two devices. Follow these simple steps:
- Begin by locating the USB cable that came with your Samsung Galaxy S6. It is typically a white cable with a USB Type-A connector on one end and a micro-USB connector on the other.
- Connect the USB Type-A end of the cable to an available USB port on your PC.
- Take the micro-USB end of the cable and connect it to the charging port of your Samsung Galaxy S6. Ensure that the connection is secure.
- Once connected, your PC should recognize your Galaxy S6 as an external device. You may see a notification in the system tray or a pop-up window indicating that a new device has been connected.
- Depending on your PC’s operating system, additional drivers may need to be installed for proper device recognition. In most cases, Windows will automatically install the necessary drivers. However, if prompted, follow the on-screen instructions to complete the driver installation.
Once the connection is established and the necessary drivers are installed, you are ready to proceed to the next step.
Step 2: Enable USB debugging on your Galaxy S6
Before you can transfer your pictures from your Samsung Galaxy S6 to your PC, you need to enable USB debugging on your device. USB debugging allows your PC to communicate with your phone and access its files. Follow these steps to enable USB debugging:
- On your Samsung Galaxy S6, go to the Settings app. You can find it in your app drawer or by swiping down from the top of the screen and tapping the gear-shaped icon.
- In the Settings menu, scroll down and tap on “About phone.”
- In the “About phone” section, scroll down and find the “Build number” entry.
- Tap on the “Build number” entry seven times in quick succession. You will see a pop-up message indicating that you are now a developer.
- Go back to the main settings menu, and you will find a new option called “Developer options.”
- Tap on “Developer options,” and in the menu, toggle on the switch for “USB debugging.”
- You may see a warning message stating that enabling USB debugging allows your device to be vulnerable to security risks. Read through the warning and tap “OK” to confirm.
USB debugging is now enabled on your Samsung Galaxy S6, allowing your PC to access the device’s files and folders. You are now ready to move on to the next step.
Step 3: Open the File Explorer on your PC
To download pictures from your Samsung Galaxy S6 to your PC, you need to open the File Explorer, which allows you to navigate and manage files on your computer. Follow these steps to open the File Explorer on your PC:
- On your PC, click on the “Start” menu located in the lower-left corner of the screen.
- In the Start menu, search for “File Explorer” and click on the corresponding result to open it. Alternatively, you can press the “Windows key + E” on your keyboard as a shortcut to open the File Explorer.
- Once the File Explorer is open, you will see a navigation pane on the left side of the window. This pane displays the different drives and folders available on your PC.
- You can navigate through the folders by clicking on them in the navigation pane. To open a folder, simply double-click on it.
- Take a moment to familiarize yourself with the File Explorer’s interface. You will use this interface to locate and select the pictures you want to transfer from your Samsung Galaxy S6.
With the File Explorer open and ready, you are now prepared to move on to the next step of the process.
Step 4: Locate and select the pictures you want to transfer
Now that you have the File Explorer open on your PC, it’s time to locate and select the pictures you want to transfer from your Samsung Galaxy S6. Follow these steps to find and choose the desired pictures:
- In the File Explorer, look for your Samsung Galaxy S6 under the “This PC” or “Devices and drives” section. It is usually labeled as “Galaxy S6” or something similar.
- Double-click on your Galaxy S6 to open it and navigate to the desired folder containing the pictures you want to transfer.
- Within the folder, you will see a list of files and pictures. Take your time to browse through the files and locate the specific pictures or the entire folder that you want to transfer.
- To select multiple pictures, hold down the Ctrl key on your keyboard and click on each picture you want to transfer. Alternatively, if you want to select all the pictures within a folder, press Ctrl + A to select everything.
- As you select the pictures, you will see that they are highlighted or visually distinguished to indicate that they have been selected.
With the pictures you wish to transfer now selected, you are ready to proceed to the next step and copy them to your PC.
Step 5: Copy the selected pictures to your PC
Once you have selected the pictures you want to transfer from your Samsung Galaxy S6, it’s time to copy them to your PC. Follow these steps to complete the transfer:
- With the desired pictures selected, right-click on one of the selected pictures.
- In the context menu that appears, click on the “Copy” option. Alternatively, you can use the keyboard shortcut Ctrl + C to copy the selected pictures.
- Next, navigate to the desired location on your PC where you want to save the copied pictures. This can be a specific folder or the desktop.
- Right-click on the destination folder and choose the “Paste” option from the context menu. Alternatively, you can use the keyboard shortcut Ctrl + V to paste the copied pictures.
- The File Explorer will begin copying the selected pictures from your Samsung Galaxy S6 to your PC. The progress will be displayed in a small dialog box or in the File Explorer window itself.
- Wait for the copying process to complete. The time it takes will depend on the number and size of the selected pictures.
- Once the copying process is finished, you will find the transferred pictures in the destination folder on your PC.
Congratulations! You have successfully copied the selected pictures from your Samsung Galaxy S6 to your PC. Now you can access and use these pictures on your computer as desired.
Step 6: Disconnect your Galaxy S6 from your PC
After successfully transferring the pictures from your Samsung Galaxy S6 to your PC, it’s important to properly disconnect your device to ensure data integrity and prevent any accidental file corruption. Follow these steps to safely disconnect your Galaxy S6 from your PC:
- On your PC, return to the File Explorer if it is still open.
- In the File Explorer, locate your Samsung Galaxy S6 under the “This PC” or “Devices and drives” section.
- Right-click on your Galaxy S6 and select the “Eject” or “Safely Remove” option from the context menu.
- Wait for the system to process the request and confirm that it is safe to remove your Galaxy S6.
- Once you receive the confirmation, gently disconnect the USB cable from your phone and PC.
- Now you can safely close the File Explorer and any other open windows or programs on your PC.
By following these steps, you have ensured that the transfer process is complete and that your Samsung Galaxy S6 can be safely disconnected from your PC without any risk of data loss or damage to your device.
Conclusion
Transferring pictures from your Samsung Galaxy S6 to your PC is a simple and effective way to free up storage space, create backups, and have better control over your photos. By following the step-by-step guide outlined in this article, you now have the necessary knowledge to download your pictures with ease.
We began by establishing a physical connection between your Galaxy S6 and PC, ensuring that the devices are properly linked. Then, we enabled USB debugging on your device to allow for communication between the two devices. Opening the File Explorer on your PC allowed you to navigate through folders and locate the specific pictures you wanted to transfer. With your selection made, you learned how to copy the chosen pictures to your PC, ensuring that they were safely stored. Finally, we discussed the importance of disconnecting your Galaxy S6 from your PC in a safe and appropriate manner.
Remember, transferring pictures from your Samsung Galaxy S6 to your PC not only provides you with additional storage space but also allows for easy editing, organizing, and sharing of your precious memories. Additionally, having a backup of your pictures ensures that you won’t lose them in case of device damage or loss.
With this knowledge, you can confidently transfer pictures from your Samsung Galaxy S6 to your PC whenever needed. Start enjoying the benefits of having your photos easily accessible on your computer and explore the various editing and organizing options that are available to you.
So, why wait? Start downloading your pictures and unleash the potential of your Samsung Galaxy S6 and your PC.