Introduction
Welcome to this guide on how to download NVAC! NVAC, which stands for New Vegas Anti Crash, is a popular mod for the game Fallout: New Vegas. If you’re a fan of this post-apocalyptic role-playing game and want to improve its stability and reduce crashes, NVAC is a must-have mod.
Crashes are unfortunately a common occurrence in Fallout: New Vegas, and they can be frustrating, especially when you’re in the middle of an intense quest or exploring a dangerous area. NVAC works by addressing various stability issues and preventing the game from crashing, allowing you to enjoy a smoother gameplay experience.
By following the steps outlined in this guide, you’ll be able to download NVAC and install it on your system. We’ll also cover the necessary configurations and provide troubleshooting tips for common issues that may arise during the process.
It’s important to note that NVAC is a third-party mod and not officially endorsed by the game developers. However, it has been widely used and trusted by the gaming community for its effectiveness in improving game stability.
So, if you’re ready to say goodbye to frequent crashes and enjoy a more reliable Fallout: New Vegas gaming experience, let’s dive into the step-by-step process of downloading NVAC!
Why Download NVAC?
If you’re a fan of Fallout: New Vegas, you’re probably well aware of the frustration that comes with frequent crashes and instability in the game. That’s where NVAC comes in. Here are some compelling reasons why you should consider downloading NVAC:
- Improved Stability: One of the main reasons to download NVAC is to enjoy a more stable gameplay experience. NVAC addresses various issues within the game code that can cause crashes and instability, effectively reducing the likelihood of encountering these frustrating problems.
- Reduced Crashes: With NVAC installed, you’ll experience fewer crashes while playing Fallout: New Vegas. Crashes can occur due to a variety of reasons, such as memory issues, conflicts between game files, or faulty scripts. NVAC actively works to mitigate these issues, resulting in a smoother and more reliable gaming experience.
- Compatibility: The mod is designed to be compatible with a wide range of other mods, allowing you to enhance your game with additional content while maintaining stability. NVAC aims to provide a seamless integration with other mods, ensuring that you can enjoy both the benefits of NVAC and any other mods you choose to install.
- User-Friendly: NVAC is known for its user-friendly nature. It requires minimal configuration and is easy to install, making it accessible even to those who may not be highly experienced with modding. The straightforward installation process ensures that you can get back to gaming in no time.
- Community Support: NVAC has a dedicated community of users and developers who continually work to improve and update the mod. This means that you can expect ongoing support, bug fixes, and potential enhancements to further enhance the stability and performance of your game.
By now, you should have a good understanding of the benefits that NVAC brings to Fallout: New Vegas. It’s time to delve into the step-by-step process of downloading NVAC and making your gaming experience smoother and more enjoyable.
Step 1: Visit the NVAC Website
The first step in downloading NVAC is to visit the official NVAC website. By accessing the official website, you can ensure that you are downloading the latest and most reliable version of the mod.
To visit the NVAC website, you can follow these simple steps:
- Open your preferred web browser.
- Enter the URL for the NVAC website in the address bar. The official website for NVAC is https://www.nexusmods.com/newvegas/mods/53635.
- Press Enter or click Go to navigate to the NVAC website.
Once you’re on the NVAC website, take some time to read the provided information about the mod. This will give you a better understanding of what NVAC offers and any additional instructions or recommendations from the mod developers.
On the NVAC website, you’ll find important details such as the mod’s version number, compatibility information, and user reviews. Make sure to review this information before proceeding to the next steps.
If you don’t have an account on Nexus Mods, the platform where NVAC is hosted, you will need to create one to download the mod. Creating an account is free and allows you to access a variety of mods for various games.
Now that you’ve visited the NVAC website and familiarized yourself with the mod, it’s time to move on to Step 2: Choosing the Correct Version.
Step 2: Choose the Correct Version
Choosing the correct version of NVAC is crucial to ensure compatibility with your game and system. Here’s how you can select the appropriate version:
- Game Compatibility: Verify that the NVAC version you choose is compatible with your specific version of Fallout: New Vegas. Most mod descriptions will indicate the supported game versions. Make sure to select the version that matches your game.
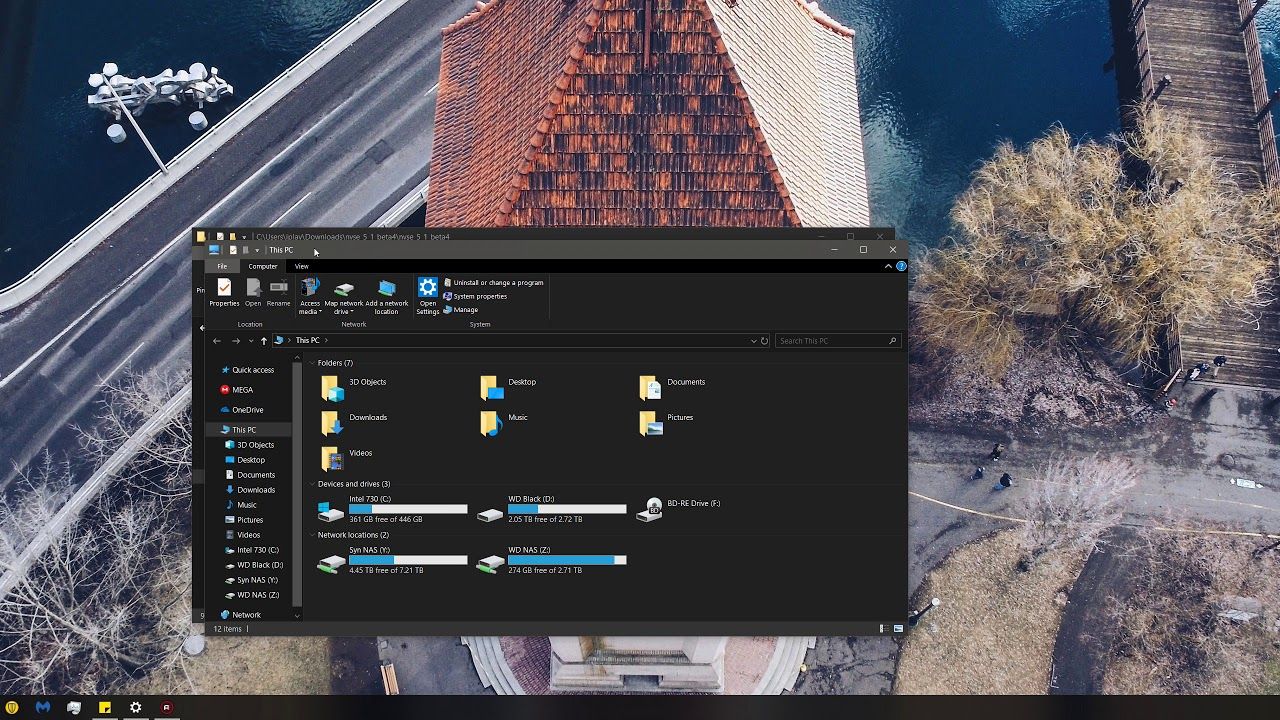
- System Architecture: Determine if your system is running on a 32-bit or 64-bit architecture. This information is important because NVAC offers separate versions for each architecture. To check your system architecture on Windows, right-click on My Computer or This PC, select Properties, and locate the System Type information.
- Mod Manager Support: If you are using a mod manager such as Nexus Mod Manager (NMM) or Mod Organizer 2 (MO2), ensure that the chosen NVAC version is compatible with your mod manager. Some versions may require manual installation if they are not supported by the mod manager.
- Additional Features: Take note of any additional features or optional plugins available for NVAC. These optional plugins can enhance the mod’s functionality, but make sure they are compatible with your game and other mods you may have installed.
Once you have determined the appropriate version of NVAC based on game compatibility, system architecture, mod manager support, and any desired additional features, you are ready to download the mod. In the next step, we will cover the process of downloading NVAC.
Step 3: Downloading NVAC
Now that you have selected the correct version of NVAC, it’s time to proceed with the actual downloading process. Follow these steps to download NVAC:
- On the NVAC website, locate the “Files” tab or a similar section that contains the downloadable files.
- Scroll through the available files and find the version of NVAC that matches your game and system requirements.
- Click on the download button associated with the desired version. This will initiate the downloading process.
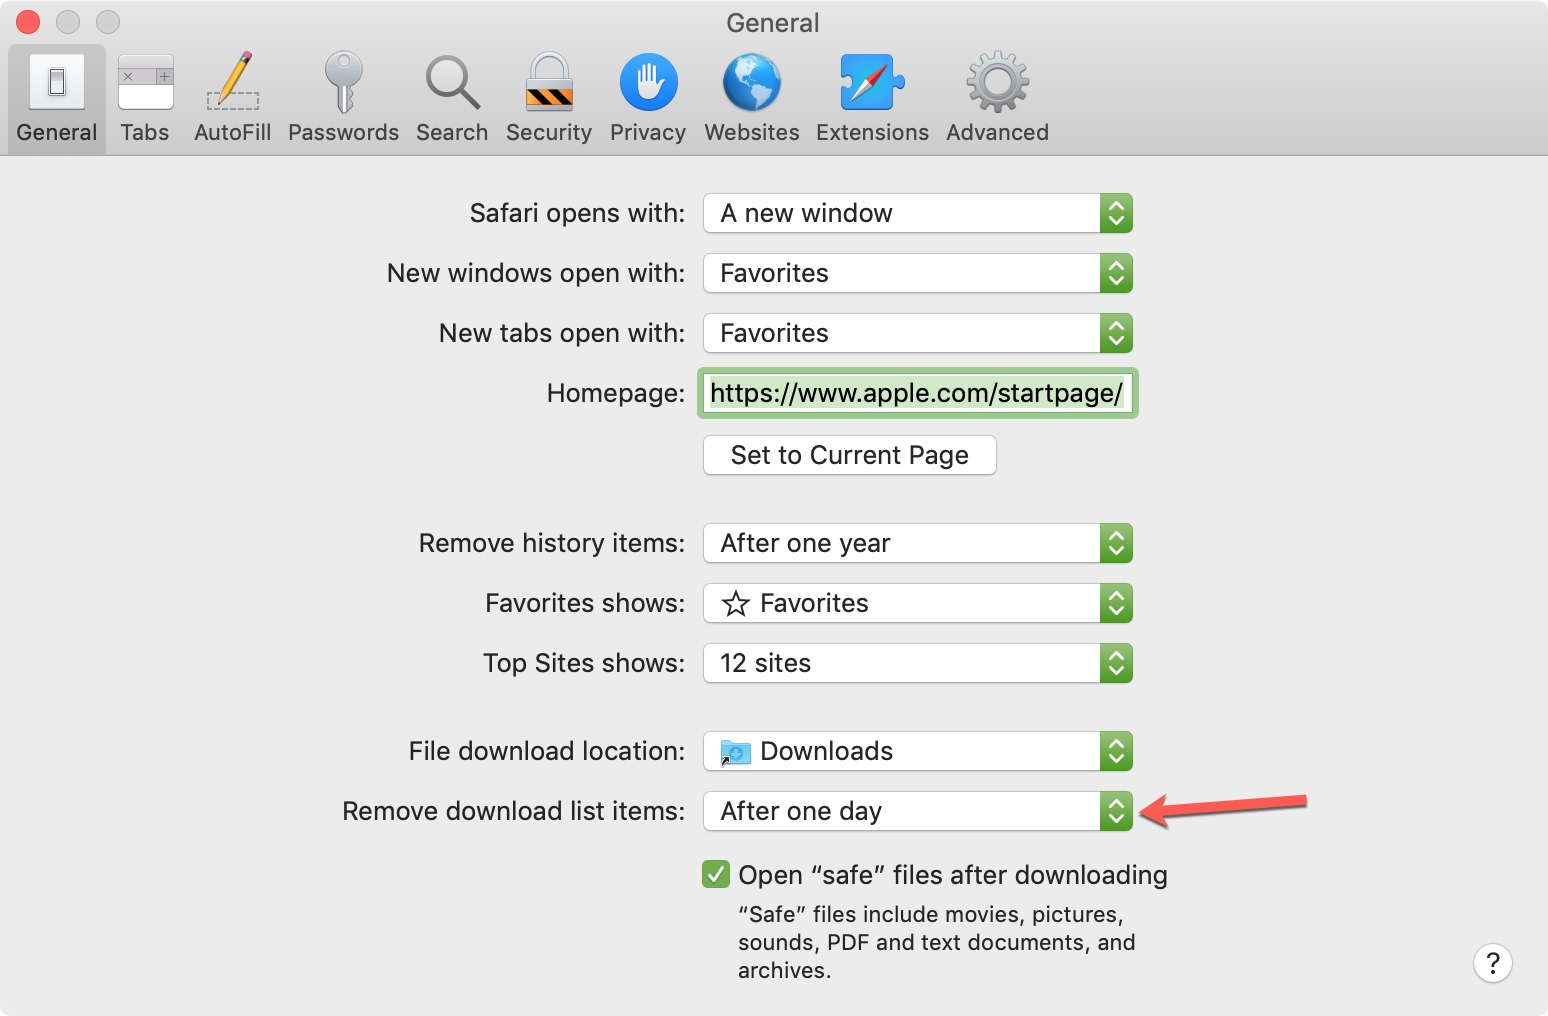
- Depending on your browser and settings, you may be prompted to choose a download location or the download may start automatically.
- Once the download is complete, navigate to the location where the file was saved on your computer.
It is important to note that NVAC is typically downloaded as a compressed ZIP file. Therefore, you will need a program or utility capable of extracting files from a ZIP archive, such as Windows built-in File Explorer, WinRAR, or 7-Zip.
If you have a preferred program for extracting files, open it and navigate to the folder where you saved the downloaded NVAC ZIP file, then extract the contents of the file to a location of your choice.
Congratulations! You have successfully downloaded NVAC. In the next step, we will guide you through the process of installing NVAC.
Step 4: Installing NVAC
With the NVAC files downloaded and extracted, you’re ready to move on to the installation process. Follow these steps to install NVAC:
- Locate the extracted NVAC files on your computer. You should see a folder containing various files and folders related to the mod.
- Copy or move the entire NVAC folder to the correct directory for Fallout: New Vegas mods. The default directory is typically located in the “Data” folder of your Fallout: New Vegas installation. This can vary depending on your mod manager or specific installation preferences.
- If you are using a mod manager such as Nexus Mod Manager (NMM) or Mod Organizer 2 (MO2), open your mod manager and locate the option to install a new mod or add a mod from a file. Choose the option that suits your mod manager and navigate to the NVAC folder you previously copied or moved. Select the main NVAC file or the plugin files if applicable.
- Follow any additional prompts or instructions provided by your mod manager to complete the installation process.
It’s important to note that with some mod managers, you may need to manually adjust the load order of NVAC or enable the plugin files if necessary. Consult the documentation or support forums for your mod manager if you encounter any issues during the installation process.
After successfully installing NVAC, you’re one step closer to enjoying a more stable Fallout: New Vegas experience. However, there are a few more important steps to complete in order to optimize NVAC’s performance, which we will cover in the next section.
Step 5: Configuring NVAC
After installing NVAC, it’s time to configure the mod to ensure optimal performance. Follow these steps to configure NVAC:
- Launch Fallout: New Vegas.
- In the main menu, select “Mods” or “Mod Configuration” (depending on your mod manager or mod organizer).
- Locate NVAC in the list of installed mods and select it to access the configuration settings.
- Within the NVAC configuration settings, you may find options to customize certain aspects of the mod’s behavior, such as crash detection settings or memory allocation.
- Make sure to read the provided documentation or refer to user guides to understand the available options and determine which settings are appropriate for your system and gameplay preferences.
- Adjust the configuration settings according to your preferences and system capabilities.
- If you are unsure about specific settings, it’s usually safe to leave them at their default values.
- Save the changes and exit the NVAC configuration settings.
By configuring NVAC, you can fine-tune the mod to your liking and ensure that it is working optimally for your specific setup. However, keep in mind that improper configuration or incompatible settings may negatively impact game performance or stability.
With NVAC now properly configured, your Fallout: New Vegas experience should be more stable and crashes minimized. However, if you encounter any issues or errors, it’s important to understand how to troubleshoot and resolve them, which we will cover in the next step.
Step 6: Troubleshooting Common Issues
Even with NVAC installed and configured, occasional issues may still arise. Here are some common issues that you may encounter while using NVAC, along with troubleshooting tips:
- Game Crashes: If you still experience game crashes after installing NVAC, try disabling other mods to see if they are causing conflicts. You can also verify the integrity of your game files through Steam or GOG Galaxy to ensure they are not corrupted.
- Performance Issues: If you notice a decrease in performance after installing NVAC, check your graphics settings and reduce them if necessary. It’s also a good idea to update your graphics card drivers to the latest version.
- Incompatibility with Other Mods: Some mods may not be fully compatible with NVAC. Check the mod descriptions and forums for compatibility patches or recommendations on how to make them work together.
- Outdated Version: Ensure that you have the latest version of NVAC installed. Developers often release updates to address bugs and improve stability, so staying up-to-date is essential.
- Consulting the Community: If you can’t find a solution to your issue, consider reaching out to the NVAC community for support. Websites like Nexus Mods have active forums where you can ask for help or search for existing threads related to your problem.
Remember, it’s always a good idea to backup your game saves before installing any mods. This way, if any issues arise, you can restore your game to its previous state.
By troubleshooting common issues and addressing potential conflicts, you can ensure that NVAC runs smoothly and enhances your Fallout: New Vegas experience.
With the troubleshooting steps completed, you should now be well-equipped to overcome any challenges that may arise while using NVAC. Enjoy your improved game stability and uninterrupted adventures in the Mojave wasteland!
Conclusion
Congratulations! You have successfully learned how to download, install, and configure NVAC for Fallout: New Vegas. With NVAC, you can significantly improve the stability of your game and reduce frustrating crashes, allowing you to fully immerse yourself in the post-apocalyptic world of the Mojave wasteland.
Throughout this guide, we covered the essential steps to follow. First, you visited the NVAC website to find the latest version and gather valuable information about the mod. Next, you selected the appropriate version based on game compatibility and your system architecture. Then, you downloaded NVAC and installed it, making sure to follow proper installation procedures and considering any additional features or plugins.
After installation, you configured NVAC to optimize its performance and tailored it to your preferences. You also learned about common issues that may arise and acquired troubleshooting skills to overcome them.
Remember that NVAC is just one of many mods available for Fallout: New Vegas. If you still experience issues, remember to check for mod conflicts and update your game and other mods to their latest versions. Additionally, staying engaged with the modding community can provide valuable insights and solutions.
We hope that this guide has empowered you to enhance your gaming experience and enjoy a more stable and enjoyable journey through the Mojave wasteland. So, grab your weapons, strap on your armor, and embark on exciting quests with the knowledge that NVAC has your back!


