Introduction
Welcome to this step-by-step guide on how to download new maps to your Garmin Nuvi device. For avid travelers, having accurate and up-to-date maps is crucial for a seamless navigation experience. Whether you’re planning a road trip or exploring unfamiliar areas, keeping your Garmin Nuvi equipped with the latest maps will ensure you never get lost.
In this guide, we will walk you through the process of downloading and installing new maps on your Garmin Nuvi. Don’t worry if you’re not tech-savvy – we will break down each step in a user-friendly manner, making it easy for anyone to follow along.
Before we dive into the details, it is essential to note that the process may vary slightly depending on your specific Garmin Nuvi model and the software version it is running. However, the general steps remain the same, so you should be able to adapt them regardless of the Nuvi model you own.
Ready to explore new territories with your Garmin Nuvi? Let’s get started!
Step 1: Prepare Your Garmin Nuvi
Before you begin the process of downloading new maps to your Garmin Nuvi, it’s important to ensure your device is properly prepared. Follow these steps to get your Garmin Nuvi ready:
- Power on your Garmin Nuvi: Make sure your device is turned on and functioning properly. If it has been sitting idle for a while, consider charging it before proceeding with the map download.
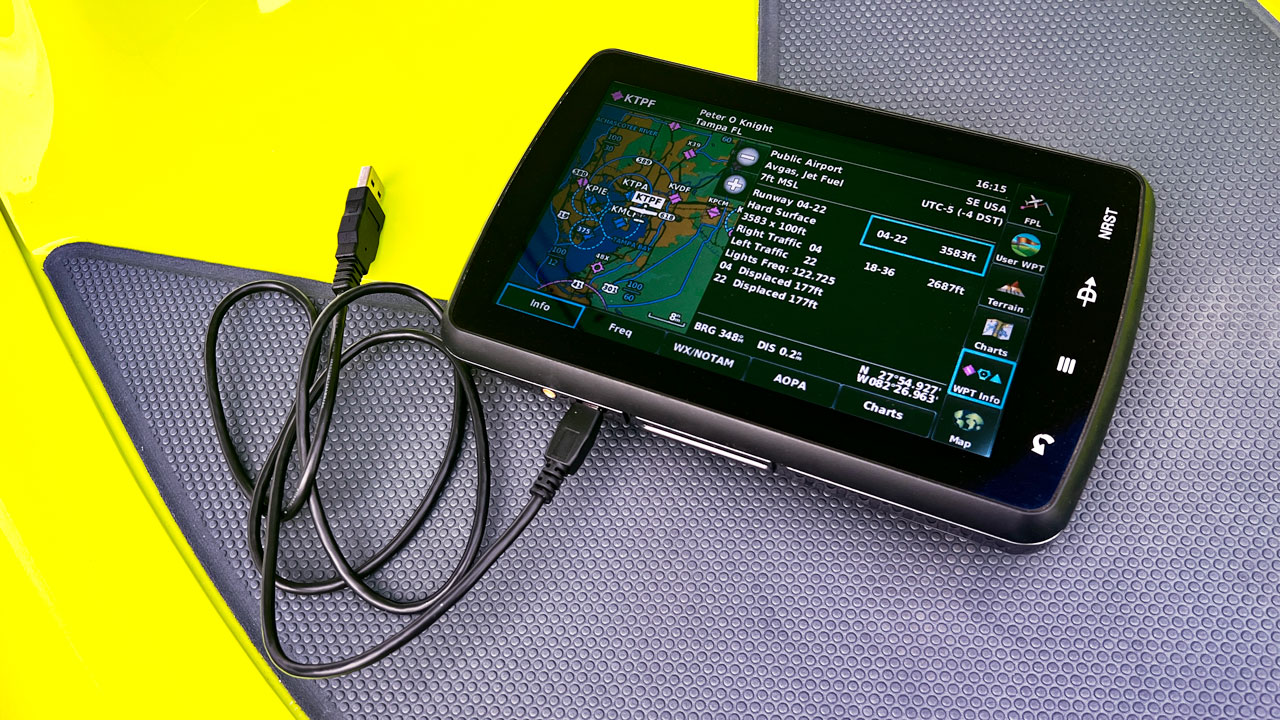
- Connect your Nuvi to a computer: To transfer the downloaded maps to your Garmin Nuvi, you’ll need to connect it to a computer. Use the USB cable provided with your device to establish the connection. Plug one end of the cable into your Nuvi and the other end into a USB port on your computer.
- Ensure a stable internet connection: It’s important to have a reliable and uninterrupted internet connection throughout the download process. Make sure your computer is connected to the internet via Wi-Fi or Ethernet.
- Update your Garmin Nuvi software (optional): While not mandatory, it’s a good idea to check for any available software updates for your Garmin Nuvi before downloading new maps. This will ensure your device is running the latest firmware, providing a smoother experience overall.
By following these steps, you will properly prepare your Garmin Nuvi for the map download process. Once all the necessary preparations are in place, you can proceed to the next step of connecting your Garmin Nuvi to a computer.
Step 2: Connect Your Garmin Nuvi to a Computer
In order to download new maps to your Garmin Nuvi, you’ll need to connect your device to a computer. Follow these steps to establish the connection:
- Locate the USB port on your Garmin Nuvi: Depending on the model, the USB port may be on the back, bottom, or side of your device. Refer to your Nuvi’s user manual if you’re unsure where to find it.
- Connect one end of the USB cable: Take one end of the USB cable and plug it into the USB port of your Garmin Nuvi.
- Connect the other end of the USB cable to your computer: Take the other end of the USB cable and insert it into an available USB port on your computer. Ensure a secure connection is made.
- Wait for the computer to recognize your Garmin Nuvi: Once the USB connection is established, your computer should recognize your device. It may take a few moments for the computer to install the necessary drivers.
- Access your Garmin Nuvi’s storage: After your computer recognizes the Garmin Nuvi, you can access its internal storage. Open the file explorer on your computer (such as File Explorer on Windows or Finder on Mac) and look for your Garmin Nuvi listed as a connected device.
Once you have successfully connected your Garmin Nuvi to your computer, you are ready to move on to the next step of visiting the Garmin website to download the desired maps.
Step 3: Visit the Garmin Website
Now that your Garmin Nuvi is connected to your computer, it’s time to visit the official Garmin website to download the map updates. Follow these steps:
- Open your preferred web browser: Launch the web browser on your computer. You can use popular browsers like Google Chrome, Mozilla Firefox, or Safari.
- Navigate to the Garmin website: In the address bar of your web browser, type in ‘www.garmin.com’ and press Enter.
- Go to the ‘Maps & Map Updates’ section: Once you’re on the Garmin website’s homepage, look for the ‘Maps & Map Updates’ section. It is usually located in the top navigation menu or under the ‘Products’ tab.
- Identify your Nuvi model: On the ‘Maps & Map Updates’ page, locate your specific Nuvi model. You may need to enter your Nuvi’s model number or select it from a dropdown menu.
- Browse available map updates: Once you’ve identified your Nuvi model, you will be presented with a list of available map updates. Take your time to review the options and select the map package that best suits your needs.
- Add the map updates to your cart: Click on the desired map update package to view more details. If it meets your requirements, click on the ‘Add to Cart’ or ‘Buy Now’ button to proceed with the purchase.
- Follow the on-screen instructions: Once you’ve added the map updates to your cart, follow the on-screen instructions to complete the purchase process. You may need to provide your payment details and personal information.
By visiting the Garmin website and browsing the available map updates, you are one step closer to installing the latest maps on your Garmin Nuvi device. In the next step, we will walk you through the process of selecting and downloading the desired map package.
Step 4: Select and Download Your Map
After visiting the Garmin website and identifying the available map updates, it’s time to select and download the desired map package for your Garmin Nuvi. Follow these steps to proceed:
- Select the map update package: On the Garmin website, choose the map update package that best suits your needs. Consider factors like the region you want to update, additional features, or any specific requirements you may have.
- Review the map details: Click on the selected map update package to view additional details. Make sure to review the coverage area, version, and any included features or enhancements.
- Add the map to your cart: If the map package meets your requirements, click on the ‘Add to Cart’ or ‘Buy Now’ button to add it to your cart. You may have the option to purchase a one-time update or a subscription plan for future map updates.
- Proceed to checkout: Once you have added the desired map update to your cart, proceed to the checkout process. Follow the on-screen instructions to provide the necessary payment and billing information.
- Download the map to your computer: After completing the purchase, you will typically receive an email with a download link for the map update. Click on the provided link to initiate the download.
- Save the map file on your computer: Once the download is complete, select a location on your computer where you want to save the map file. It is recommended to create a new folder specifically for Garmin maps to keep them organized.
By selecting and downloading the map update package from the Garmin website, you now have the latest map file ready to be installed on your Garmin Nuvi. In the next step, we will guide you through the process of installing the downloaded map on your device.
Step 5: Install the Map on Your Garmin Nuvi
Now that you have downloaded the map update to your computer, it’s time to install it on your Garmin Nuvi. Follow these steps to complete the installation:
- Connect your Garmin Nuvi to your computer: Take the USB cable and connect your Garmin Nuvi to your computer, just as you did in Step 2.
- Access your Garmin Nuvi’s storage: Open the file explorer on your computer and navigate to your Garmin Nuvi’s internal storage. This is typically labeled as the Garmin or Nuvi drive.
- Locate the map folder: Within your Garmin Nuvi’s internal storage, look for a folder with a name like “GPS” or “Maps”. Open this folder to access the existing map files.
- Copy the downloaded map file: In the folder where you saved the downloaded map file from Step 4, copy the map file (usually ending in .img or .gmap format).
- Paste the map file into the map folder: Go back to your Garmin Nuvi’s internal storage and navigate to the map folder you found in Step 3. Paste the copied map file into this folder.
- Safely eject your Garmin Nuvi: Once the map file has been successfully copied to your device, safely eject your Garmin Nuvi from your computer. This ensures that all data is properly saved and prevents any potential data corruption.
- Disconnect your Garmin Nuvi from your computer: Remove the USB cable from your Garmin Nuvi and disconnect it from your computer.
- Power on your Garmin Nuvi: Turn on your Garmin Nuvi and allow it to boot up. The new map should now be installed and ready to use.
By following these steps, you have successfully installed the downloaded map update onto your Garmin Nuvi. You can now enjoy the benefits of accurate and up-to-date maps during your travels. Keep in mind that you may need to configure your Garmin Nuvi’s settings to ensure the newly installed map is active and in use.
Conclusion
Congratulations! You have successfully learned how to download and install new maps on your Garmin Nuvi device. By following the step-by-step guide outlined in this article, you can ensure that your Garmin Nuvi is equipped with accurate and up-to-date maps for a smooth navigation experience.
Remember, it’s crucial to regularly update your Garmin Nuvi’s maps to access the latest road networks, points of interest, and other useful features. Keeping your maps updated will allow you to confidently explore new areas and reach your destinations with ease.
Throughout this guide, we covered the essential steps, from preparing your Garmin Nuvi and connecting it to your computer, to visiting the Garmin website, selecting and downloading the desired maps, and finally, installing the downloaded map on your device.
However, it’s important to note that the specific instructions may vary slightly depending on your Garmin Nuvi model and software version. Always refer to the user manual or official Garmin support for any device-specific queries or troubleshooting.
Now that you have the necessary knowledge and steps, you can confidently navigate the world with your updated Garmin Nuvi. Enjoy your travels and make the most of the accurate navigation provided by your reliable Garmin Nuvi device!


