Introduction
Welcome to the world of Nintendo 3DS games! If you’re an avid gamer and own a Nintendo 3DS console, you’ll be delighted to know that you can download and enjoy a wide range of games directly onto your SD card. This convenient feature allows you to carry multiple games with you wherever you go, eliminating the need to carry physical game cartridges.
Downloading 3DS games onto your SD card is a straightforward process, and in this article, we’ll guide you through the steps required to do so. Whether you’re a seasoned Nintendo 3DS user or just beginning your gaming journey, we’ve got you covered.
Before we dive into the steps, it’s important to note that you’ll need a few things in place to successfully download games onto your SD card. Firstly, your Nintendo 3DS console should be fully charged or connected to a power source. Additionally, ensure that you have a stable internet connection to access the Nintendo eShop, which is the official platform for downloading games. Finally, make sure you have sufficient space on your SD card to accommodate the games you wish to download.
In the following sections, we’ll explore each step in detail, providing you with a comprehensive guide to downloading 3DS games onto your SD card. So, grab your Nintendo 3DS, prepare your SD card, and let’s get started on this exciting gaming journey!
Requirements for Downloading 3DS Games onto SD Card
Before you can begin downloading games onto your SD card, there are a few key requirements that you need to fulfill. Ensuring that you have these prerequisites in place will enable a smooth and hassle-free downloading process. Here are the essential requirements:
- Nintendo 3DS Console: To download and play games, you’ll need a Nintendo 3DS console. Make sure your console is in good working condition and turned on.
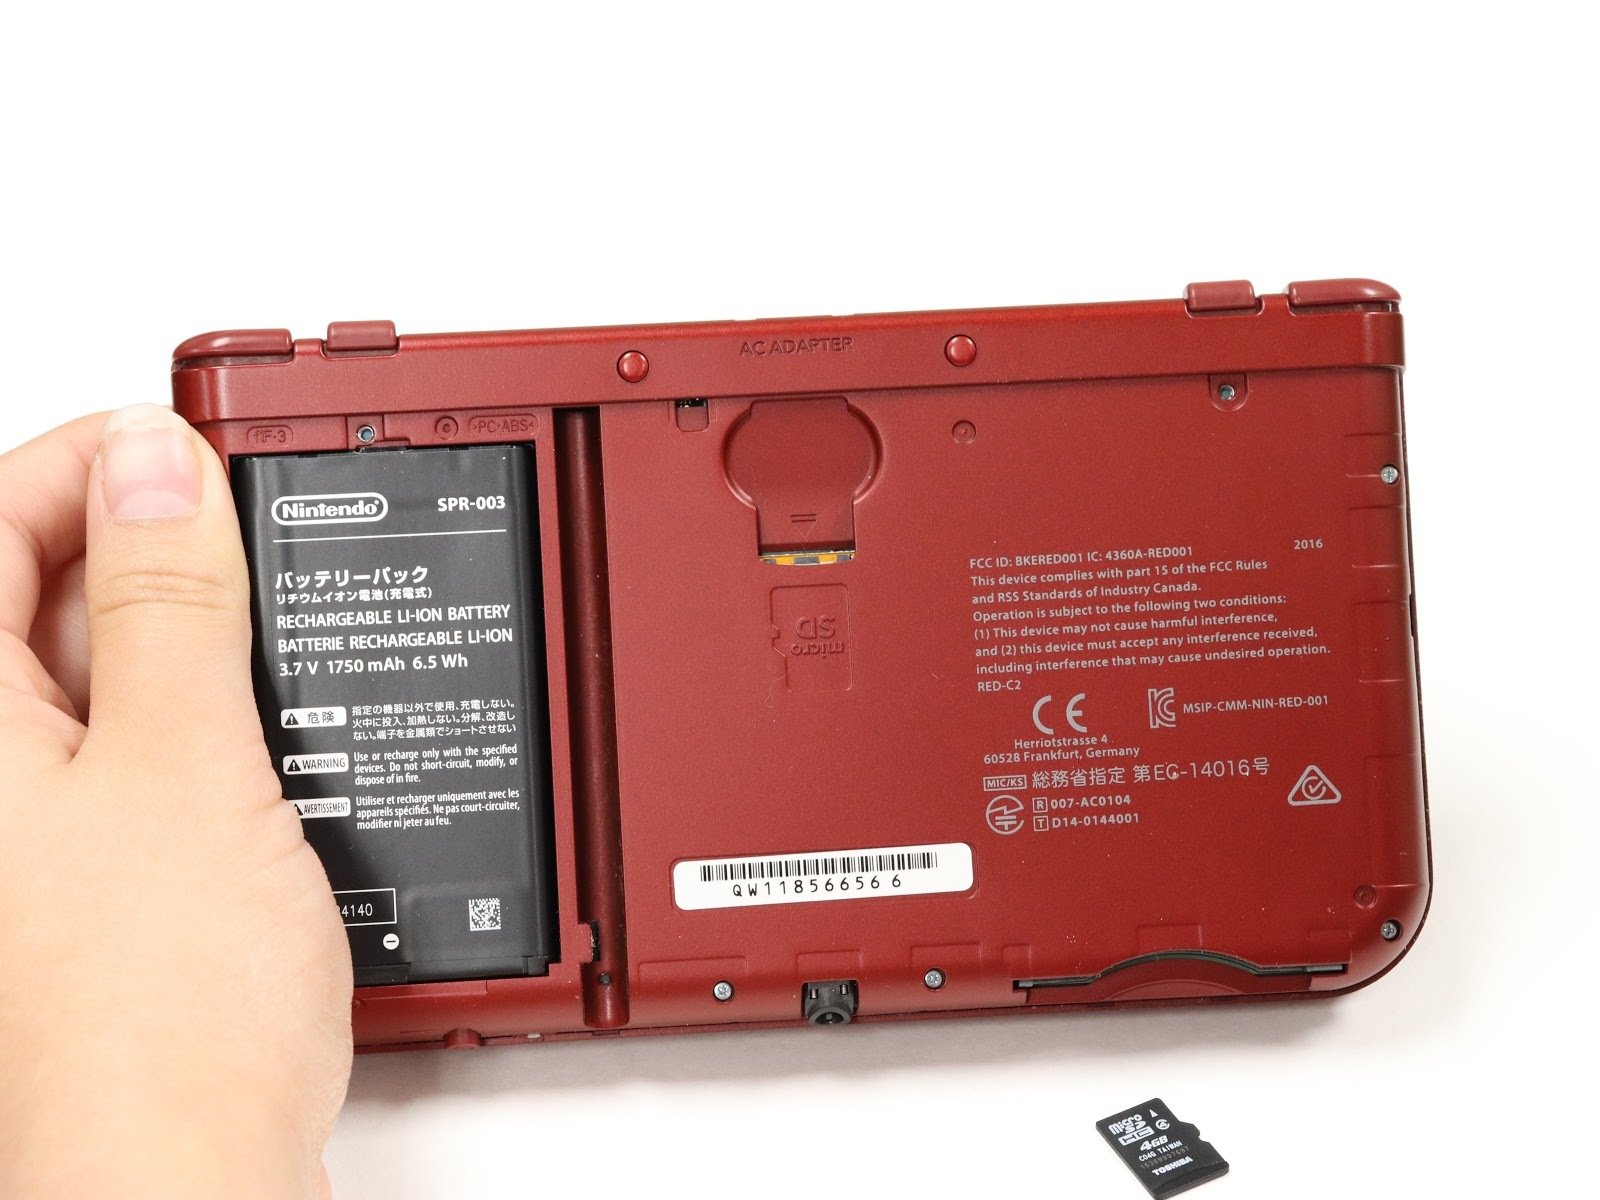
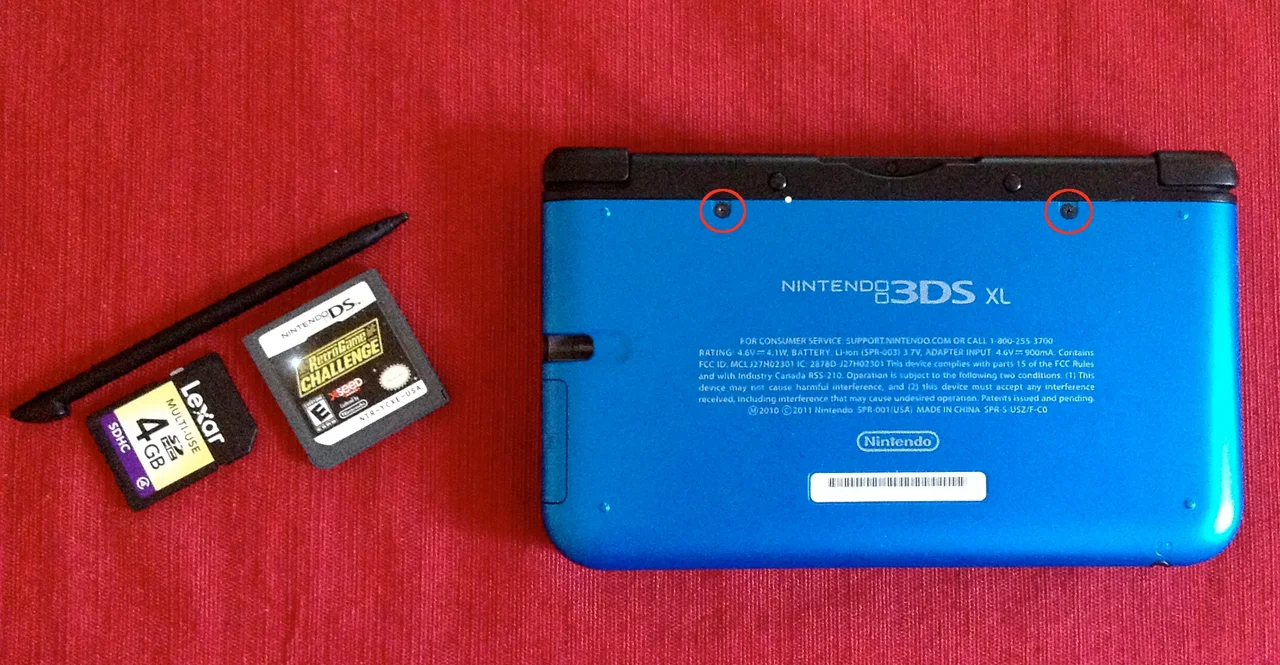
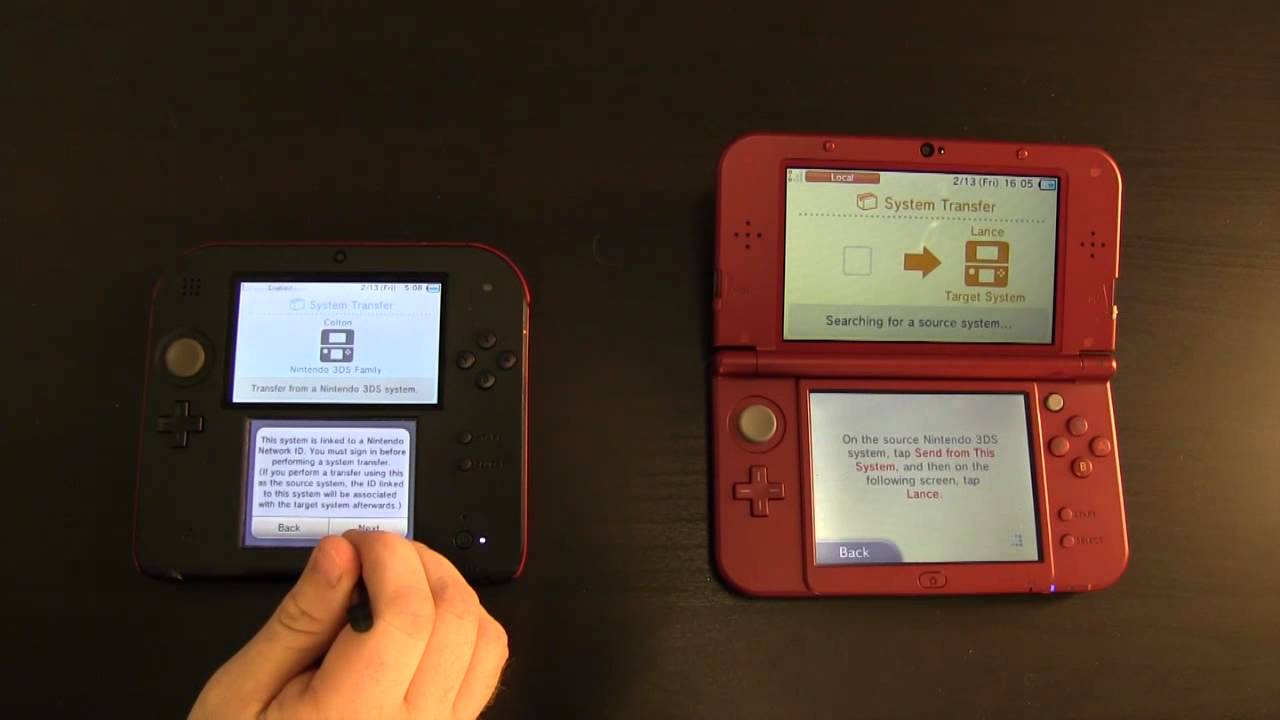
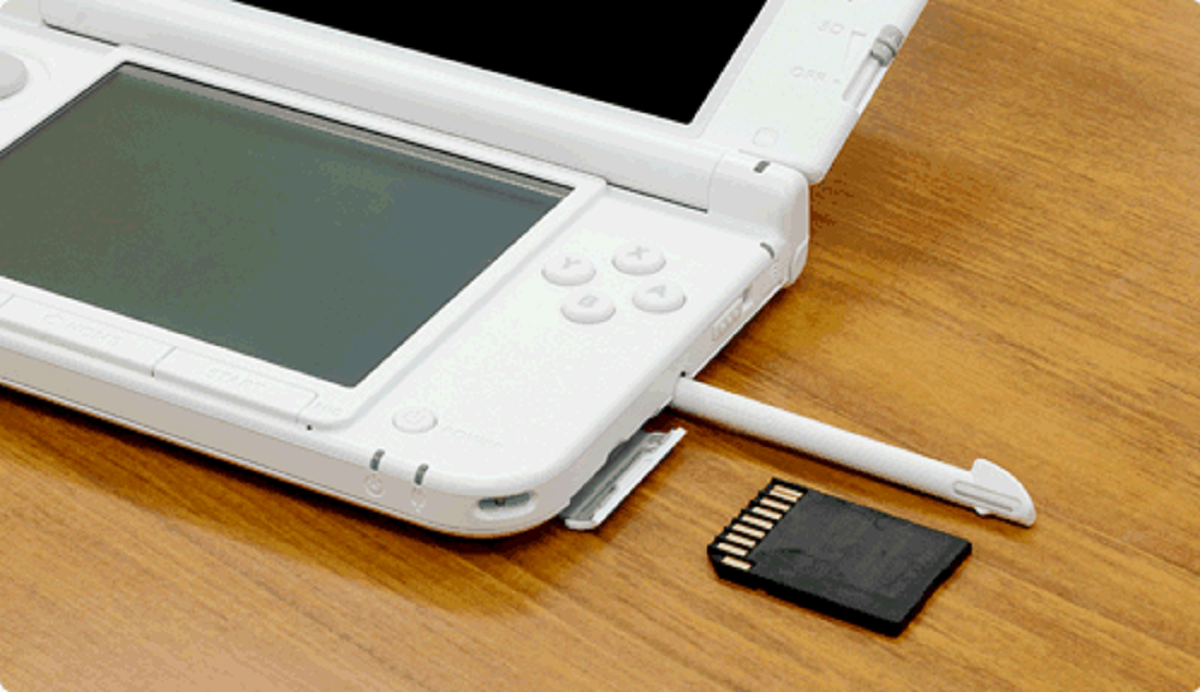
- SD Card: The 3DS games will be downloaded and stored on an SD card. Check that your Nintendo 3DS console has an SD card slot and insert a compatible SD card with sufficient storage capacity.
- Internet Connection: Ensure that your Nintendo 3DS is connected to the internet. You can connect your console to a Wi-Fi network for a stable internet connection.
- Nintendo Network ID (NNID): Setting up a Nintendo Network ID is required to access the Nintendo eShop, where you’ll be able to download games. If you haven’t already set up an NNID, don’t worry – we’ll cover the steps in the next section.
- Funds in Your Nintendo eShop Account: While several free games are available, many others require a purchase. To buy games from the Nintendo eShop, you’ll need to have sufficient funds in your account. We’ll guide you on adding funds in a later step.
By ensuring that you have these requirements covered, you’ll be ready to embark on your journey of downloading and enjoying 3DS games directly onto your SD card. So, let’s move on to the next section, where we’ll explore how to set up a Nintendo Network ID to access the Nintendo eShop.
Step 1: Accessing the Nintendo eShop
In order to download 3DS games onto your SD card, you’ll first need to access the Nintendo eShop. The Nintendo eShop is a digital storefront where you can browse and purchase games for your Nintendo 3DS console. Follow the steps below to access the eShop:
- Power on Your Nintendo 3DS: Ensure that your console is turned on and ready to use.
- Navigate to the Home Menu: Press the Home button on your Nintendo 3DS console to access the Home Menu. This is the main menu of the console, where you can access various applications and settings.
- Select the Nintendo eShop Icon: Look for the Nintendo eShop icon on the Home Menu. It is represented by an orange shopping bag with a white Nintendo logo. Use the D-pad or the touchscreen to navigate to the eShop icon and press A to select it.
- Connect to the Internet: If you haven’t already connected your Nintendo 3DS to the internet, you’ll be prompted to do so. Follow the on-screen instructions to connect to a Wi-Fi network. Having a stable internet connection is crucial for accessing and downloading games from the eShop.
- Agree to the Terms of Service: Upon launching the Nintendo eShop for the first time, you’ll be presented with the Terms of Service. Take a moment to read through them and then select “I Agree” to proceed.
- Navigate the Nintendo eShop: Congratulations! You have successfully accessed the Nintendo eShop. From here, you can explore various game categories, browse through new releases and sales, and access additional features, such as demos and virtual console games. Use the D-pad or the touchscreen to navigate through the different sections of the eShop.
Now that you are inside the Nintendo eShop, you are one step closer to downloading exciting games onto your SD card. In the next section, we’ll guide you on setting up a Nintendo Network ID (NNID) so that you can make purchases and download games from the eShop.
Step 2: Setting Up an NNID
In order to access the full range of features in the Nintendo eShop and download games onto your SD card, you’ll need to set up a Nintendo Network ID (NNID). Your NNID serves as your unique identifier and allows you to make purchases, participate in online multiplayer, and access additional features. Follow these steps to create your NNID:
- Access the Nintendo eShop: If you haven’t already done so, follow the steps outlined in Step 1 to access the Nintendo eShop from your Nintendo 3DS console.
- Select “Create Account”: Once you’re in the eShop, you’ll see a “Create Account” option. Use the D-pad or touchscreen to highlight it and press A to select.
- Agree to the Terms of Service: Read through the Terms of Service and Privacy Policy, and select the checkboxes to indicate your agreement.
- Enter Your Personal Information: You’ll be prompted to enter your personal information, including your country or region, date of birth, and email address. Provide accurate information as this will be used to verify and manage your account.
- Create a Unique Username and Password: Choose a unique username that hasn’t been taken by another user and create a strong password. Remember to keep your login credentials secure.
- Select a Security Question: Choose a security question and provide an answer that you’ll remember. This will be used for account recovery purposes in case you forget your password.
- Verify Your Email Address: Nintendo will send a verification email to the email address you provided. Open the email and click on the verification link to confirm your email address.
- Set Up Parental Controls (if applicable): If the Nintendo 3DS is being used by a minor, you’ll have the option to set up parental controls to manage their gaming experiences. You can choose to set restrictions on game ratings and online interactions.
- Complete the Setup: Once you’ve completed all the necessary steps, your NNID will be created, and you’ll have access to the full features of the Nintendo eShop.
Congratulations! You’ve successfully set up your NNID, allowing you to make purchases and download games onto your SD card. In the next section, we’ll guide you on adding funds to your Nintendo eShop account so that you can start buying games.
Step 3: Adding Funds to Your Nintendo eShop Account
In order to purchase and download games from the Nintendo eShop, you’ll need to have funds available in your account. Adding funds is a simple process and can be done directly from your Nintendo 3DS console. Follow these steps to add funds to your Nintendo eShop account:
- Access the Nintendo eShop: Launch the Nintendo eShop from your Nintendo 3DS console by following the steps outlined in Step 1.
- Select “Add Funds”: Once you’re in the eShop, look for the option that allows you to add funds. This is usually located on the main page or within the settings menu. Use the D-pad or touchscreen to select the “Add Funds” option.
- Choose the Amount: Next, you’ll be presented with different denominations of funds that you can add to your account. This can range from small amounts to larger sums, depending on the available options. Select the desired amount that you want to add to your account.
- Select a Payment Method: Nintendo offers various payment methods, including credit/debit cards or prepaid cards. Choose the payment method that you prefer to use for adding funds to your account.
- Enter the Payment Details: If using a credit/debit card, you’ll need to enter the card information, including the card number, expiration date, and CVV code. Follow the on-screen prompts to input the required details accurately.
- Confirm and Complete the Payment: Review the payment information to ensure accuracy and select the option to confirm the payment. The transaction will then be processed, and the funds will be added to your Nintendo eShop account.
- Verify the Added Funds: Once the transaction is complete, you can verify that the funds have been successfully added to your account. This can usually be found on the same page where you added the funds. You should see the updated balance reflecting the added funds.
With funds added to your Nintendo eShop account, you’re now ready to start browsing and purchasing your favorite games. In the next section, we’ll guide you through the process of browsing the catalog and selecting a game to download onto your SD card.
Step 4: Browsing the Catalogue and Selecting a Game
Now that you have funds in your Nintendo eShop account, it’s time to explore the vast catalogue of games available and select the ones you want to download onto your SD card. Follow these steps to browse the catalogue and choose a game:
- Access the Nintendo eShop: Launch the Nintendo eShop from your Nintendo 3DS console by following the steps outlined in Step 1.
- Explore the Available Games: Once you’re in the eShop, you’ll be presented with various sections, including new releases, best-sellers, and different game categories. Use the D-pad or touchscreen to navigate through the catalogue and start exploring the games that catch your interest.
- View Game Details: Click on a game that you’re interested in to view its details. This will provide you with more information about the game, such as screenshots, trailers, and a brief description. Take your time to review the details and determine if it meets your preferences.
- Read User Reviews and Ratings: To get a better understanding of a game’s quality and user experience, you can read user reviews and ratings. This can help you make an informed decision about whether to purchase and download the game.
- Add the Game to Your Cart: If you’ve decided to purchase a game, select the option to add it to your cart. This will enable you to proceed to the checkout and complete the purchase.
- Review Your Cart: After adding a game to your cart, you’ll have the option to review the contents of your cart. Ensure that everything is accurate and that you haven’t added any unwanted items.
- Proceed to Checkout: Once you’re satisfied with the games in your cart, select the option to proceed to the checkout. This will take you to the payment screen where you can review the final price before completing the purchase.
- Confirm and Complete the Purchase: Verify the payment details and select the option to complete the purchase. The game will then be downloaded onto your SD card, and you’ll be ready to enjoy it on your Nintendo 3DS console.
Congratulations! You’ve successfully browsed the Nintendo eShop catalogue and selected a game to download onto your SD card. In the next section, we’ll guide you through the process of downloading the game directly to your SD card.
Step 5: Downloading the Game to Your SD Card
With your game selected, it’s time to download it directly onto your SD card. Follow these steps to complete the downloading process:
- Access the Nintendo eShop: Launch the Nintendo eShop from your Nintendo 3DS console by following the steps outlined in Step 1.
- Go to the “Download” Section: Once you’re in the eShop, navigate to the “Download” section. This section will display all the games that you have purchased or are ready to be downloaded.
- Locate the Purchased Game: In the “Download” section, find the game that you want to download onto your SD card. If you haven’t purchased the game yet, refer back to Step 4 to learn how to browse the catalogue and make a purchase.
- Select “Download”: Highlight the game and select the “Download” option. This will initiate the downloading process onto your SD card.
- Monitor the Download Progress: As the game is being downloaded, keep an eye on the progress bar to see how much time is remaining. The speed of the download will depend on the size of the game and the speed of your internet connection.
- Ensure Sufficient Space on Your SD Card: Make sure that you have enough space on your SD card to accommodate the game. If your SD card’s available space is full, you may need to delete some unwanted games or files to create room for the new download.
- Wait for the Download to Complete: Once the download is complete, the game will be stored on your SD card. You can now access and play the game directly from your Nintendo 3DS console’s home menu.
Great job! You’ve successfully downloaded the game of your choice onto your SD card. Now, let’s move on to the next step where we’ll show you how to access the game from the home menu of your Nintendo 3DS console.
Step 6: Accessing the Game from the Home Menu
With the game successfully downloaded onto your SD card, it’s time to access and play it from the home menu of your Nintendo 3DS console. Follow these steps to access the game:
- Return to the Home Menu: If you’re currently in the Nintendo eShop or any other application, press the Home button on your Nintendo 3DS console to return to the Home Menu.
- Locate the Game Icon: On the Home Menu, look for the icon representing the game you just downloaded. The game icon will vary depending on the game you downloaded.
- Select the Game Icon: Use the D-pad or touchscreen to navigate to the game icon and press A to select it. This will launch the game.
- Enjoy the Game: Once the game is launched, follow the on-screen instructions and prompts to start playing. Each game may have its own unique features, controls, and gameplay mechanics, so familiarize yourself with the game to get the most out of your gaming experience.
- Manage Multiple Games: If you have downloaded multiple games onto your SD card, you can easily switch between games by returning to the Home Menu and selecting a different game icon. This allows you to access and enjoy a variety of games without the need for physical game cartridges.
Congratulations! You’ve successfully accessed the game from the home menu of your Nintendo 3DS console. Now you can immerse yourself in the exciting world of gaming right from your handheld device. In the next section, we’ll provide you with some useful tips to enhance your experience of downloading and playing 3DS games onto your SD card.
Tips for Downloading 3DS Games onto SD Card
As you continue to download and enjoy games onto your SD card, here are some helpful tips to enhance your experience:
- Manage your SD card space: Keep track of the available space on your SD card. If it starts getting full, consider deleting games or files that you no longer play to free up space for new downloads.
- Take advantage of special offers and sales: Keep an eye out for special offers and sales in the Nintendo eShop. You can often find discounted games or promotions that can save you money on your purchases.
- Try out demos: Many games in the eShop have demo versions available. Take advantage of these demos to try out games before making a purchase, ultimately helping you make informed decisions.
- Read user reviews and ratings: Before purchasing a game, take the time to read user reviews and ratings. This can provide valuable insights into the game’s quality, gameplay, and overall enjoyment.
- Keep your NNID login details secure: Your Nintendo Network ID (NNID) is important for accessing the Nintendo eShop and making purchases. Keep your login details secure and avoid sharing them with others.
- Check for system updates: Regularly check for system updates for your Nintendo 3DS console. These updates often include important enhancements and fixes that can improve your gaming experience.
- Back up your SD card: Consider creating backups of your SD card’s contents to prevent the loss of your downloaded games. This can be done by copying the files onto your computer or another storage device.
- Take advantage of StreetPass and SpotPass: StreetPass and SpotPass are features of the Nintendo 3DS that allow you to interact with other players and receive additional content. Enable these features to enhance your gaming experience.
- Consider investing in a high-capacity SD card: If you find yourself frequently running out of space on your current SD card, consider upgrading to a higher-capacity one. This will provide you with more storage space for your downloaded games.
- Keep your console and SD card in good condition: Handle your Nintendo 3DS console and SD card with care to ensure their longevity. Avoid exposing them to extreme temperatures, moisture, or physical damage.
By following these tips, you can optimize your experience of downloading and playing 3DS games onto your SD card. Now you can fully enjoy the convenience and versatility of a portable gaming library right at your fingertips.
Conclusion
Congratulations! You’ve reached the end of our guide on how to download 3DS games onto your SD card. By following the step-by-step instructions outlined in this article, you’re now equipped with the knowledge and tools to expand your gaming library and enjoy a wide range of games on your Nintendo 3DS console.
We began by highlighting the requirements needed for downloading games onto your SD card, such as a fully charged console, an SD card with sufficient space, a stable internet connection, and a Nintendo Network ID (NNID) to access the eShop. We then walked you through the process of accessing the Nintendo eShop, setting up an NNID, adding funds to your eShop account, browsing the catalog, selecting games for download, and finally, downloading games directly onto your SD card.
We also shared tips to enhance your experience, such as managing your SD card space, taking advantage of special offers and sales, trying out demos, reading user reviews, and keeping your NNID details secure. Additionally, we encouraged you to check for system updates, consider backing up your SD card, utilizing StreetPass and SpotPass features, and maintaining the condition of your console and SD card.
Now that you’re familiar with the process, requirements, and tips for downloading 3DS games onto your SD card, you can start building your own personal gaming collection. Enjoy the flexibility and convenience of carrying multiple games with you wherever you go, eliminating the need for physical cartridges.
Remember to have fun exploring new games, mastering challenging levels, and connecting with other Nintendo 3DS gamers. Embrace the immersive gaming world that awaits you, and let your gaming adventures begin!