Introduction
Steam is an immensely popular digital distribution platform for video games, offering a vast library of titles for PC, Mac, and Linux. When you download games from Steam, they are typically installed in a default location on your computer’s hard drive. However, you may find that you want to change where your Steam games are stored, either to free up space on your primary drive or to utilize a faster or larger secondary drive.
Luckily, Steam provides several methods to change the location of your game downloads. In this article, we will explore four different approaches to help you customize your Steam game installation folder and manage your game libraries efficiently.
First, we will cover the method of changing the default Steam game installation folder. This allows you to set a different location for future game downloads, ensuring that new games will be installed in the designated folder. Second, we will explain how to create multiple game libraries, which enables you to choose different installation folders for different games. Third, we will guide you through the process of moving already installed games from one drive to another. Finally, we will discuss how to take advantage of Steam’s backup and restore feature to transfer games to a new drive while preserving your game progress.
By the end of this article, you will have a comprehensive understanding of how to change where your Steam games are stored, giving you the flexibility to optimize your storage space and enhance your gaming experience. So let’s dive in and explore the various methods of altering Steam’s default game installation location.
Method 1: Changing the Default Steam Game Installation Folder
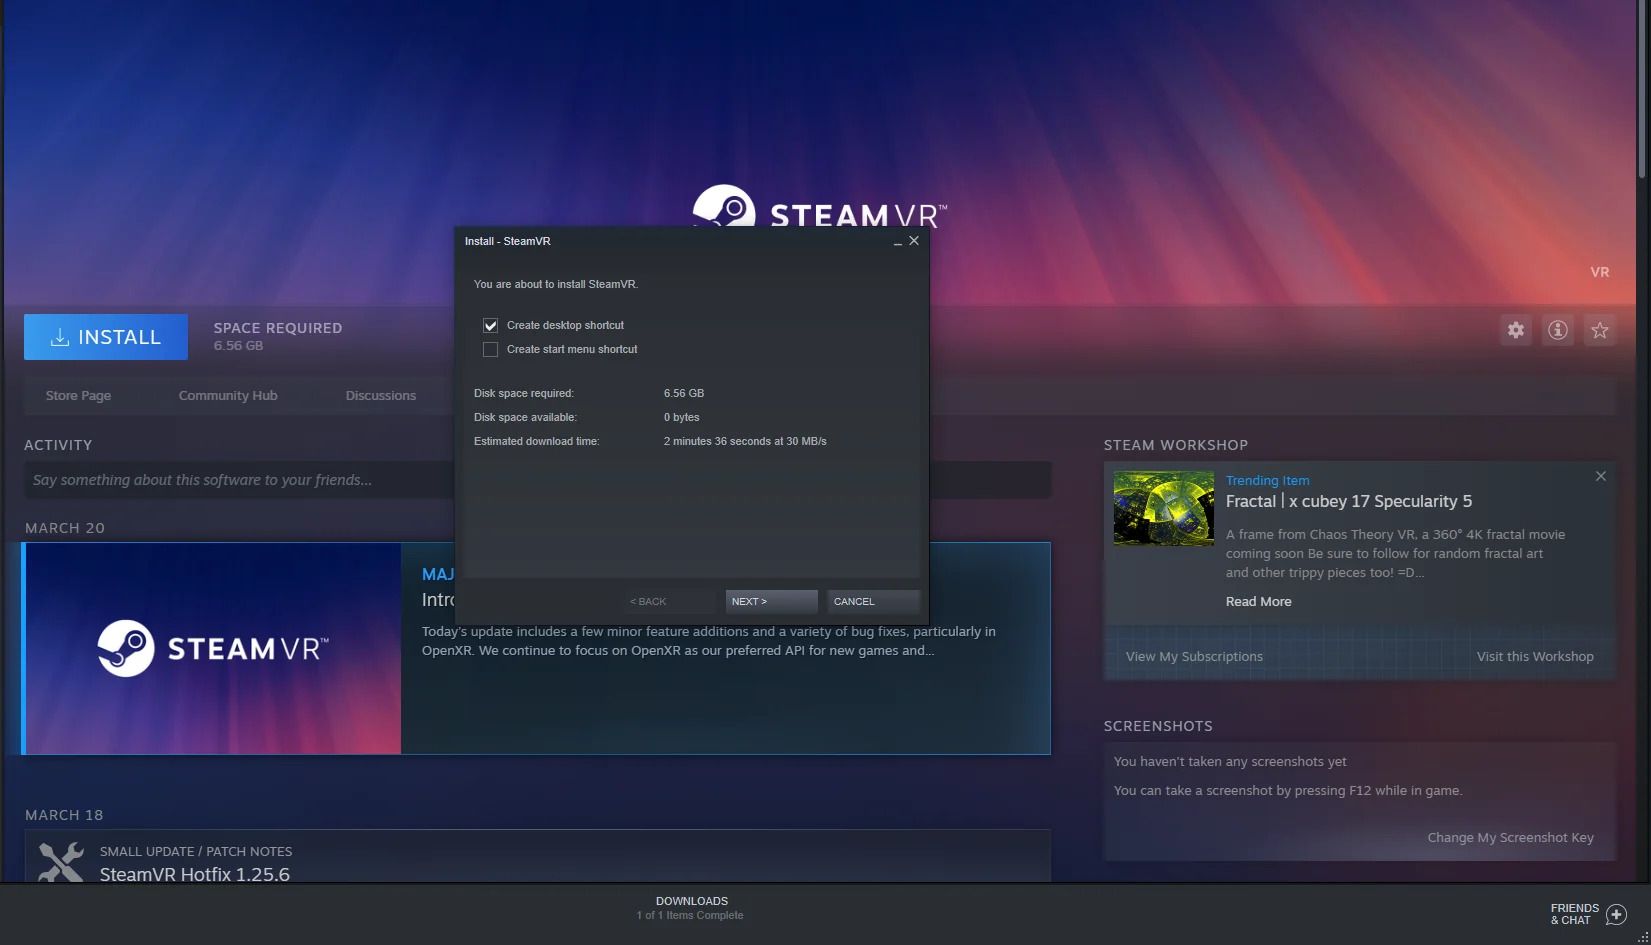
If you want to change where future game downloads are stored in Steam, you can easily modify the default installation folder. By doing so, any new games that you download will be automatically installed in this new location. Here’s how you can change the default Steam game installation folder:
- Open the Steam application on your computer and make sure you are logged in to your account.
- Click on the “Steam” option located in the top-left corner of the Steam window, and then choose “Settings” from the drop-down menu.
- In the Settings window, navigate to the “Downloads” tab.
- Under the “Content Libraries” section, click on the “Steam Library Folders” button.
- A new window will appear, displaying the current installation folders for your Steam games.
- Click on the “Add Library Folder” button at the bottom-left of the window to add a new installation folder.
- Browse for the desired location where you want your new games to be installed, and click “OK”.
- The new folder will now appear in the list of installation folders. You can prioritize the order in which Steam uses these folders by clicking on the “Up” or “Down” arrows.
- To set the new folder as the default installation folder, right-click on it and select “Make Default Folder”.
That’s it! From now on, any games you download or install through Steam will be saved in the designated installation folder. You can repeat these steps to add multiple installation folders if needed.
This method is particularly useful if you prefer to keep your games organized in different folders or allocate them to specific drives based on available storage space or drive performance. By changing the default Steam game installation folder, you can customize your game library management to suit your individual preferences.
Method 2: Creating Multiple Game Libraries
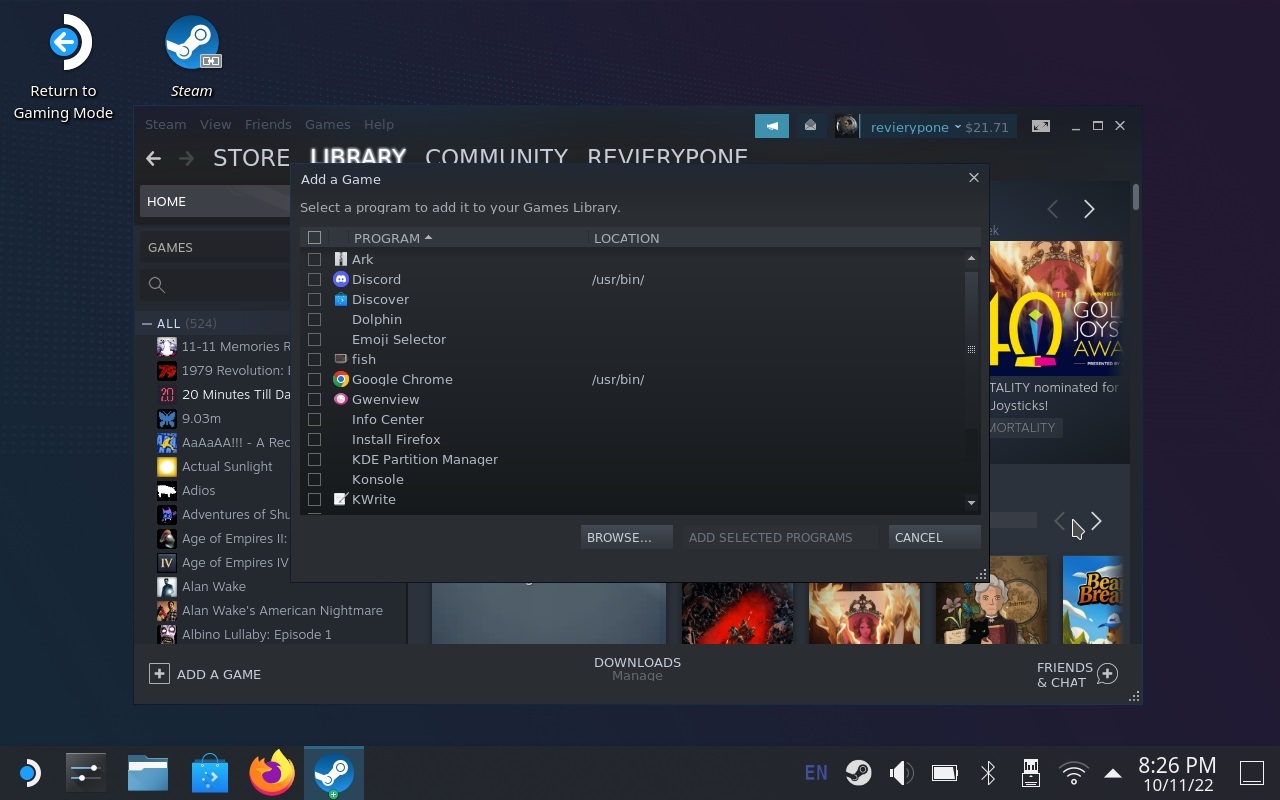
In addition to changing the default Steam game installation folder, you can create multiple game libraries in Steam. This method allows you to choose different installation folders for different games, giving you greater control over the organization and storage of your games. Here’s how you can create multiple game libraries:
- Open the Steam application and go to the “Steam” menu at the top-left corner of the window.
- Select “Settings” from the drop-down menu to open the Settings window.
- From the left sidebar, click on the “Downloads” tab.
- Under the “Content Libraries” section, click on the “Steam Library Folders” button.
- A new window will appear, displaying your current installation folders.
- Click on the “Add Library Folder” button to add a new library folder.
- Choose a location on your computer where you want the new game library to be located and click “OK”.
- The new library folder will now be listed in the Steam Library Folders window.
- To install a game into a specific library folder, right-click on the game in your Steam library and select “Properties”.
- In the properties window, go to the “Local Files” tab and click on the “Move Install Folder” button.
- Choose the desired library folder from the drop-down menu and click “Move Folder”.
You can repeat these steps to create additional game libraries and allocate different installation folders for specific games or types of games. This method is particularly useful if you want to separate your games based on genre, release date, or any other criteria that suits your organization preferences.
Having multiple game libraries can also help you manage your game installations on different drives or optimize performance by installing certain games on faster SSDs while others on traditional hard drives.
By creating multiple game libraries in Steam, you can customize your installation folders to suit the specific needs of each game, maximizing flexibility and organization in your game library management.
Method 3: Moving Installed Games to a Different Drive
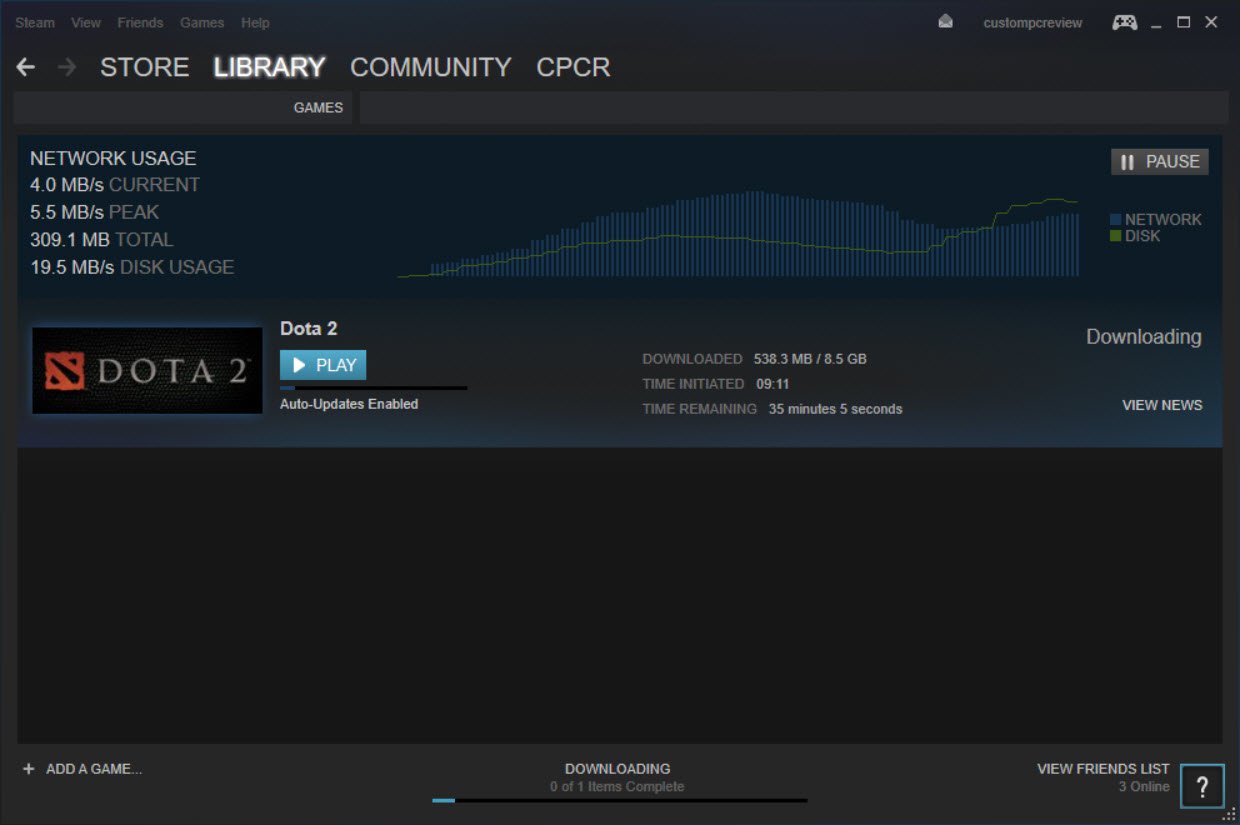
If you have already installed games on your current drive and want to move them to a different drive, Steam provides a simple method to do so. By moving the game files, you can free up space on your current drive or take advantage of the faster read/write speeds of a different drive. Here’s how you can move installed games to a different drive:
- Open the Steam application and go to the “Library” tab at the top.
- Find the game you want to move in your library, right-click on it, and select “Properties”.
- In the properties window, go to the “Local Files” tab and click on the “Move Install Folder” button.
- A pop-up window will appear, displaying a list of available installation folders.
- Select the desired folder on your new drive, or click “New Folder” to create a new installation folder on the new drive.
- Click “Move Folder” to start the process of moving the game files to the new location.
- Steam will then move all the game files from the current drive to the new drive.
Note that the time it takes to move the game files will depend on the size of the game and the speed of your drives. Be patient, and avoid interrupting the process.
Once the game files have been moved, Steam will recognize the new location, and any updates or future launches of the game will happen from the new drive. You can repeat these steps for any other games you want to move to a different drive.
Moving installed games to a different drive gives you the flexibility to manage your storage space effectively and optimize the performance of your games. It allows you to take advantage of the different features and benefits offered by various drives in your system.
With this method, you can easily transfer your installed games to a new drive without having to download and reinstall them, saving both time and internet bandwidth.
Method 4: Taking Advantage of Steam’s Backup and Restore Feature
Steam’s backup and restore feature allows you to transfer games to a different drive while preserving your game progress and settings. This method is particularly useful when you want to move your entire game library to a new drive or create a backup for safekeeping. Here’s how you can use Steam’s backup and restore feature:
- Open the Steam application and go to the “Library” tab at the top.
- Find the game you want to back up or transfer in your library, right-click on it, and select “Backup Game Files”.
- A pop-up window will appear, providing options to customize the backup settings.
- Choose the desired backup destination, either an external drive or a different folder on your computer.
- Select the components you want to include in the backup, such as game files, saved games, or settings.
- Click “Next” and review the summary of the backup settings.
- Click “Finish” to start the backup process.
- Once the backup is complete, you can uninstall the game from your Steam library if you wish.
- To restore the game on a different drive or computer, go to the “Steam” menu and select “Backup and Restore Games”.
- Choose “Restore a previous backup” and locate the backup file on your new drive or external storage.
- Follow the prompts to restore the game to its original or a new location.
The restore process may take some time, depending on the size of the game and the speed of your drives. Once completed, you can access and play the game from the new drive without losing any progress or settings.
Using Steam’s backup and restore feature not only allows you to transfer games but also serves as a convenient way to create a backup of your game library. This ensures that your valuable game data is safe and can be easily restored in case of computer upgrades, drive failures, or other unforeseen circumstances.
By leveraging Steam’s backup and restore feature, you have the flexibility to move your games between drives or create backups for peace of mind, all while maintaining your game progress and configurations.
Conclusion
Changing where your Steam games are stored can greatly improve your gaming experience by optimizing storage space and utilizing faster drives. In this article, we explored four different methods to customize your Steam game installation folder and manage your game libraries efficiently.
We began by discussing how to change the default Steam game installation folder, allowing you to set a new location for future game downloads. This method lets you control where new games will be installed, providing flexibility in organizing your game library.
Next, we explored the option of creating multiple game libraries. This method allows you to allocate different installation folders for specific games or types of games, helping you customize your game organization based on your preferences.
We then covered the process of moving installed games to a different drive. By moving game files, you can free up space on your current drive or take advantage of the performance benefits of a different drive, all without having to redownload and reinstall the games.
Lastly, we discussed the benefits of utilizing Steam’s backup and restore feature. This feature enables you to transfer games to a new drive while preserving your game progress and settings. It also serves as a convenient way to create backups for added peace of mind.
By implementing these methods, you have the flexibility to optimize your storage space, make use of faster drives, and organize your game library according to your preferences. Whether you want to change the default game installation folder, create multiple game libraries, move installed games, or utilize Steam’s backup and restore feature, you now have the knowledge to do so.
So go ahead and customize your Steam game installation and storage options to enhance your gaming experience and ensure smooth gameplay. Happy gaming!