Introduction
When it comes to browsing the web, Google Chrome is one of the most popular and widely used web browsers available. Its speed, efficiency, and user-friendly interface have made it a favorite among users worldwide. If you are using the Ubuntu operating system and would like to enjoy the benefits of Google Chrome, you’re in luck! In this article, we will guide you through the process of downloading Google Chrome on your Ubuntu machine.
Downloading and installing Google Chrome on Ubuntu is slightly different from other operating systems, as Ubuntu uses its own package manager called APT (Advanced Package Tool). This means that you won’t be able to find Google Chrome in the Ubuntu Software Center like you would with other applications. Instead, you will need to add the official Google Chrome repository and use the terminal to install it. But don’t worry, we will walk you through each step so that you can have Google Chrome up and running in no time!
Step 1: Open the Terminal
The first step to download Google Chrome on Ubuntu is to open the Terminal. The Terminal is a powerful tool that allows you to execute commands and perform various tasks on your Ubuntu system.
To open the Terminal, you can use one of the following methods:
- Press
Ctrl + Alt + Ton your keyboard. This is the default keyboard shortcut to open the Terminal in Ubuntu. - Click on the “Show Applications” icon located in the lower-left corner of the screen. Then type “Terminal” in the search bar and click on the Terminal icon to open it.
Once the Terminal is open, you will see a command prompt where you can start entering commands.
Opening the Terminal is the first step, and it paves the way for the subsequent steps in the process of downloading Google Chrome. Now that you have the Terminal open, you’re ready to move on to the next step and add the Google Chrome repository.
Step 2: Add the Google Chrome Repository
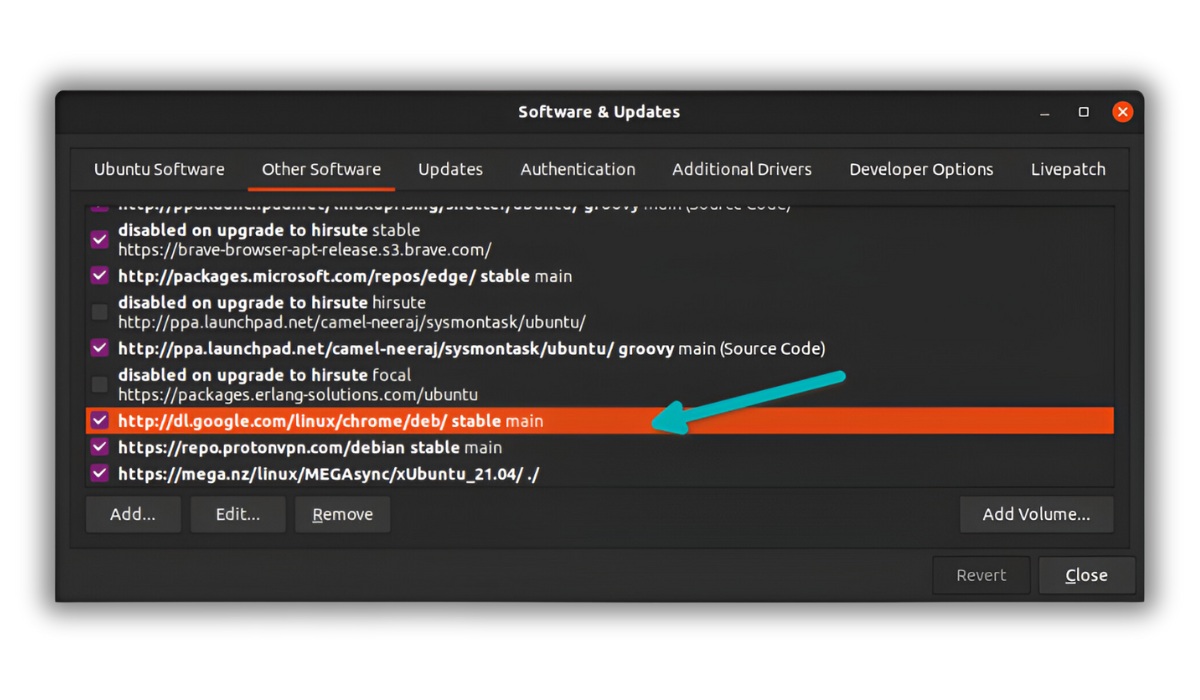
After opening the Terminal, the next step is to add the Google Chrome repository to your Ubuntu system. The repository is a collection of software packages, and by adding the Google Chrome repository, you gain access to the latest version of Google Chrome for Ubuntu.
To add the repository, follow these steps:
- Type the following command in the Terminal and press Enter:
- When prompted, enter your user password. For security reasons, your password will not be displayed on the screen as you type.
- Press Enter to confirm and add the Google Chrome repository. The Terminal will then update the software sources and retrieve the necessary information from the repository.
sudo add-apt-repository "deb [arch=amd64] http://dl.google.com/linux/chrome/deb/ stable main"This command adds the Google Chrome repository to the list of software sources on your Ubuntu system.
Once the process is complete, you have successfully added the Google Chrome repository to your Ubuntu system. This means you can now proceed to the next step and update the system to ensure that you have the most up-to-date software packages.
Step 3: Update the System
Now that you have added the Google Chrome repository to your Ubuntu system, it is important to update the system to ensure that you have the latest software packages and security updates.
To update your system, follow these steps:
- Type the following command in the Terminal and press Enter:
- Enter your user password when prompted and press Enter to continue. As with previous password entries, your password will remain hidden for security purposes.
- The Terminal will now connect to the repositories, download the update information, and update the software sources list.
- Once the update process is complete, you can proceed to upgrade the system by typing the following command and pressing Enter:
- Review the list of packages that are set to be upgraded. If you are prompted to confirm the upgrade process, type “y” and press Enter to proceed.
- The Terminal will now download and install the updates on your system. The process may take some time, depending on the speed of your internet connection and the number of updates available.
sudo apt updateThis command instructs the Terminal to check for any available updates in the repositories.
sudo apt upgradeThis command will download and install any available updates for your installed software packages.
Updating the system ensures that you have the latest security patches and bug fixes, which is crucial for a smooth and secure experience with Google Chrome on your Ubuntu machine. Once you have completed the system update, you are now ready to install Google Chrome.
Step 4: Install Google Chrome
With the system update complete, you can now proceed to install Google Chrome on your Ubuntu machine. The installation process involves using the Terminal to execute the necessary commands.
Follow these steps to install Google Chrome:
- Type the following command in the Terminal and press Enter:
- When prompted, enter your user password and press Enter to continue.
- The Terminal will then retrieve the necessary files and dependencies from the repository and proceed with the installation.
- Review the list of packages that will be installed. If prompted to confirm the installation, type “y” and press Enter.
- The Terminal will now download and install Google Chrome on your Ubuntu system. The process may take some time depending on your internet connection speed.
sudo apt install google-chrome-stableThis command tells the Terminal to install the stable version of Google Chrome from the Google Chrome repository.
Once the installation process is complete, you have successfully installed Google Chrome on your Ubuntu machine. Now it’s time to move onto the final step and launch Google Chrome for the first time!
Step 5: Launch Google Chrome
After successfully installing Google Chrome on your Ubuntu machine, it’s time to launch the browser and start using it to browse the web.
Follow these steps to launch Google Chrome:
- Type the following command in the Terminal and press Enter:
- Alternatively, you can also open the Activities overview by clicking on the “Show Applications” icon located in the lower-left corner of the screen. Then, type “Google Chrome” in the search bar and click on the Google Chrome icon to open it.
google-chrome-stableThis command will launch Google Chrome and open the browser window.
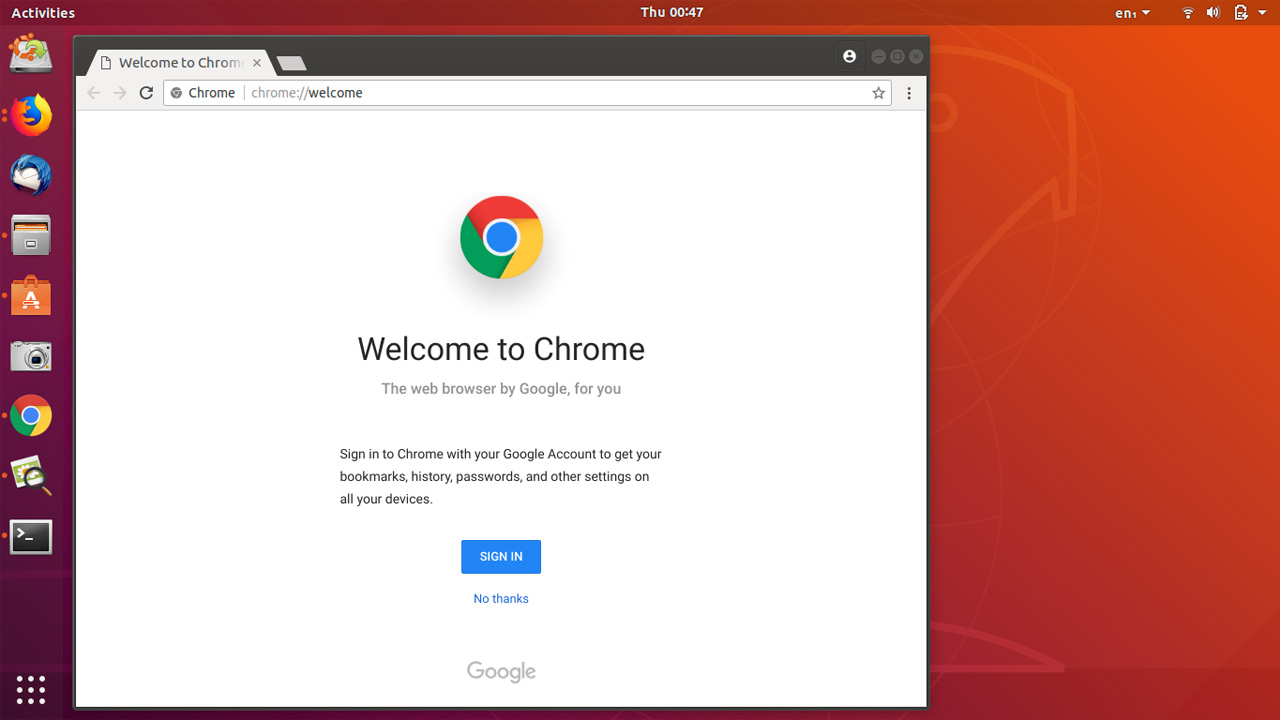
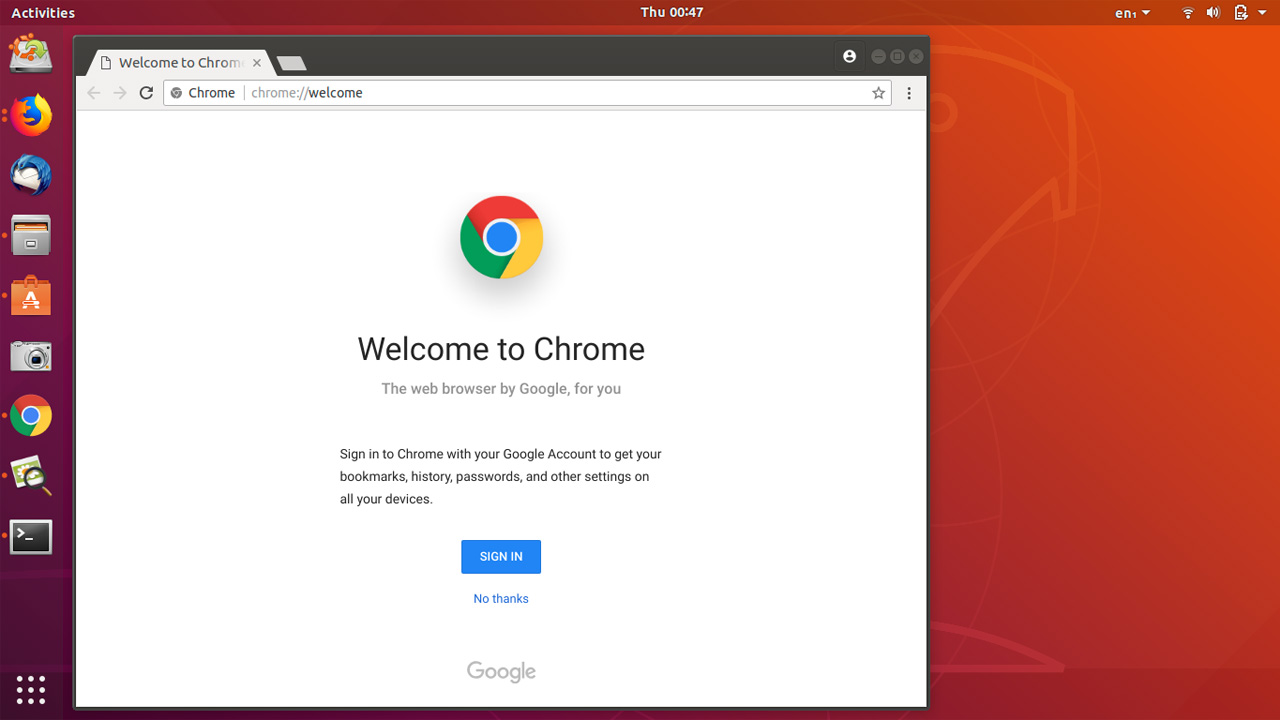
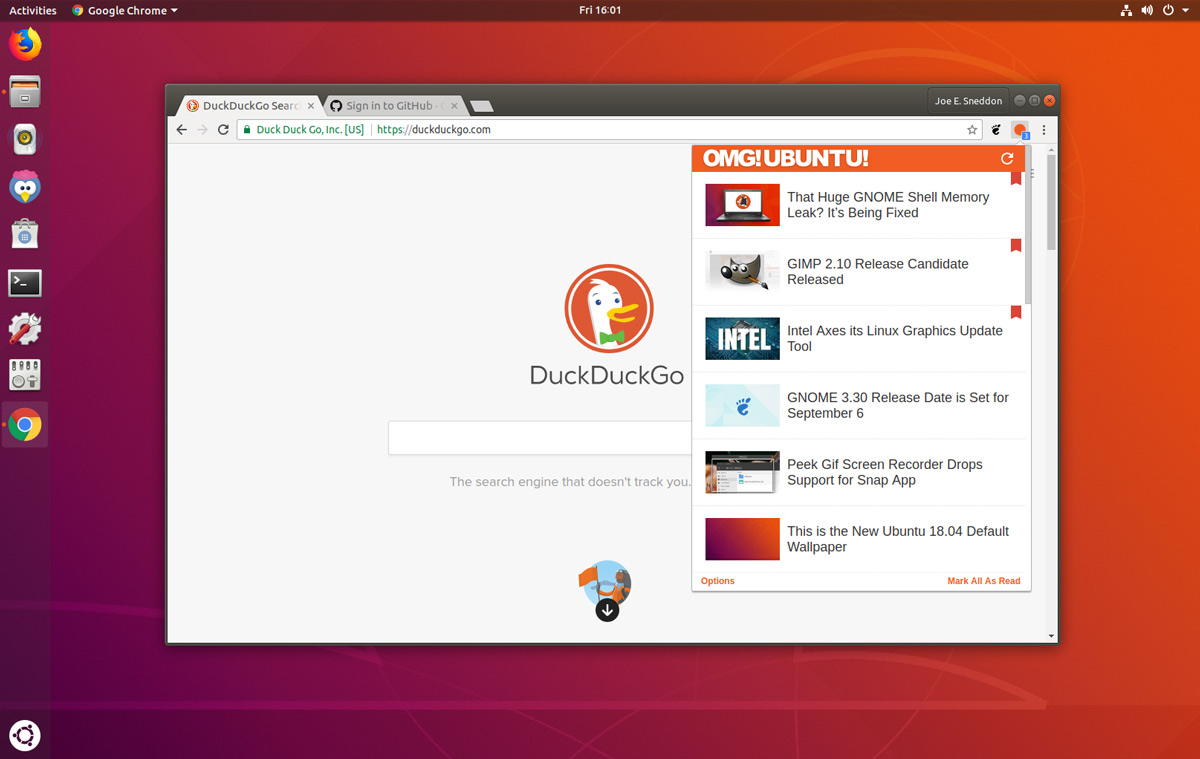
Once Google Chrome is launched, you will see the familiar user interface that you know and love. From here, you can start browsing the web, bookmark your favorite websites, and customize the settings according to your preferences.
It’s worth mentioning that Google Chrome on Ubuntu behaves just like its counterparts on other operating systems, giving you access to a wide range of extensions and features to enhance your browsing experience. Whether you’re using it for work, entertainment, or both, Google Chrome offers a seamless and reliable browsing experience on Ubuntu.
Now that you have successfully launched Google Chrome, you are ready to explore the web and enjoy all the benefits this powerful browser has to offer on your Ubuntu machine.
Conclusion
Congratulations! You have successfully downloaded and installed Google Chrome on your Ubuntu machine. By following the step-by-step guide outlined in this article, you were able to add the Google Chrome repository, update your system, and install the browser using the Terminal.
Google Chrome offers a seamless and user-friendly browsing experience with its speed, efficiency, and vast range of features. Whether you’re using it for work, entertainment, or both, Google Chrome on Ubuntu provides a reliable platform to explore the web.
Remember to periodically check for updates to ensure that you have the latest version of Google Chrome and to take advantage of the latest security patches and enhancements. You can easily check for updates by using the Terminal and running the necessary commands.
Now that you’re fully equipped with Google Chrome, feel free to browse the web, customize your browser settings, and install useful extensions that enhance your productivity and browsing experience.


