Introduction
Welcome to a step-by-step guide on how to download apps to your Roku streaming device. Roku offers a wide range of apps, also known as channels, that allow you to stream movies, TV shows, music, games, and much more. Whether you are a fan of Netflix, Hulu, Amazon Prime Video, or any other popular streaming service, Roku has you covered.
Roku is a user-friendly streaming device that connects directly to your TV, providing access to an extensive library of streaming content. With thousands of apps available, you can personalize your Roku experience and enjoy your favorite entertainment whenever you want.
In this guide, we will walk you through the process of accessing the Roku Channel Store, browsing and searching for apps, selecting and installing them, and managing your installed apps. Regardless of whether you are a Roku novice or an experienced user, this guide will help you make the most out of your streaming device.
Before we dive into the details, it’s important to note that the Roku Channel Store is constantly updated with new apps and content, so you always have something exciting to discover. So, let’s get started and learn how to download apps to your Roku device. Follow these steps to enhance your streaming experience and explore a world of entertainment at your fingertips.
Step 1: Access the Roku Channel Store
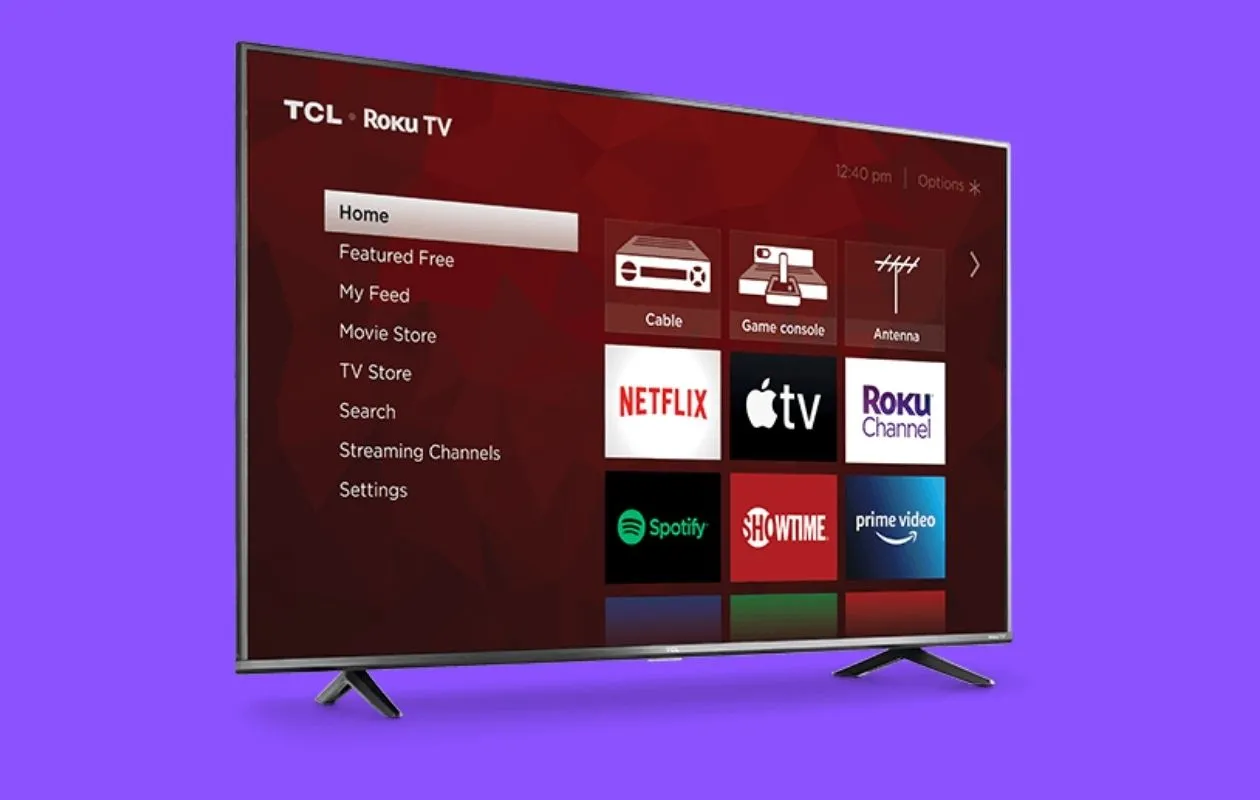
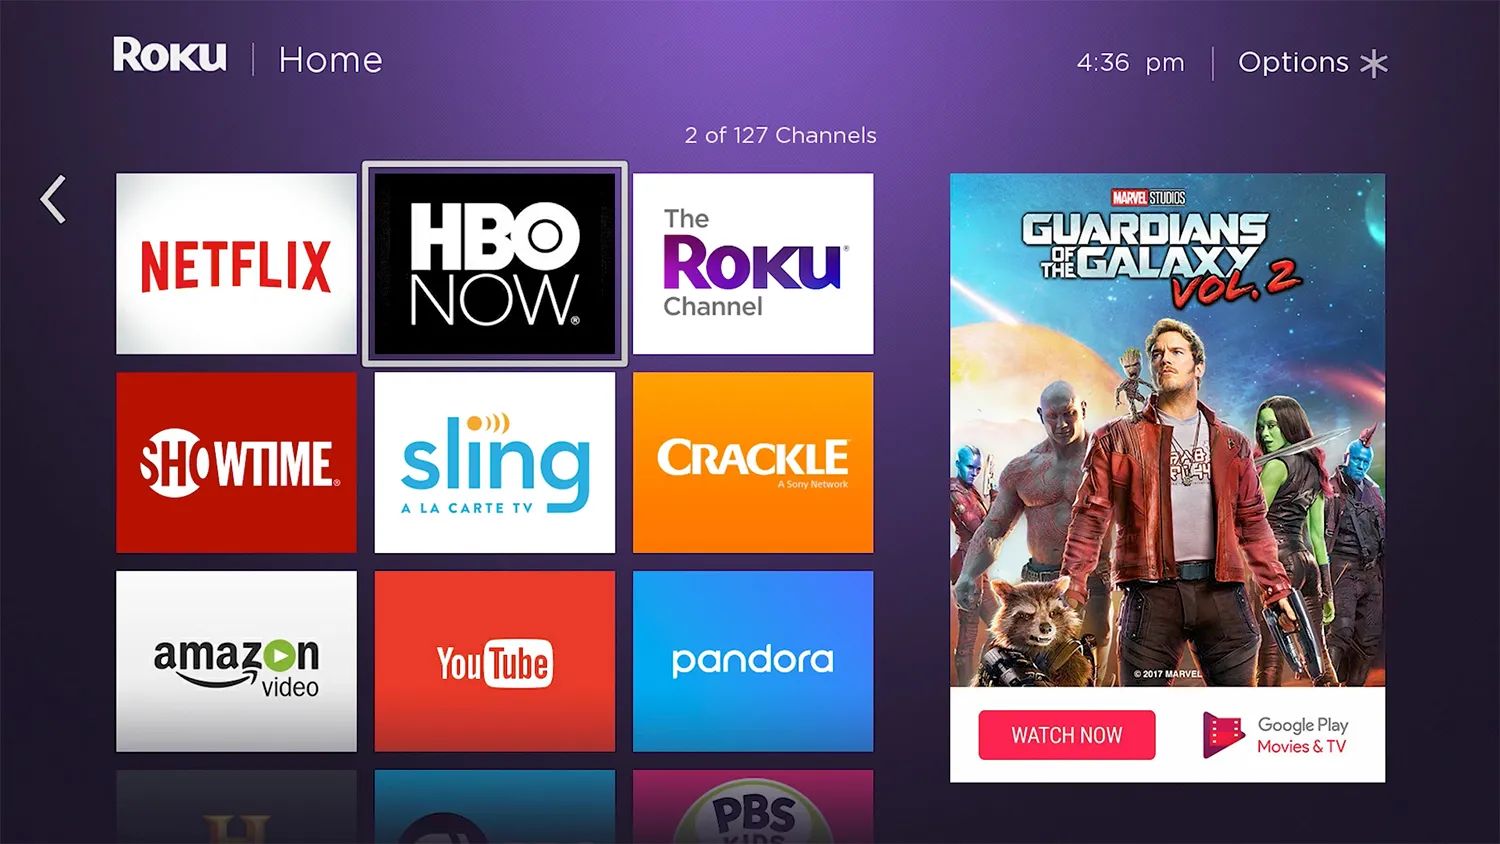
The first step in downloading apps to your Roku device is accessing the Roku Channel Store. The Channel Store is where you’ll find a vast collection of apps that you can add to your Roku home screen.
To access the Roku Channel Store, follow these simple steps:
- Turn on your Roku device and ensure that it is connected to your TV and the internet.
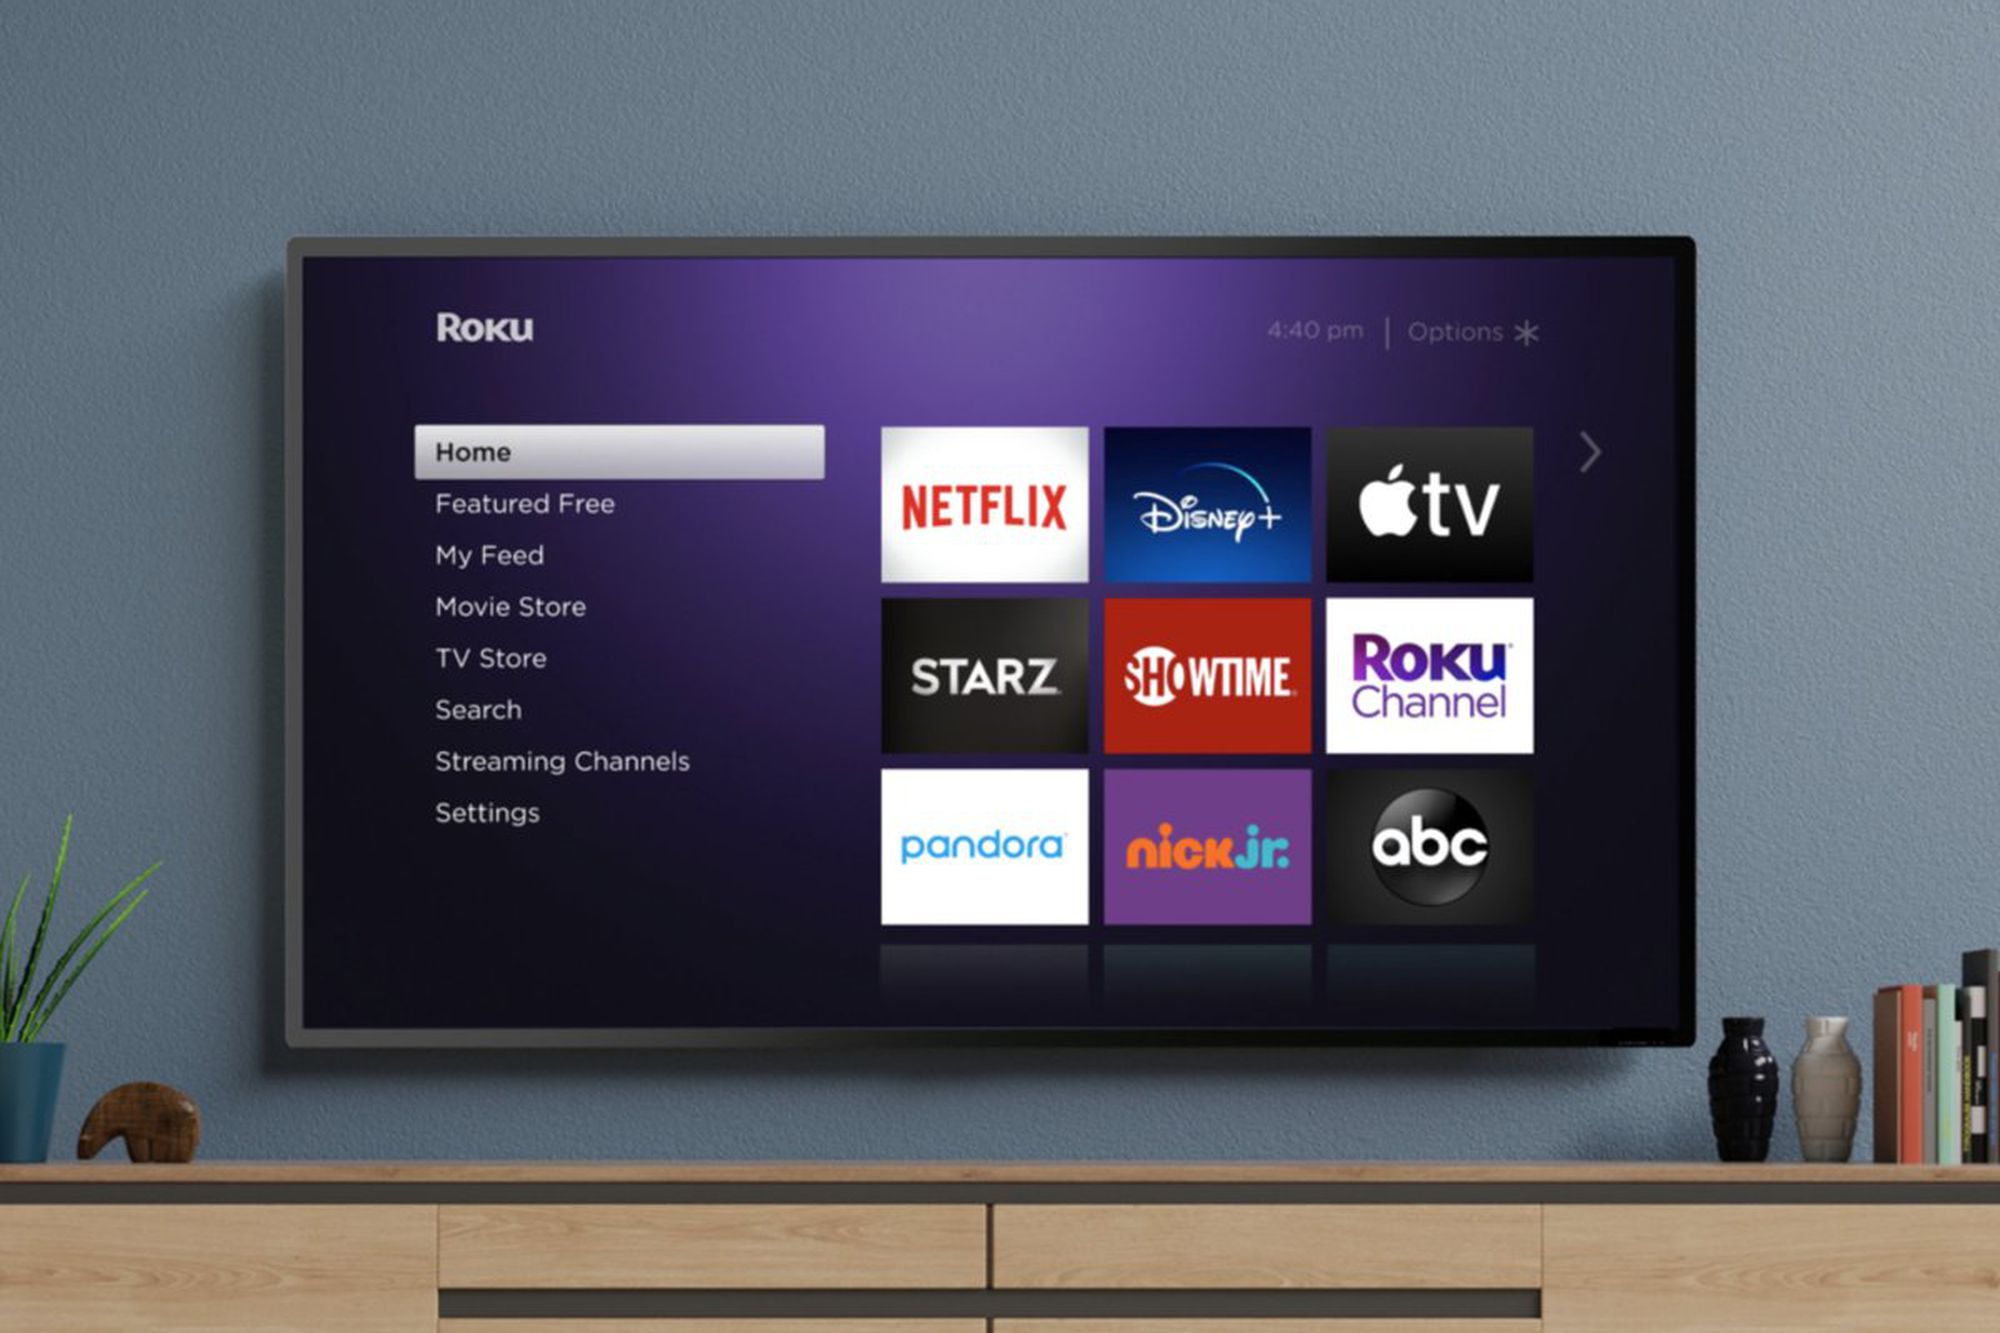
- Using your Roku remote, navigate to the home screen by pressing the Home button.
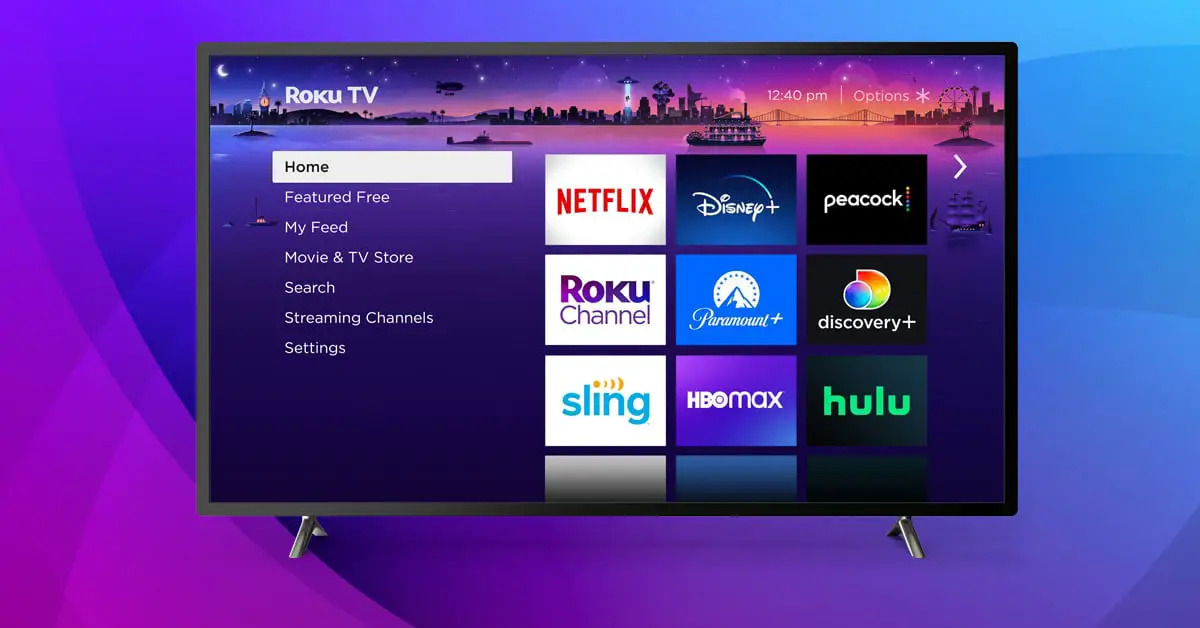
- From the home screen, scroll up or down and select “Streaming Channels” on the left-hand side of the screen.
- A new window will open with a list of different channel categories to choose from. You can explore popular categories like Movies & TV, News, Sports, Kids & Family, and more.
- Browsing through the categories, you can also use the search function to find specific channels by entering keywords.
- Selecting a category or using the search function will bring up a list of available channels related to your selection.
Once you access the Roku Channel Store, you can begin exploring the wide variety of apps available for download. Take your time to browse through the categories and discover new and exciting channels that suit your interests.
It’s worth mentioning that some channels may require a subscription or may offer both free and premium content. Make sure to review the details of each channel before downloading to ensure compatibility and pricing.
Now that you’ve successfully accessed the Roku Channel Store, let’s move on to the next step to find and download your favorite apps to your Roku device.
Step 2: Browse and Search for Apps
Now that you are in the Roku Channel Store, it’s time to browse and search for the apps you want to download. Roku offers a variety of ways to help you find the perfect channels for your entertainment needs.
Here’s how you can browse and search for apps:
- On the Roku Channel Store screen, you will see different categories showcasing popular channels. Scroll through these categories to see a selection of channels that Roku recommends.
- If you have a specific app in mind or want to explore other options, you can use the search function. Simply navigate to the top of the screen and select the search icon.
- Using the on-screen keyboard, enter the name of the app you are looking for. As you type, Roku will automatically suggest matching channel names to assist your search.
- Once you find the app you want, select it to view more details such as a description, screenshots, and user reviews.
- Take the time to read through these details to ensure that the app meets your expectations and requirements.
- If you are satisfied with the app, select “Add channel” to begin the installation process.
Remember that not all apps in the Roku Channel Store are free. Some may require a one-time purchase, while others may require a subscription. Make sure to review the pricing details before installing an app.
Additionally, Roku also offers a “Featured Free” section where you can find apps that offer free content, including movies, TV shows, and more. This is a great way to discover new channels without having to spend a dime.
By browsing and searching for apps, you can easily find and add your favorite channels to your Roku device. Now, let’s move on to the next step and learn how to install the selected app on your Roku.
Step 3: Select and Install an App
After browsing and searching for apps in the Roku Channel Store, it’s time to select and install the app you want to add to your Roku device. The installation process is simple and straightforward. Follow these steps to get started:
- On the app’s details page, you will see an option to “Add channel” or “Buy”. Select the “Add channel” button to initiate the installation process.
- A confirmation window will appear, asking you to confirm the installation. Read through the information and press “Yes, add channel” to proceed.
- The app will start installing on your Roku device. The installation time may vary depending on the size of the app and your internet connection speed.
- Once the installation is complete, you will see a success message indicating that the channel has been added to your Roku home screen.
- Press the “Home” button on your Roku remote to return to the home screen.
- Scroll through your channels, and you will find the newly installed app ready to use.
Congratulations! You have successfully selected and installed an app on your Roku device. You can repeat this process for any other apps you want to download.
It’s essential to note that some apps may require additional setup or account authentication. Check the app’s instructions or visit the app’s website for any specific setup steps or login requirements.
Now that you have added new apps to your Roku device, let’s move on to the next step and learn how to manage and organize your installed apps for easy access.
Step 4: Managing Installed Apps
Now that you have downloaded and installed multiple apps on your Roku device, it’s important to know how to manage and organize them for easy access. Roku provides several options for managing your installed apps:
- To rearrange the order of your apps on the home screen, navigate to the app you want to move. Press the “Options” (or “*” on older remotes) button on your Roku remote. From the options menu, select “Move channel”. Use the arrow buttons on your remote to move the app to the desired position and press “OK” to confirm the move.
- If you want to remove an app from your Roku, navigate to the app on the home screen and press the “Options” button on your remote. From the options menu, select “Remove channel” and confirm your choice. Please note that removing a channel will delete all associated data and preferences.
- Roku also allows you to create a list of your favorite channels. To add a channel to your favorites list, navigate to the app on the home screen, press the “Options” button, and choose “Add to favorites”. This will create a dedicated section called “My Channels” where you can quickly access your favorite apps.
- If you want to hide an app from your home screen without uninstalling it, navigate to the app and press the “Options” button. From the options menu, select “Hide channel”. The app will no longer appear on the home screen, but you can still find it in the “Settings” menu if you want to unhide it.
- If you find that your Roku home screen is becoming cluttered with too many channels, you can create custom groups to organize your apps. Navigate to the app you want to group, press the “Options” button, and select “Move to another group”. Follow the on-screen instructions to create a new group or move the app to an existing group.
With these management options, you can customize your Roku home screen to suit your preferences and easily access your favorite apps. Feel free to rearrange, remove, or hide channels as needed to keep your interface clean and organized.
Now that you’re familiar with managing your installed apps, you’re all set to enjoy a seamless and personalized streaming experience on your Roku device.
Conclusion
Congratulations! You have successfully learned how to download apps to your Roku streaming device. By following these simple steps, you can enhance your entertainment experience and unlock a world of streaming possibilities.
In the guide, we covered accessing the Roku Channel Store, browsing and searching for apps, selecting and installing them, and managing your installed apps. With thousands of channels available, you can customize your Roku device to cater to your unique preferences and interests.
Remember to explore the different categories, utilize the search function, and read user reviews to discover new and exciting apps. Whether you’re in the mood for movies, TV shows, sports, or even games, Roku has a wide range of options to meet your entertainment needs.
Additionally, don’t forget to manage your installed apps to keep your home screen organized and easily accessible. You can rearrange the order of your apps, remove channels you no longer use, add channels to your favorites list, hide channels you want to keep but not see, and even create custom groups to further personalize your Roku experience.
Now that you are equipped with the knowledge of how to download apps to your Roku, you can make the most out of your streaming device. Enjoy binge-watching your favorite shows, discovering new movies, and immersing yourself in a world of entertainment at your fingertips.
So go ahead, grab your Roku remote, and start exploring the vast library of apps available on the Roku Channel Store. Sit back, relax, and enjoy the endless streaming possibilities that Roku has to offer!