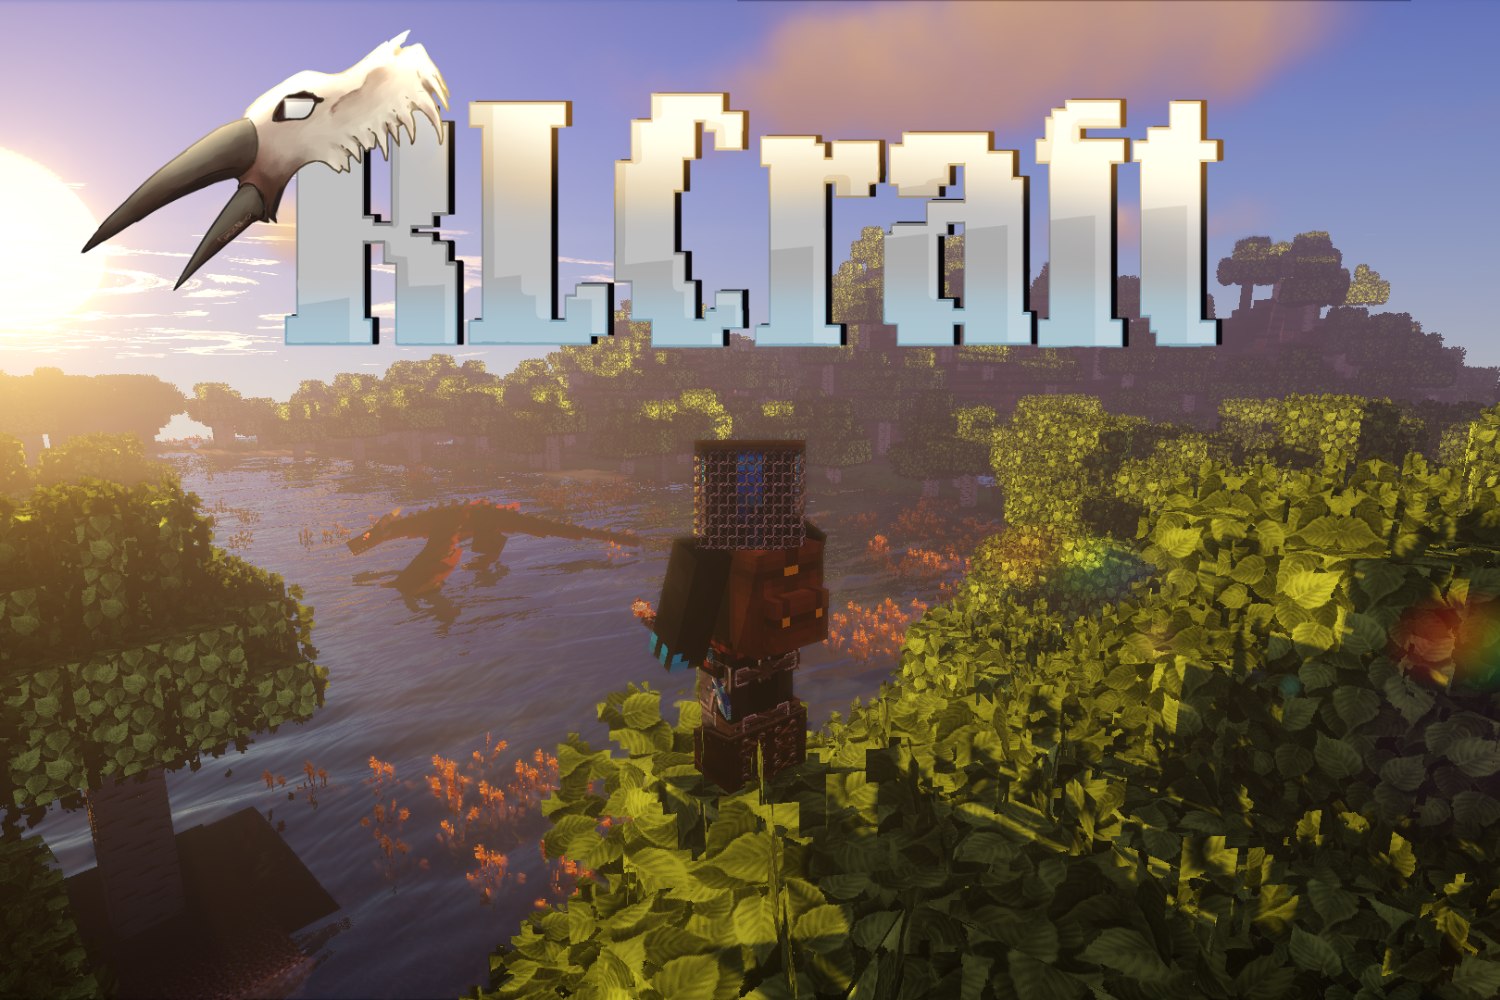
Welcome to the World of Modded Minecraft Servers!
Gaming enthusiasts all over the world understand the joy of exploring new worlds, building intricate structures, and embarking on exciting adventures in games like Minecraft. But what if you could take your Minecraft experience to the next level?
In this blog post, we will dive into the captivating realm of modded Minecraft servers and show you how to host your very own. Whether you’re a seasoned player or just starting out, creating a modded Minecraft server can open up a whole new world of possibilities for you and your friends.
So without further ado, let’s jump right in and learn how to create and host your own modded Minecraft server!
Key Takeaways:
- Modded Minecraft servers allow you to enhance your gaming experience by adding new features, gameplay mechanics, and content to the basic Minecraft game.
- Hosting your own modded Minecraft server provides you with complete control over the server settings, mods, and player interactions, creating a unique gaming experience tailored to your preferences.
Step 1: Choose a Modpack
The first step in creating your modded Minecraft server is to choose a modpack. A modpack is a collection of mods, resource packs, and configurations that work together to enhance your gameplay. With thousands of modpacks available, you have an unlimited range of options to choose from. Whether you prefer a tech-focused modpack, a magic-oriented adventure, or a combination of different themes, there’s a modpack out there for you.
Step 2: Select a Server Hosting Provider
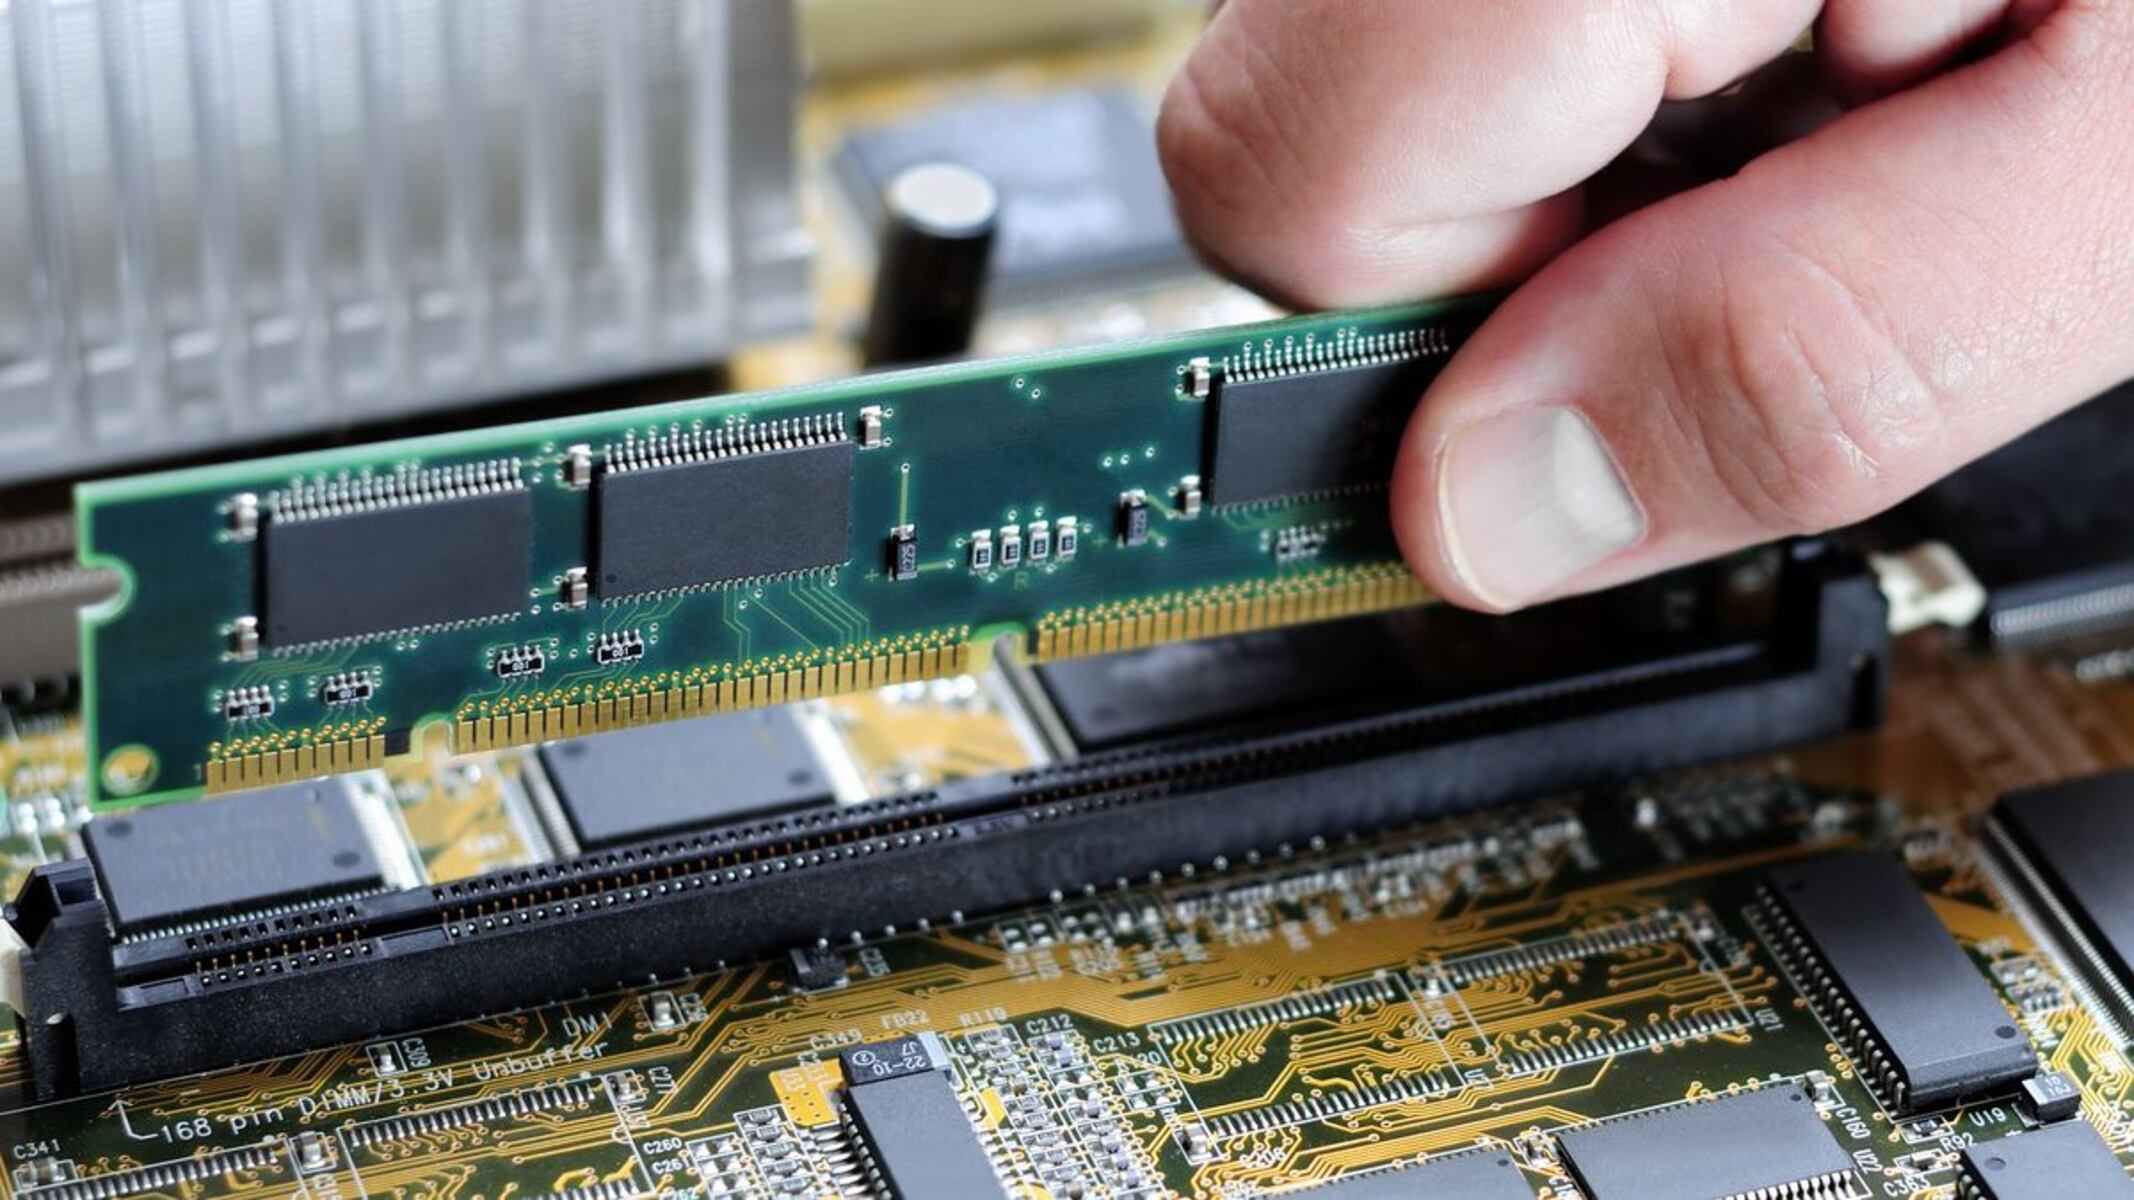
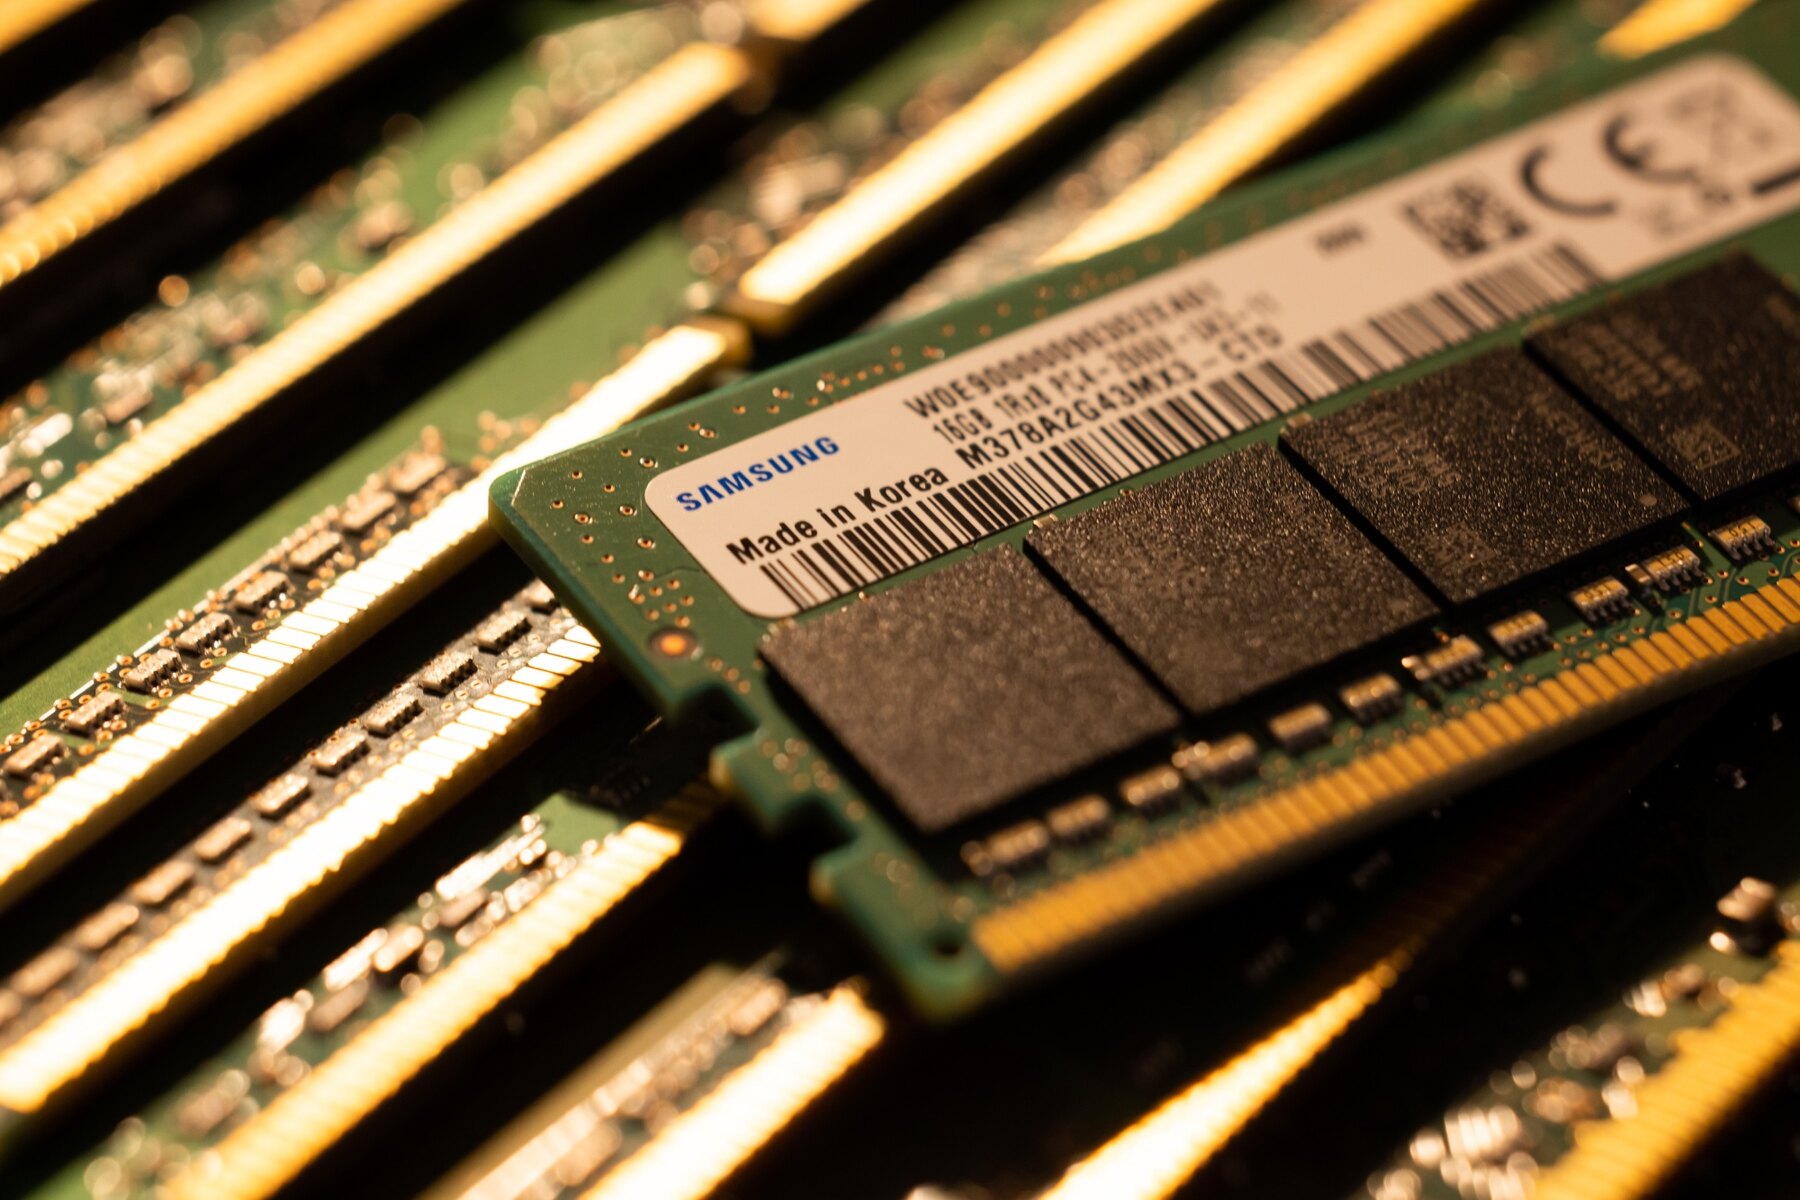
Once you have chosen your desired modpack, it’s time to select a reliable hosting provider to ensure a smooth gaming experience. Look for a hosting provider that offers SSD storage, fast processors, and ample RAM to handle the resource-intensive nature of modded Minecraft servers. Additionally, consider their customer support and server management tools to make your hosting experience hassle-free.
Step 3: Install and Configure Your Modpack
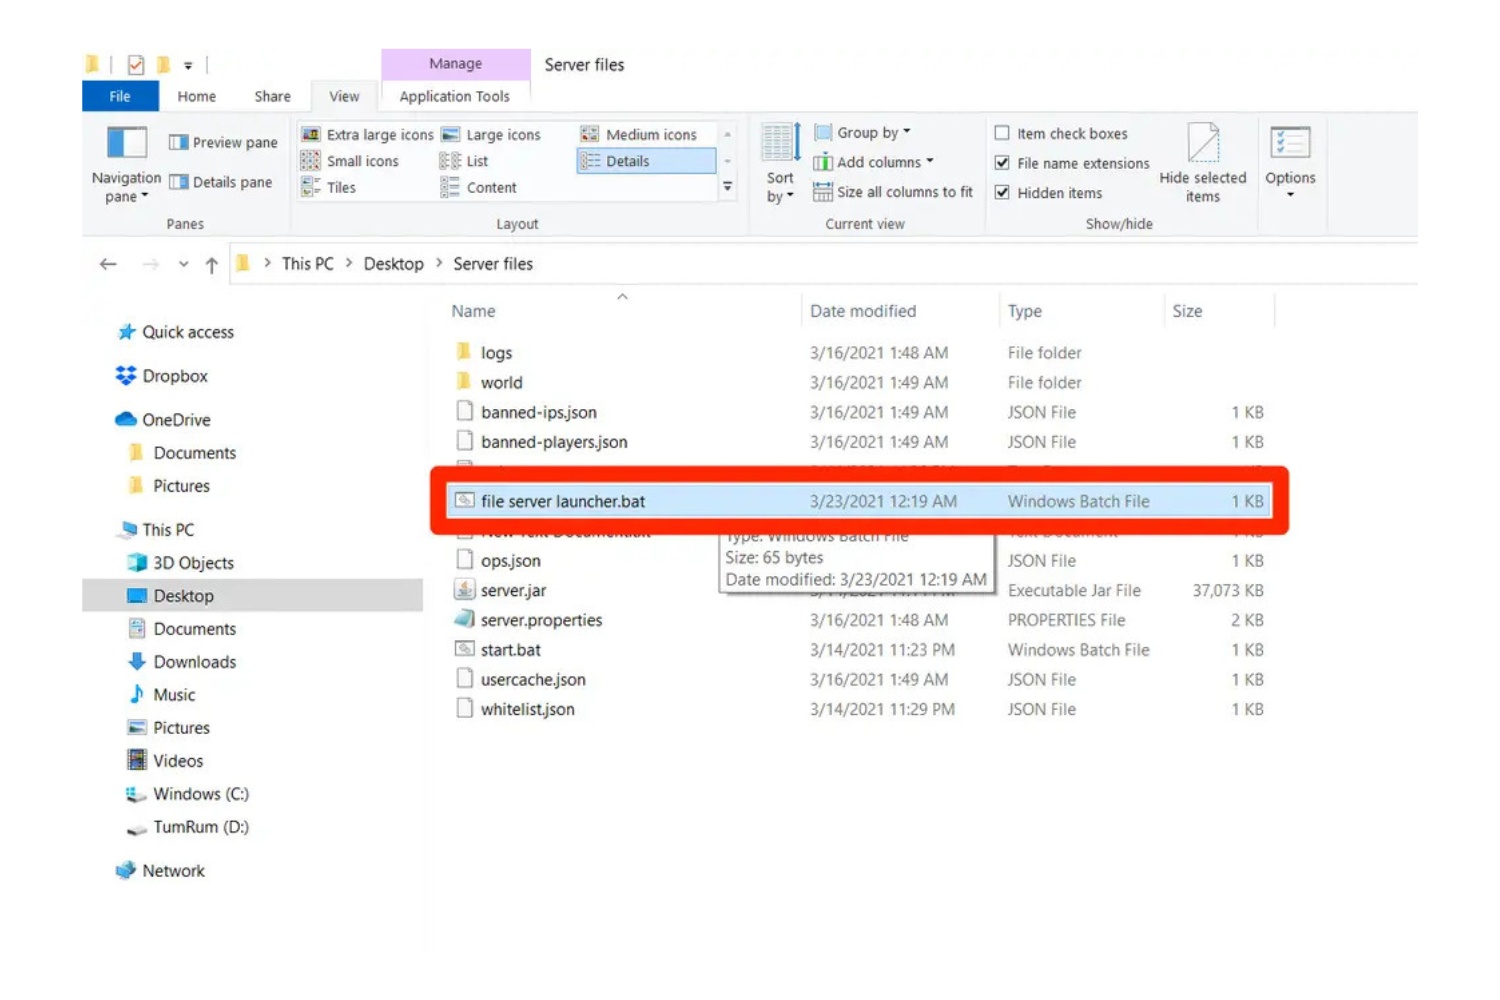
After choosing a hosting provider, it’s time to install and configure your modpack. Most hosting providers offer easy one-click installations for popular modpacks, making the process quick and painless. Once your modpack is installed, take some time to adjust the configuration settings to suit your preferences. From adjusting difficulty levels to enabling or disabling specific mods, you have the freedom to build a personalized Minecraft experience.
Step 4: Share the Server with Friends
Playing Minecraft with friends is always more fun! Share the joy of your newly created modded Minecraft server by inviting your friends to join. Most hosting providers offer user-friendly control panel interfaces, allowing you to easily manage player permissions and whitelist friends. Establish rules, coordinate adventures, and explore the fascinating world of modded Minecraft together.
Step 5: Keep Your Server Updated
As mod developers continuously release updates and bug fixes, it’s important to keep your modpack and server up to date. Regularly check for updates and install them to ensure a smooth and secure gaming experience. Most hosting providers offer automated update tools, simplifying the process for you.
Key Takeaways:
- Choosing the right modpack is essential to creating a unique gaming experience.
- Opt for a reliable hosting provider that offers the necessary resources and support.
- Customize your server settings and configurations to suit your preferences.
- Invite your friends to share in the excitement of your modded Minecraft server.
- Regularly update your modpack and server to stay up to date with the latest features and fixes.
Creating and hosting your own modded Minecraft server can bring a whole new level of excitement to your gaming sessions. It’s a chance to explore diverse modpacks, build grand structures, and embark on thrilling adventures with your friends. So why not dive into the enchanting world of modded Minecraft servers today?


