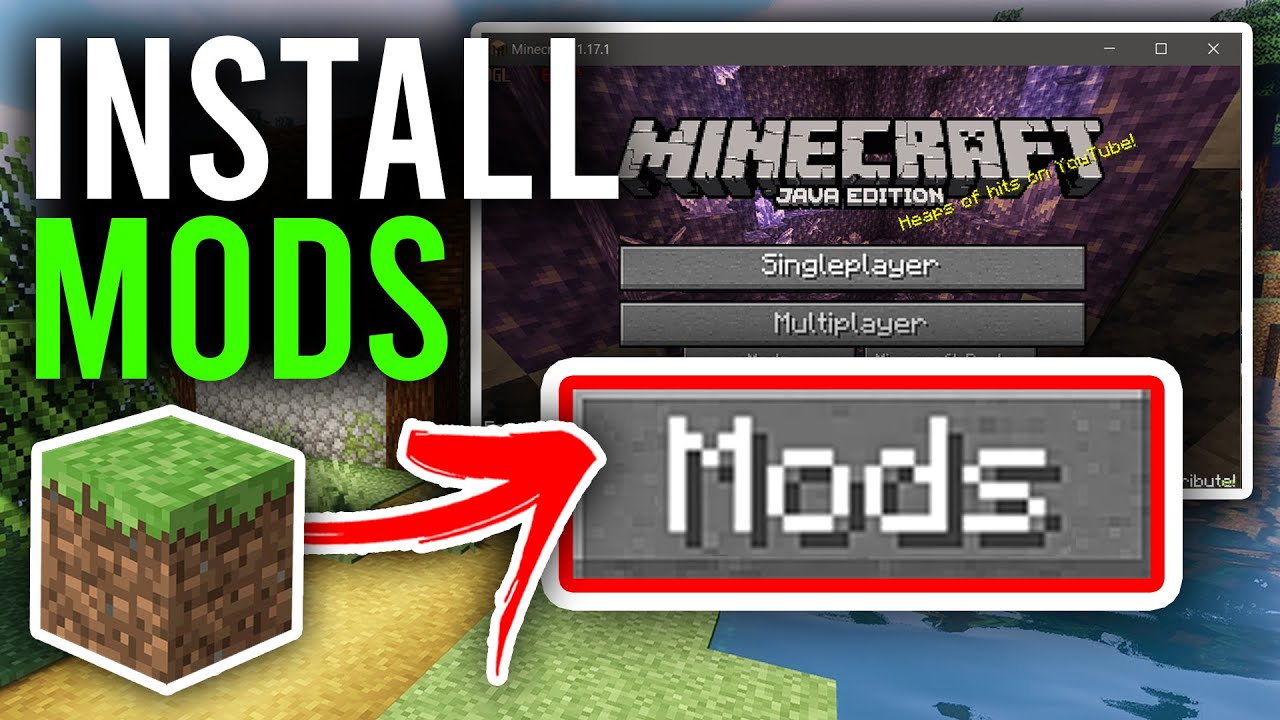
How to Add Mods to Minecraft Java: A Step-by-Step Guide
Welcome to the world of Minecraft modding! If you are a fan of the popular sandbox game, then you are in for a treat. In this blog post, we will guide you through the process of adding mods to your Minecraft Java Edition. Whether you are a beginner or an experienced player, we’ve got you covered with our easy-to-follow steps.
Key Takeaways:
- Adding mods to Minecraft Java can enhance your gaming experience by adding new features, functionalities, and even whole new dimensions to your gameplay.
- Before adding mods, make sure to create a backup of your Minecraft world to prevent any loss of progress or data.
Step 1: Install Minecraft Forge
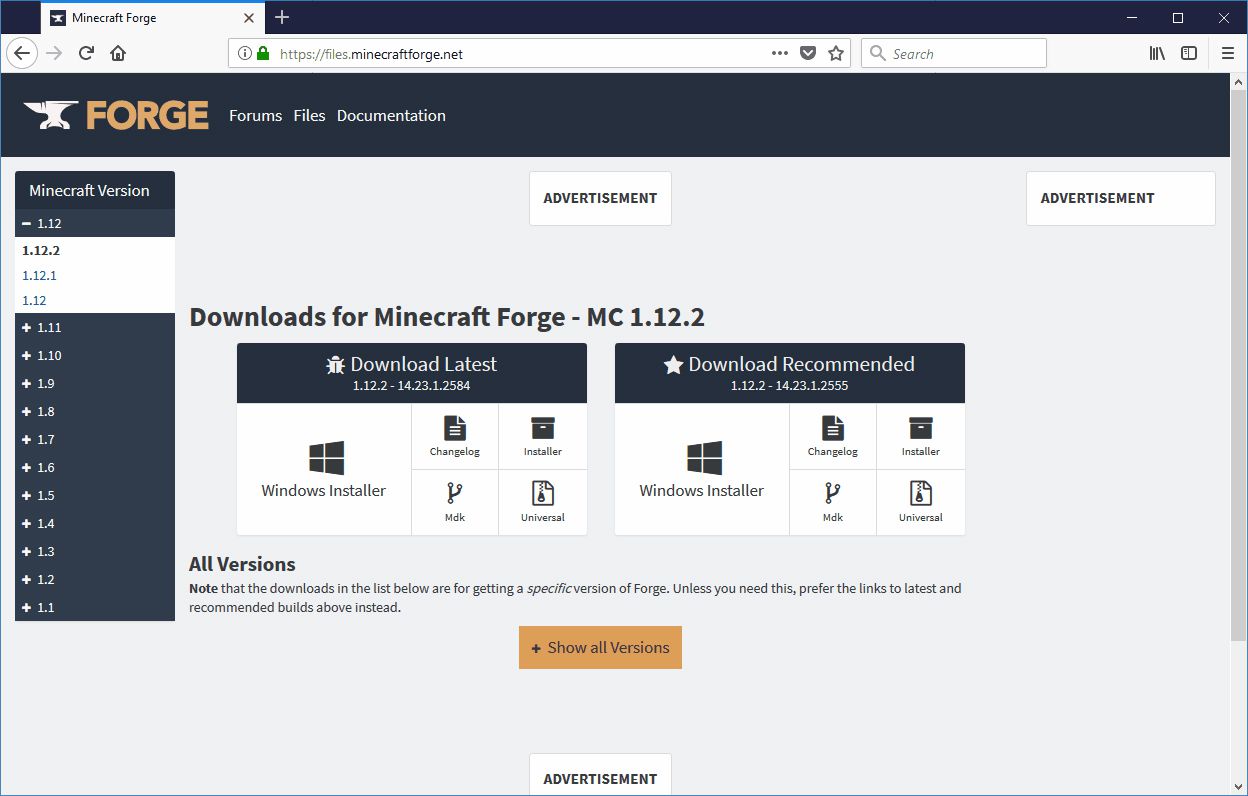
The first step in adding mods to Minecraft Java is to install Minecraft Forge. Minecraft Forge is a modding platform that acts as a foundation for other mods to work properly. Follow these steps to install Minecraft Forge:
- Visit the official Minecraft Forge website and download the installer compatible with your Minecraft version.
- Open the installer and select the “Install Client” option. Make sure the correct Minecraft version is selected.
- Click on the “OK” button and let the installation process complete.
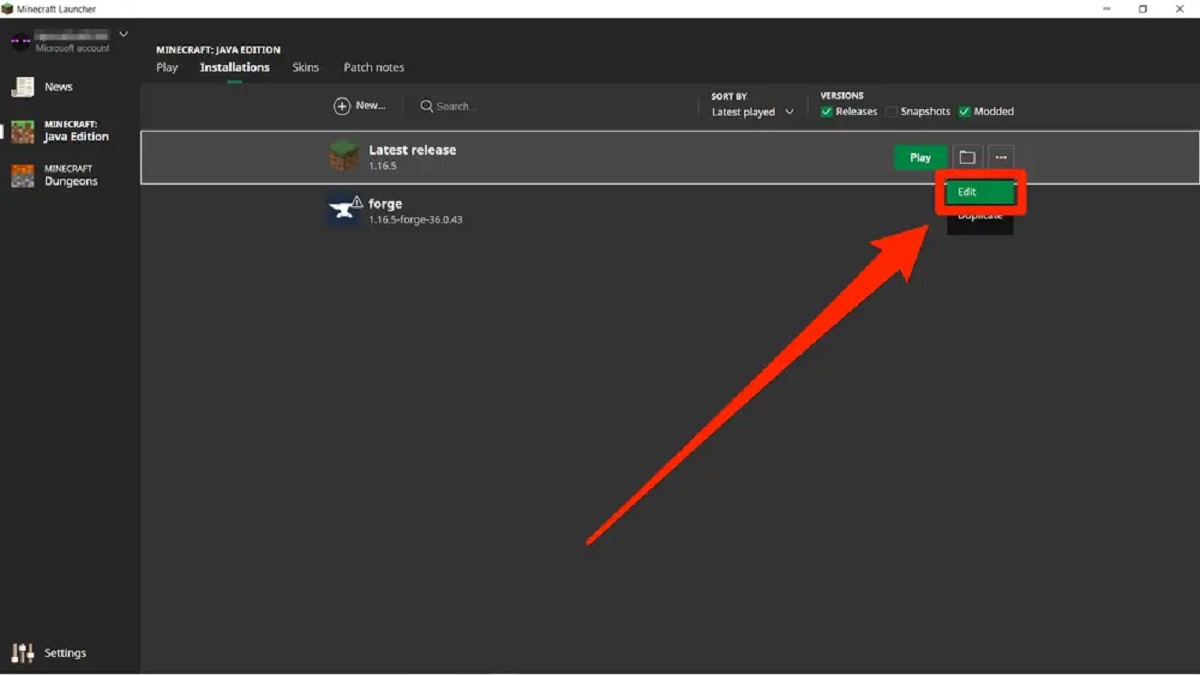
- Once the installation is finished, launch the Minecraft Launcher.
- In the Launcher, click on the “Installations” tab and create a new installation profile with the Forge version you just installed.
- Click on the “Play” button to launch Minecraft with Forge.
Step 2: Find Mods
Now that you have Minecraft Forge installed, it’s time to find mods that you want to add to your game. There are several websites where you can browse and download Minecraft mods. Some popular websites include:
Browse through the available mods and choose the ones that catch your attention. Make sure to check if the mod is compatible with your Minecraft version and Forge version.
Step 3: Install Mods
Once you’ve downloaded the mods you want to add to your game, follow these steps to install them:
- Locate your Minecraft game directory. You can usually find it by going to the Minecraft Launcher, selecting the “Installations” tab, and clicking on the gear icon next to your Forge installation.
- In the game directory, you should see a “mods” folder. If the folder doesn’t exist, create one.
- Move the downloaded mods into the “mods” folder.
- Launch Minecraft with the Forge profile.
- Once in the game, you should see a “Mods” button in the main menu. Click on it to manage your installed mods.
- Enable the mods you want to use and adjust their settings if necessary.
- Start a new or existing world and enjoy your newly added mods!
Remember, adding mods to Minecraft Java can sometimes conflict with each other or with the game itself. It’s always a good idea to read the mod’s instructions and check for compatibility issues before installing them.
Adding mods to Minecraft Java can open up a whole new world of possibilities for your gameplay. From adding new items and creatures to expanding the Minecraft universe with exciting dimensions, mods allow you to tailor your gaming experience to your liking. So go ahead, explore the marvelous world of Minecraft modding, and embark on epic adventures like never before!