Introduction
Introduction
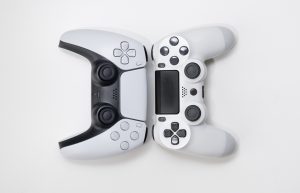
Are you excited to dive into your favorite video game, only to find that your USB game controller isn't responding as expected? It can be frustrating to encounter technical hiccups when all you want to do is enjoy some gaming fun. However, before you give in to frustration, there are simple steps you can take to determine if your USB game controller is working properly. By following these troubleshooting methods, you can identify and address any issues that may be hindering your gaming experience.
In this guide, we'll walk you through the process of evaluating the functionality of your USB game controller. From checking the physical connection to testing the controller within game software, we'll cover the essential steps to help you determine if your controller is in good working order. Whether you're a seasoned gamer or just getting started, understanding how to assess the functionality of your USB game controller is a valuable skill that can save you time and frustration in the long run.
So, if you're ready to take control of your gaming experience and ensure that your USB game controller is performing optimally, let's dive into the process of evaluating its functionality. By following the steps outlined in this guide, you'll be equipped with the knowledge and skills to troubleshoot your USB game controller effectively. Let's get started!
Checking Physical Connection
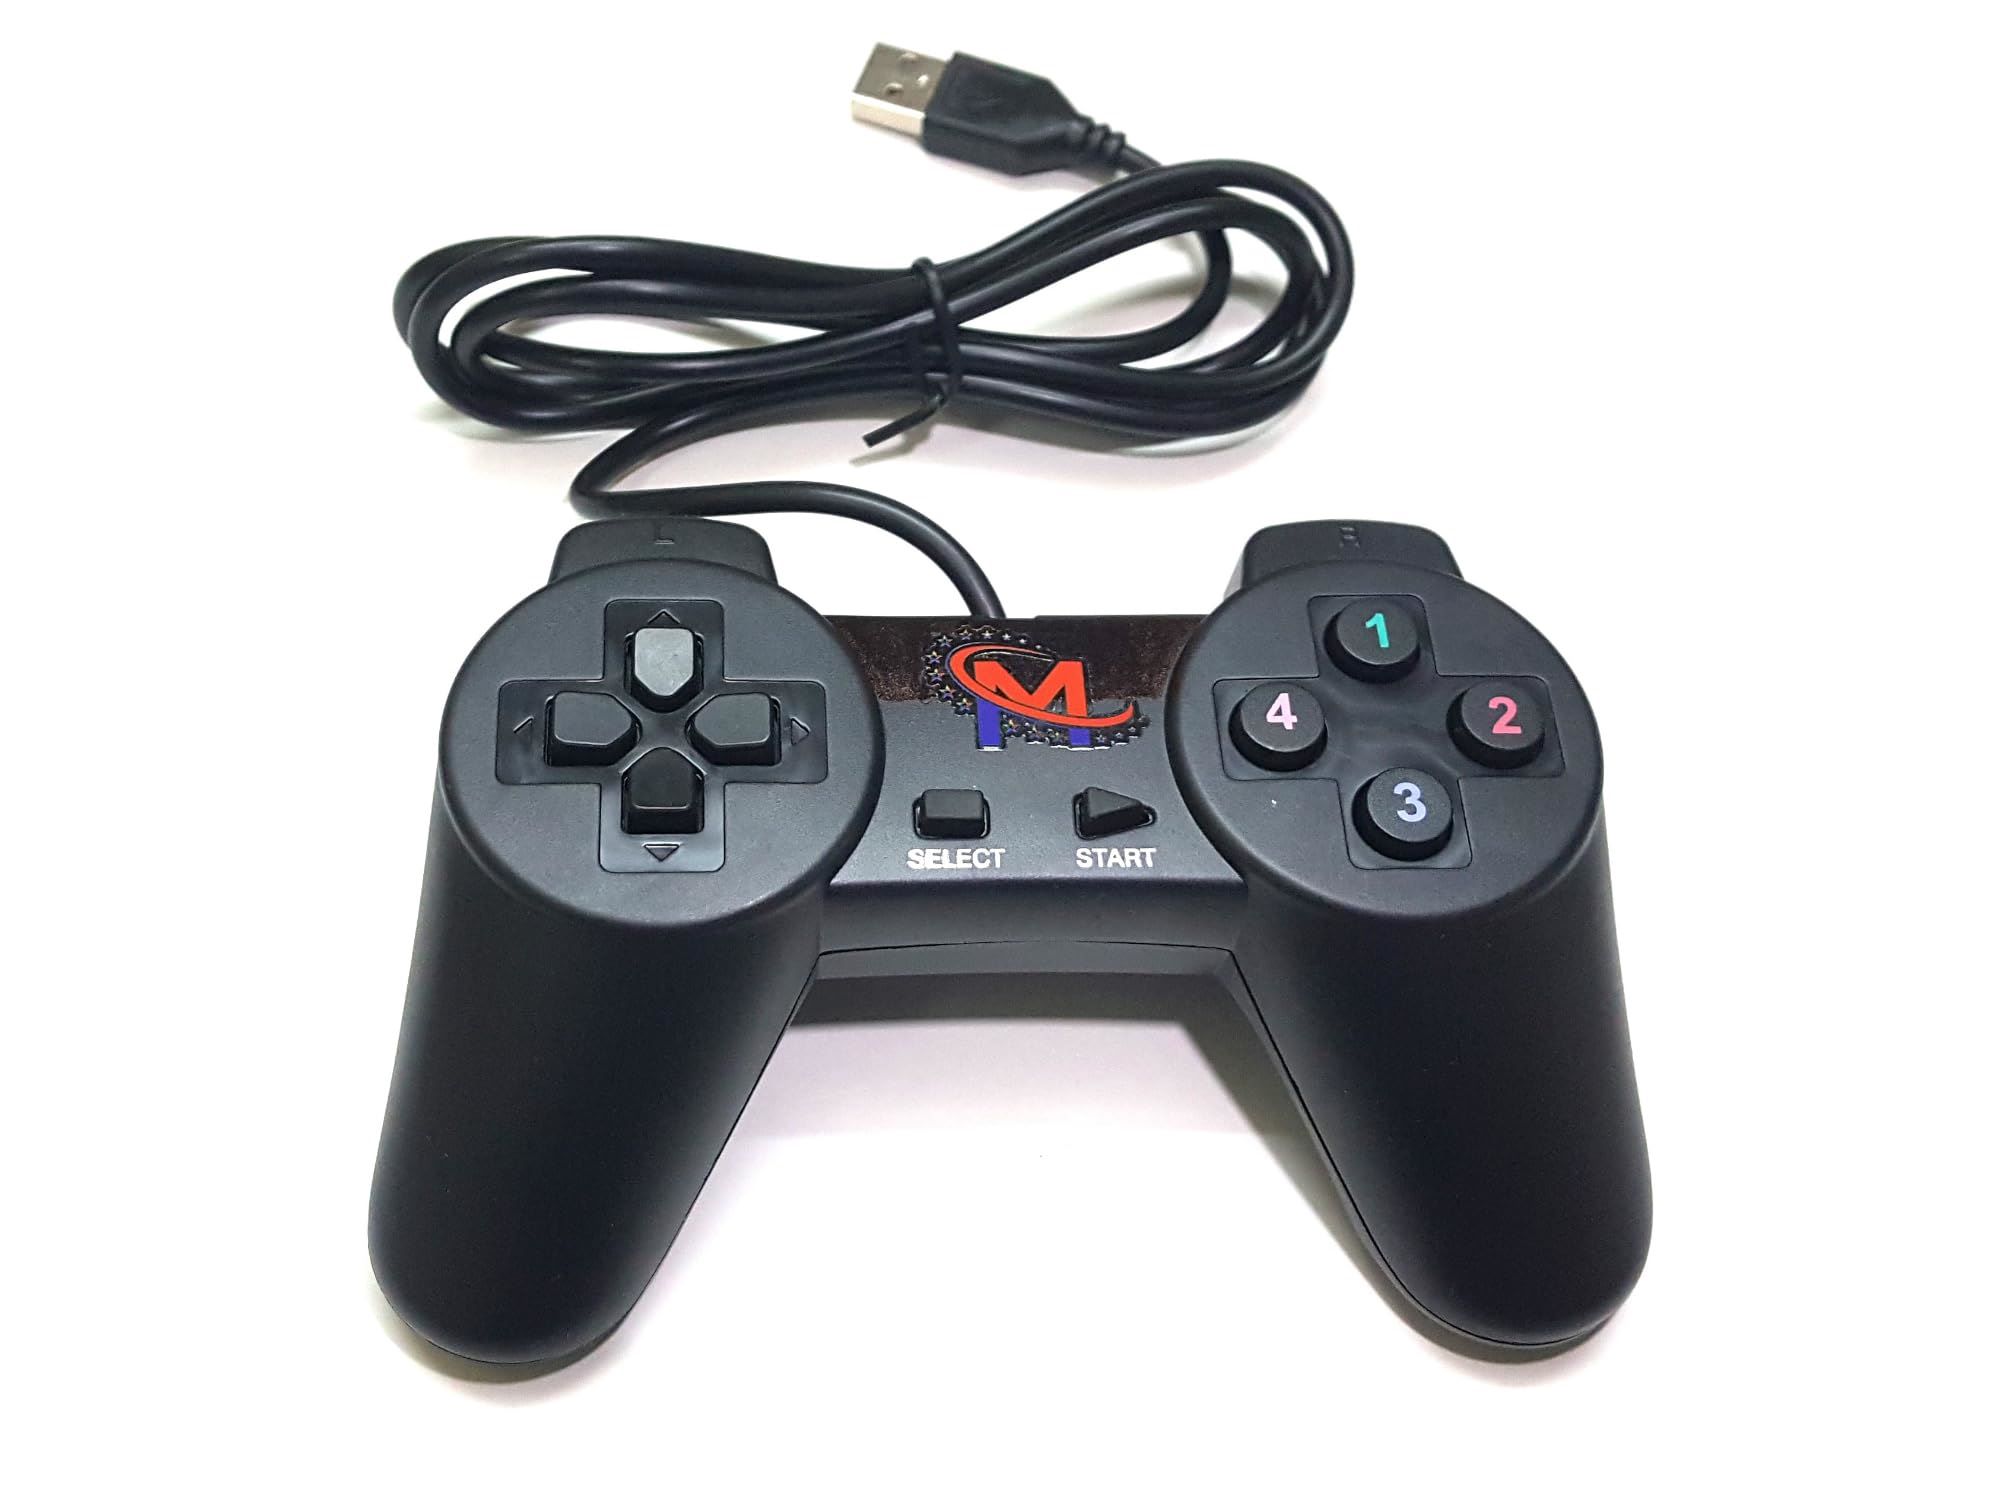
Before delving into software-based troubleshooting, it’s crucial to ensure that the physical connection between your USB game controller and your computer is secure. A loose or faulty connection can lead to unresponsive behavior, so taking a moment to inspect the physical setup is a wise first step.
Begin by examining the USB cable connecting your controller to your computer. Ensure that the cable is firmly plugged into both the controller and a functional USB port on your computer. If the controller features a detachable cable, check for any signs of damage or wear that may impede the connection. Additionally, try using a different USB port on your computer to rule out the possibility of a faulty port.
Next, assess the condition of the controller itself. Look for any visible damage, such as frayed cables or loose components, that could indicate a physical issue. If your controller is wireless, make sure the batteries are properly inserted and charged. In the case of a rechargeable controller, verify that it’s adequately charged to eliminate power-related issues.
By thoroughly examining the physical connection and components of your USB game controller, you can identify and address any issues that may be hindering its functionality. Once you’ve confirmed that the physical setup is sound, you can proceed to the next steps of troubleshooting to further evaluate the controller’s performance.
Testing in Device Manager
After verifying the physical connection of your USB game controller, the next step is to assess its status in the Device Manager. This built-in Windows tool allows you to view and manage the hardware devices connected to your computer, providing valuable insights into the functionality of your controller.
To access the Device Manager, right-click on the Start button and select “Device Manager” from the menu. Once the Device Manager window opens, navigate to the “Human Interface Devices” or “Universal Serial Bus controllers” section, depending on the type of controller you’re using. Look for an entry that corresponds to your USB game controller. If the controller is functioning correctly, it should be listed without any warning symbols or error messages.
If you encounter an exclamation mark or a warning message next to the controller’s entry, it indicates a potential issue that requires attention. Right-click on the controller’s entry and select “Properties” to view additional details about its status. The “General” and “Driver” tabs within the Properties window can provide valuable information about any detected problems or driver-related issues.
To troubleshoot driver-related issues, you can attempt to update the controller’s driver software by right-clicking on the controller’s entry and selecting “Update driver.” Windows will then search for the latest driver software online and install it if available. Alternatively, you can visit the manufacturer’s website to download and install the most up-to-date driver for your specific controller model.
By examining the status of your USB game controller in the Device Manager and addressing any identified issues, you can take proactive steps to ensure its proper functionality. If the controller appears in the Device Manager without any warning messages, it’s a positive indication of its operational status, allowing you to proceed with confidence to the next phase of troubleshooting.
Calibrating the Controller
Calibrating your USB game controller is a crucial step in ensuring its optimal performance, especially if you notice erratic behavior or imprecise response during gameplay. Calibration allows you to fine-tune the controller’s sensitivity and input accuracy, resulting in a more responsive and accurate gaming experience.
Windows provides a built-in calibration tool that enables you to adjust various settings for your controller. To access the calibration tool, open the Control Panel and navigate to “Hardware and Sound,” then select “Devices and Printers.” Right-click on your USB game controller and choose “Game controller settings.” In the “Game Controllers” window, select your controller and click “Properties.”
Within the controller properties window, navigate to the “Settings” or “Calibrate” option, depending on your controller model. This will launch the calibration wizard, which guides you through the process of adjusting the controller’s settings to optimize its performance. Follow the on-screen instructions to calibrate the controller’s buttons, triggers, joysticks, and other input components.
During the calibration process, you may be prompted to perform specific actions, such as pressing buttons or moving joysticks, to allow the system to capture and adjust the controller’s input range. By carefully following the calibration wizard’s instructions, you can fine-tune the controller to accurately reflect your input, resulting in smoother and more precise control during gameplay.
Once the calibration process is complete, test the controller’s responsiveness by navigating through the calibration utility or using it within a compatible game. Pay close attention to the controller’s behavior and responsiveness, ensuring that the adjustments made during calibration have effectively improved its performance.
By calibrating your USB game controller, you can address input inconsistencies and enhance its overall responsiveness, ultimately elevating your gaming experience. This proactive approach to fine-tuning the controller’s settings can significantly improve its performance and ensure that it operates optimally across various games and applications.
Testing in Game Software
After ensuring the physical connection, checking the device manager, and calibrating your USB game controller, the final step in evaluating its functionality involves testing it within game software. This crucial phase allows you to assess how the controller performs in an actual gaming environment, providing valuable insights into its responsiveness and compatibility with specific titles.
Launch a game that supports controller input and navigate to the settings or options menu to locate the controller configuration section. Within this menu, you should be able to select and customize the controller’s input settings, including button mapping, sensitivity adjustments, and other relevant parameters. Ensure that the game recognizes and properly identifies your controller, as indicated by on-screen prompts or visual feedback within the settings menu.
Once you’ve configured the controller settings within the game, engage in gameplay to test its performance. Pay attention to how the controller responds to your input, including button presses, joystick movements, and trigger actions. Verify that the controller accurately translates your commands into in-game actions, such as character movement, camera control, and interaction with in-game objects.
During gameplay, assess the controller’s overall responsiveness and accuracy, noting any issues such as input lag, unresponsiveness, or unexpected behavior. If you encounter any irregularities, consider revisiting the calibration process or adjusting the controller settings within the game to optimize its performance for the specific title you’re playing.
Additionally, if the game offers controller-specific features or customization options, explore these settings to tailor the controller’s behavior to your preferences. This may include adjusting sensitivity curves, dead zones, or button assignments to fine-tune the controller’s performance based on your individual playstyle and preferences.
By thoroughly testing your USB game controller within game software, you can gain valuable insights into its performance and compatibility with specific titles. This hands-on evaluation allows you to identify and address any remaining issues, ensuring that your controller delivers a seamless and enjoyable gaming experience across various games and genres.


![Is The Razer Pro Type Ultra A Gamechanger? [REVIEW]](https://robots.net/wp-content/uploads/2022/06/razer-pro-type-ultra-featured-2-300x175.jpg)