Introduction
Are you ready to take your arcade gaming experience to new heights? Installing a Night Mission Flight Stick in your arcade cabinet can elevate your gameplay, providing a thrilling and immersive experience. Whether you're a seasoned arcade enthusiast or a casual gamer, adding a flight stick can bring a new dimension to your gaming adventures. In this guide, we will walk you through the step-by-step process of installing a Night Mission Flight Stick in your arcade cabinet. By following these instructions, you'll be ready to soar through the virtual skies in no time.
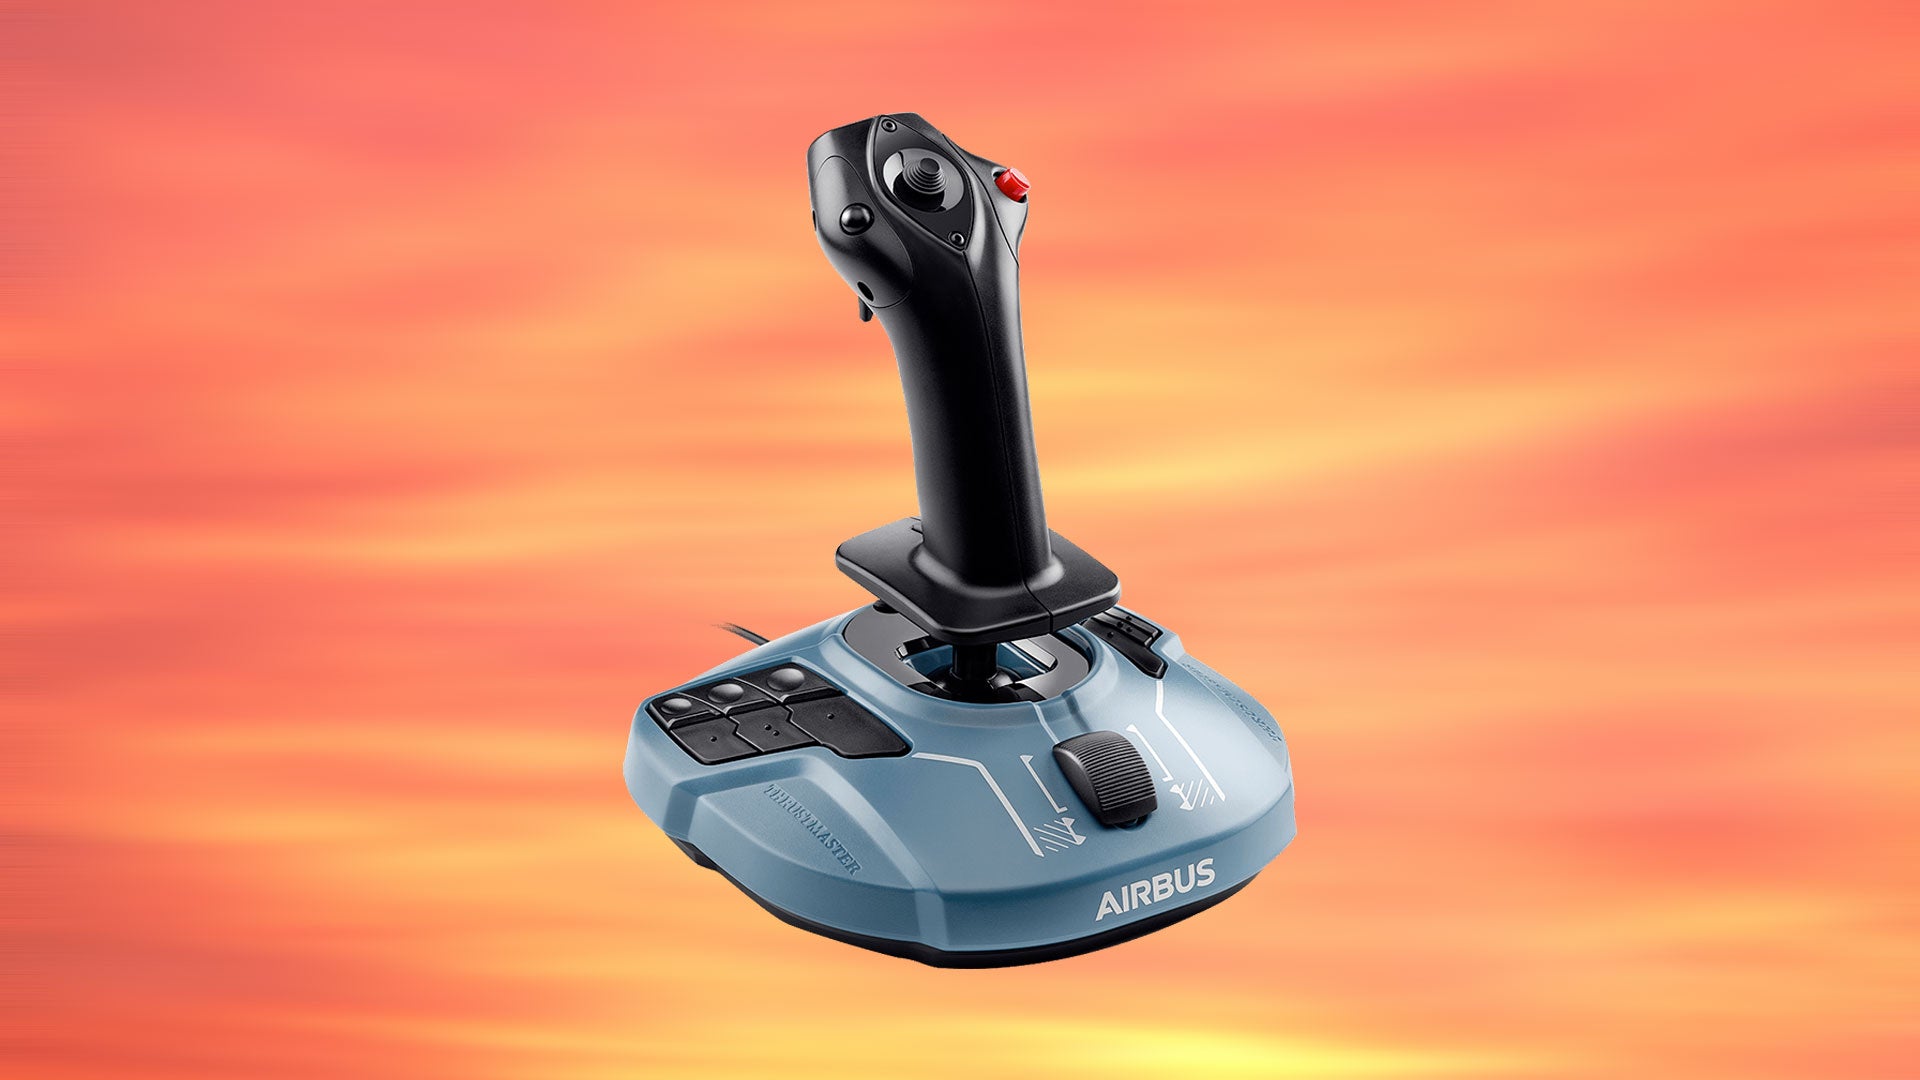
The Night Mission Flight Stick is a versatile and responsive controller that brings a realistic feel to flight-based games. With its ergonomic design and precise controls, it offers an unparalleled level of immersion, making it a must-have accessory for any arcade enthusiast. By integrating this flight stick into your arcade cabinet, you can enjoy a wide range of flight simulators and aerial combat games with enhanced precision and authenticity.
In the following steps, we will cover everything you need to know to successfully install the Night Mission Flight Stick in your arcade cabinet. From gathering the necessary tools and materials to testing the installation, each stage of the process will be detailed to ensure a smooth and successful integration. Whether you're a DIY enthusiast or a newcomer to arcade customization, this guide will equip you with the knowledge and confidence to complete the installation with ease.
Prepare to embark on an exciting journey as we transform your arcade cabinet into a cockpit of adventure. Let's dive into the step-by-step process and unleash the full potential of your arcade gaming experience with the Night Mission Flight Stick.
Step 1: Gather the Necessary Tools and Materials
Before diving into the installation process, it’s essential to gather all the tools and materials required for seamlessly integrating the Night Mission Flight Stick into your arcade cabinet. By ensuring that you have everything at your disposal, you can streamline the installation process and minimize any potential disruptions. Here’s a comprehensive list of the tools and materials you’ll need:
- Arcade Cabinet: Ensure that your arcade cabinet is in good working condition and can accommodate the installation of the flight stick.
- Night Mission Flight Stick: Acquire the Night Mission Flight Stick, ensuring that it is compatible with your arcade cabinet and gaming system.
- Mounting Bracket: Depending on the design of your arcade cabinet, you may need a mounting bracket to securely affix the flight stick.
- Screwdriver Set: Have a set of screwdrivers, including Phillips and flathead varieties, to facilitate the disassembly and reassembly of the arcade cabinet components.
- Measuring Tape: A measuring tape will be essential for ensuring precise placement of the mounting bracket and flight stick within the cabinet.
- Wire Cutters and Strippers: These tools will be necessary for managing and connecting the wiring for the flight stick.
- Electrical Tape: Have electrical tape on hand to secure and insulate the wired connections, preventing any potential electrical hazards.
- Extension Cables (if needed): Depending on the distance between the flight stick and the gaming system, you may require extension cables to ensure proper connectivity.
- Instruction Manual: Keep the instruction manual for the Night Mission Flight Stick readily accessible for reference throughout the installation process.
By assembling these tools and materials, you’ll be fully equipped to proceed with the installation of the Night Mission Flight Stick. With careful preparation, you can approach the subsequent steps with confidence, knowing that you have everything needed to complete the integration seamlessly.
Step 2: Prepare the Arcade Cabinet
Before delving into the physical installation of the Night Mission Flight Stick, it’s crucial to prepare the arcade cabinet to accommodate the new addition. This step involves assessing the internal space, ensuring accessibility, and making any necessary adjustments to create a suitable environment for integrating the flight stick.
Assess Internal Space: Begin by examining the interior of the arcade cabinet to determine the optimal location for mounting the flight stick. Consider factors such as ergonomic reach, visibility, and the structural integrity of the mounting area. Additionally, assess the clearance around the chosen location to ensure that the flight stick can be maneuvered comfortably during gameplay.
Remove Obstacles: Clear the designated mounting area of any obstructions or existing components that may impede the installation process. This may involve temporarily removing control panels, panels, or other fixtures to create a clear workspace for the integration of the flight stick.
Secure Wiring: If the arcade cabinet houses existing wiring or components, ensure that they are securely fastened and organized to prevent interference with the installation of the flight stick. Proper cable management can streamline the installation process and reduce the risk of accidental damage to electrical connections.
Accessibility: Evaluate the accessibility of the internal components, particularly the areas where the mounting bracket and flight stick will be installed. Ensure that there is ample space to maneuver tools and access fastening points without encountering obstructions.
Inspect Structural Integrity: Check the structural integrity of the mounting area to confirm that it can support the weight and movement associated with the flight stick. Reinforce any weak or compromised areas to ensure a stable foundation for the installation.
By thoroughly preparing the arcade cabinet, you can create an optimal environment for seamlessly integrating the Night Mission Flight Stick. This proactive approach sets the stage for a smooth and efficient installation process, laying the groundwork for an enhanced gaming experience within your arcade cabinet.
Step 3: Install the Mounting Bracket
With the arcade cabinet prepared for the installation of the Night Mission Flight Stick, the next crucial step involves affixing the mounting bracket to provide a secure and stable foundation for the flight stick. The mounting bracket serves as the anchor point for the flight stick, ensuring that it is firmly positioned within the arcade cabinet and ready for seamless integration.
Positioning: Determine the optimal placement for the mounting bracket within the arcade cabinet, considering factors such as user comfort, accessibility, and the structural integrity of the mounting surface. Align the bracket to provide an ergonomic and immersive gaming experience while maintaining a secure attachment point.
Secure Attachment: Utilize appropriate hardware, such as screws or bolts, to securely fasten the mounting bracket to the interior of the arcade cabinet. Ensure that the bracket is firmly anchored, minimizing any potential movement or instability during gameplay.
Alignment and Leveling: Verify that the mounting bracket is aligned and leveled to maintain the flight stick’s intended orientation within the arcade cabinet. Precise alignment contributes to a professional and polished installation, enhancing the overall aesthetic and functionality of the flight stick.
Compatibility Check: Confirm that the mounting bracket is compatible with the Night Mission Flight Stick, providing a seamless fit that facilitates the subsequent integration of the controller. Compatibility ensures that the flight stick can be securely attached to the bracket without compromise.
Testing Stability: Once the mounting bracket is installed, perform a stability test to assess its resilience and durability. Apply gentle pressure to the bracket and verify that it remains steadfast, indicating a reliable foundation for the upcoming integration of the flight stick.
By meticulously installing the mounting bracket, you establish a robust and reliable anchor point for the Night Mission Flight Stick, setting the stage for the seamless integration of this immersive controller into your arcade cabinet. With the bracket securely in place, you’re one step closer to unlocking a new dimension of gaming excitement within your arcade setup.
Step 4: Connect the Flight Stick
As you progress with the installation of the Night Mission Flight Stick, the pivotal stage of connecting the controller within the arcade cabinet comes into focus. This step involves establishing the necessary electrical and interface connections to seamlessly integrate the flight stick, ensuring responsive and immersive gameplay for a wide range of arcade experiences.
Wiring Preparation: Begin by preparing the wiring for the flight stick, ensuring that the cables are neatly organized and free from obstructions. If necessary, use wire cutters and strippers to manage the wiring and create clean, well-prepared ends for connection.
Interface Compatibility: Verify that the interface connectors on the flight stick align with the corresponding ports or interfaces within the arcade cabinet. Confirm compatibility and ensure that the connections can be established without strain or misalignment.
Secure Connections: Carefully connect the flight stick to the designated interfaces within the arcade cabinet, ensuring a secure and snug fit for each connection. Avoid applying excessive force, and double-check the connections to guarantee proper alignment and engagement.
Extension Cables (if needed): If the distance between the flight stick and the gaming system necessitates extension cables, carefully integrate these components to facilitate seamless connectivity. Confirm that the extension cables are compatible and provide reliable signal transmission without degradation.
Insulation and Protection: Once the connections are established, use electrical tape to insulate and protect the wired connections, safeguarding against potential electrical hazards and ensuring the longevity of the integrated setup.
Functional Testing: After connecting the flight stick, perform a functional test to validate the responsiveness and functionality of the controller within the arcade cabinet. Test the various controls and inputs to ensure that the flight stick operates as intended, providing a seamless and immersive gaming experience.
By meticulously connecting the flight stick within the arcade cabinet, you pave the way for a captivating and authentic gaming experience, characterized by precise controls and immersive gameplay. With the flight stick seamlessly integrated, you’re poised to embark on thrilling aerial adventures and combat missions within your arcade setup.
Step 5: Test the Installation
With the Night Mission Flight Stick seamlessly integrated into your arcade cabinet, the final step involves thoroughly testing the installation to ensure that the controller operates flawlessly and enhances your gaming experience. This critical phase allows you to validate the functionality, responsiveness, and overall performance of the flight stick, providing assurance that your arcade setup is primed for captivating gameplay.
Functional Assessment: Begin by conducting a comprehensive functional assessment of the flight stick, testing each control input and feature to confirm its responsiveness and accuracy. Verify that the flight stick translates your movements and commands into precise in-game actions, reflecting the immersive and authentic experience it promises.
Compatibility Testing: Test the flight stick with a variety of compatible games and simulators to gauge its compatibility and versatility. Explore different genres and scenarios to ensure that the controller seamlessly adapts to diverse gaming experiences, from aerial combat simulations to immersive flight adventures.
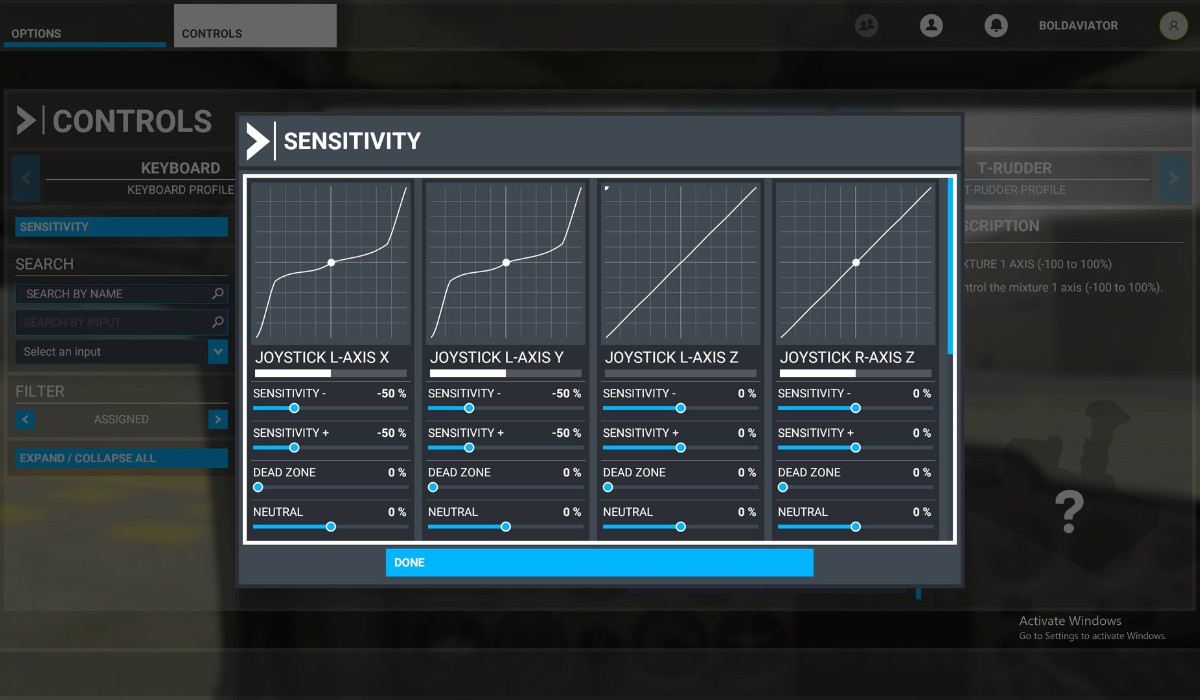
Calibration Verification: If applicable, verify the calibration of the flight stick to ensure that its axes and inputs are accurately aligned and calibrated for optimal performance. Calibration adjustments may be necessary to fine-tune the controller’s responsiveness and ensure a tailored gaming experience.
Comfort and Ergonomics: Assess the comfort and ergonomics of the flight stick during extended gameplay sessions, ensuring that its design promotes user comfort and intuitive control. Evaluate the placement of controls and the overall feel of the flight stick to confirm that it enhances rather than detracts from the gaming experience.
Feedback and Responsiveness: Pay attention to the feedback and responsiveness of the flight stick, noting its tactile feel, button response, and overall user experience. A responsive and tactile controller enhances immersion, making every maneuver and action feel impactful and engaging.
Integration Validation: Confirm that the integration of the flight stick within the arcade cabinet remains secure and stable during rigorous gameplay. Assess the mounting bracket, wiring connections, and overall stability to ensure that the flight stick remains firmly anchored and functional.
By meticulously testing the installation of the Night Mission Flight Stick, you can confidently embrace the excitement and immersion of arcade gaming, knowing that your newly integrated controller elevates your gaming adventures to new heights. With the installation successfully tested and validated, you’re ready to embark on thrilling gaming experiences within your customized arcade setup.
Conclusion
Congratulations on successfully installing the Night Mission Flight Stick in your arcade cabinet! By following the step-by-step process outlined in this guide, you’ve unlocked a new dimension of gaming excitement and immersion within your customized arcade setup. The integration of the flight stick not only enhances the visual appeal of your arcade cabinet but also elevates the gameplay experience, allowing you to soar through virtual skies and engage in thrilling aerial combat with precision and authenticity.
As you reflect on the installation journey, it’s evident that meticulous preparation, precise installation, and thorough testing have culminated in a seamless and immersive gaming experience. The careful gathering of tools and materials, the thoughtful preparation of the arcade cabinet, the precise installation of the mounting bracket, the meticulous connection of the flight stick, and the comprehensive testing of the installation have collectively contributed to the successful integration of this versatile controller.
With the Night Mission Flight Stick in place, you’re poised to explore a myriad of flight simulators and aerial combat games, immersing yourself in captivating gaming experiences that showcase the precision and responsiveness of the controller. Whether you’re navigating through virtual skies, engaging in high-stakes dogfights, or embarking on daring aerial missions, the flight stick’s seamless integration ensures that every maneuver and action feels intuitive and impactful.
Embrace the enhanced gameplay, precise controls, and immersive experiences that the Night Mission Flight Stick brings to your arcade cabinet. With its ergonomic design, tactile controls, and versatile compatibility, this controller serves as a gateway to a world of thrilling gaming adventures, allowing you to pilot virtual aircraft with unparalleled precision and authenticity.
As you bask in the excitement of your newly integrated flight stick, remember that the installation process represents not only a technical achievement but also a testament to your dedication to enhancing your arcade gaming experience. The successful integration of the flight stick stands as a testament to your commitment to creating an immersive and captivating gaming environment within your arcade cabinet.
Now, with the Night Mission Flight Stick seamlessly integrated into your arcade setup, prepare to embark on exhilarating gaming journeys that transport you to the skies and beyond, all within the immersive confines of your customized arcade cabinet.