Introduction
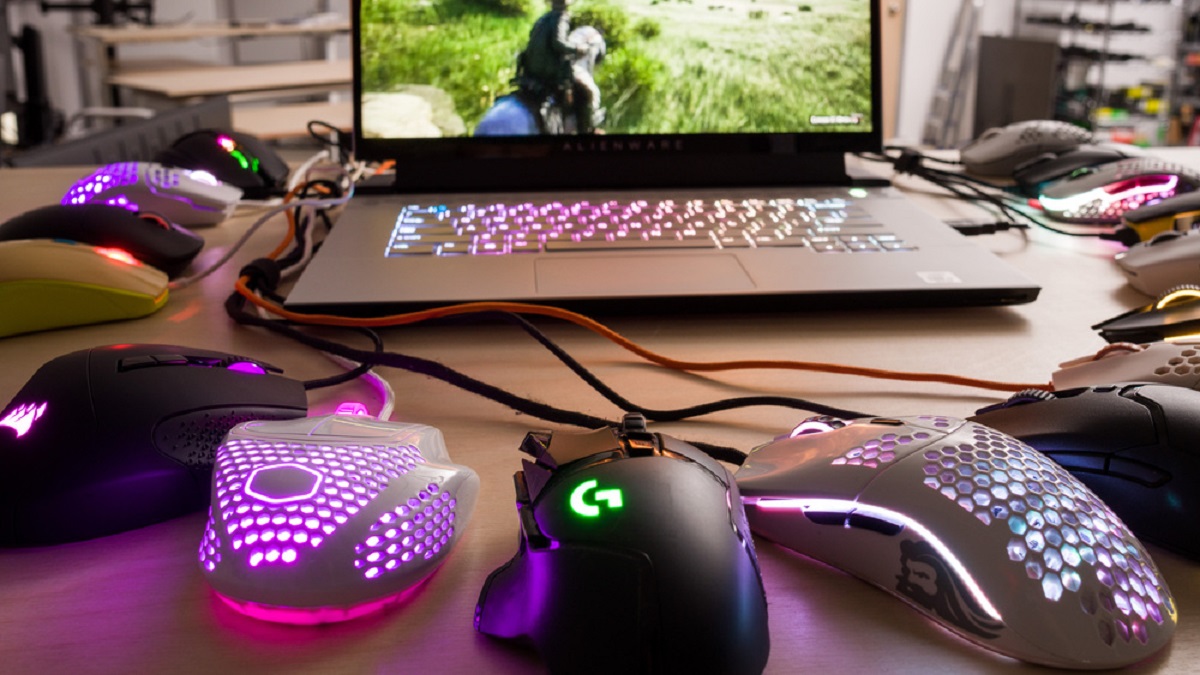
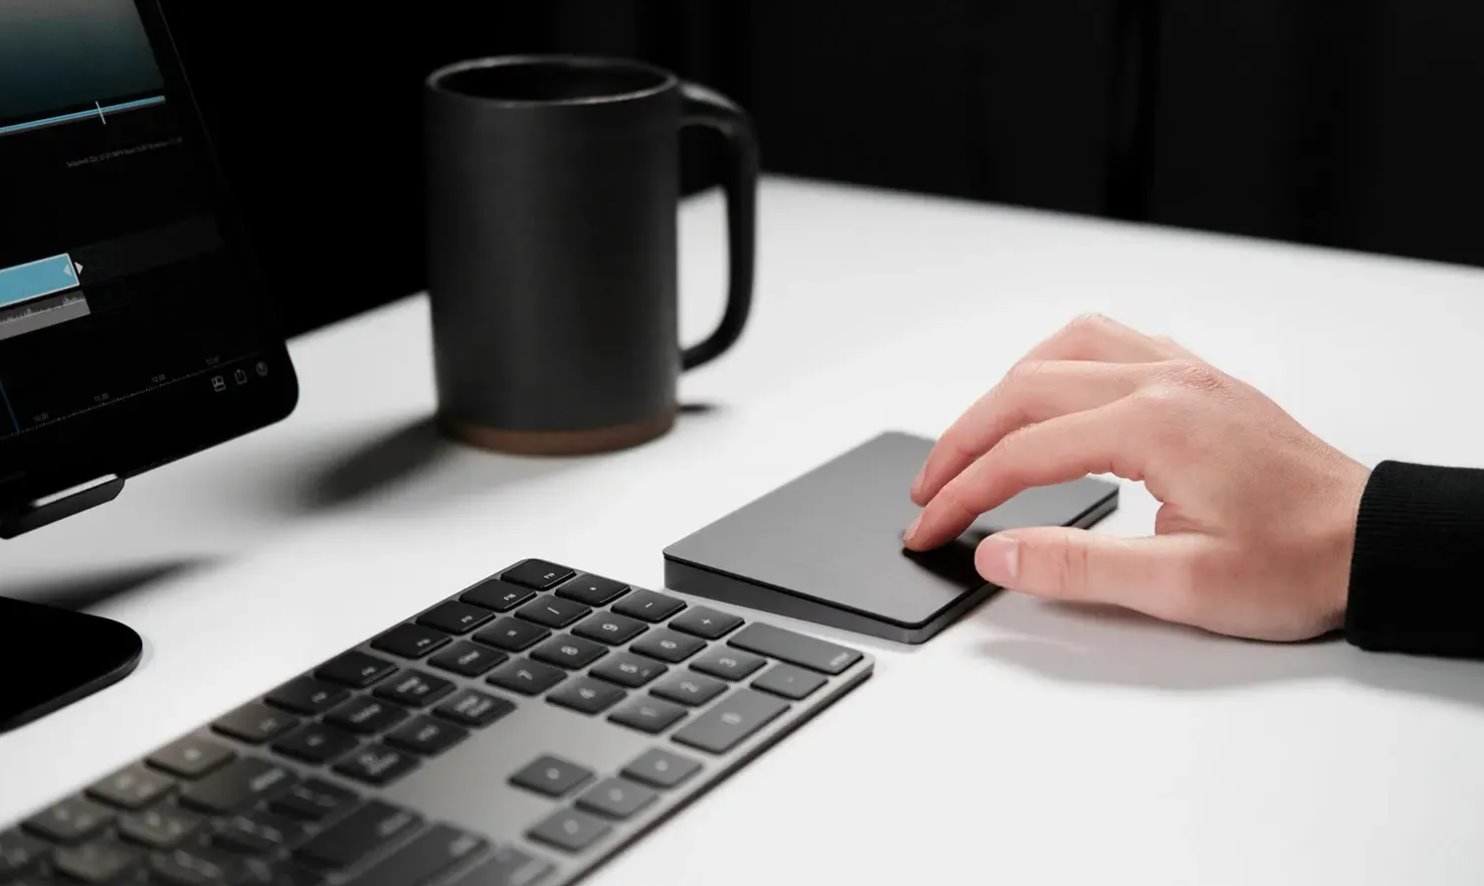
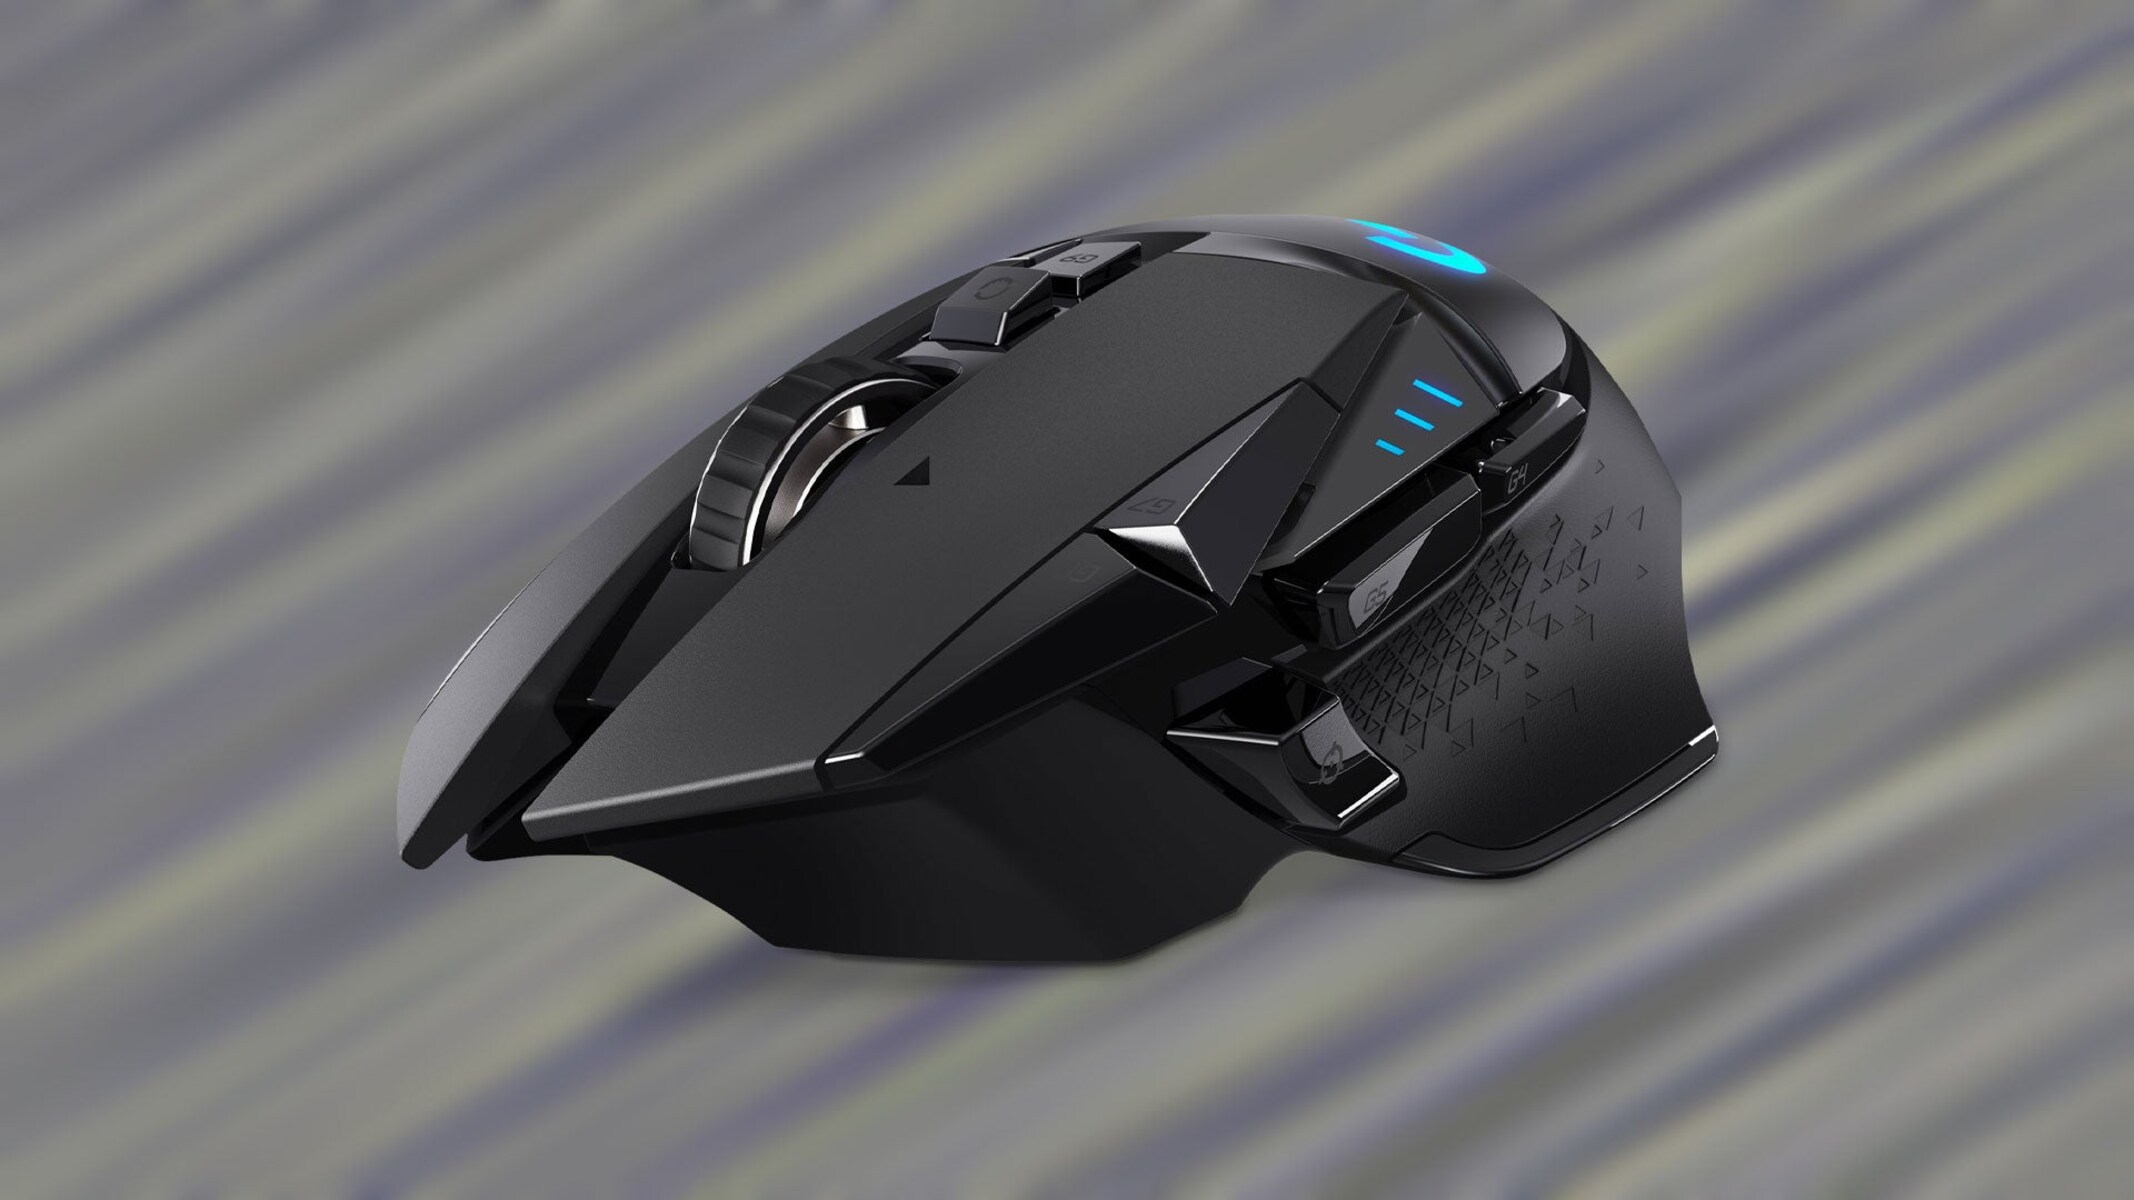
Are you an avid gamer or a tech enthusiast looking to elevate your gaming experience on your laptop? Connecting a wireless gaming mouse to your laptop can significantly enhance your gameplay, offering greater precision and flexibility compared to traditional touchpads. With the advancements in wireless technology, setting up a wireless gaming mouse with your laptop is now easier than ever.
In this comprehensive guide, we will walk you through the step-by-step process of connecting your wireless gaming mouse to your laptop. Whether you're a seasoned gamer or new to the world of wireless peripherals, this guide will equip you with the knowledge and confidence to seamlessly integrate your wireless gaming mouse into your gaming setup.
Stay tuned as we delve into the intricacies of checking for compatibility, installing batteries, activating Bluetooth, and pairing your wireless gaming mouse with your laptop. By the end of this guide, you'll be ready to unleash the full potential of your wireless gaming mouse, immersing yourself in a seamless and responsive gaming experience. Let's embark on this journey to elevate your gaming setup and take your gameplay to the next level.
Step 1: Check for Compatibility
Before diving into the setup process, it’s crucial to ensure that your wireless gaming mouse is compatible with your laptop. Most modern wireless gaming mice are designed to be compatible with a wide range of devices, including laptops running various operating systems. However, it’s always wise to verify the compatibility to avoid any potential issues during the setup.
Start by checking the system requirements specified by the manufacturer of your wireless gaming mouse. This information can typically be found on the packaging or in the product manual. Ensure that your laptop meets the necessary criteria, including the operating system version, Bluetooth capabilities, and any specific software requirements.
Additionally, some wireless gaming mice come with proprietary software that enhances customization and performance. If your mouse includes such software, verify that it is compatible with your laptop’s operating system. This step is essential for unlocking the full potential of your gaming mouse and accessing advanced features.
Furthermore, if your laptop does not have built-in Bluetooth capabilities, you may need to use a USB receiver that accompanies the wireless gaming mouse. Ensure that your laptop has available USB ports and that the USB receiver is compatible with your laptop’s operating system.
By confirming the compatibility of your wireless gaming mouse with your laptop, you can proceed with confidence, knowing that your devices are ready to seamlessly integrate, setting the stage for an immersive gaming experience.
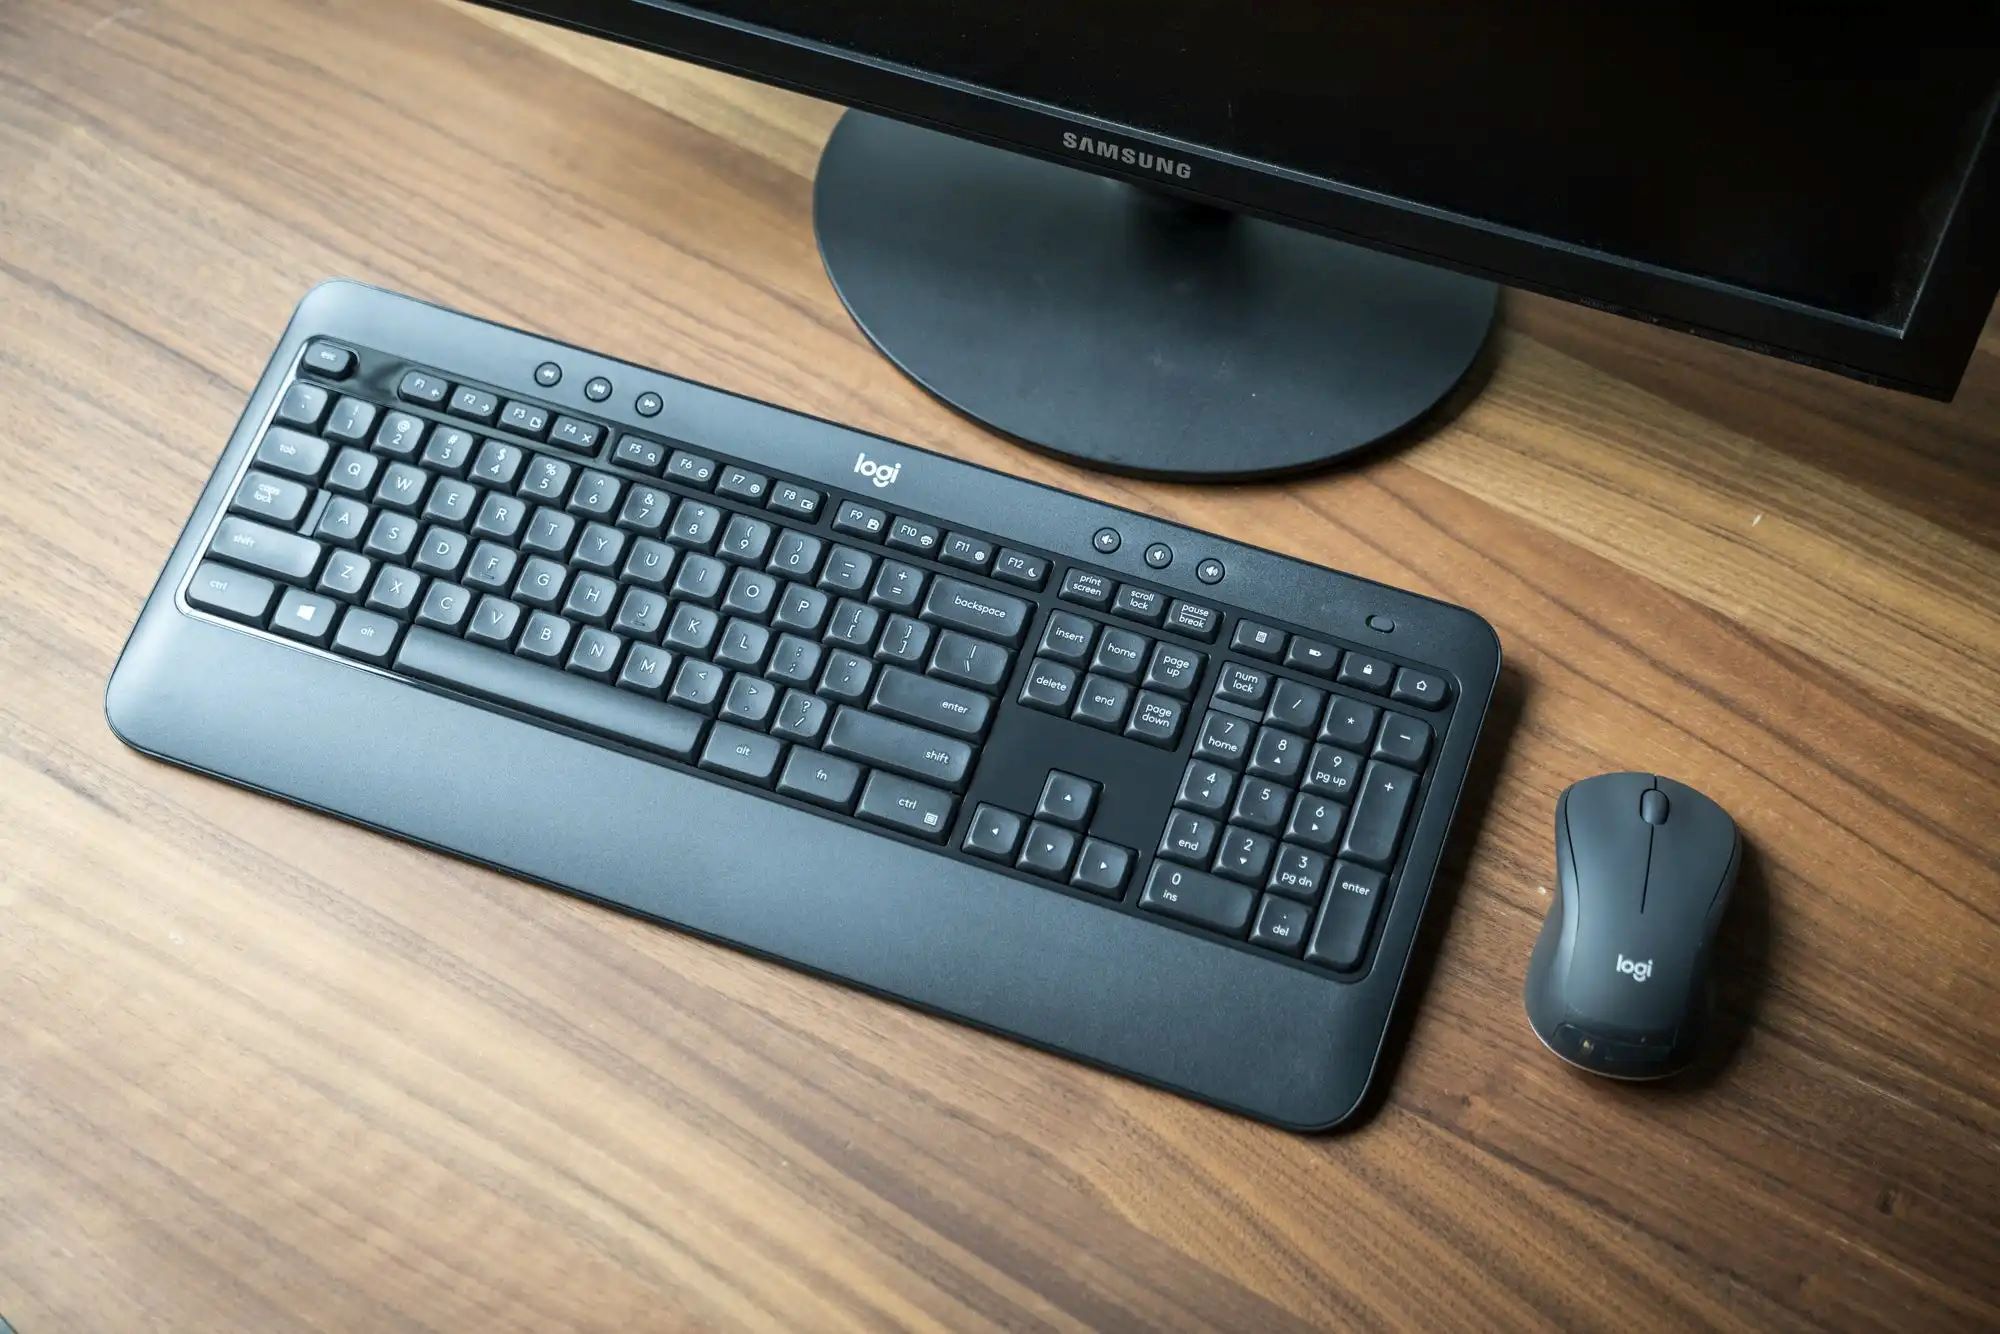
Step 2: Install Batteries
Once you’ve verified the compatibility of your wireless gaming mouse with your laptop, the next step is to power up the mouse by installing the required batteries. Most wireless gaming mice operate using either disposable or rechargeable batteries, depending on the model. Before proceeding, refer to the product manual or packaging to determine the type and quantity of batteries needed.
If your wireless gaming mouse utilizes disposable batteries, carefully insert the batteries into the designated compartment, ensuring the correct polarity. Pay close attention to any polarity markings inside the battery compartment to avoid inserting the batteries incorrectly, which can lead to malfunction or damage to the mouse.
For mice that utilize rechargeable batteries, ensure that the batteries are adequately charged before proceeding with the setup. Depending on the model, the rechargeable batteries may be integrated into the mouse or replaceable, requiring manual installation. Follow the manufacturer’s instructions to install or prepare the rechargeable batteries for use.
Once the batteries are properly installed, securely close the battery compartment to prevent any accidental dislodging during use. This step is crucial to ensure uninterrupted power to the wireless gaming mouse, allowing you to dive into your gaming sessions without interruptions.
By completing this step, you have empowered your wireless gaming mouse with the necessary power source, setting the stage for the subsequent setup process. With the batteries in place, your mouse is ready to be activated and paired with your laptop, bringing you one step closer to an enhanced gaming experience.
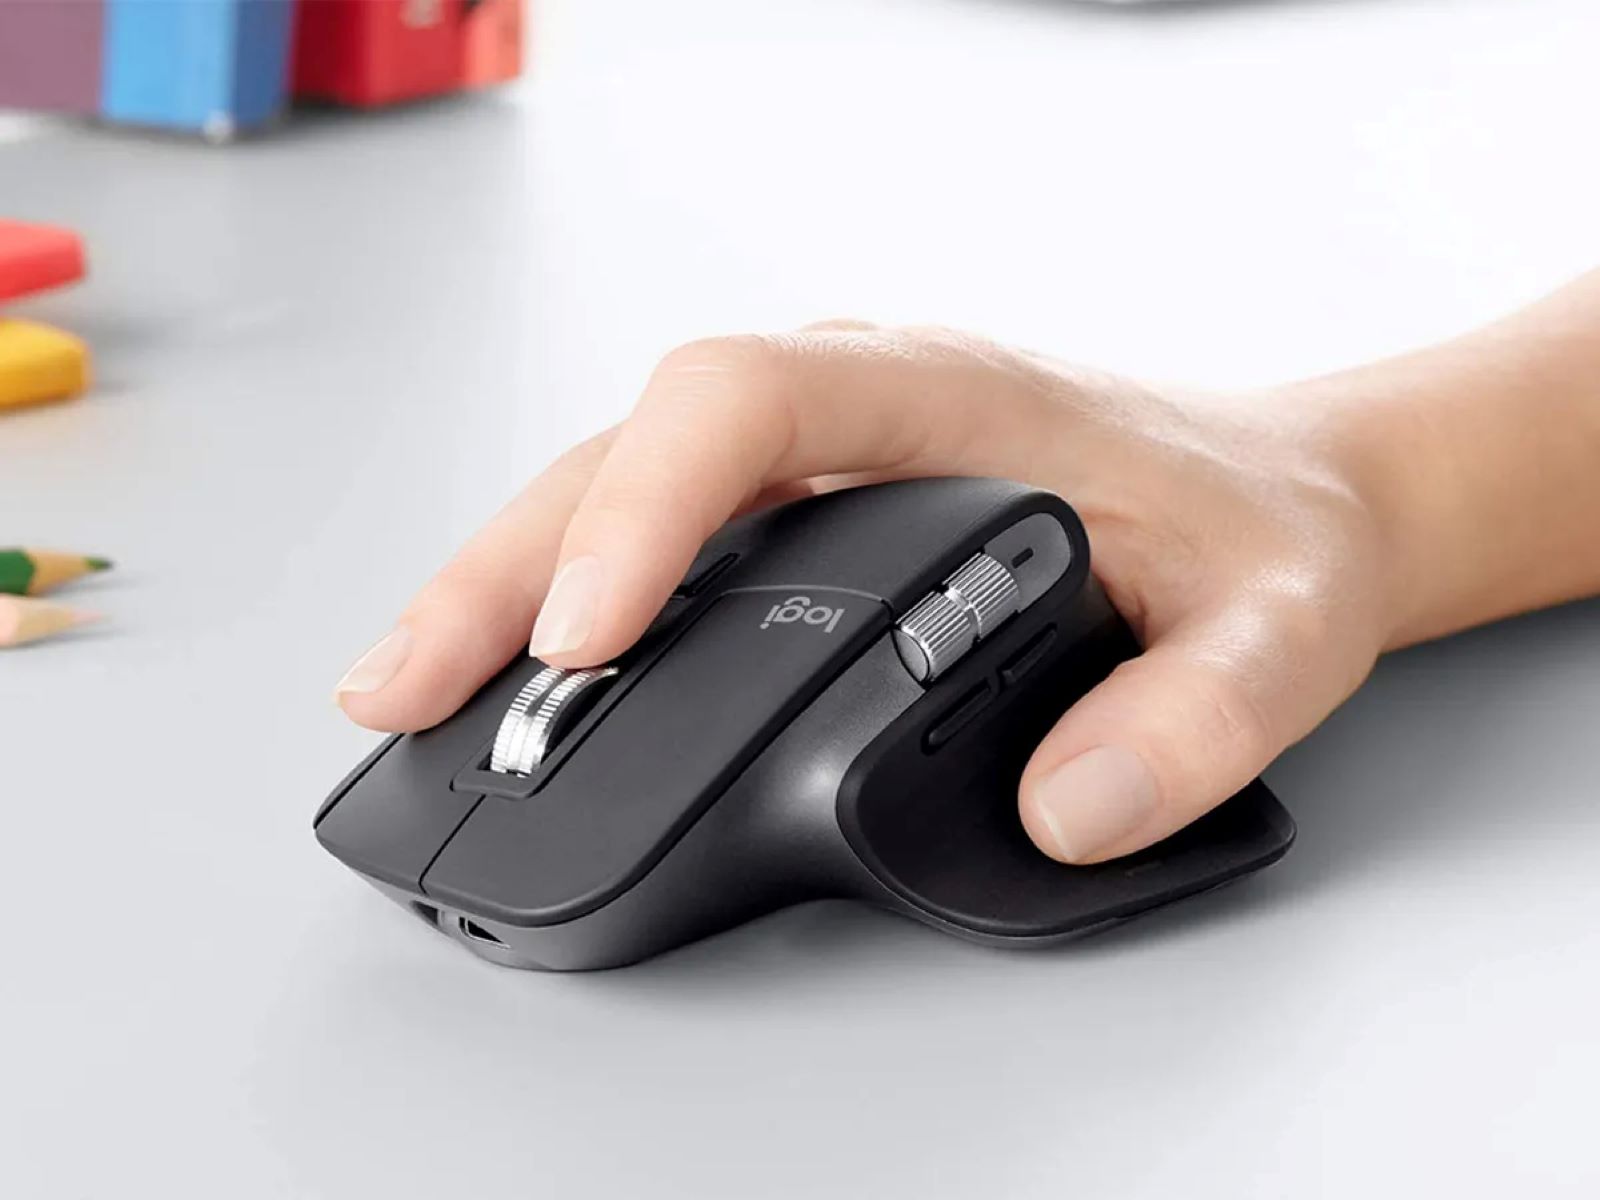
Step 3: Turn on the Mouse
With the batteries successfully installed in your wireless gaming mouse, the next step is to power it on and prepare it for the pairing process with your laptop. Depending on the model of your mouse, the power button may be located on the top, bottom, or sides of the device. Refer to the product manual or packaging for the precise location of the power button.
Press and hold the power button for a few seconds to initiate the power-up sequence. Upon activation, you may notice indicator lights or other visual cues that signify the mouse is powered on and ready to establish a connection. Some wireless gaming mice also emit a brief sound or vibration upon powering on, indicating that the device is operational.
As the mouse powers on, ensure that it is placed on a flat and stable surface to prevent any interference with the initialization process. Once powered on, the mouse may enter a standby or pairing mode, awaiting the connection with your laptop’s Bluetooth interface.
By turning on the wireless gaming mouse, you have initiated the crucial step of preparing the device for seamless integration with your laptop. The next steps will involve activating Bluetooth on your laptop and initiating the pairing process, establishing a wireless connection that unlocks the full potential of your gaming mouse.
Step 4: Activate Bluetooth on Your Laptop
Before proceeding with the pairing process, it’s essential to ensure that the Bluetooth functionality on your laptop is activated and ready to establish a connection with your wireless gaming mouse. Bluetooth enables wireless communication between your laptop and the gaming mouse, facilitating a seamless and responsive gaming experience.
Begin by accessing the Bluetooth settings on your laptop. The precise method for accessing these settings may vary depending on your laptop’s operating system and user interface. In most cases, you can find the Bluetooth settings in the system tray, control panel, or settings menu. Alternatively, you can utilize the search function to quickly locate the Bluetooth settings.
Once you have accessed the Bluetooth settings, toggle the Bluetooth functionality to the “On” or “Enabled” position. This action activates the Bluetooth radio on your laptop, allowing it to detect and connect to nearby Bluetooth devices, including your wireless gaming mouse.
As Bluetooth is activated on your laptop, it begins scanning for available devices in its vicinity. At this stage, your wireless gaming mouse should be in pairing mode, ready to be discovered by your laptop. Depending on the mouse model, the pairing mode may be indicated by flashing lights, specific button combinations, or other visual cues.
By activating Bluetooth on your laptop, you have set the stage for establishing a seamless wireless connection with your gaming mouse. The next step involves initiating the pairing process, allowing your laptop to recognize and establish a secure connection with the wireless gaming mouse, paving the way for an enhanced gaming experience.
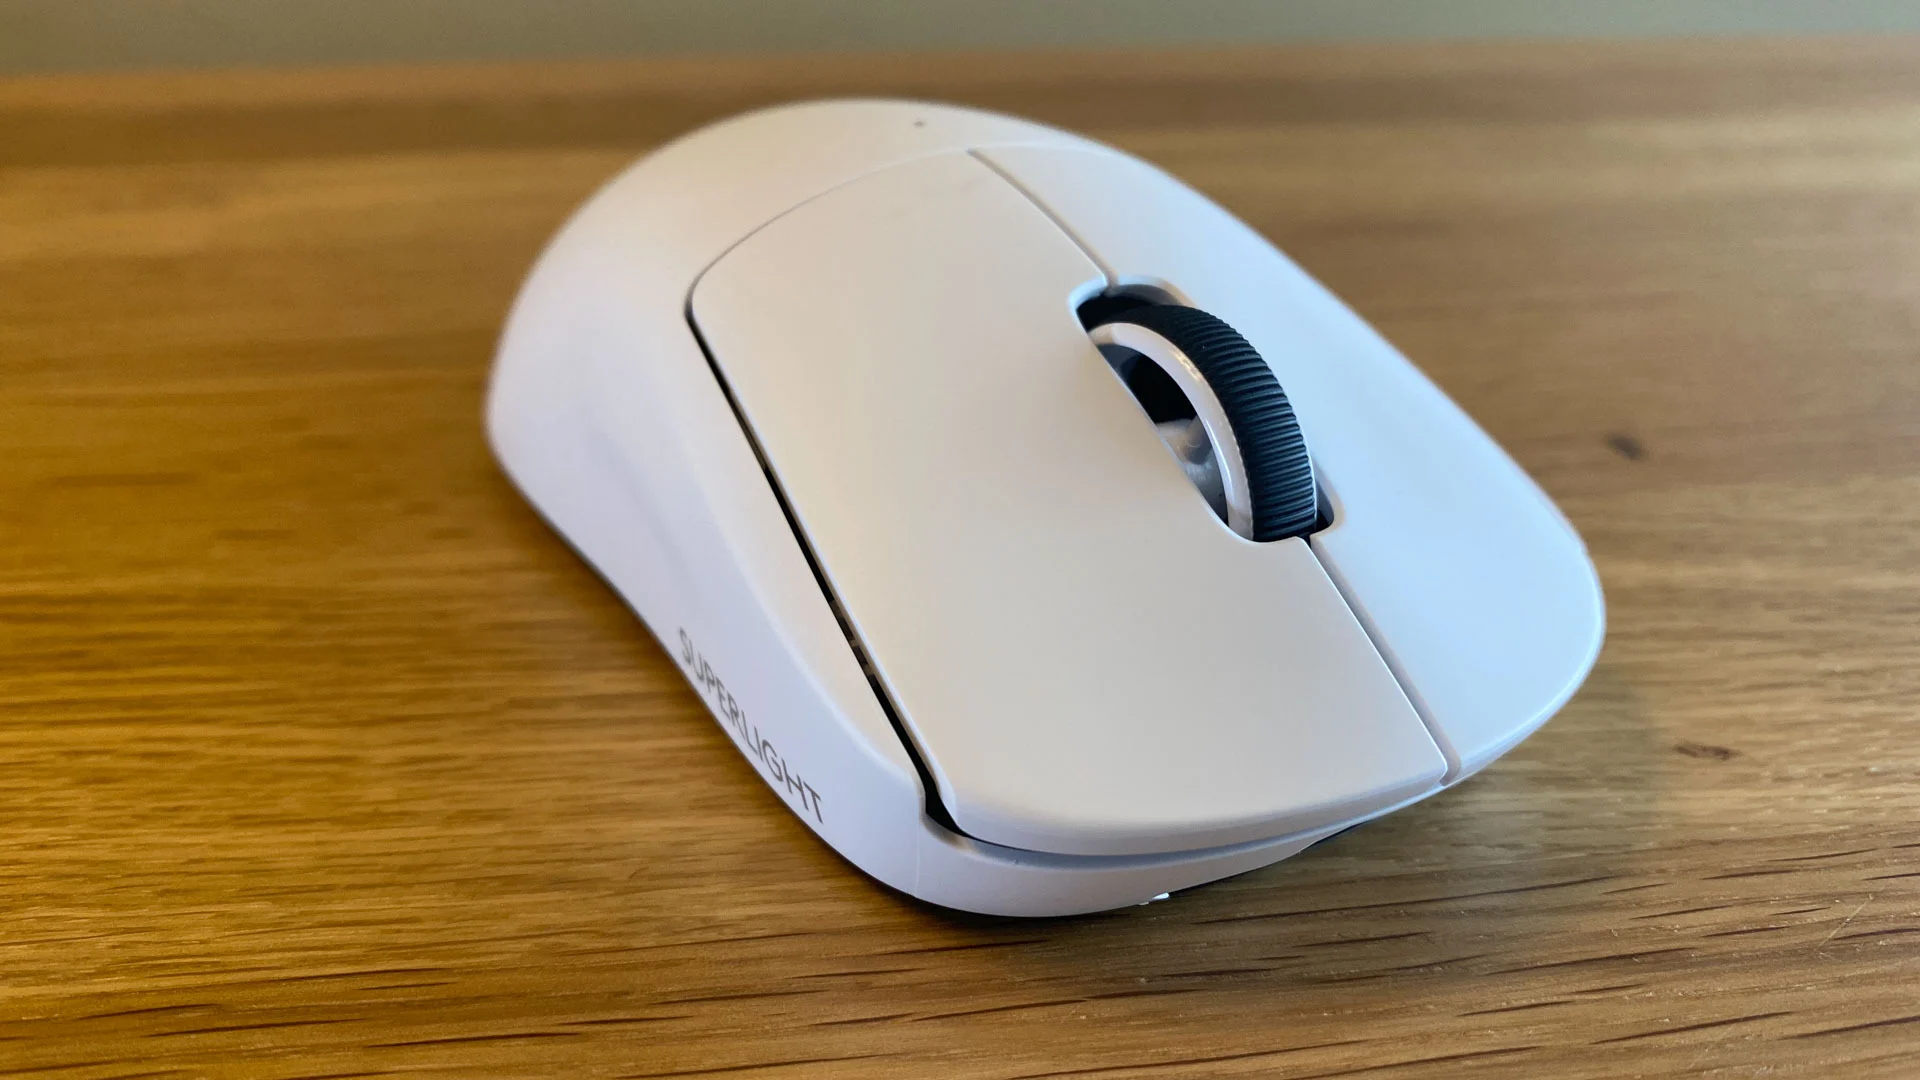
Step 5: Pair the Mouse with Your Laptop
With Bluetooth activated on your laptop, it’s time to initiate the pairing process to establish a secure and seamless connection between your wireless gaming mouse and your laptop. The pairing process enables your laptop to recognize and communicate with the gaming mouse, facilitating precise and responsive control during gaming sessions.
Access the Bluetooth settings on your laptop and navigate to the section where available devices are displayed. Your wireless gaming mouse should appear in the list of available devices, typically identified by its model name or a unique identifier. Select the wireless gaming mouse from the list to initiate the pairing process.
Upon selecting the gaming mouse, your laptop will begin the pairing procedure, establishing a secure and encrypted connection with the mouse. Depending on the mouse model, you may be prompted to enter a pairing code or confirm the pairing request. Follow any on-screen prompts to complete the pairing process, ensuring that the connection is established successfully.
As the pairing process concludes, your laptop and wireless gaming mouse are now interconnected, ready to collaborate in delivering a responsive and immersive gaming experience. The successful pairing enables the mouse to transmit precise movements and commands to your laptop, enhancing your control and precision during gameplay.
By pairing your wireless gaming mouse with your laptop, you have solidified the crucial link that enables seamless communication between the two devices. The next step involves testing the connection to ensure that the wireless gaming mouse functions flawlessly with your laptop, setting the stage for an unparalleled gaming experience.
Step 6: Test the Connection
After successfully pairing your wireless gaming mouse with your laptop, it’s essential to verify the connection and ensure that the mouse functions seamlessly, delivering precise and responsive control during gaming sessions. Testing the connection allows you to confirm that the wireless mouse operates flawlessly with your laptop, setting the stage for an immersive and enjoyable gaming experience.
Begin by moving the wireless gaming mouse on a flat surface to verify that the cursor or pointer on your laptop screen responds accurately to the mouse movements. As you navigate the mouse, pay close attention to the responsiveness and precision of the cursor, ensuring that it mirrors your movements fluidly without any lag or irregularities.
Next, engage in a brief gaming session or navigate through your preferred applications to assess the overall performance of the wireless gaming mouse. Whether you’re exploring virtual environments, engaging in fast-paced gameplay, or navigating productivity software, the mouse should respond intuitively to your commands, providing an enhanced level of control and accuracy.
Test the various buttons and features of the wireless gaming mouse, ensuring that each input is registered accurately by your laptop. Whether it’s the primary click, secondary click, scroll wheel, or additional customizable buttons, each input should function seamlessly, empowering you to customize your gaming experience and streamline your interactions with the laptop.
By thoroughly testing the connection between your wireless gaming mouse and your laptop, you can confidently embrace the seamless integration of these devices, knowing that they collaborate harmoniously to elevate your gaming and computing experiences. The successful testing of the connection signifies that your wireless gaming mouse is ready to enhance your gameplay, responsiveness, and control, unlocking new possibilities for immersive gaming sessions.
Conclusion
Congratulations! By following the comprehensive steps outlined in this guide, you have successfully connected your wireless gaming mouse to your laptop, paving the way for an enhanced gaming experience and improved precision in your computing tasks. The seamless integration of your wireless gaming mouse with your laptop empowers you to immerse yourself in responsive gameplay, precise control, and customizable interactions, elevating your overall computing experience.
From checking for compatibility and installing batteries to activating Bluetooth, pairing the mouse, and testing the connection, you have navigated through each step with confidence, ensuring that your devices collaborate seamlessly. The successful pairing and testing of the connection validate that your wireless gaming mouse is now an integral part of your gaming setup, ready to deliver unparalleled responsiveness and precision.
As you embark on your gaming adventures or engage in productivity tasks, the wireless gaming mouse serves as a reliable companion, empowering you to navigate virtual environments, execute precise commands, and customize your interactions with ease. The enhanced control and responsiveness offered by the wireless mouse elevate your gaming prowess, allowing you to unleash your full potential in the digital realm.
With the wireless gaming mouse seamlessly integrated with your laptop, you are poised to embark on a journey of immersive gameplay, streamlined interactions, and enhanced productivity. The successful connection of these devices signifies a harmonious collaboration, unlocking new possibilities for seamless control and precision in your computing endeavors.
Embrace the seamless integration of your wireless gaming mouse with your laptop, and let the responsive control and precision elevate your gaming and computing experiences to new heights. With this setup, you are well-equipped to conquer virtual challenges, unleash your creativity, and immerse yourself in a world of responsive and customizable interactions.