Introduction
Welcome to the world of custom mouse pads! Whether you're an avid gamer, a creative professional, or someone who simply appreciates a personalized workspace, crafting your own custom mouse pad can be a fun and rewarding experience. In this guide, we'll walk you through the step-by-step process of creating a unique and stylish mouse pad that reflects your personality and preferences.
A custom mouse pad not only adds a personal touch to your desk but also serves as a functional accessory that enhances your overall computing experience. By designing and crafting your own mouse pad, you have the freedom to choose the size, shape, and visual elements that best suit your needs. Additionally, creating a custom mouse pad allows you to express your creativity and individuality, making it a standout feature of your workspace.
In the following steps, we'll explore the materials and tools you'll need, the process of choosing a design or pattern, and the techniques for cutting and attaching the fabric to the mouse pad. We'll also delve into adding personalized touches to make your custom mouse pad truly one-of-a-kind. Whether you're looking to upgrade your gaming setup, add flair to your home office, or create a thoughtful gift for a friend, this guide will equip you with the knowledge and inspiration to bring your custom mouse pad vision to life.
So, roll up your sleeves, unleash your creativity, and get ready to embark on a DIY journey that will result in a practical, eye-catching, and uniquely yours custom mouse pad! Let's dive into the exciting process of crafting a custom mouse pad that will elevate your workspace and reflect your personal style.
Step 1: Gather Materials and Tools
Before diving into the creative process of making a custom mouse pad, it’s essential to gather the necessary materials and tools. By assembling these items, you’ll be well-prepared to bring your vision to life in a smooth and organized manner.
Here’s a list of the materials and tools you’ll need:
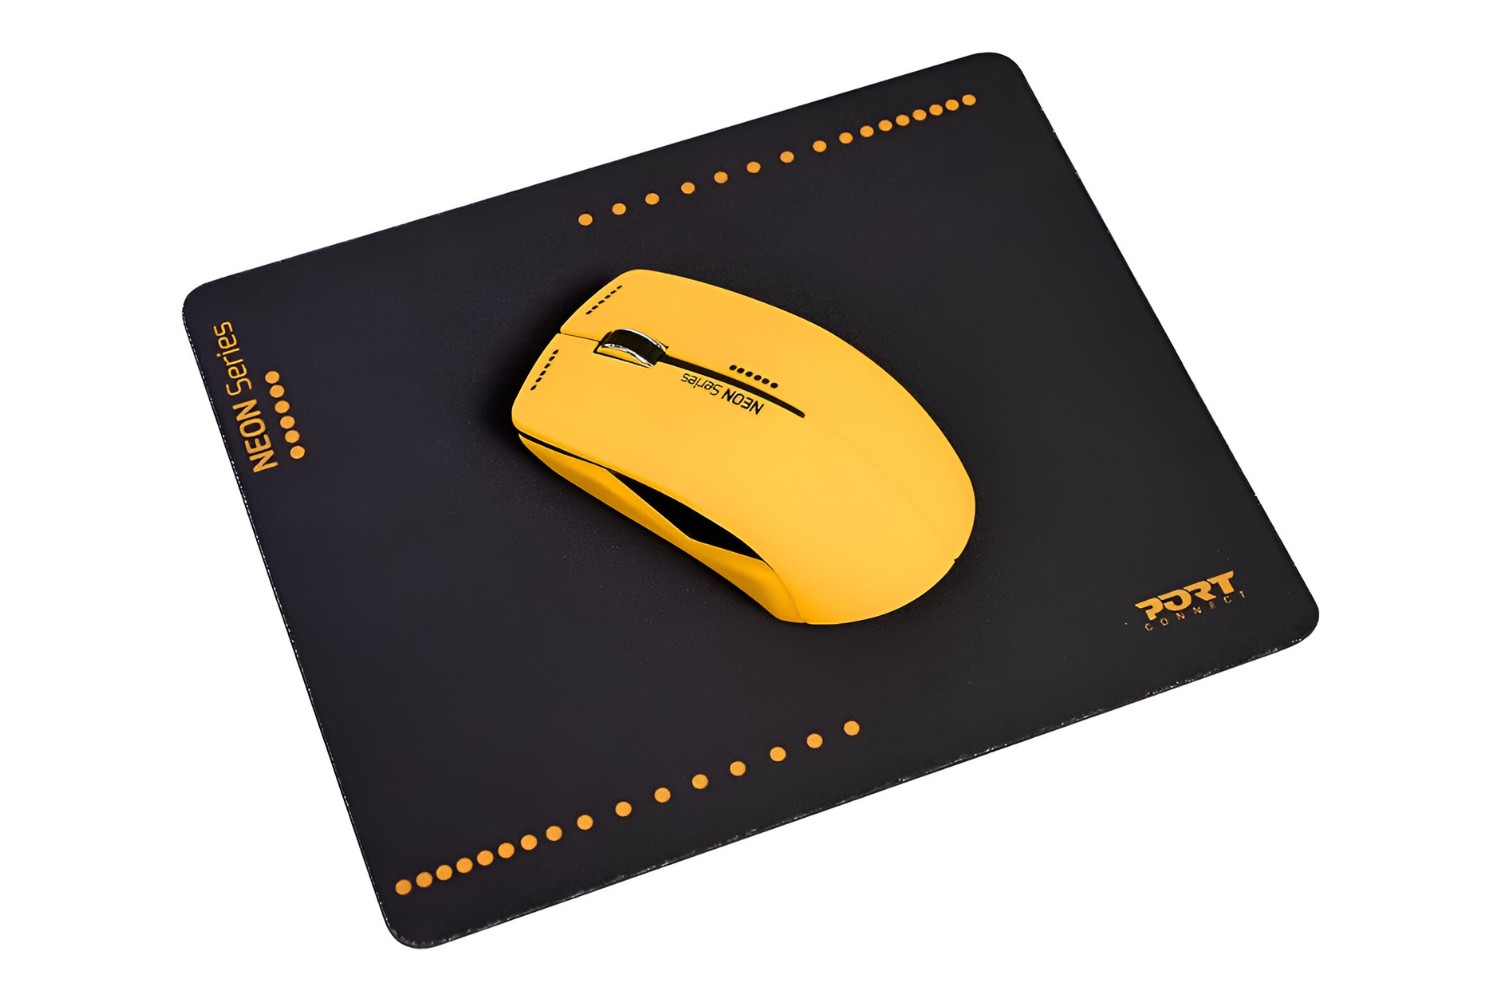
- Mouse Pad Base: Start with a basic mouse pad as the foundation for your custom creation. You can either repurpose an old mouse pad or purchase a new one to serve as the base for your project.
- Fabric: Choose a fabric that aligns with your design preferences and offers a smooth surface for your mouse to glide on. Consider factors such as color, pattern, and texture when selecting the fabric for your custom mouse pad.
- Scissors: A pair of sharp scissors will be essential for cutting the fabric to the desired size and shape for your mouse pad.
- Adhesive: Select a suitable adhesive to securely attach the fabric to the mouse pad base. Fabric glue or a strong adhesive spray can be effective choices for this step.
- Decorative Elements (Optional): If you plan to add embellishments or personalized touches to your custom mouse pad, gather any decorative elements such as buttons, ribbons, or iron-on patches that align with your design concept.
- Protective Covering (Optional): Consider using a clear, protective covering such as clear contact paper or laminate to safeguard the surface of your custom mouse pad from wear and tear.
By ensuring that you have all the necessary materials and tools on hand, you’ll set the stage for a seamless and enjoyable crafting experience. With these essentials at your disposal, you’re ready to move on to the next exciting step in the process of creating your custom mouse pad.
Step 2: Choose a Design or Pattern
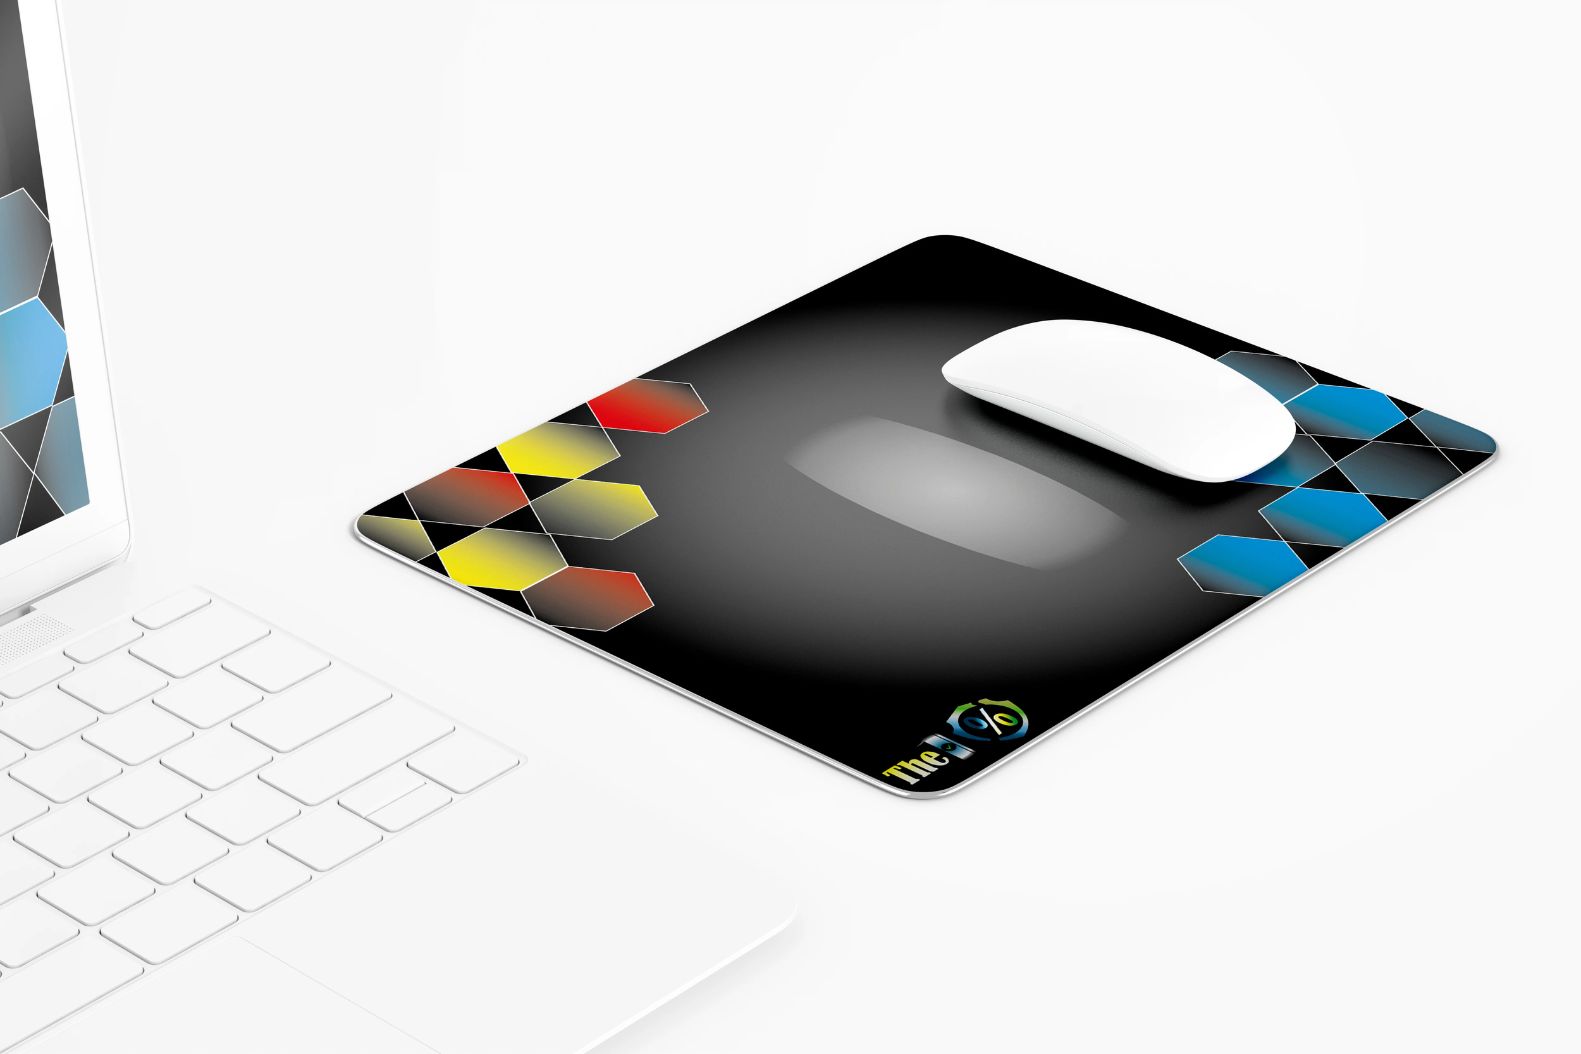
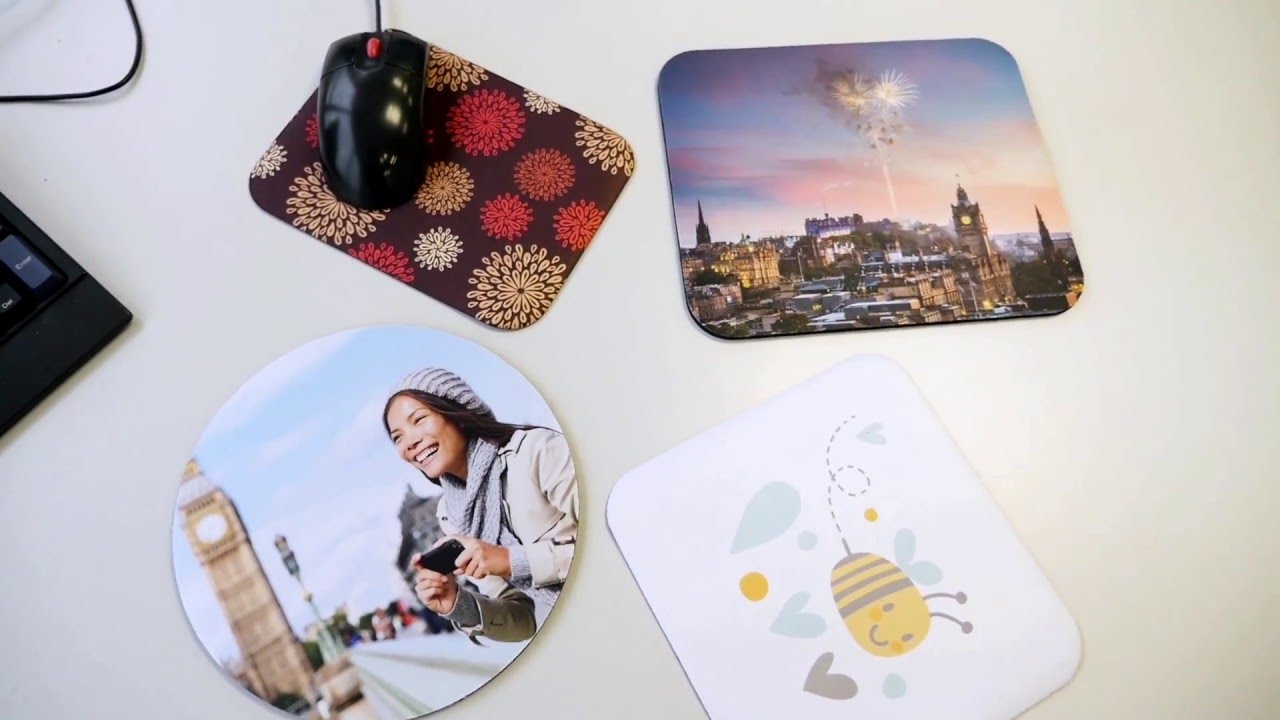
Choosing a design or pattern for your custom mouse pad is an opportunity to infuse your personality and style into this functional accessory. Whether you prefer a bold and vibrant design, a minimalist pattern, or a custom image that holds personal significance, the design phase allows you to unleash your creativity and make a statement with your mouse pad.
Consider the following factors as you embark on the design selection process:
- Color Palette: Determine the color scheme that resonates with your aesthetic preferences and complements your workspace. Whether you opt for a monochromatic palette, a harmonious blend of hues, or a pop of vibrant colors, the color palette sets the tone for your custom mouse pad’s visual impact.
- Graphic Elements: Explore graphic elements such as geometric shapes, abstract patterns, or thematic motifs that reflect your interests and style. Whether you’re drawn to modern, retro, or nature-inspired designs, the graphic elements will define the visual appeal of your custom mouse pad.
- Personalization: If you desire a truly unique mouse pad, consider incorporating personalized elements such as your initials, a favorite quote, or a custom illustration that holds special meaning to you. Personalization adds a distinct touch to your mouse pad and makes it a reflection of your individuality.
- Visual Impact: Evaluate the visual impact you wish to achieve with your custom mouse pad. Whether you aim for a visually striking centerpiece on your desk or a subtle yet stylish addition to your workspace, the chosen design or pattern will contribute to the overall visual impact of the mouse pad.
As you contemplate these considerations, allow your creativity to flourish and envision the design that resonates with you. Whether you opt for a sleek and modern look, a whimsical and playful theme, or a timeless and elegant pattern, the design phase sets the stage for the unique character of your custom mouse pad. Once you’ve selected the perfect design or pattern, you’re ready to bring it to life in the next steps of the crafting process.
Step 3: Cut the Fabric to Size
With your design or pattern chosen, it’s time to bring it to life by cutting the fabric to the appropriate size for your custom mouse pad. Precision and attention to detail are key in this step, as the accurate cutting of the fabric will ensure a seamless and professional-looking result.
Follow these steps to cut the fabric to size:
- Measure and Mark: Place the fabric on a clean, flat surface and lay the mouse pad base on top of it. Use a fabric marker or chalk to outline the shape of the mouse pad on the fabric, leaving a margin of extra fabric around the edges to allow for wrapping and securing.
- Double-Check the Measurements: Before cutting the fabric, double-check the measurements to ensure that the outline aligns accurately with the size and shape of the mouse pad. Accuracy at this stage will contribute to a precise and professional finish for your custom mouse pad.
- Cut Carefully: Using sharp scissors, carefully cut along the marked outline of the fabric. Maintain a steady hand and follow the lines closely to achieve clean and even edges for the fabric that will cover the mouse pad.
- Trim Excess Fabric: Once the fabric is cut to size, trim any excess material to create a neat and proportional fit around the mouse pad base. Pay attention to the corners and curves, ensuring that the fabric is tailored to the exact dimensions of the mouse pad.
By following these steps, you’ll effectively prepare the fabric to be seamlessly attached to the mouse pad base in the subsequent stages of the crafting process. The precision and care invested in cutting the fabric to size will contribute to the professional and polished appearance of your custom mouse pad, bringing your chosen design to life in a visually appealing and functional accessory for your workspace.
Step 4: Attach the Fabric to the Mouse Pad
Now that the fabric is precisely cut to size, it’s time to securely attach it to the mouse pad base. This step is crucial in bringing your custom mouse pad to fruition, as it ensures a smooth and durable surface for optimal mouse movement while showcasing your chosen design or pattern.
Follow these steps to expertly attach the fabric to the mouse pad:
- Apply Adhesive: Begin by applying a thin, even layer of adhesive to the surface of the mouse pad. If you’re using fabric glue, carefully spread it across the entire surface. For adhesive spray, follow the manufacturer’s instructions for an even application.
- Position the Fabric: Place the cut fabric over the mouse pad base, aligning it carefully to ensure a perfect fit. Smooth out the fabric to eliminate any wrinkles or air pockets, ensuring a snug and uniform adherence to the mouse pad.
- Secure the Edges: If the fabric extends beyond the edges of the mouse pad, carefully fold it over and secure it to the underside of the pad. Smooth out the edges to create a clean and polished finish, paying special attention to corners and curves for a tailored appearance.
- Press and Set: Once the fabric is positioned and secured, gently press down on the entire surface to ensure strong adhesion. Allow the adhesive to set according to the manufacturer’s recommendations, ensuring that the fabric is firmly bonded to the mouse pad base.
By following these steps, you’ll effectively transform the mouse pad base into a customized and visually appealing accessory that reflects your unique style and design preferences. The secure attachment of the fabric to the mouse pad not only enhances its aesthetic appeal but also ensures a smooth and responsive surface for your mouse, elevating both the functionality and visual impact of your custom creation.
Step 5: Add Personalized Touches
Adding personalized touches to your custom mouse pad is an opportunity to infuse it with unique details that reflect your individuality and creativity. Whether you aim to incorporate meaningful elements, decorative accents, or personalized embellishments, this step allows you to elevate your mouse pad from a functional accessory to a personalized work of art that enhances your workspace.
Consider the following ways to add personalized touches to your custom mouse pad:
- Embroidery or Monogramming: If you have a flair for needlework, consider adding embroidered initials, a monogram, or a decorative stitch pattern to the fabric. This personalized touch adds a charming and bespoke element to your mouse pad.
- Custom Graphics or Images: Incorporate custom graphics, images, or illustrations that hold personal significance. Whether it’s a favorite quote, a meaningful symbol, or a custom artwork, integrating personalized visuals adds depth and meaning to your custom mouse pad.
- Decorative Accents: Enhance the visual appeal of your mouse pad by adding decorative accents such as buttons, beads, ribbons, or fabric appliques. These embellishments can complement your chosen design and add tactile interest to the surface of the mouse pad.
- Functional Customization: Consider functional customization by incorporating features such as a built-in wrist rest, a pen holder, or a designated area for notes or reminders. Tailoring the mouse pad to accommodate specific needs enhances its practicality and personalizes its functionality.
By infusing your custom mouse pad with personalized touches, you’ll create a unique and meaningful accessory that not only enhances your workspace but also serves as a reflection of your personality and creative expression. With these personalized elements, your custom mouse pad becomes a distinctive and cherished addition to your desk, showcasing your attention to detail and passion for personalized craftsmanship.
Step 6: Let It Dry
After completing the intricate process of crafting your custom mouse pad, it’s essential to allow sufficient time for the adhesive to dry and set, ensuring a durable and long-lasting finish. This crucial step contributes to the overall quality and functionality of your custom creation, allowing the fabric to securely adhere to the mouse pad base without any compromise to its visual appeal.
Here are important considerations for letting your custom mouse pad dry:
- Follow Adhesive Instructions: Adhesive products have specific drying times and curing requirements. It’s imperative to adhere to the instructions provided by the adhesive manufacturer, allowing the recommended time for the adhesive to fully dry and set.
- Ensure Even Drying: Place the custom mouse pad on a flat and level surface to ensure even drying and prevent the fabric from shifting or wrinkling during the drying process. This step contributes to the professional and polished appearance of the finished mouse pad.
- Patience is Key: Exercise patience and avoid handling or using the custom mouse pad until the adhesive has thoroughly dried and set. Rushing this crucial drying phase may compromise the integrity of the fabric adhesion and the overall quality of the custom mouse pad.
- Inspect for Quality: Once the mouse pad has dried according to the adhesive instructions, carefully inspect the surface to ensure that the fabric is securely and evenly attached. Address any areas that may require additional adhesion or smoothing to achieve a flawless finish.
By allowing your custom mouse pad to thoroughly dry, you’re ensuring that it achieves the highest standards of quality, durability, and visual appeal. This patient approach to the final phase of the crafting process guarantees that your custom mouse pad will emerge as a stunning and functional addition to your workspace, reflecting your creativity and attention to detail.
Conclusion
Congratulations on completing the journey of crafting your very own custom mouse pad! Through each step of gathering materials, choosing a design, cutting and attaching the fabric, adding personalized touches, and allowing it to dry, you’ve embarked on a creative and fulfilling DIY project that has resulted in a unique and personalized accessory for your workspace.
Your custom mouse pad not only reflects your individual style and preferences but also serves as a functional and eye-catching addition to your desk. The attention to detail and personalization you’ve incorporated into this project have transformed a simple mouse pad into a personalized work of art that enhances your daily computing experience.
As you admire your custom creation in its rightful place on your desk, take pride in the craftsmanship and creativity that have gone into making it a standout feature of your workspace. Whether you’ve designed a sleek and modern mouse pad, a whimsical and vibrant creation, or a timeless and elegant accessory, your custom mouse pad is a reflection of your unique personality and creative vision.
Embrace the satisfaction of completing a DIY project that not only showcases your skills but also brings a touch of individuality to your workspace. Your custom mouse pad is a testament to your creativity and dedication to personalizing your surroundings, and it stands as a reminder of the joy and fulfillment that come with crafting something truly one-of-a-kind.
With your custom mouse pad in place, you’ve added a personal and distinctive touch to your workspace, setting the stage for a more inspired and enjoyable computing environment. Let your custom mouse pad serve as a daily reminder of the creativity and craftsmanship that have gone into making it uniquely yours.