Introduction
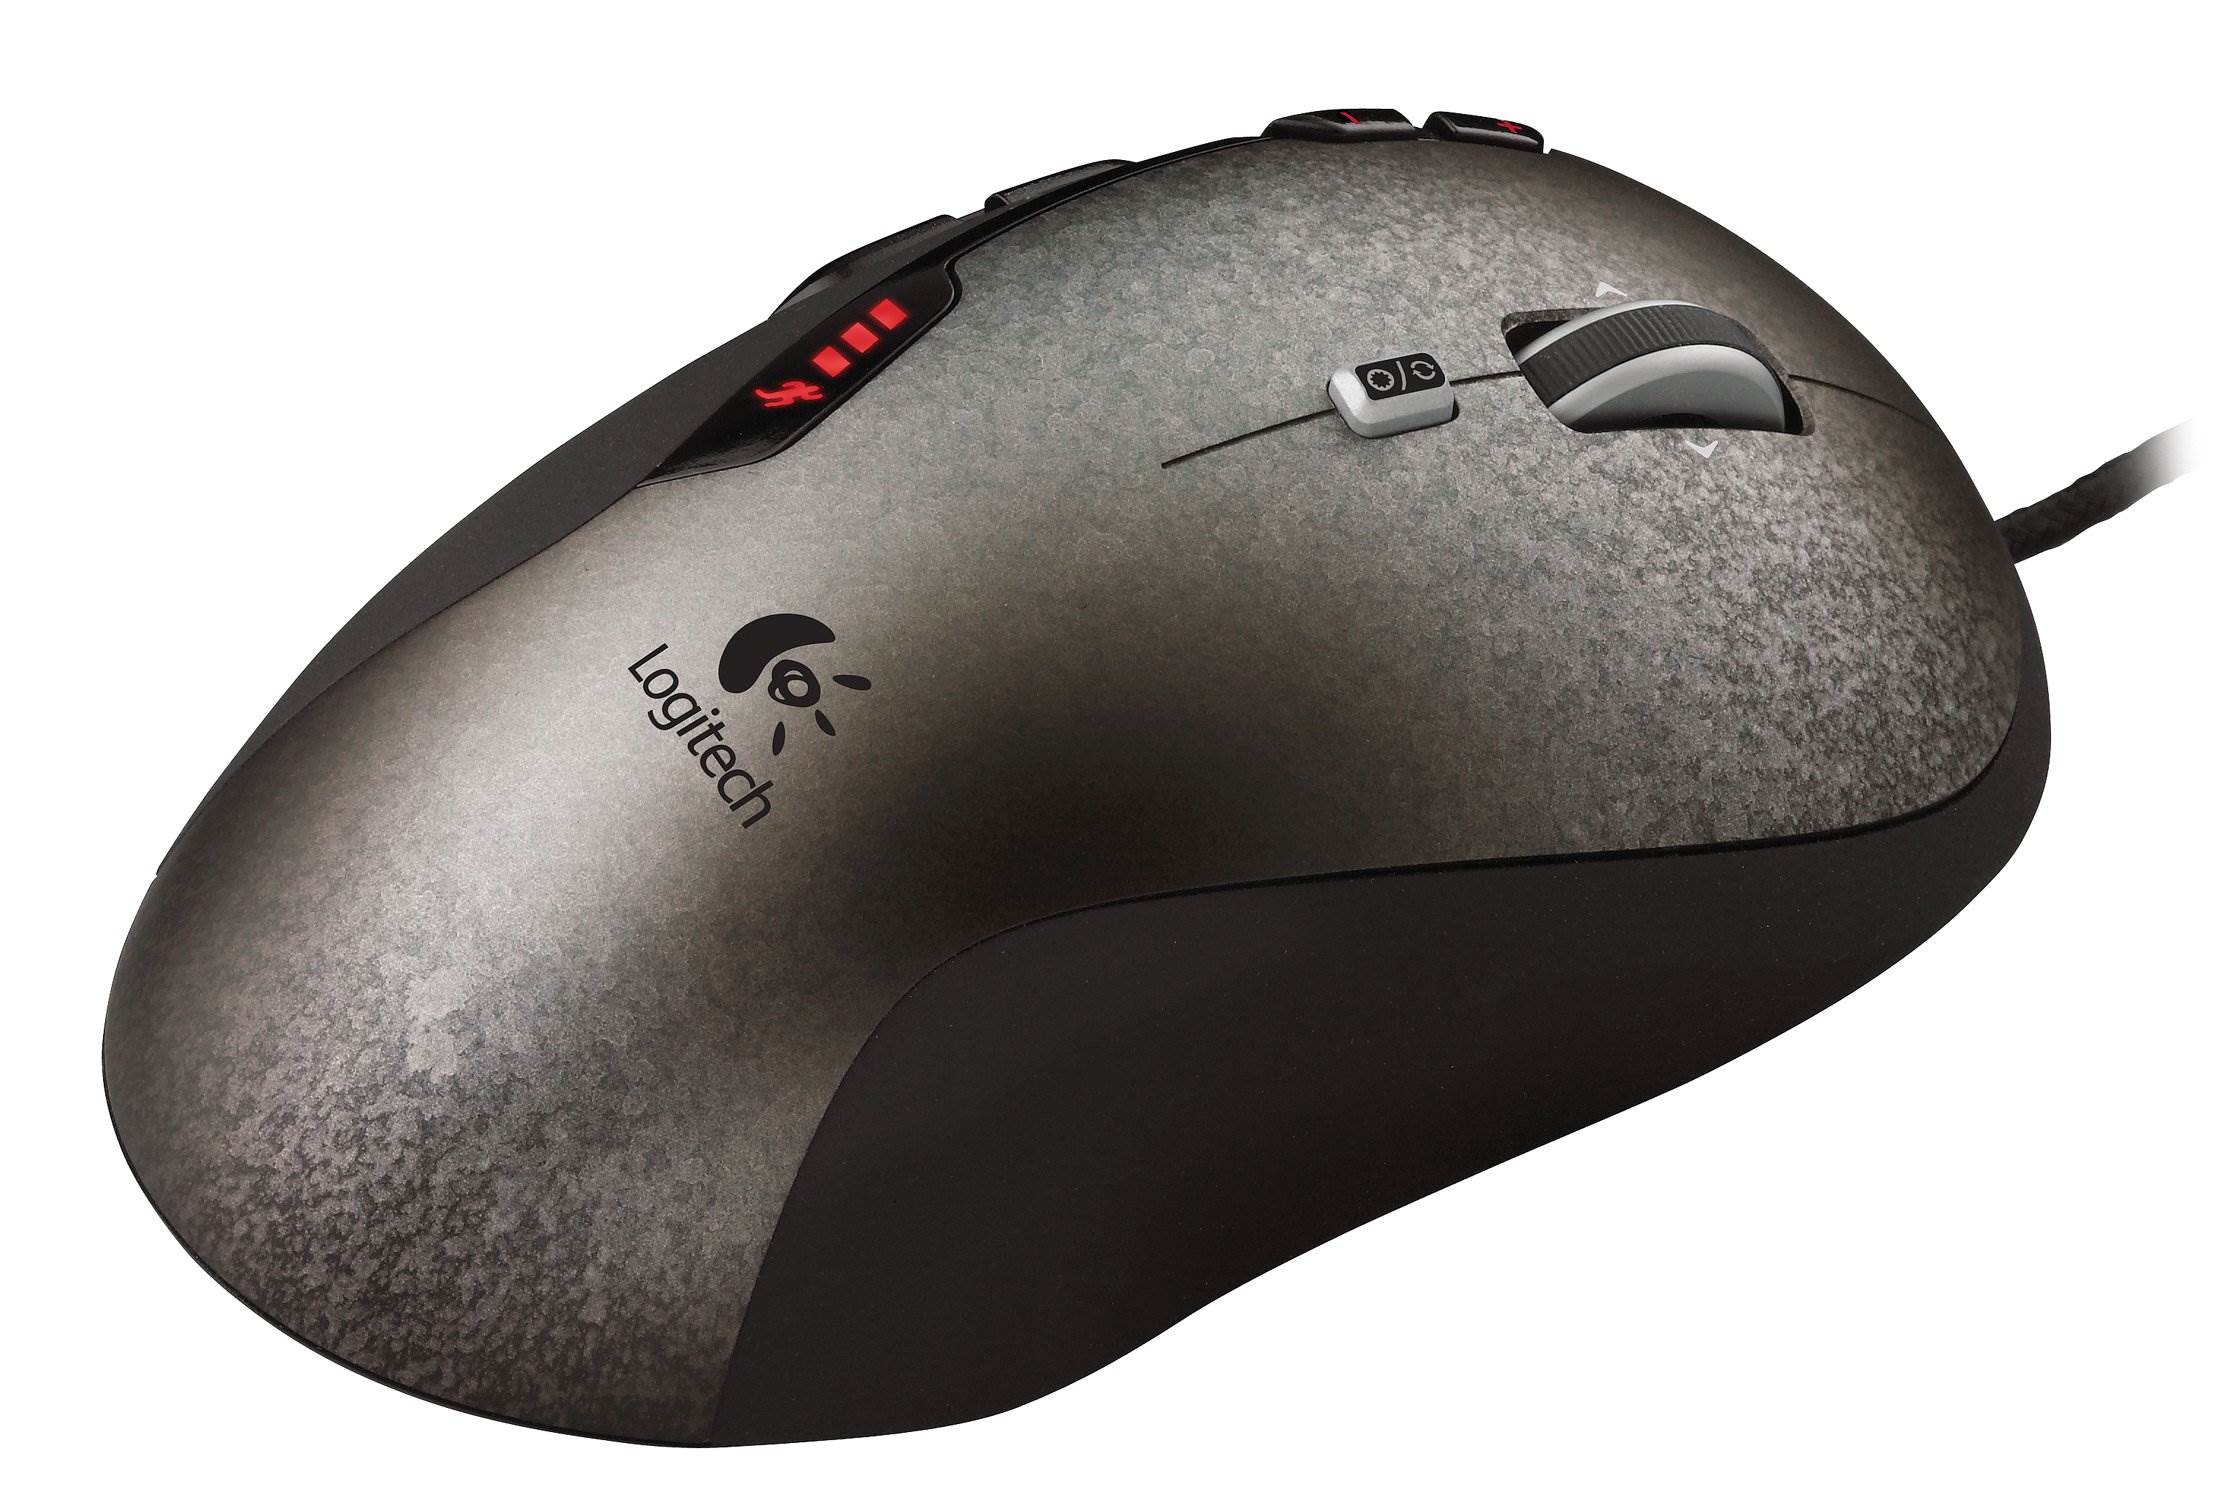
Are you a proud owner of the Corsair M95 RGB Laser Gaming Mouse? Perhaps you’ve encountered a slight inconvenience with the mouse wheel and are considering giving it a thorough clean or fixing a minor issue. Fear not, as we’re here to guide you through the process of removing the mouse wheel with ease. Whether you’re an avid gamer seeking to optimize your gaming gear or a tech enthusiast keen on understanding the inner workings of your mouse, this step-by-step tutorial will equip you with the knowledge and confidence to disassemble and reassemble your Corsair M95 mouse like a pro.
By following this guide, you’ll gain a deeper understanding of the intricate components that make up this high-performance gaming mouse. Armed with the right tools and a clear set of instructions, you’ll be able to remove the mouse wheel without any hassle. So, grab your toolkit, set aside a few minutes, and let’s delve into the process of dismantling and reassembling the Corsair M95 RGB Laser Gaming Mouse.
Tools Needed
Before embarking on the task of removing the mouse wheel from your Corsair M95 RGB Laser Gaming Mouse, it’s essential to gather the necessary tools. Having the right equipment at hand will ensure a smooth and efficient process, minimizing the risk of damage to the mouse or its components. Here’s a list of tools you’ll need:
- Small Phillips head screwdriver: This will be essential for removing the screws that secure the mouse casing and accessing the internal components.
- Plastic opening tools or spudger: These non-conductive tools are ideal for prying open the mouse casing without causing any damage to the delicate components inside.
- Cotton swabs and isopropyl alcohol: These will come in handy for cleaning the internal components, including the mouse wheel and its housing, ensuring optimal performance after reassembly.
- Clean, lint-free cloth: Use this to wipe down the exterior of the mouse and remove any dust or debris that may have accumulated.
- Workspace: Set up a clean, well-lit area where you can comfortably work on the mouse without the risk of losing any small components.
By ensuring you have these tools on hand, you’ll be well-prepared to tackle the task of removing the mouse wheel from your Corsair M95 RGB Laser Gaming Mouse with confidence and precision.
Removing the Mouse Wheel
Now that you have your tools assembled, it’s time to delve into the process of removing the mouse wheel from your Corsair M95 RGB Laser Gaming Mouse. Follow these step-by-step instructions to ensure a successful disassembly:
- Prepare the Workspace: Find a well-lit, clean area to work on your mouse. This will help prevent any small components from getting lost and allow you to see the intricate details of the disassembly process.
- Unplug the Mouse: Ensure that the mouse is disconnected from your computer to avoid any electrical mishaps during the disassembly.
- Remove the Screws: Using the small Phillips head screwdriver, carefully remove the screws that secure the mouse casing. Place the screws in a safe location to prevent misplacement.
- Pry Open the Casing: Gently use the plastic opening tools or spudger to pry open the mouse casing. Take your time and work your way around the edges to avoid damaging the clips that hold the casing together.
- Locate the Mouse Wheel Assembly: Once the casing is open, locate the mouse wheel assembly. It’s typically positioned near the center of the mouse, and you may need to remove additional components to access it fully.
- Detach the Mouse Wheel: Carefully detach the mouse wheel from its housing. Be mindful of any small springs or components that may be connected to the wheel assembly.
- Clean the Mouse Wheel and Housing: With the mouse wheel removed, use cotton swabs and isopropyl alcohol to gently clean the wheel and its housing. This will help remove any dirt or debris that may be affecting its performance.
By following these steps, you’ll successfully remove the mouse wheel from your Corsair M95 RGB Laser Gaming Mouse, gaining valuable insight into the internal components of your gaming gear.
Reassembling the Mouse
After successfully removing the mouse wheel and performing any necessary cleaning or maintenance, it’s time to reassemble your Corsair M95 RGB Laser Gaming Mouse. Follow these steps to ensure a seamless reassembly process:
- Clean the Casing: Before reassembling the mouse, take a moment to wipe down the interior of the casing with a clean, lint-free cloth. This will help remove any dust or debris that may have accumulated during the disassembly process.
- Position the Mouse Wheel: Carefully position the mouse wheel back into its housing, ensuring that any springs or components are properly aligned. Take your time to avoid any potential damage to the delicate components.
- Secure the Casing: Gently place the mouse casing back together, ensuring that all clips and edges align properly. Apply light pressure to snap the casing back into place, ensuring a secure fit.
- Reinsert the Screws: Using the small Phillips head screwdriver, reinsert the screws into their respective locations on the mouse casing. Tighten them carefully to secure the casing without over-tightening and risking damage.
- Test the Mouse: Once the mouse is reassembled, plug it back into your computer and test the mouse wheel to ensure it functions smoothly. If any issues persist, consider revisiting the disassembly process to address any potential issues.
By following these steps, you’ll effectively reassemble your Corsair M95 RGB Laser Gaming Mouse, allowing you to resume your gaming or computing activities with a fully functional mouse wheel and a newfound understanding of the internal components.
Testing the Mouse
With the Corsair M95 RGB Laser Gaming Mouse successfully reassembled, it’s crucial to perform a thorough test to ensure that the mouse wheel functions as intended. Follow these steps to conduct a comprehensive test of your mouse:
- Connect the Mouse: Plug the mouse back into your computer and ensure that it’s recognized and functioning correctly.
- Test the Mouse Wheel: Navigate to a document, web page, or any application where you can utilize the mouse wheel. Scroll up and down to assess the responsiveness and smooth operation of the mouse wheel.
- Check for Any Irregularities: Pay close attention to any unusual noises, resistance, or erratic behavior while using the mouse wheel. If you notice any irregularities, consider rechecking the reassembly process to identify and address any potential issues.
- Test Additional Mouse Functions: While testing the mouse wheel, take the opportunity to ensure that all other mouse functions, such as left and right-click, tracking, and additional buttons, are operating as expected.
- Adjust Settings (Optional): If you’re using the mouse for gaming or specific applications, consider adjusting the mouse settings to optimize its performance based on your preferences.
By conducting a thorough test of your Corsair M95 RGB Laser Gaming Mouse, you can confirm that the reassembly process was successful and that the mouse wheel is fully functional. This ensures a seamless and enjoyable user experience as you resume your gaming, productivity, or creative endeavors with confidence in your mouse’s performance.


