Introduction
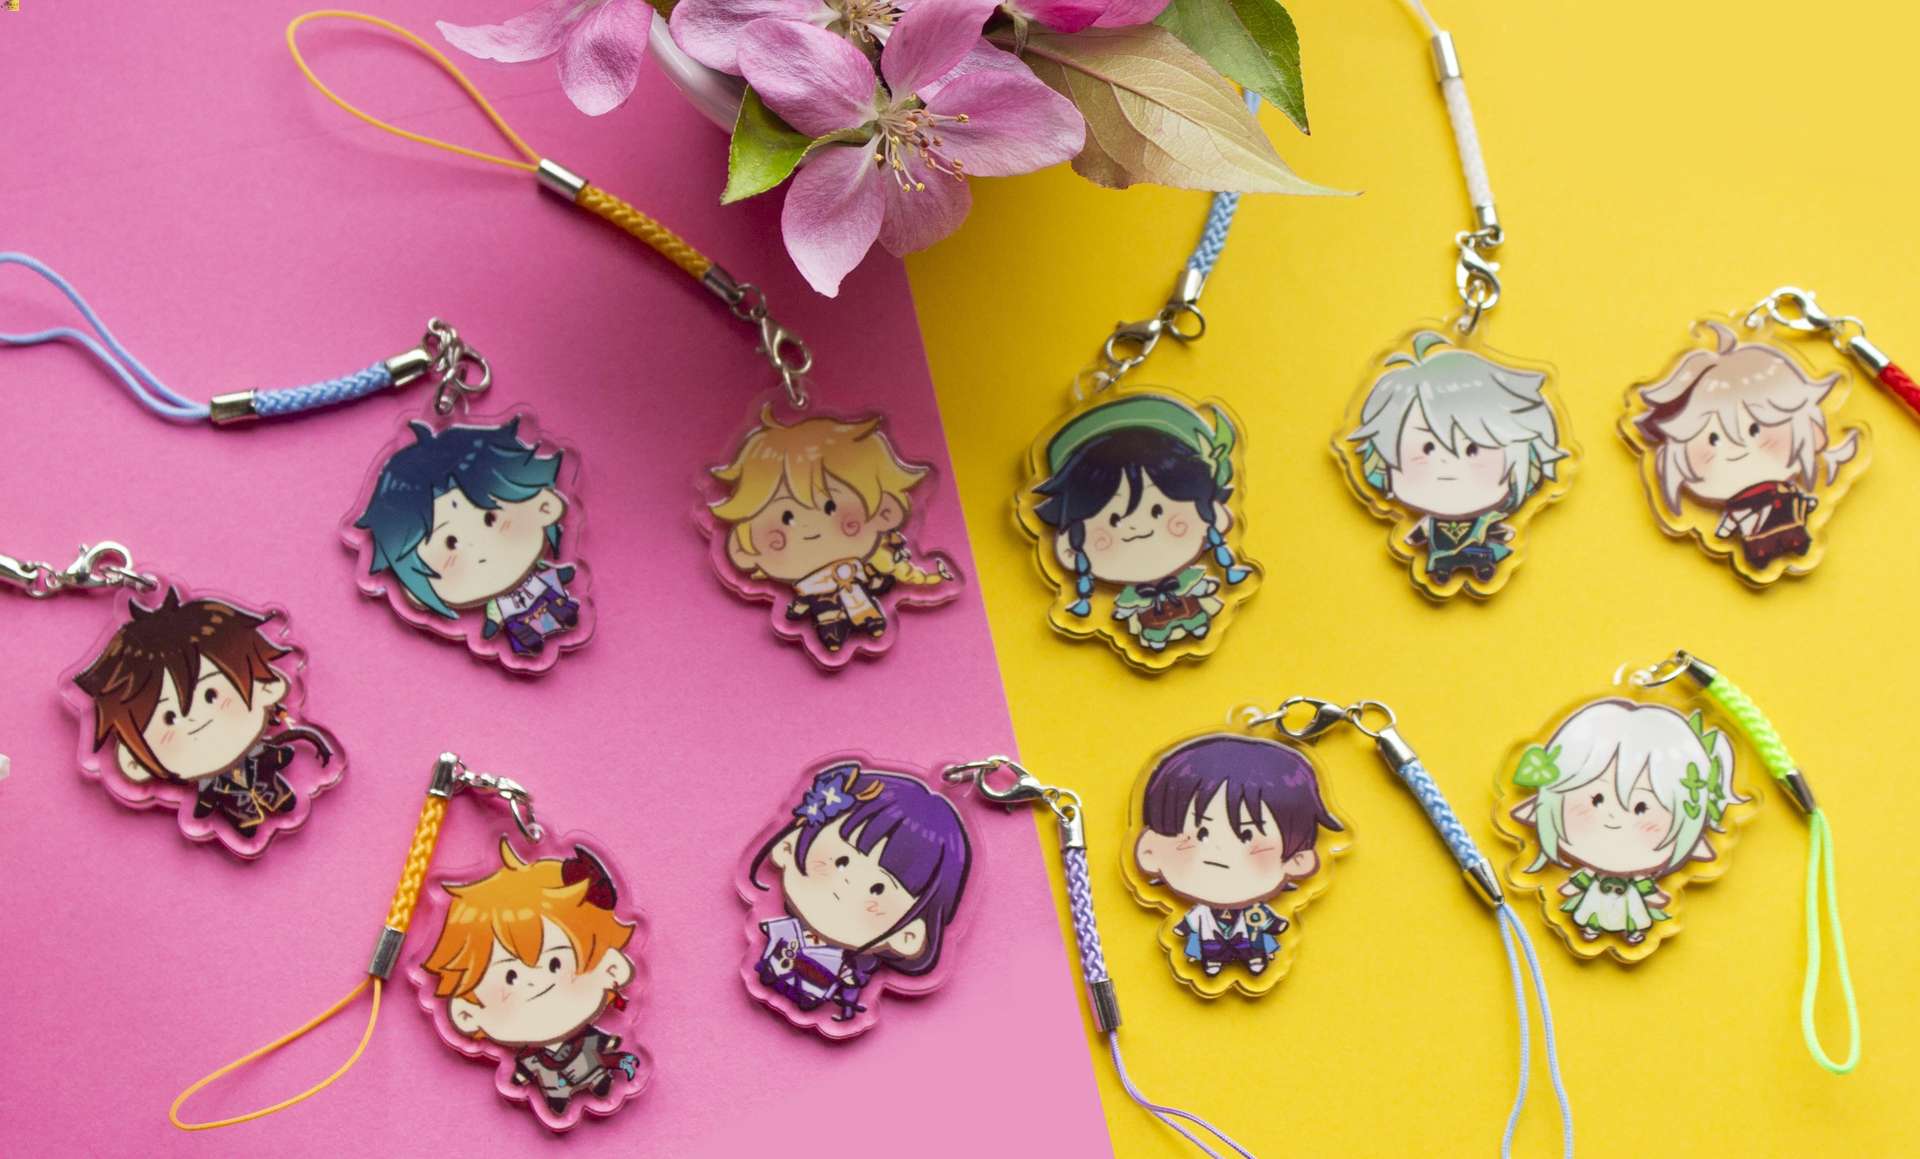
Are you looking for a fun and creative way to personalize your phone? Crafting stylish phone charms with shrink acrylic is an exciting do-it-yourself (DIY) project that allows you to showcase your unique style and creativity. Whether you're a seasoned crafter or just starting out, this DIY activity is a fantastic way to add a touch of personality to your phone while unleashing your artistic flair.
In this comprehensive guide, we will walk you through the step-by-step process of creating your very own shrink acrylic phone charms. From designing and cutting the acrylic to the final touches, you'll learn all the essential techniques and tips to bring your vision to life. With the right materials and a dash of creativity, you'll be amazed at the stunning phone charms you can craft.
Get ready to embark on a creative journey as we delve into the art of shrink acrylic crafting. Whether you're making charms for yourself, friends, or even as a small business venture, this DIY project is a delightful way to infuse personality into everyday items. So, gather your materials, unleash your imagination, and let's dive into the wonderful world of shrink acrylic phone charm crafting.
Materials Needed
To embark on your shrink acrylic phone charm crafting journey, you'll need a few essential materials to bring your creative vision to life. Here's a comprehensive list of what you'll require:
-
Shrink Acrylic Sheets: These specialized sheets are designed to shrink and thicken when exposed to heat, making them ideal for crafting intricate and durable phone charms.
-
Design Templates: Whether you prefer whimsical shapes, intricate patterns, or personalized designs, having templates on hand will guide the creation of your unique phone charms.
-
Permanent Markers or Colored Pencils: These will be used to bring your designs to life on the shrink acrylic sheets. Opt for vibrant colors and fine tips for detailed and eye-catching designs.
-
Scissors or Craft Knife: Precise cutting is crucial for creating clean and defined shapes. A good pair of scissors or a sharp craft knife will be your best friends during the cutting phase.
-
Single Hole Punch: This tool will be used to create a hole for attaching the phone charm hardware. Ensure that the hole punch is suitable for use with shrink acrylic material.
-
Phone Charm Hardware: Choose from a variety of findings such as jump rings, lobster clasps, or phone charm straps. These will be attached to the finished charms for easy connection to your phone.
-
Oven or Heat Gun: The shrink acrylic sheets require heat to activate the shrinking process. An oven or heat gun will be used to carefully shrink the designs, resulting in sturdy and durable charms.
-
Baking Paper: To prevent the shrink acrylic from sticking to the baking tray or heat-resistant surface during the shrinking process, use non-stick baking paper as a protective barrier.
-
Heat-Resistant Tray or Surface: A heat-resistant tray or surface is essential for placing the shrink acrylic designs during the heating process. Ensure that it can withstand the required temperature without warping or causing damage.
-
Tweezers: These will come in handy for carefully handling the shrink acrylic during the shrinking process, allowing for precise adjustments if needed.
-
Protective Gloves: When working with heat sources, it's crucial to prioritize safety. Wear protective gloves to shield your hands from potential burns or discomfort during the shrinking phase.
By gathering these materials, you'll be fully equipped to dive into the enchanting world of shrink acrylic phone charm crafting. Each item plays a vital role in the creative process, ensuring that your finished charms are not only visually appealing but also durable and ready to adorn your phone with style.
Step 1: Designing the Charms
Designing the charms is the exhilarating first step in the process of creating your unique shrink acrylic phone charms. This phase allows you to unleash your creativity and bring your imaginative designs to life. Here's a detailed walkthrough of the designing process:
1.1 Choose Your Designs:
Begin by selecting the designs or patterns you want to feature on your phone charms. Whether it's adorable animals, intricate mandalas, or personalized monograms, the possibilities are endless. Consider the theme and style you want to convey, ensuring that the designs resonate with your personal taste or the preferences of your intended recipients.
1.2 Transfer the Designs:
Using the chosen design templates as a guide, carefully trace or draw your designs onto the shrink acrylic sheets using permanent markers or colored pencils. Pay attention to detail and precision, as the final outcome will reflect the intricacy of your designs. Embrace vibrant colors and intricate details to make your charms visually captivating.
1.3 Add Personal Touches:
If you're creating personalized charms, this is the perfect opportunity to add unique touches such as initials, names, or meaningful symbols. Infusing personal elements into the designs adds a heartfelt touch and makes the charms even more special. Let your imagination run wild as you infuse each design with personal significance.
1.4 Consider Size and Shape:
When designing the charms, consider the size and shape you want them to be once they shrink. Keep in mind that the designs will shrink to approximately 40-50% of their original size during the heating process. Ensure that the initial designs are large enough to maintain intricate details after shrinking, and take into account the desired final dimensions of the charms.
1.5 Embrace Creativity:
Above all, embrace creativity and experimentation during the design phase. Whether you opt for whimsical, elegant, or quirky designs, this is your chance to let your artistic vision shine. Don't be afraid to explore new ideas and push the boundaries of traditional charm designs. Allow your creativity to flow freely as you bring your charming creations to life on the shrink acrylic sheets.
By following these steps and infusing your designs with creativity and personal flair, you'll be well on your way to crafting stunning shrink acrylic phone charms that are as unique as they are visually captivating. The design phase sets the stage for the rest of the crafting process, laying the foundation for charming creations that will adorn your phone with style and personality.
Step 2: Cutting the Acrylic
Once your shrink acrylic designs are ready, it's time to proceed with the precise and crucial step of cutting the acrylic to shape. This phase requires attention to detail and steady hands to ensure that the designs are cleanly cut and ready for the shrinking process. Here's a comprehensive guide to cutting the acrylic with finesse and precision:
2.1 Prepare the Cutting Area:
Before you begin cutting the shrink acrylic, set up a well-lit and clutter-free workspace. Ensure that the surface is clean and flat, providing ample space for maneuvering the acrylic sheets during the cutting process. Having a clear and organized workspace will facilitate precise cutting and reduce the likelihood of errors.
2.2 Trace the Designs:
Using the traced designs on the shrink acrylic sheets as your guide, carefully outline the shapes with a fine-tip permanent marker, ensuring that the lines are clear and defined. Pay close attention to intricate details and smooth curves, as these will influence the overall appearance of the finished charms.
2.3 Cut with Precision:
Armed with a pair of sharp scissors or a craft knife, begin cutting along the outlined shapes with steady and deliberate movements. If using scissors, opt for a pair with fine blades to navigate intricate details with ease. Alternatively, a sharp craft knife provides precision for intricate designs and sharp corners. Exercise caution and patience to achieve clean and accurate cuts.
2.4 Mind the Details:
As you cut the shrink acrylic, focus on maintaining the integrity of the designs and ensuring that the edges are smooth and free from jagged edges. Take your time to navigate intricate sections, making small adjustments as needed to preserve the details of the designs. Precision is key in this phase to achieve well-defined charms.
2.5 Consider Hole Placement:
If your designs require holes for attaching phone charm hardware, carefully position and punch the holes using a single hole punch. Ensure that the holes are strategically placed to complement the designs and allow for easy attachment of the hardware once the shrinking process is complete.
2.6 Double-Check the Cuts:
After cutting out each design, take a moment to inspect the edges and overall shape for any imperfections or irregularities. Make any necessary adjustments to refine the cuts and ensure that the designs are pristine and ready for the next phase of the crafting process.
By following these detailed steps and exercising precision and care, you'll successfully navigate the cutting phase of crafting shrink acrylic phone charms. With cleanly cut designs in hand, you're now poised to move on to the exciting stage of shrinking the acrylic and bringing your charming creations to life.
Step 3: Shrinking the Acrylic
With your precisely cut shrink acrylic designs at the ready, it's time to embark on the fascinating process of shrinking the acrylic to transform them into durable and visually captivating phone charms. This phase introduces the captivating magic of watching the designs shrink and thicken, resulting in charming and resilient creations that are ready to adorn your phone with style. Here's a detailed guide to the enthralling process of shrinking the acrylic:
3.1 Preheat the Oven or Heat Gun:
If using an oven, preheat it to the specified temperature recommended by the shrink acrylic manufacturer. Alternatively, if using a heat gun, ensure it is set to the appropriate heat level for shrinking the acrylic. Preheating the oven or heat gun is crucial to ensure that the acrylic designs are exposed to the necessary heat for successful shrinking.
3.2 Place the Designs on Baking Paper:
Lay a sheet of non-stick baking paper on the heat-resistant tray or surface, and carefully position the shrink acrylic designs on the paper, ensuring they are arranged with ample space between them. This setup will facilitate even exposure to heat and prevent the designs from sticking to the tray or surface during the shrinking process.
3.3 Shrink with Precision:
Once the oven or heat gun is at the optimal temperature, carefully place the tray with the shrink acrylic designs inside the oven or aim the heat gun at the designs. Observe as the magic unfolds and the designs begin to curl and wriggle before gradually shrinking and thickening. Keep a close eye on the process to ensure that the designs shrink uniformly and reach the desired size and thickness.
3.4 Adjustments and Tweaks:
As the designs shrink, use a pair of tweezers to make minor adjustments if needed. This step allows for precise modifications to the shapes or positions of the designs, ensuring that they maintain their intended form and details. Exercise caution and patience during this phase to achieve the best possible outcome.
3.5 Cooling and Setting:
Once the designs have completed the shrinking process, carefully remove the tray from the oven or set aside the heat gun. Allow the shrink acrylic charms to cool and set on the baking paper, ensuring that they have reached their final size and thickness. Exercise patience during this crucial cooling phase to prevent any warping or distortion of the charms.
3.6 Inspect and Admire:
After the charms have fully cooled, take a moment to inspect and admire the transformed designs. Revel in the captivating result of the shrinking process, observing the durable and visually striking charms that have emerged from the shrink acrylic. Admire the vibrant colors and intricate details, knowing that these charming creations are ready to adorn your phone with style and personality.
By following these detailed steps, you'll master the art of shrinking shrink acrylic designs, bringing forth captivating phone charms that reflect your creativity and personal style. The process of shrinking the acrylic adds an enchanting dimension to the crafting journey, culminating in charming and resilient creations that are sure to delight and impress.
Step 4: Adding the Phone Charm Hardware
With your shrink acrylic charms now transformed into visually captivating and durable creations, it's time to elevate them further by adding the essential phone charm hardware. This phase allows you to seamlessly integrate the necessary findings that will enable you to attach the charms to your phone, showcasing your unique designs with style and flair. Here's a comprehensive guide to adding the phone charm hardware with finesse and precision:
4.1 Selecting the Hardware:
Begin by choosing the appropriate phone charm hardware based on your design preferences and practicality. Options include jump rings, lobster clasps, or phone charm straps, each offering unique benefits in terms of ease of attachment and aesthetic appeal. Consider the overall design and intended use of the charms when selecting the hardware, ensuring that it complements the visual and functional aspects of your creations.
4.2 Positioning the Hardware:
Carefully assess each shrink acrylic charm to determine the optimal placement for attaching the hardware. If your designs feature pre-punched holes, ensure that the hardware aligns seamlessly with the holes, allowing for secure and visually pleasing attachment. Position the hardware strategically to maintain the balance and integrity of the designs, enhancing the overall aesthetic appeal of the finished charms.
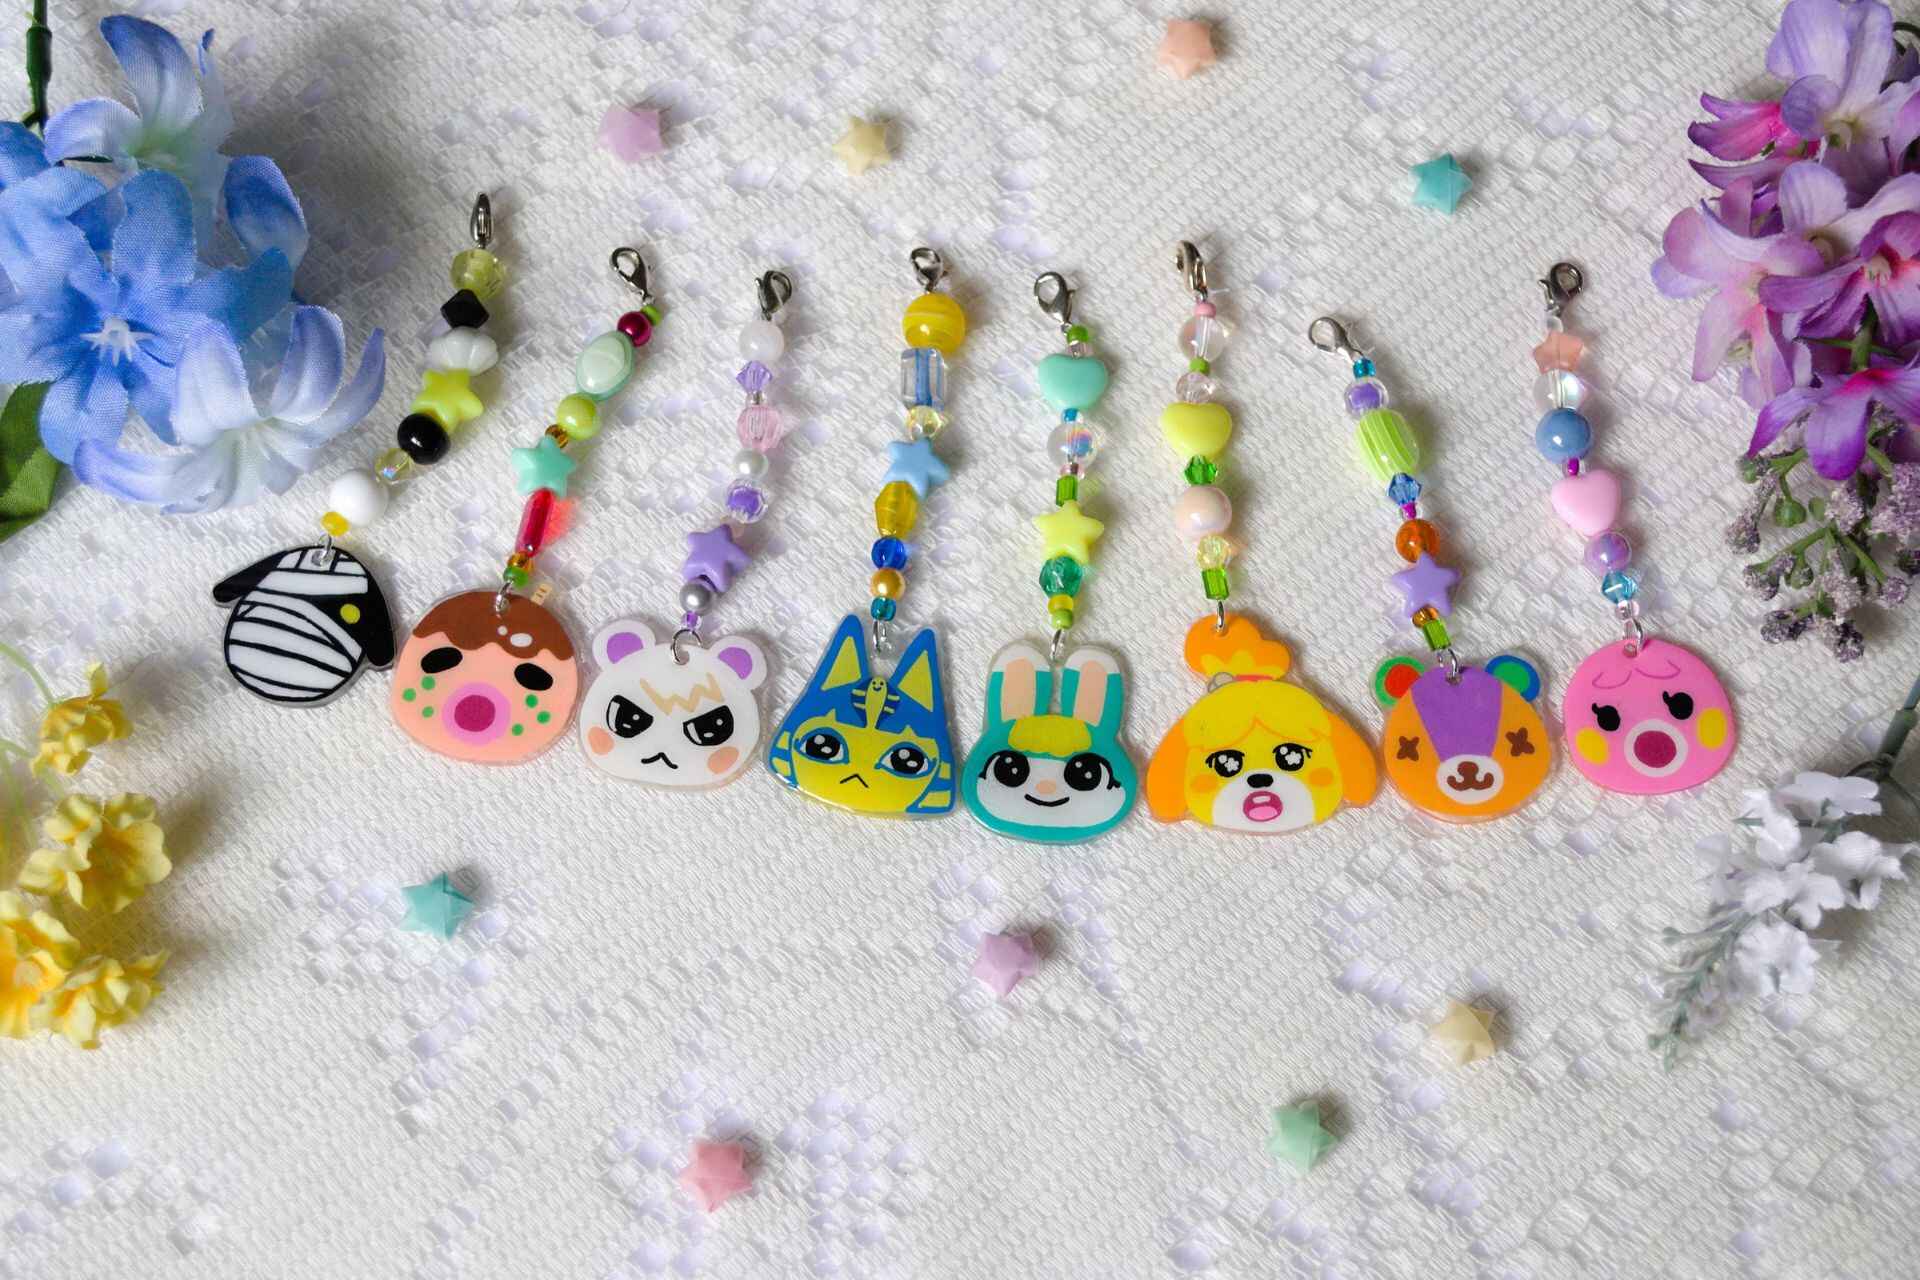
4.3 Attaching the Hardware:
Using precision and care, attach the selected phone charm hardware to the shrink acrylic designs. For jump rings, gently twist the ends to open the ring, slide it through the designated hole in the charm, and securely close the ring using jewelry pliers. If using lobster clasps, carefully affix them to the designated areas, ensuring a secure and reliable connection. For phone charm straps, follow the manufacturer's instructions for seamless attachment.
4.4 Ensuring Durability:
As you attach the hardware, prioritize durability and longevity by ensuring that the connections are secure and stable. Test each attachment to confirm that the hardware is firmly in place and capable of withstanding regular use without compromising the integrity of the charms. By prioritizing durability, you'll ensure that your charming creations are not only visually appealing but also practical for everyday use.
4.5 Final Assessments:
After adding the phone charm hardware, take a moment to assess each finished charm, ensuring that the attachments are secure and the overall aesthetic remains true to your original vision. Make any necessary adjustments to the hardware or positioning to achieve a cohesive and visually pleasing result. Attention to detail during this phase will elevate the charms to their full potential, ready to adorn your phone with style and individuality.
By following these detailed steps and infusing precision and care into the process of adding the phone charm hardware, you'll seamlessly integrate the essential findings, enhancing the functionality and visual appeal of your shrink acrylic phone charms. This phase marks the final touch that elevates your charming creations to practical and visually captivating accessories, ready to showcase your unique style with every use.
Step 5: Finishing Touches
As you reach the culminating phase of crafting your shrink acrylic phone charms, it's time to add the finishing touches that will elevate these charming creations to their full potential. This pivotal step encompasses the final embellishments and adjustments that will ensure your phone charms are not only visually captivating but also durable and ready to adorn your phone with style. Here's a detailed guide to adding the finishing touches with finesse and precision:
5.1 Polishing and Smoothing
Inspect each shrink acrylic charm to ensure that the edges are smooth and free from any residual imperfections from the cutting and shrinking processes. Use fine-grit sandpaper or a nail buffer to gently polish the edges, refining any rough areas and ensuring that the charms exude a professional and pristine finish.
5.2 Sealing and Protecting
Consider applying a thin, even layer of clear acrylic sealant to the surface of the charms. This optional step adds an extra layer of protection, safeguarding the designs from scratches and wear over time. Ensure that the sealant is compatible with shrink acrylic material and allow it to fully dry before proceeding.
5.3 Personalization and Customization
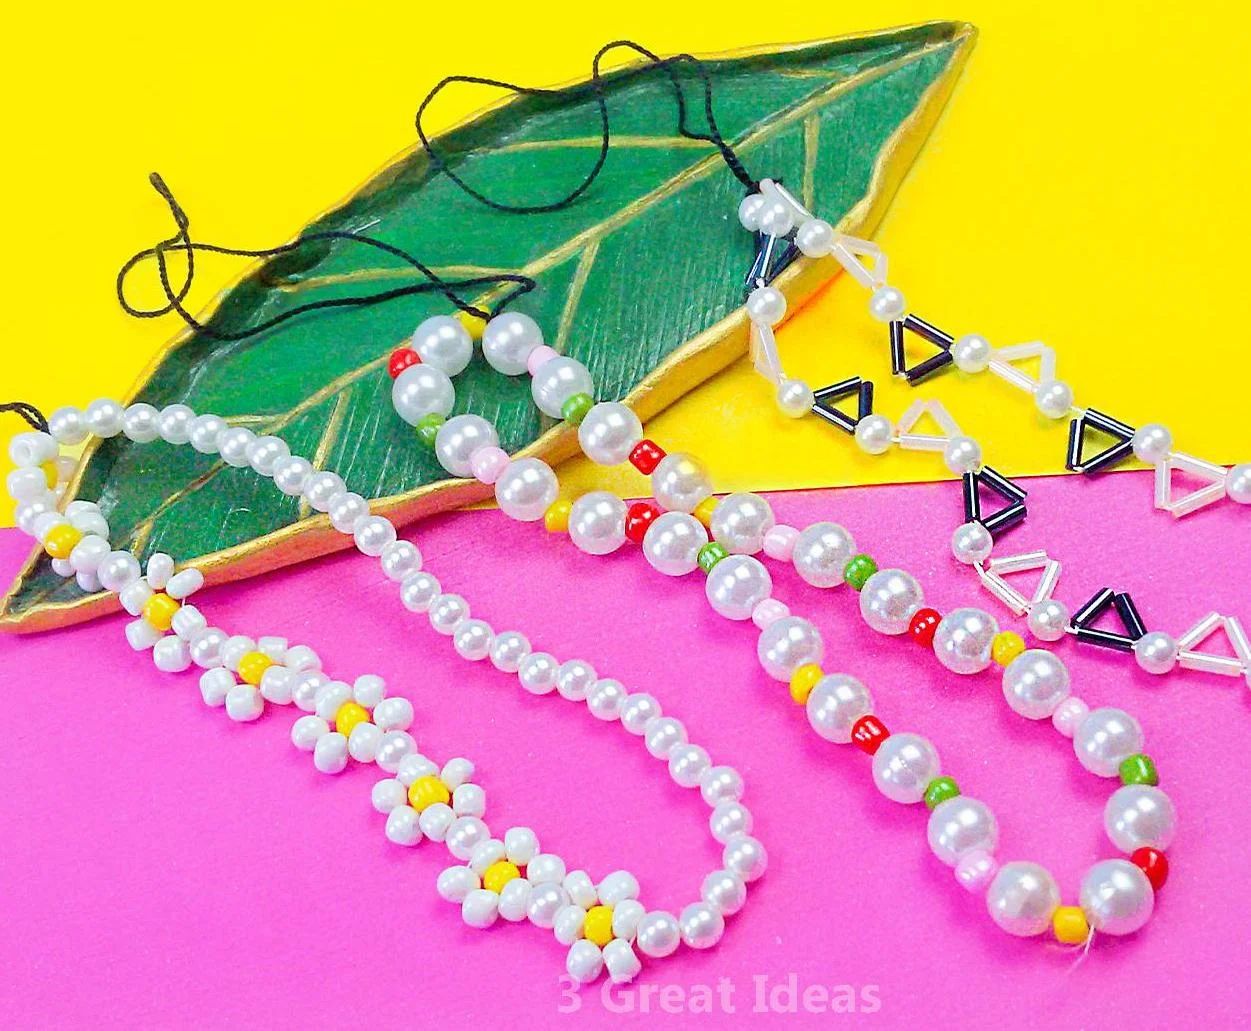
If your designs allow for additional personalization, consider embellishing the charms with small decorative elements such as rhinestones, beads, or glitter. This step infuses a touch of individuality and sparkle, allowing you to further customize the charms to align with your unique style or the preferences of the intended recipients.
5.4 Quality Assurance
Carefully examine each finished charm to ensure that it meets your quality standards. Assess the durability of the attachments, the vibrancy of the colors, and the overall visual appeal. Make any final adjustments or refinements to guarantee that the charms are impeccably crafted and ready to make a statement on your phone.
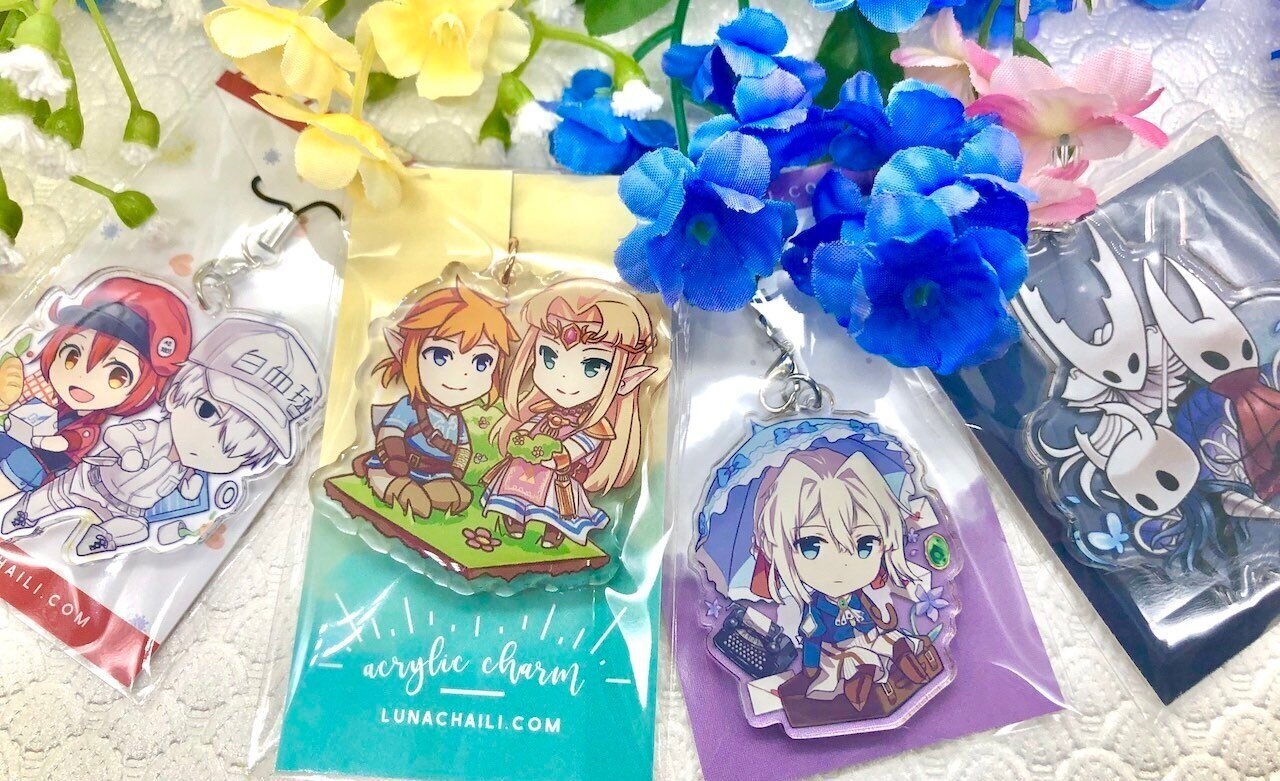
5.5 Packaging and Presentation
Consider the presentation of your finished charms by selecting or creating a visually appealing packaging solution. Whether it's a small jewelry box, a decorative pouch, or a personalized card, thoughtful packaging adds an extra layer of charm and makes the finished creations even more delightful when shared as gifts or sold as part of a small business venture.
By embracing these detailed steps and infusing the finishing touches with care and precision, you'll elevate your shrink acrylic phone charms to their full potential. This phase represents the final act of craftsmanship, ensuring that each charm is not only visually captivating but also durable, personalized, and ready to add a touch of individuality to your phone or delight the recipients with thoughtful and charming gifts.
Conclusion
Embarking on the journey of crafting stylish phone charms with shrink acrylic has been a delightful and rewarding experience. From the initial design phase to the final embellishments, each step has offered a canvas for creativity and personal expression. As we conclude this comprehensive guide, it's essential to reflect on the captivating process and the enchanting charms that have emerged from it.
The art of designing, cutting, shrinking, and adding the hardware and finishing touches has not only resulted in visually captivating phone charms but has also provided a platform for self-expression and individuality. The charms created through this DIY endeavor are not merely accessories but reflections of personal style, creativity, and attention to detail.
Through the meticulous process of designing the charms, individuals have had the opportunity to infuse their unique vision into each creation. Whether it's whimsical shapes, intricate patterns, or personalized symbols, the designs have become a testament to the boundless creativity that flourishes within DIY enthusiasts and crafters.
The transformation of the shrink acrylic designs into durable and visually striking charms through the shrinking process has been nothing short of magical. Witnessing the designs curl, wriggle, and ultimately shrink and thicken has not only been an enthralling spectacle but a testament to the resilience and durability of the material.
The addition of phone charm hardware and the final finishing touches have elevated the charms to practical and visually captivating accessories. Each attachment, embellishment, and refinement has contributed to the charm's individuality and readiness to adorn phones with style and flair.
As DIY enthusiasts and crafters conclude this crafting journey, the charms they've created stand as tangible representations of their creativity, dedication, and attention to detail. Whether these charms are kept for personal use or shared as thoughtful gifts, they serve as reminders of the joy and fulfillment that comes from infusing everyday items with a touch of personality and creativity.
In essence, the process of crafting stylish phone charms with shrink acrylic extends beyond the tangible charms themselves. It has been a journey of self-expression, creativity, and the joy of creating something unique and meaningful. With each charm, individuals have left a mark of their creativity and style, ready to adorn their phones with a touch of individuality and charm.