Introduction
Are you looking to transfer your Bitcoin from Coinbase to your Ledger Nano X? If so, you’ve come to the right place. In this guide, we will walk you through the step-by-step process of transferring Bitcoin from your Coinbase account to your Ledger Nano X hardware wallet, ensuring that your cryptocurrency is securely stored and protected.
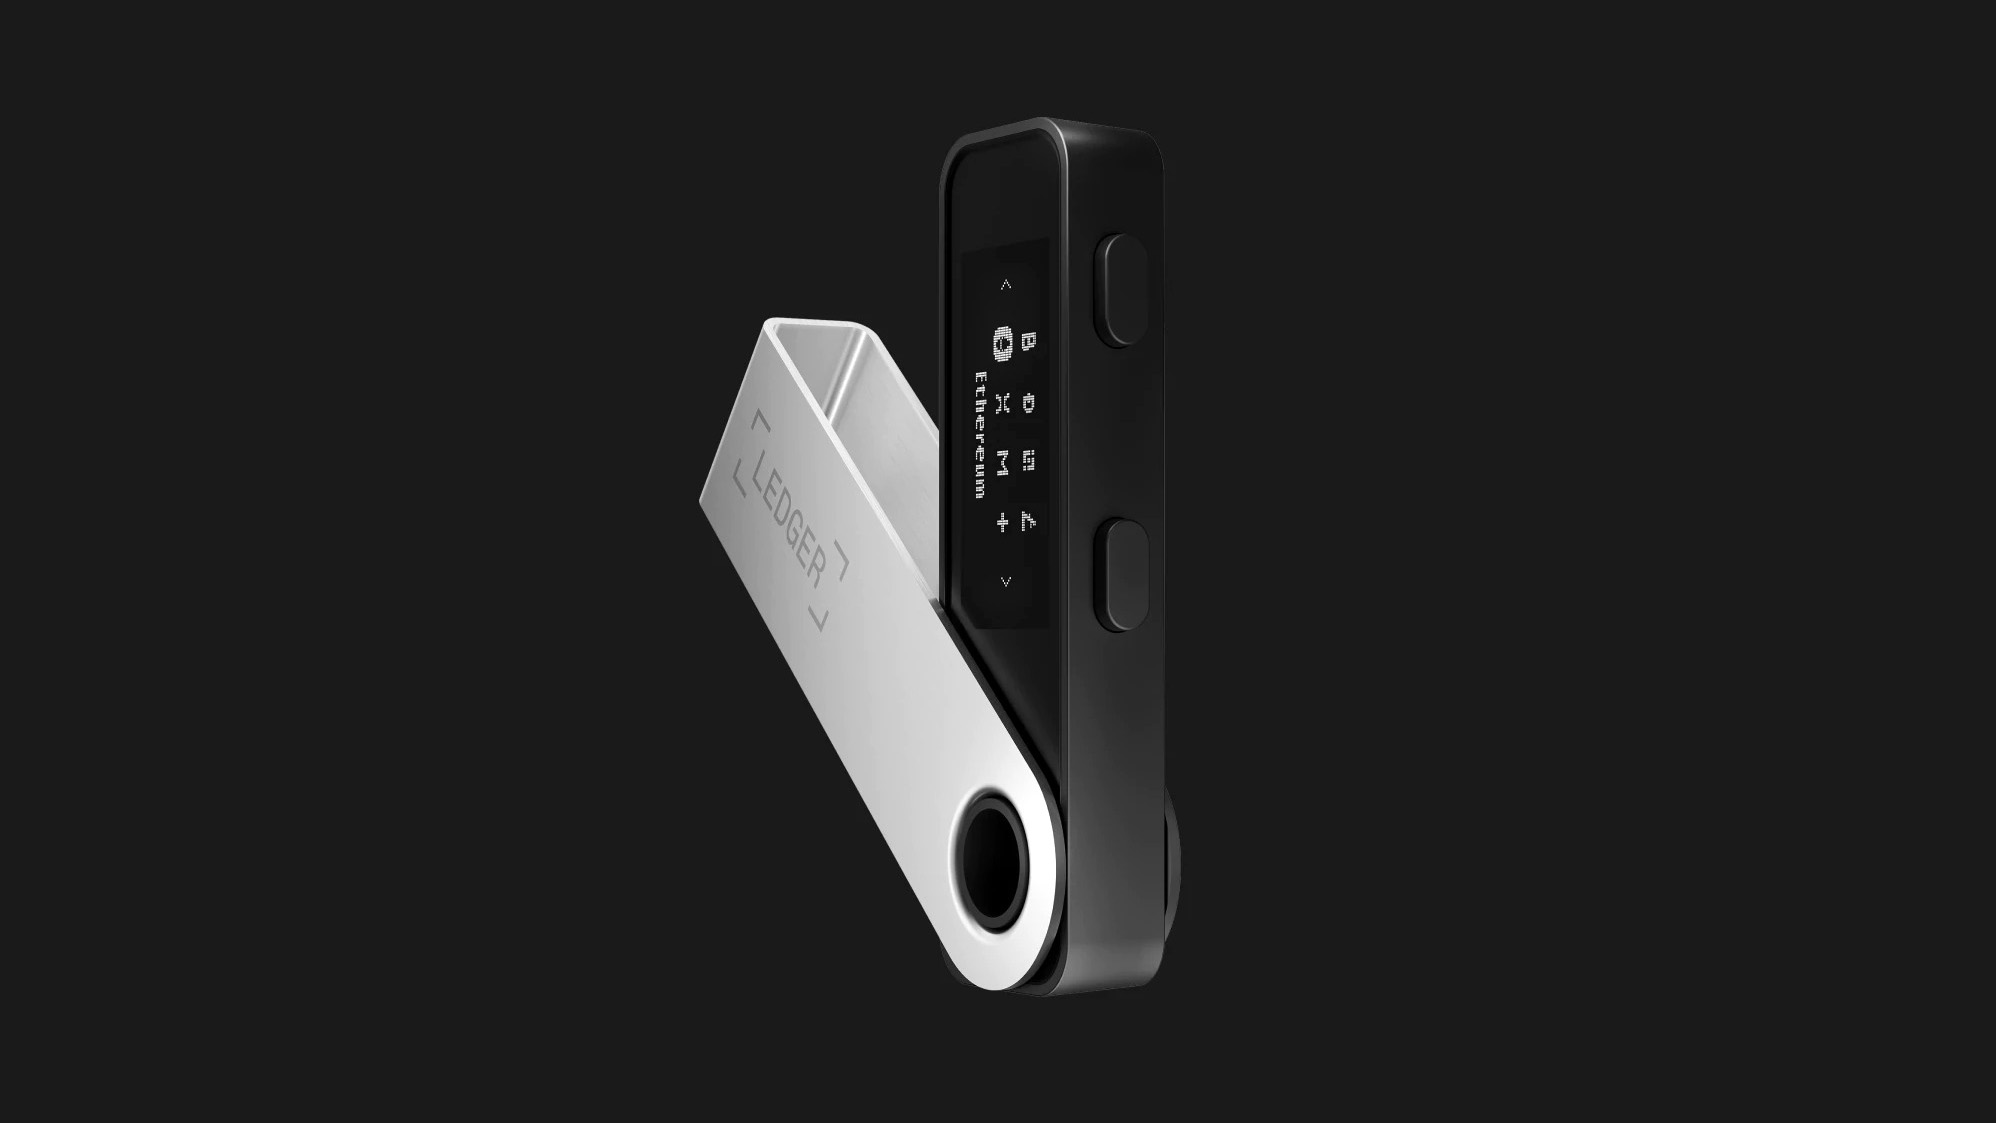
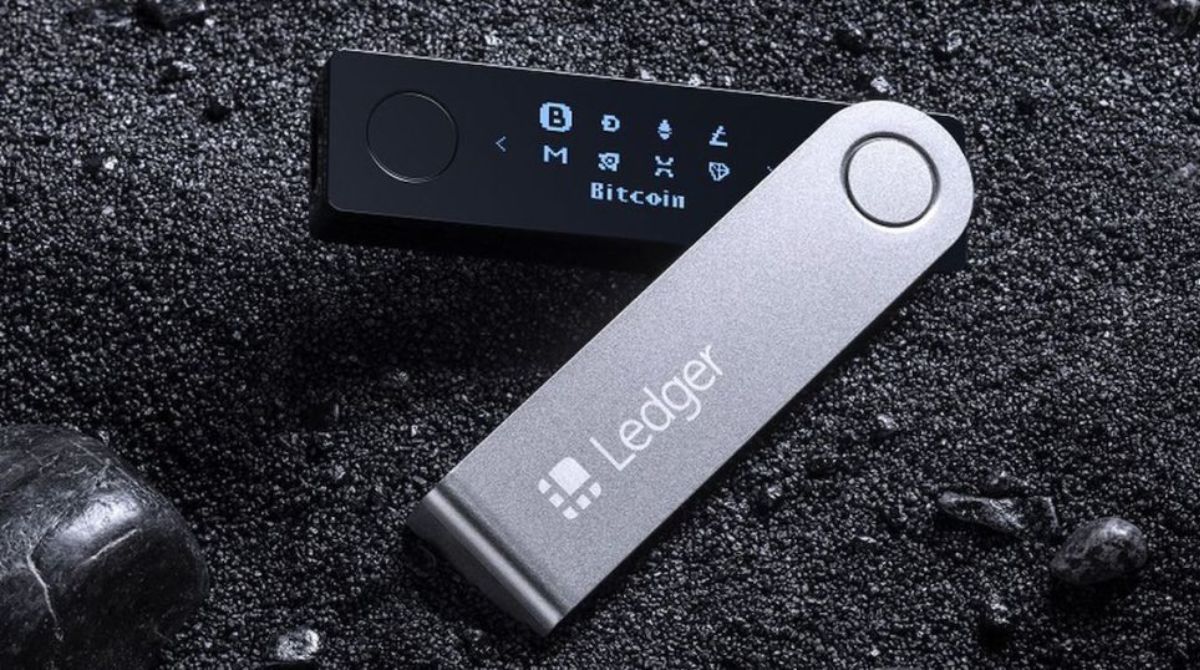
Ledger Nano X is a popular and highly secure hardware wallet that allows you to store your cryptocurrencies offline, away from the vulnerability of online exchanges. Coinbase, on the other hand, is a well-known cryptocurrency exchange platform where you can buy, sell, and store cryptocurrency. By transferring your Bitcoin from Coinbase to your Ledger Nano X, you are taking control of your digital assets and minimizing the risk of potential security breaches.
This guide assumes that you already have a Ledger Nano X device and a Coinbase account. If you haven’t set up your Ledger Nano X yet, don’t worry – we will guide you through the process. It’s important to note that the steps outlined in this guide can also be applied to other cryptocurrencies supported by both Coinbase and the Ledger Nano X.
Before we proceed, it’s crucial to emphasize that the security of your Bitcoin and other cryptocurrencies should always be a top priority. It’s recommended to double-check the authenticity of the websites or links you visit during the process, as phishing attacks and scams are prevalent in the cryptocurrency world. Always ensure that you are on the official Ledger and Coinbase websites, and verify the URLs and security certificates. Furthermore, make sure your devices are free of malware and always keep your software up to date.
Now that we’ve covered the necessary precautions, let’s get started with transferring your Bitcoin from Coinbase to your Ledger Nano X. Follow the step-by-step instructions in the sections below to ensure a smooth and secure transfer process.
Step 1: Install the Ledger Live App
The first step in transferring your Bitcoin from Coinbase to your Ledger Nano X is to install the Ledger Live app on your computer. The Ledger Live app is the gateway to managing your Ledger Nano X device and interacting with your cryptocurrencies.
To install the Ledger Live app, follow these steps:
- Visit the official Ledger website at ledger.com and navigate to the “Products” section.
- Click on “Ledger Live” and choose the operating system that corresponds to your computer (Windows, macOS, or Linux).
- Once the download is complete, open the installer file and follow the instructions to install the Ledger Live app.
- After the installation is complete, launch the Ledger Live app on your computer.
It’s important to note that the Ledger Live app is regularly updated with new features and security patches. It’s crucial to always download the latest version directly from the official Ledger website to ensure that you have the most up-to-date software.
During the installation process, you may be prompted to set up a PIN code for your Ledger Nano X device. This PIN code is an added layer of security and will be required whenever you want to access your device or perform any transactions. Make sure to choose a strong PIN code that you can easily remember but is not easily guessable by others.
Once you have successfully installed the Ledger Live app and set up your PIN code, you’re ready to move on to the next step: setting up your Ledger Nano X device.
Step 2: Set up your Ledger Nano X
After you have installed the Ledger Live app on your computer, it’s time to set up your Ledger Nano X device. This step is essential as it ensures that your device is properly initialized and ready to receive Bitcoin and other cryptocurrencies.
To set up your Ledger Nano X, follow these steps:
- Connect your Ledger Nano X to your computer using the USB cable provided with the device.
- On the Ledger Nano X device, press the power button to turn it on.
- Use the buttons on the device to navigate and select the option “Create a new wallet” or “Initialize as a new device.”
- The Ledger Live app will guide you through the setup process. Follow the on-screen instructions to choose a PIN code for your device, write down your recovery phrase, and confirm the setup.
- During the setup process, it’s crucial to pay attention to the instructions on your computer and the Ledger Nano X device. Make sure to write down your recovery phrase and keep it in a safe place. The recovery phrase is your backup and can be used to recover your funds if your device is lost, stolen, or damaged.
Once you have completed the setup process and verified your recovery phrase, your Ledger Nano X device will be ready to use. It’s important to emphasize that your recovery phrase should be kept offline and not stored digitally to minimize the risk of it being compromised.
With your Ledger Nano X properly set up, you are now prepared to connect it to your computer and initiate the transfer of Bitcoin from Coinbase in the next step.
Step 3: Connect the Ledger Nano X to your computer
Now that your Ledger Nano X is set up, the next step is to connect it to your computer and establish a connection with the Ledger Live app.
Follow these steps to connect your Ledger Nano X to your computer:
- Locate the USB cable that came with your Ledger Nano X. Connect one end of the cable to the USB port on your computer.
- Take the other end of the cable and connect it to the USB-C port on your Ledger Nano X device. Make sure the connection is secure.
- On your Ledger Nano X device, navigate to the “Settings” menu using the buttons on the device.
- Within the “Settings” menu, scroll down and select “Device” and then “Connect to computer.” A prompt may appear asking, “Allow Ledger Manager?” Select “Allow” to establish the connection.
- Open the Ledger Live app on your computer. If your Ledger Nano X is properly connected, the app should detect it automatically.
Once the connection is established, you will see your Ledger Nano X device listed in the Ledger Live app. You can now proceed with accessing your Coinbase account and initiating the transfer of Bitcoin to your Ledger Nano X. Keeping your Ledger Nano X connected throughout the transfer process is crucial to ensure the successful completion of the transaction.
It’s worth noting that the connection between your Ledger Nano X and the Ledger Live app is secured through encryption and authentication mechanisms. However, it’s still important to ensure that your computer and the Ledger Live app are free from malware, and you have downloaded the app from the official Ledger website.
Now that your Ledger Nano X is connected to your computer, let’s move on to the next step: accessing your Coinbase account.
Step 4: Access your Coinbase account
In order to transfer Bitcoin from your Coinbase account to your Ledger Nano X, you’ll need to access your Coinbase account through the Coinbase website or mobile app.
Follow these steps to access your Coinbase account:
- Open a web browser and navigate to www.coinbase.com or open the Coinbase mobile app on your device.
- If you haven’t already logged in, enter your Coinbase username and password to sign in to your account. If you have enabled two-factor authentication (2FA), you will need to provide the additional security code.
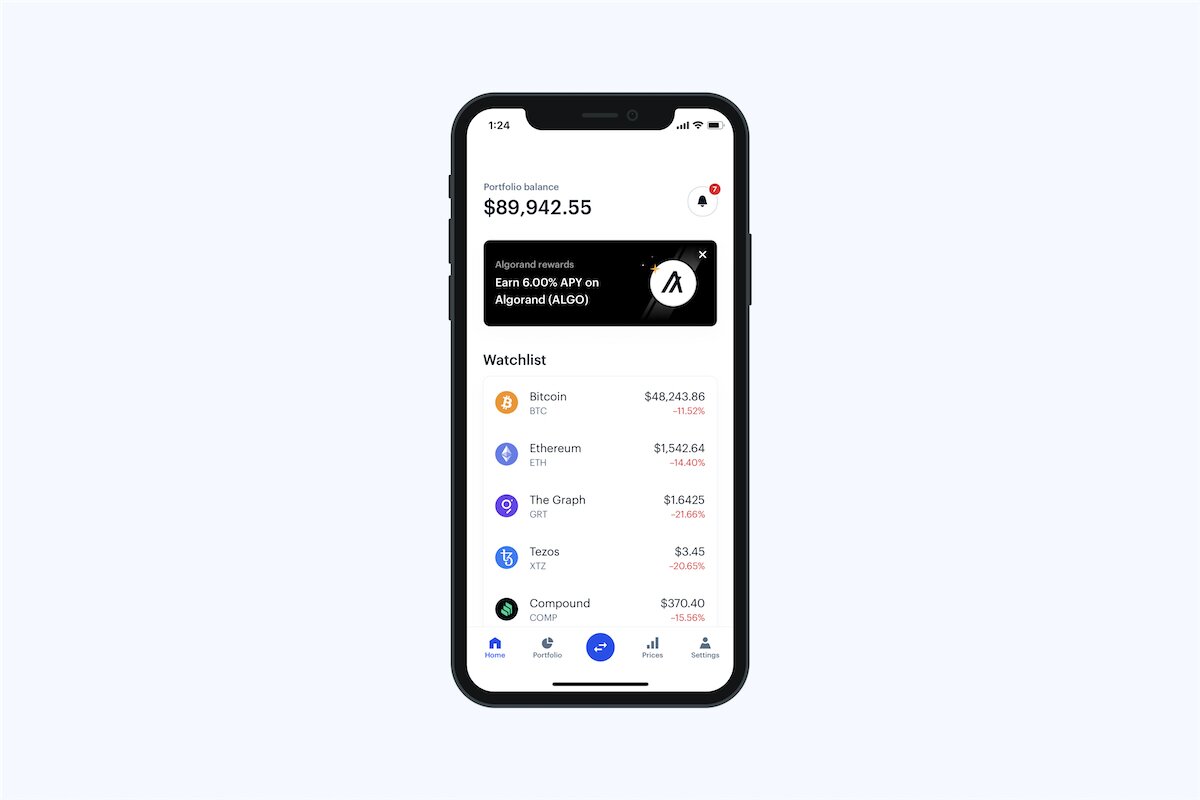
- Once you’re logged in, you should be on the Coinbase dashboard. This is where you can view your cryptocurrency balances, transaction history, and manage your account.
It is important to ensure that you are accessing the Coinbase website or app from a secure and trusted device. Also, be cautious of phishing attempts and ensure the URL is correct. As an additional security measure, consider enabling additional security features such as 2FA or a hardware security key.
Now that you have accessed your Coinbase account, you are ready to generate a Bitcoin receiving address on your Ledger Nano X. This address will be used to send your Bitcoin from Coinbase to your Ledger Nano X.
Step 5: Generate a Bitcoin receiving address on your Ledger Nano X
Before transferring Bitcoin from Coinbase to your Ledger Nano X, you’ll need to generate a receiving address on your Ledger device. This address will serve as the destination for your Bitcoin transfer.
Follow these steps to generate a Bitcoin receiving address on your Ledger Nano X:
- Ensure that your Ledger Nano X is connected to your computer and the Ledger Live app is open.
- In the Ledger Live app, click on the “Accounts” tab at the top of the screen.
- Under the “Accounts” tab, you should see your Ledger Nano X listed as a device. Click on it to expand the options.
- Select “Receive” to proceed with generating a receiving address.
- A new window will open, showing the Bitcoin receiving address generated by your Ledger Nano X. This address is a unique combination of alphanumeric characters and serves as the destination for your Bitcoin transfer.
- You can either copy the receiving address by clicking on the provided copy button or use the QR code to scan the address with a mobile wallet.
It’s important to note that each time you generate a receiving address, a new one will be created. This is done for security reasons to enhance privacy and prevent address reuse. Always use a fresh address for each transaction to maintain the highest level of anonymity and security for your Bitcoin holdings.
With your Bitcoin receiving address generated on your Ledger Nano X, you are now ready to proceed with transferring your Bitcoin from Coinbase in the next step.
Step 6: Transfer Bitcoin from Coinbase to Ledger Nano X
Now that you have generated a Bitcoin receiving address on your Ledger Nano X, you can proceed with transferring your Bitcoin from Coinbase to your hardware wallet.
Follow these steps to transfer Bitcoin from Coinbase to your Ledger Nano X:
- Ensure that you are logged in to your Coinbase account on the Coinbase website or app.
- Navigate to the “Accounts” or “Wallets” section, where you can view your cryptocurrency balances.
- Locate your Bitcoin balance and click on the “Send” or “Withdraw” button, depending on the Coinbase version you are using.
- In the “Recipient” field, enter the Bitcoin receiving address generated on your Ledger Nano X. Double-check the address to ensure accuracy, as any mistakes may result in the loss of your funds.
- Enter the amount of Bitcoin you wish to transfer to your Ledger Nano X. You can either enter the specific amount in Bitcoin or the equivalent fiat currency value.
- Review the transaction details, including the recipient address and the amount, to ensure everything is correct.
- Confirm the transaction and follow any additional prompts or security measures provided by Coinbase. This may include verifying your identity or authorizing the transaction using two-factor authentication.
- Once the transaction is confirmed and processed by Coinbase, your Bitcoin will be transferred to the receiving address on your Ledger Nano X. The transaction may take some time to be included in a block on the Bitcoin network, so be patient.
It’s important to note that transaction fees may apply when sending Bitcoin from Coinbase to your Ledger Nano X. Coinbase will typically provide an estimate of the network fee before confirming the transaction.
With the transfer initiated, you can monitor the progress of the transaction through the transaction history on Coinbase or by using a blockchain explorer to track the transaction on the Bitcoin network.
Congratulations! You have successfully transferred your Bitcoin from Coinbase to your Ledger Nano X. The next step is to verify the Bitcoin transfer on your Ledger Nano X, which we will cover in the following step.
Step 7: Verify the Bitcoin transfer
After successfully transferring your Bitcoin from Coinbase to your Ledger Nano X, it’s important to verify the transaction to ensure that the funds have arrived safely in your hardware wallet.
Follow these steps to verify the Bitcoin transfer:
- Ensure that your Ledger Nano X is connected to your computer and the Ledger Live app is open.
- In the Ledger Live app, navigate to the “Accounts” tab and select your Ledger Nano X device.
- Under your Ledger Nano X device, you will see a list of supported cryptocurrencies. Find and click on “Bitcoin” to view the details of your Bitcoin account.
- You should now see your Bitcoin balance, transaction history, and other information related to your Bitcoin holdings.
- To verify the Bitcoin transfer, compare the amount of Bitcoin shown in the Ledger Live app with the amount you transferred from Coinbase. They should match, confirming that the transfer was successfully completed.
- You can also cross-reference the receiving address on your Ledger Nano X with the one you provided to Coinbase during the transfer. They should be the same, further confirming that the Bitcoin has been transferred to your hardware wallet.
- If the transaction details in the Ledger Live app match the information from the Coinbase transfer, congratulations! Your Bitcoin transfer is verified and securely stored in your Ledger Nano X.
By verifying the Bitcoin transfer, you ensure that there were no errors or issues during the process. It gives you peace of mind knowing that your cryptocurrency is now under your full control, securely stored on your hardware wallet.
Remember to keep your Ledger Nano X and recovery phrase in a safe place, as they are crucial for accessing and recovering your Bitcoin in case of any unforeseen circumstances.
Now that you have successfully verified the Bitcoin transfer, you can confidently manage your Bitcoin and other cryptocurrencies using your Ledger Nano X.
Conclusion
Congratulations! You have successfully transferred your Bitcoin from Coinbase to your Ledger Nano X, ensuring the security and control of your digital assets. By following the step-by-step instructions in this guide, you have taken the necessary precautions to protect your cryptocurrencies and mitigate the risks associated with storing them on exchanges.
Throughout the process, you have learned how to install the Ledger Live app, set up your Ledger Nano X device, connect it to your computer, access your Coinbase account, generate a Bitcoin receiving address, initiate the transfer, and verify its completion on your Ledger Nano X.
It’s important to remember to keep your Ledger Nano X and recovery phrase in a secure location, away from potential threats. Regularly updating the firmware on your hardware wallet and downloading the latest version of the Ledger Live app will ensure maximum security and access to new features.
With your Bitcoin securely stored on your Ledger Nano X, you now have full control over your funds. You can confidently manage, send, and receive cryptocurrencies through your hardware wallet, knowing that your private keys are kept safe offline.
Remember, this guide is specific to transferring Bitcoin, but the same principles can be applied if you wish to transfer other cryptocurrencies supported by both Coinbase and the Ledger Nano X.
As the cryptocurrency industry continues to evolve and security threats persist, it’s crucial to stay up-to-date with best practices for storing and managing your digital assets. Regularly educate yourself on the latest security measures and advancements in hardware wallet technology to ensure the safety of your investments.
Thank you for following this guide, and we hope it has been helpful in successfully transferring your Bitcoin from Coinbase to your Ledger Nano X!