Introduction
Are you looking to deposit money onto your Cash App card? If so, you’re in luck! Cash App provides a convenient way to manage and access your funds, and one of the ways you can add money to your Cash App card is through an ATM. By following a few simple steps, you can easily deposit cash onto your Cash App card and have it available for use in no time.
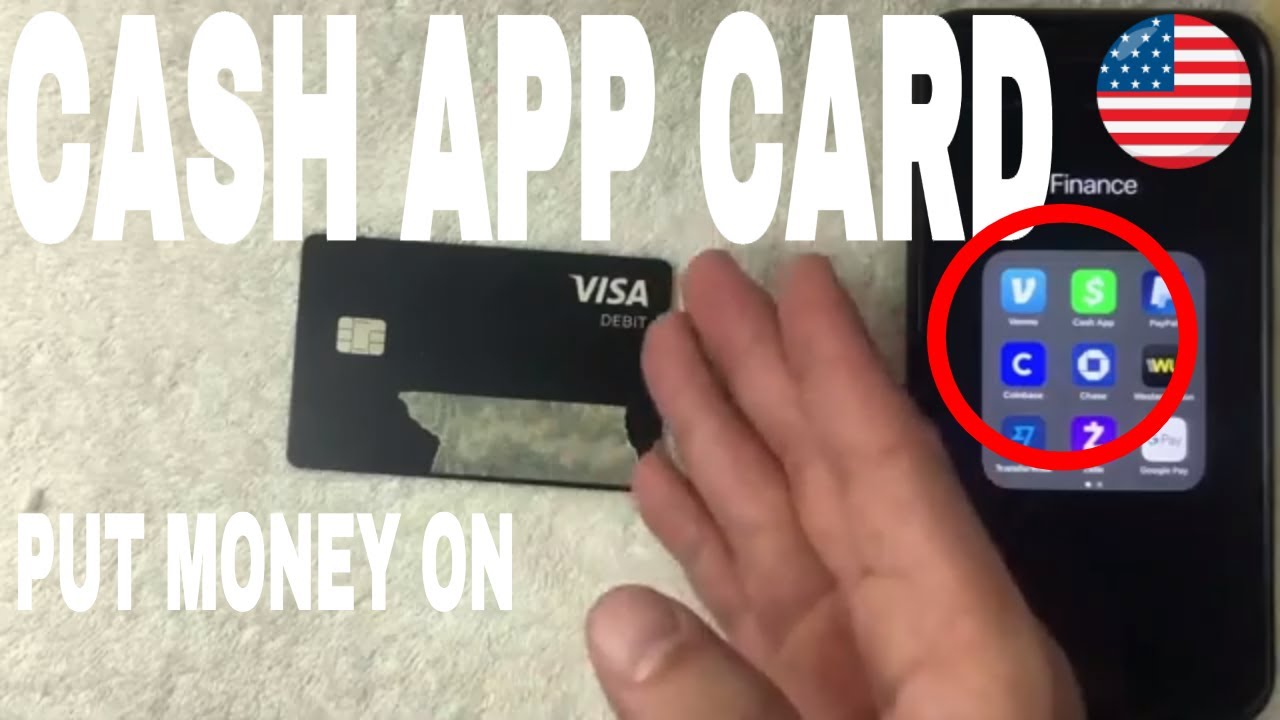
Cash App is a popular digital payment platform that allows users to send, receive, and store money on their mobile devices. With the Cash App card, you can make purchases both online and at physical stores, withdraw cash from ATMs, and even receive direct deposits. While Cash App primarily operates through its mobile app, the Cash App card provides users with a physical card for easy access to their funds.
In this article, we will walk you through the process of depositing money onto your Cash App card at an ATM. Whether you have a Cash App account and card already or are considering getting one, this guide will help you understand how to deposit money onto your card and use it for your financial needs.
Please note that the availability of depositing cash onto your Cash App card may vary depending on your location and the specific ATM you use. Not all ATMs accept deposits for Cash App cards, so it’s important to find an ATM that is compatible with Cash App deposits. Let’s dive into the steps required to deposit money onto your Cash App card at an ATM.
Step 1: Locate an ATM
The first step in depositing money onto your Cash App card is to locate an ATM that accepts Cash App deposits. Not all ATMs have this feature, so it’s important to find one that specifically allows you to deposit funds onto your Cash App card. You can use the Cash App mobile app to locate ATMs near you that support Cash App deposits.
To find a compatible ATM, open the Cash App app on your mobile device and navigate to the “Cash” tab. Look for the “Deposit” option and tap on it. This will show you a list of nearby ATMs that accept Cash App deposits. You can use the map view or the list view to find the closest ATM to your location.
Make sure to check the ATM’s operating hours before making your way there. Some ATMs may have limited availability or may only accept deposits during specific times of the day. It’s also a good idea to look for ATMs that are located in well-lit and secure areas to ensure your safety.
When selecting an ATM, it’s essential to ensure that it is compatible with Cash App deposits. While most major banks and financial institutions support Cash App deposits, it’s always a good idea to double-check to avoid any inconvenience or unsuccessful transactions.
Once you have located a suitable ATM, you can proceed to the next step of depositing money onto your Cash App card. Remember to bring your Cash App card and any cash you wish to deposit with you to the ATM. Now let’s move on to the next step: inserting your Cash App card into the ATM.
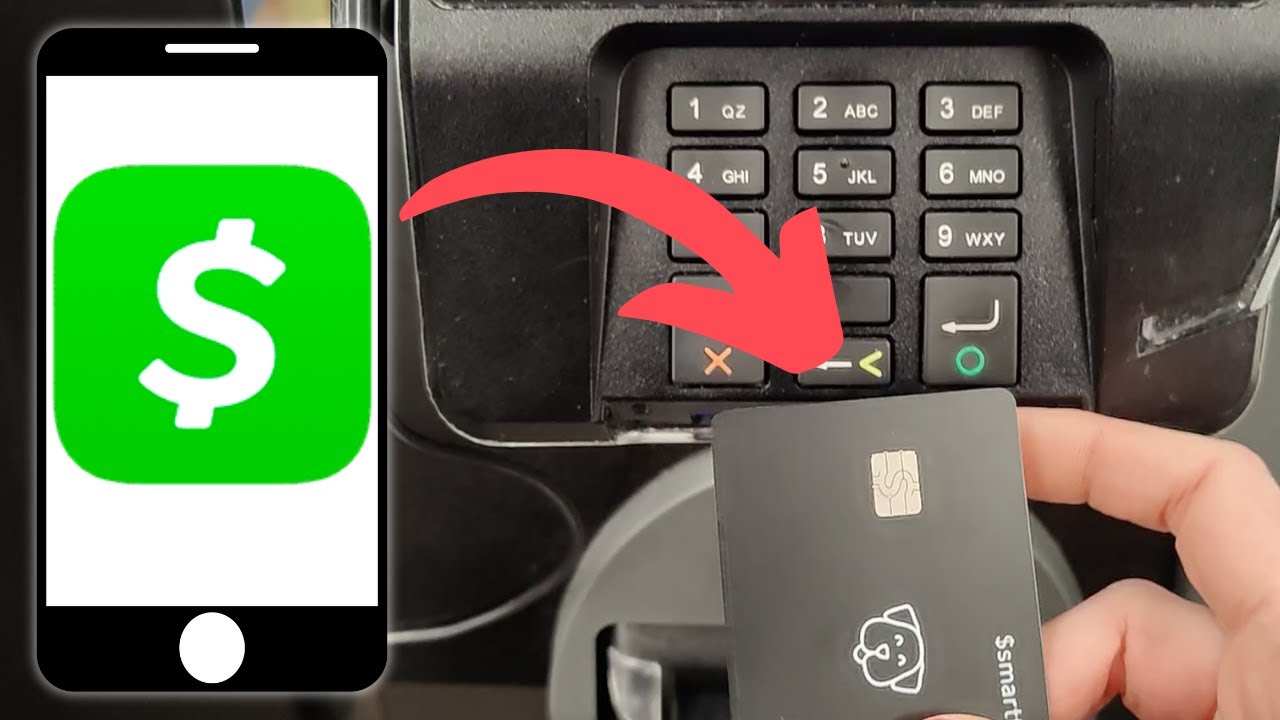
Step 2: Insert your Cash App card into the ATM
With your Cash App card and cash in hand, it’s time to insert your card into the ATM. Ensure that the ATM is powered on and ready for use before proceeding. Follow these simple steps to insert your Cash App card:
- Locate the card slot on the ATM. It is usually located on the right-hand side of the machine.
- Gently insert your Cash App card into the card slot. Make sure to insert it with the side displaying the Cash App logo facing up.
- Push the card all the way into the slot until it stops.
It is essential to insert your Cash App card correctly to avoid any issues. Be sure to follow the instructions on the ATM screen if there are any additional steps or prompts. Different ATMs may have slight variations in the process, so pay close attention to the on-screen instructions.
Once you have successfully inserted your Cash App card into the ATM, the machine will begin processing your card. This may take a few seconds, as the ATM verifies the card’s authenticity and connects to the Cash App system to initiate the deposit process.
While the ATM is processing your card, it’s important to remain patient and avoid removing the card prematurely. Removing the card too soon may result in an incomplete transaction or cause the ATM to retain your card. Wait for the ATM to prompt you before proceeding to the next step.
Once the ATM has recognized your Cash App card, you will be prompted to select the type of transaction you wish to perform. In the next step, we will discuss selecting the “Deposit” option and entering the amount you want to deposit onto your Cash App card.
Step 3: Select the “Deposit” option
After successfully inserting your Cash App card into the ATM, the next step is to select the “Deposit” option on the ATM screen. This step allows you to inform the ATM that you would like to deposit money onto your Cash App card. Follow these simple instructions to select the “Deposit” option:
- Look for the “Deposit” option on the ATM screen. This option may be labeled differently depending on the ATM’s interface, but it is typically easy to locate.
- Using the keypad on the ATM, enter the number associated with the “Deposit” option. This is usually a numerical key or a letter corresponding to the option.
- Press the “Enter” or “OK” button to confirm your selection.
Once you have selected the “Deposit” option, the ATM will prompt you to enter the amount of money you wish to deposit onto your Cash App card. It is important to input the correct amount to ensure that the transaction is accurate.
Different ATMs may have variations in their deposit screens, but the process is generally straightforward. The ATM will display an on-screen numeric keypad or a physical keypad where you can enter the deposit amount. Use the keypad to input the desired amount.
Take your time to enter the amount correctly and double-check the input before proceeding. Incorrectly entering the deposit amount may result in an inaccurate transaction or could cause the ATM to reject the deposit.
Once you have entered the deposit amount, proceed to the next step to confirm the deposit and complete the transaction. This will be discussed in the following section.
Step 4: Enter the amount you want to deposit
Once you have selected the “Deposit” option on the ATM screen, it’s time to enter the amount of money you want to deposit onto your Cash App card. Follow these steps to enter the deposit amount accurately:
- On the ATM screen, you will see a numerical keypad or a touch screen where you can input the amount.
- Using the keypad, enter the exact amount of money you want to deposit. Take your time to ensure accuracy.
- Double-check the entered amount before proceeding to the next step. A simple mistake in the amount entered could result in an incorrect deposit.
Some ATMs may have specific denominations or maximum deposit limits. If there are specific options provided on the ATM screen, select the one that matches your desired deposit amount. If there are no preset options, you can manually enter the exact amount.
It’s important to note that ATMs may have limitations on the amount you can deposit in a single transaction. If your desired deposit amount exceeds the ATM’s limit, you may need to divide the deposit into multiple transactions. Follow the on-screen instructions to complete the deposit successfully.
Take your time when entering the deposit amount and ensure that you have entered the correct figure. Once you are confident that the amount is accurate, proceed to the next step to confirm the deposit and receive a receipt for the transaction.
In the next section, we will discuss how to confirm the deposit and receive a receipt at the ATM. This final step will ensure that the money you deposited is added to your Cash App card and readily available for use.
Step 5: Confirm the deposit and receive a receipt
After entering the amount you want to deposit onto your Cash App card, it’s time to confirm the deposit and receive a receipt for the transaction. Follow these steps to complete this important final step:
- On the ATM screen, carefully review the deposit details displayed. Double-check the entered amount to ensure accuracy.
- If the details are correct, press the “Confirm” or “Accept” button on the ATM.
- Wait for the ATM to process the deposit. This may take a few moments as the machine verifies the amount and authorizes the transaction.
- Once the deposit is successfully processed, the ATM will provide you with a receipt. Be sure to collect the receipt as proof of the deposit.
The receipt serves as confirmation that the deposit has been completed. It is important to keep the receipt in case there are any discrepancies or issues with the deposit. The receipt will typically include details such as the date, time, location of the transaction, and the deposited amount.
After receiving the receipt, you can safely remove your Cash App card from the ATM. Ensure that you have taken all necessary items before leaving the ATM area. It’s a good practice to check your surroundings and make sure there are no personal belongings left behind.
Now that you have completed all the necessary steps at the ATM, it’s time to check your Cash App balance to ensure that the deposited amount reflects on your Cash App card. This will be discussed in the next section of the guide.
It’s important to note that ATM transactions may take some time to process, and the deposited amount may not be immediately available on your Cash App card. If you encounter any issues or if the deposited amount does not reflect on your card within a reasonable timeframe, it is recommended to contact Cash App customer support for assistance.
Step 6: Check your Cash App balance for the deposited amount
After completing the deposit at the ATM, it’s important to ensure that the deposited amount reflects on your Cash App balance. Follow these steps to check your Cash App balance and confirm the deposited amount:
- Open the Cash App mobile app on your device.
- Log in to your Cash App account using your credentials.
- Once you are logged in, navigate to the home screen or the “My Cash” tab within the app.
- Here, you will see your Cash App balance, which should reflect the deposited amount.
- Review the balance displayed and confirm that it matches the amount you deposited at the ATM.
It’s important to note that the time it takes for the deposited amount to reflect on your Cash App balance may vary. In some cases, the deposit may appear instantly, while in others, it may take a few minutes or even hours for the transaction to be processed and reflected on your balance.
If you find that the deposited amount is not reflecting on your Cash App balance, wait for some time and refresh the app. If the issue persists or if you have any concerns, it’s recommended to reach out to Cash App customer support for assistance. They will be able to investigate the issue and provide further guidance.
Once you have confirmed that the deposited amount is reflected on your Cash App balance, you can proceed to use your Cash App card for online and in-store purchases, withdrawals at ATMs, and other transactions as needed. Enjoy the convenience and flexibility that Cash App offers in managing your finances!
Remember to keep track of your transactions and regularly review your Cash App activity to ensure accurate and secure usage of your funds.
With the deposit successfully made onto your Cash App card, you can now enjoy the convenience and flexibility of having your funds readily available for use. Whether you are making online purchases or need quick access to cash, your Cash App card provides a hassle-free solution.
Conclusion
Depositing money onto your Cash App card at an ATM is a convenient way to add funds to your account for easy access and usage. By following the simple steps outlined in this guide, you can successfully deposit cash onto your Cash App card and have it available for your financial needs.
Remember to locate an ATM that accepts Cash App deposits, insert your Cash App card into the ATM, select the “Deposit” option, enter the amount you want to deposit, confirm the deposit, and receive a receipt for the transaction. Finally, check your Cash App balance to ensure that the deposited amount reflects correctly.
It’s important to be aware that the availability of Cash App deposits at ATMs may vary, so it’s always a good idea to check beforehand to ensure that you have access to this feature. Additionally, be cautious when using ATMs and choose well-lit and secure locations for your transactions.
Cash App offers a convenient and user-friendly platform for managing your finances. With the ability to send and receive money, make purchases, and access your funds through the Cash App card, you can streamline your financial transactions and have greater control over your money.
Remember to keep your Cash App card and account details secure at all times. If you encounter any issues or have questions about your Cash App account or deposits, don’t hesitate to reach out to Cash App customer support for assistance. They are there to help and provide guidance.
Now that you’re equipped with the knowledge of how to deposit money onto your Cash App card at an ATM, you can confidently manage your finances and make the most of the features offered by Cash App. Enjoy the convenience, flexibility, and peace of mind that Cash App provides!