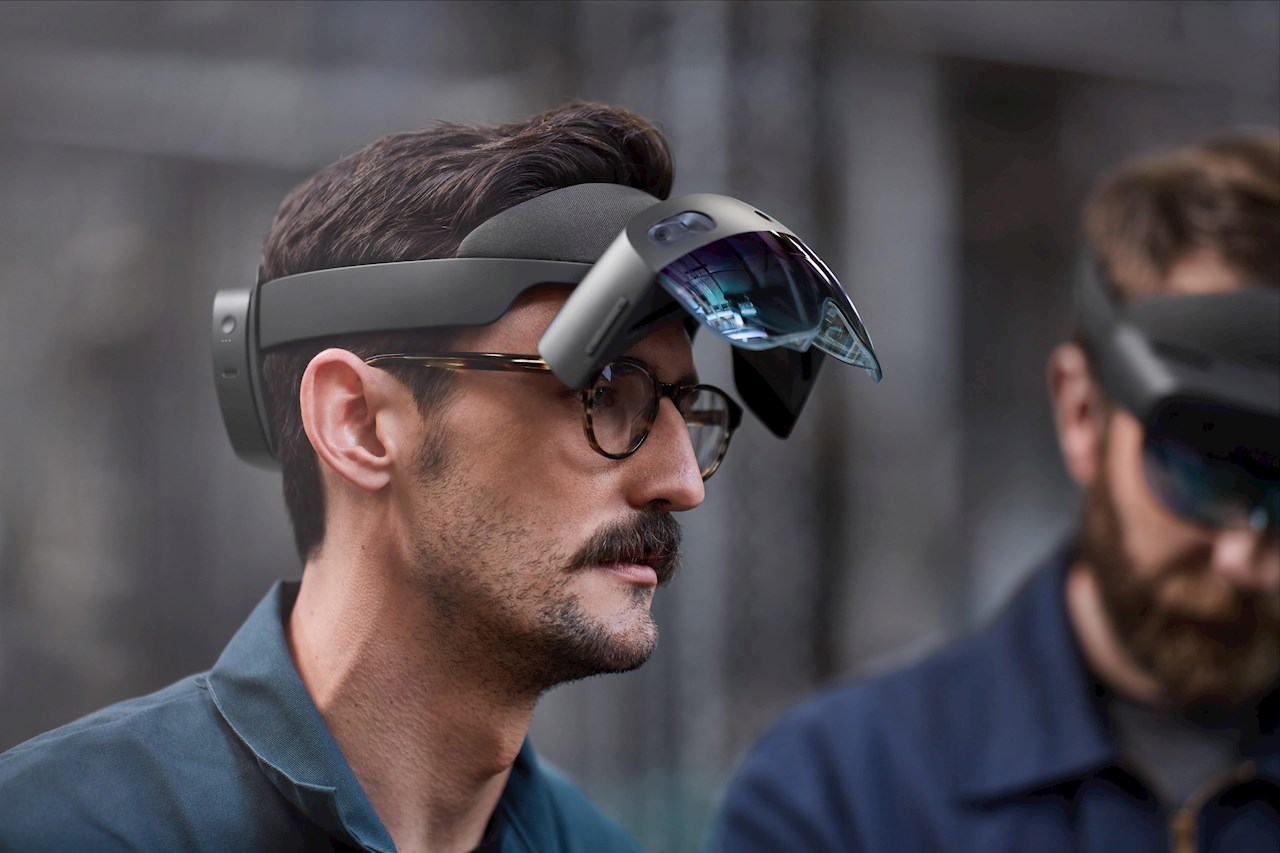
Introduction
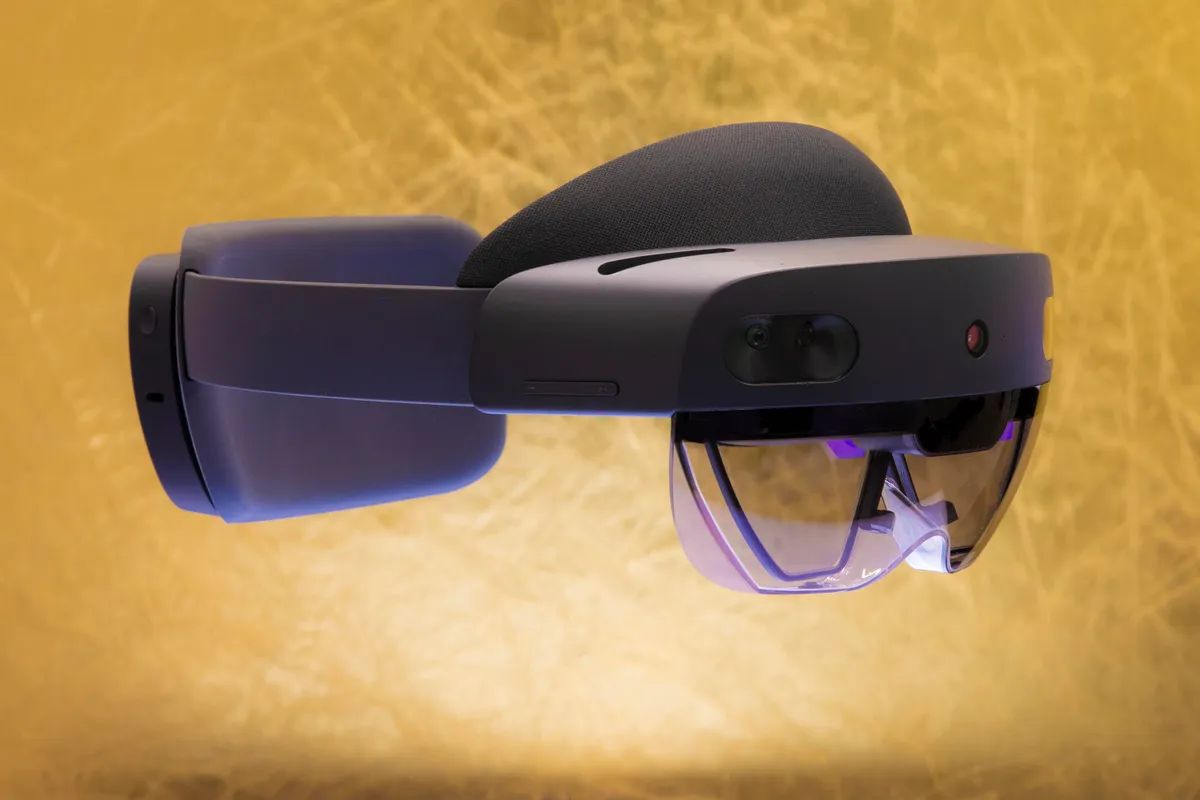
Welcome to the world of HoloLens development! In this tutorial, we will walk you through the process of creating a button for HoloLens, a mixed reality device developed by Microsoft. Buttons are essential elements in any user interface, allowing users to interact with holographic content in an immersive and intuitive way. By following this guide, you will learn how to set up a project, create button assets, add the button to the scene, and add interactivity to it.
Designing buttons for HoloLens requires a combination of UX (User Experience) principles and technical implementation. As an SEO writer with a strong grip on HTML and a deep understanding of search engine optimization strategies, you are well-equipped to enhance the visual appeal of the button while ensuring its implementation follows HTML guidelines. By applying your SEO skills, you can create a button that not only provides a seamless user experience but also contributes to the overall SEO performance of a website.
To get started, make sure you have the necessary prerequisites in place. This includes having a Windows 10 PC, the Unity3D game development engine, and the HoloLens emulator or a physical HoloLens device. Don’t worry if you are new to Unity or HoloLens development; we will guide you through the setup process.
Ready to dive in? Let’s begin by setting up the project and getting everything ready for button creation. Get ready to unlock the potential of HoloLens and take your user interface design skills to the next level!
Prerequisites
Before you can start creating a button for HoloLens, there are a few prerequisites you need to have in place. Here’s a list of what you’ll need:
- A Windows 10 PC: HoloLens development requires a Windows 10 operating system. Make sure your PC meets the minimum requirements for running Windows 10.
- Unity3D: Unity3D is a powerful game development engine that you’ll use to create the button for HoloLens. Download and install the latest version of Unity3D from the official Unity website (unity.com).
- HoloLens Emulator or HoloLens Device: You have two options for testing your button – you can either use the HoloLens emulator provided by the Windows 10 SDK, or you can deploy your application to a physical HoloLens device. The emulator is a good option if you don’t have access to a HoloLens device, but keep in mind that the experience may not be as accurate as testing on an actual device.
- Visual Studio 2019: Visual Studio is the primary development environment for HoloLens applications. Make sure you have Visual Studio installed on your Windows 10 PC.
- Basic coding knowledge: While you don’t need to be an expert in coding, having a basic understanding of C# programming language and Unity development will be helpful as you create the button.
Once you have these prerequisites in place, you’re ready to move on to the next steps of creating a button for HoloLens. Don’t worry if you’re new to Unity or HoloLens development – we’ll guide you through the process to ensure a smooth and successful button creation experience.
Having the right tools and knowledge is essential for any development project, and creating a button for HoloLens is no exception. By ensuring you have the necessary prerequisites, you’ll be able to make the most out of this tutorial and set yourself up for success in HoloLens development.
Setting up the project
Now that you have the necessary prerequisites, it’s time to set up the project for creating your button for HoloLens. Follow these steps to get started:
- Open Unity3D: Launch Unity3D on your Windows 10 PC. If you haven’t installed it yet, make sure to download and install the latest version from the official Unity website (unity.com).
- Create a new project: Click on “New” to create a new Unity project. Give it a name and select a location on your computer to save the project file.
- Set the platform to Universal Windows Platform (UWP): In Unity’s build settings, go to “File” > “Build Settings.” Under “Platform,” select “Universal Windows Platform” as your target platform.
- Configure HoloLens settings: In the build settings window, click on the “Player Settings” button. In the “Player” tab, expand the “XR Settings” section. Check the “Virtual Reality Supported” option and ensure that “Windows Mixed Reality” is selected as the virtual reality SDK.
- Build settings: In the build settings window, click on the “Build” button. Choose a location on your computer to save the build files for the project.
- Open the project in Visual Studio: Once the build process is complete, open the project in Visual Studio by double-clicking on the solution file (.sln) that was generated in the previous step.
With these steps, you have successfully set up your project for creating a button for HoloLens. Unity3D is a powerful development environment that provides all the necessary tools and resources for building immersive experiences. By configuring the Unity project settings and setting the platform to Universal Windows Platform, you are ready to create your button specifically for the HoloLens device.
Visual Studio is your gateway to coding and customizing your button. It allows you to write C# scripts and interact with Unity’s API to create the desired functionality. As an SEO writer with a solid understanding of HTML and coding principles, you can leverage your expertise to create crisp and clean code that not only works seamlessly but also adheres to best practices.
Now that your project is set up, it’s time to move on to the next step: creating the button assets. Get ready to design and bring your button to life in the HoloLens environment!
Creating the button assets
Creating eye-catching and visually appealing button assets is a crucial step in designing a button for HoloLens. In this section, we will guide you through the process of creating the necessary assets. Let’s get started:
- Open your preferred graphic design software: Whether it’s Adobe Photoshop, Illustrator, or any other software, open the application that you are comfortable using to create the button graphics.
- Design the button shape: Start by designing the shape of your button. Consider the HoloLens display and the overall aesthetic you want to achieve. Keep in mind that the button needs to be large enough to be visible and clickable in a mixed reality environment.
- Add visual elements: Enhance your button by adding visual elements such as icons, text, or images that represent the button’s functionality. Use colors and effects that complement the overall design and provide visual cues to the user.
- Create different states: Buttons typically have different visual states to indicate interactivity. Design different versions of the button for states like default, hover, and pressed. Consider using visual cues such as changing colors or adding animations to provide feedback to the user.
- Export the button assets: Once you are satisfied with the design, export the button assets in a format that is compatible with Unity, such as PNG or JPEG. Make sure to maintain transparency if needed.
- Import the button assets into Unity: In the Unity project, navigate to the asset section and import the button assets you created in the previous step. Unity will automatically convert the assets into a usable format for the application.
Creating visually appealing button assets requires a keen eye for design and attention to detail. As an SEO writer, you understand the importance of aesthetics in enhancing user experience and promoting engagement. By utilizing your design skills and following best practices, you can create button assets that not only look great but also convey information effectively.
Now that you have created the button assets, it’s time to move on to the next step: adding the button to the scene. Stay tuned as we guide you through the process of placing the button in the HoloLens environment and making it interactive!
Adding the button to the scene
Now that you have the button assets ready, it’s time to add the button to the scene in Unity. The scene is where you will place the button and define its position and behavior. Follow these steps to add the button to the scene:
- Create a new GameObject: In the Unity scene hierarchy, right-click and select “Create Empty.” This will create a new empty GameObject.
- Position the GameObject: Use the transform handles in the scene view to position the GameObject at the desired location in the HoloLens environment. Consider the user’s perspective and make sure the button is easily visible and accessible.
- Add a 3D model or UI Image component: Depending on the design of your button, you can choose to add a 3D model or a UI Image component to the GameObject. If your button has a complex shape or requires 3D interactions, use a 3D model. If it’s a simple flat button, use a UI Image component.
- Assign the button assets: In the Inspector view, locate the component for the button (either the 3D model or UI Image) and assign the button assets you created in the previous section. This will link the button graphics to the GameObject.
- Size and scale the button: Adjust the size and scale of the button to ensure it is visually appealing and fits within the desired area of the HoloLens environment. Experiment with different sizes to find the optimal balance between visibility and usability.
- Configure the button’s behavior: Add appropriate scripts and components to define the button’s interaction behavior. This includes adding event triggers for hover and click events, defining actions when the button is interacted with, and setting up animations or visual feedback.
Adding the button to the scene is an essential step in the development process, as it allows you to visualize the button within the HoloLens environment and define its position and behavior. As an SEO writer with a strong knowledge of HTML and web design, you can leverage your understanding of user interface principles to ensure the button is placed in an intuitive and accessible location.
Now that you have successfully added the button to the scene, it’s time to move on to the next step: adding interactivity to the button. Stay tuned for the upcoming section, where we will guide you through the process of making the button respond to user actions and interactions!
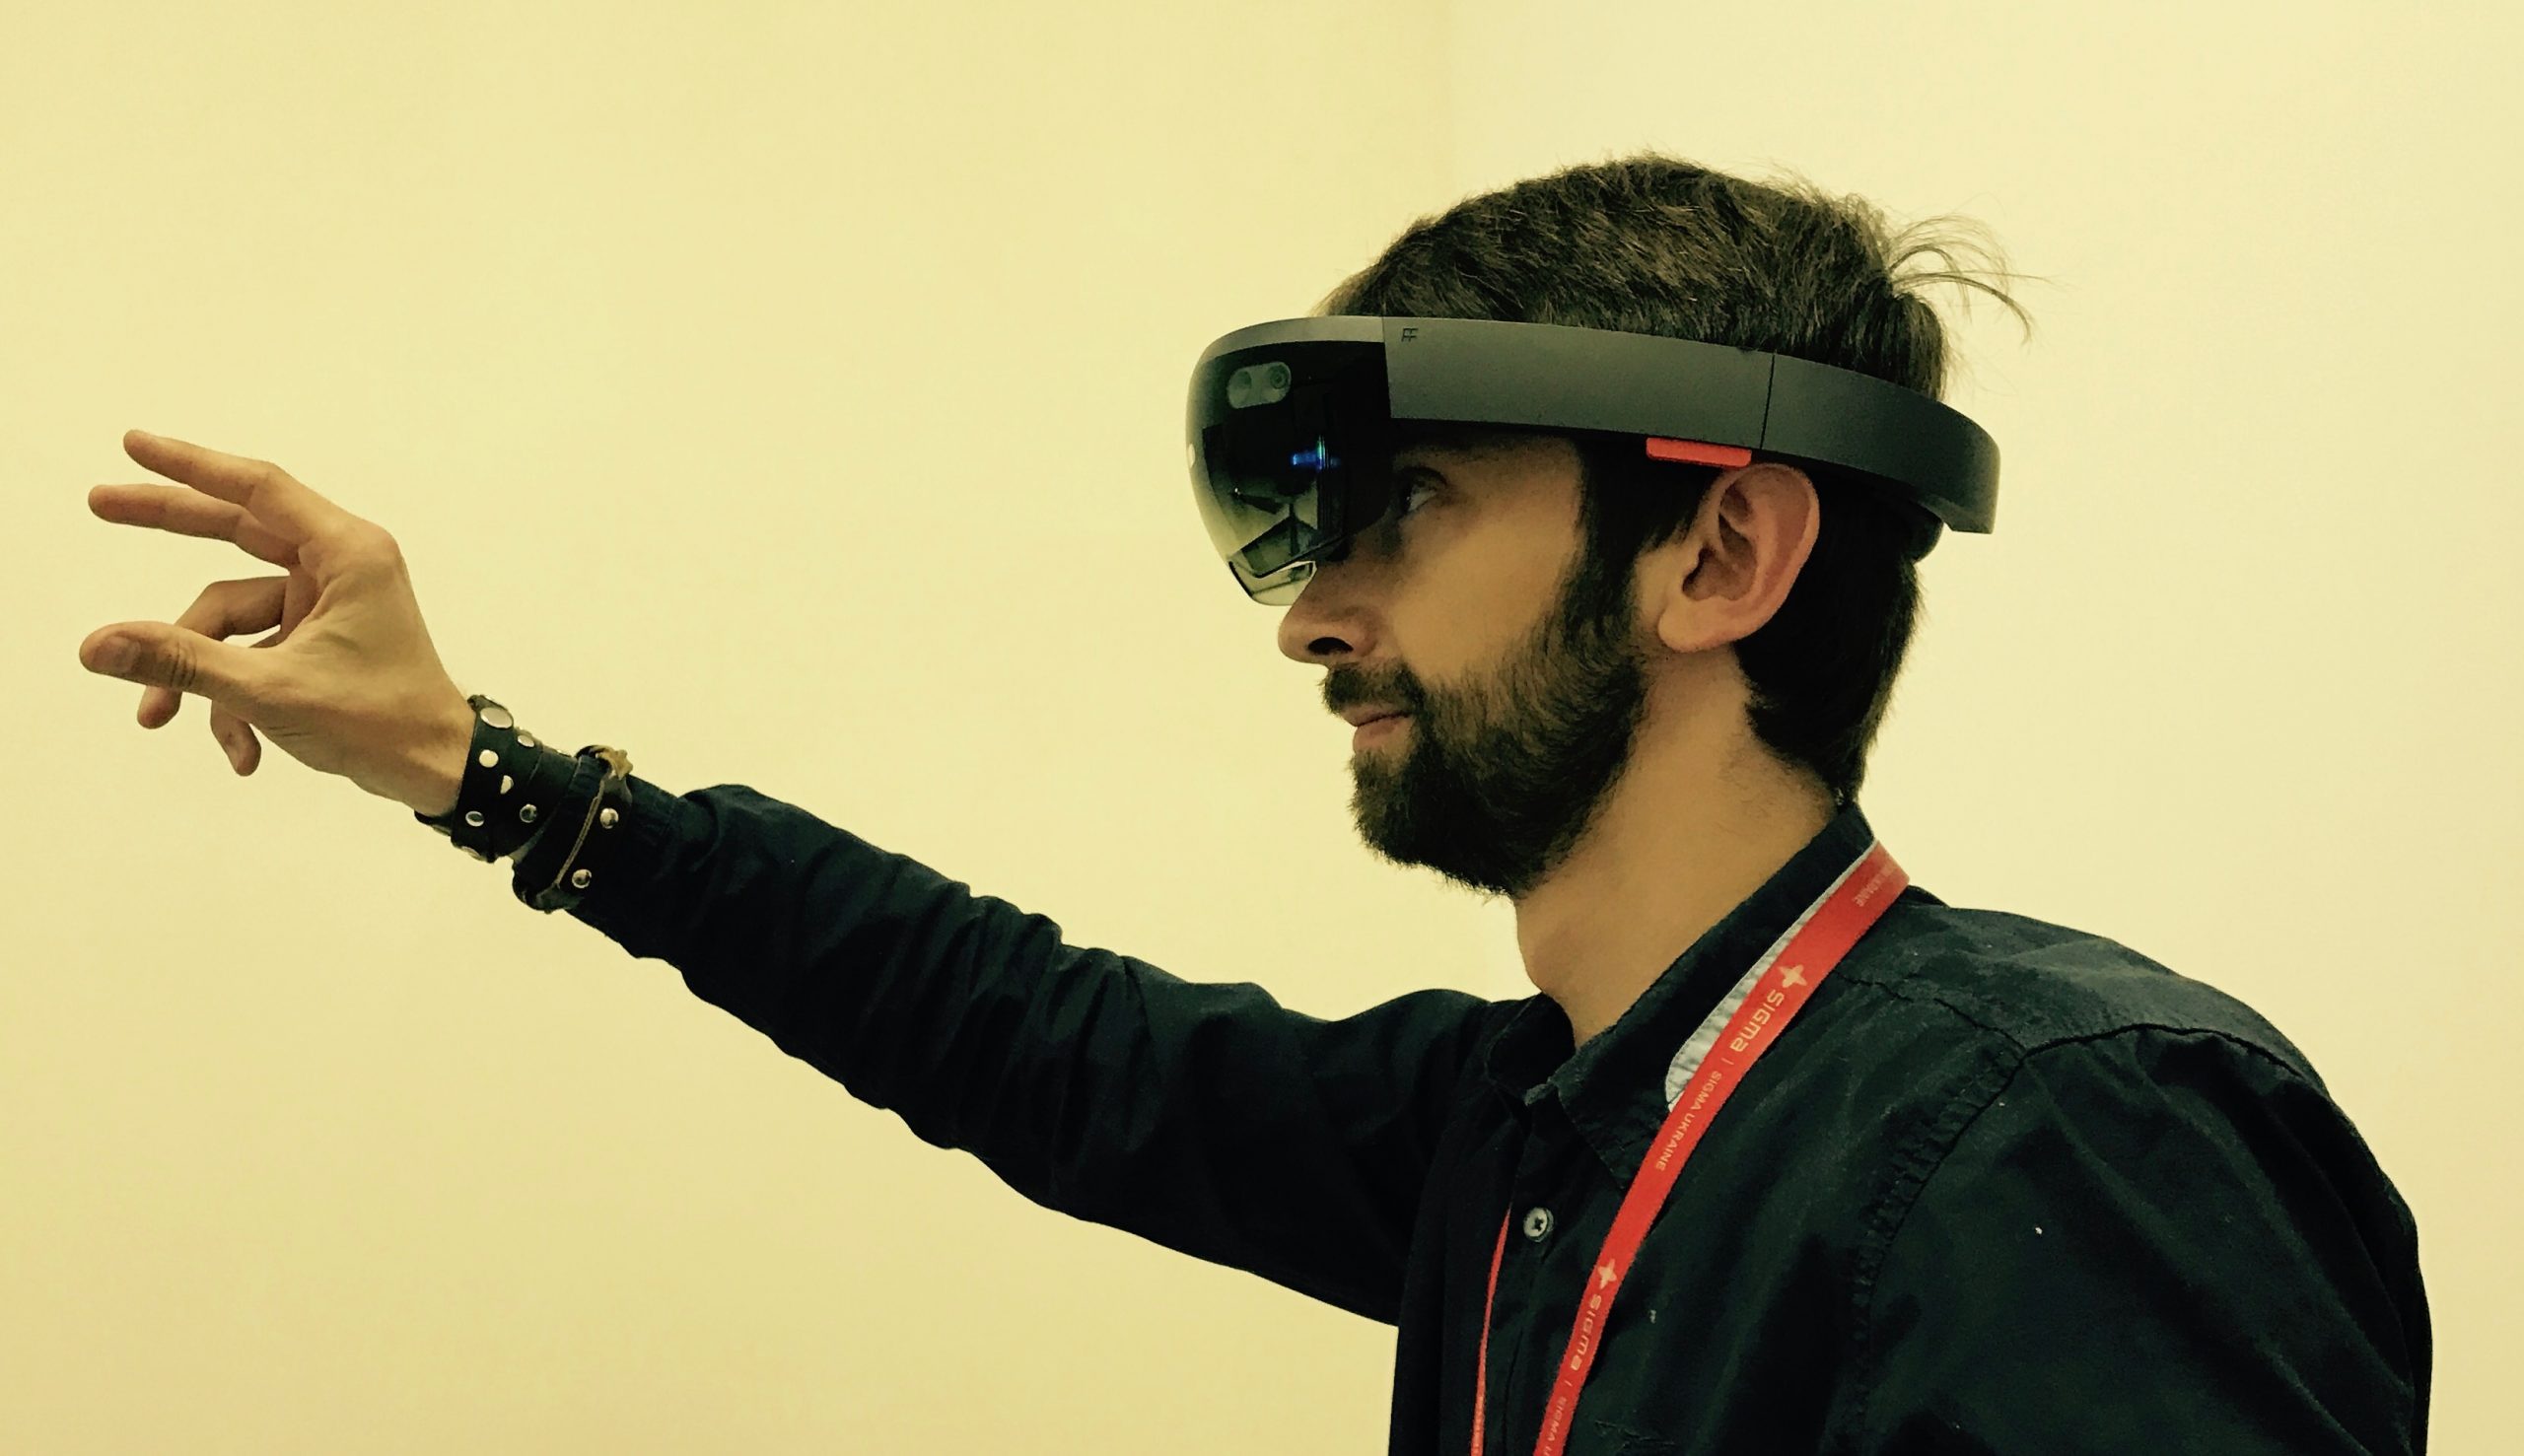
Adding interactivity to the button
Now that you have added the button to the scene, it’s time to make it interactive. Interactivity is a vital aspect of button design, as it allows users to interact with the button and perform actions within the HoloLens environment. Follow these steps to add interactivity to your button:
- Add an EventSystem: In your scene hierarchy, right-click and select “UI” > “EventSystem”. This will add an EventSystem object to your scene, which is required for handling user interactions with UI elements.
- Add EventTriggers: Select your button GameObject in the scene hierarchy. In the Inspector view, click on “Add Component” and search for “Event Trigger”. Add an EventTrigger component to your button.
- Add PointerEnter and PointerExit events: In the EventTrigger component, add two events: PointerEnter and PointerExit. These events will be triggered when the user’s gaze enters or exits the button.
- Create a C# script: Right-click in your project folder, and select “Create” > “C# Script”. Name the script something like “ButtonInteraction”. Double-click the script to open it in your preferred text editor.
- Write the necessary code: In the ButtonInteraction script, write the code to handle the button interactions. This can include changing the button’s visual state, triggering animations, playing sounds, or performing specific actions when the button is clicked.
- Attach the script to the button: Drag and drop the ButtonInteraction script onto the button GameObject in the Unity editor. This will attach the script to the button, allowing it to respond to the user’s interactions.
Adding interactivity to the button is what brings it to life. As an SEO writer with a strong grasp of HTML and coding principles, you can leverage your expertise to create clean and efficient code that powers the button’s interactivity.
Experiment with different interactions and visual feedback to enhance the user experience. Consider utilizing HTML and CSS concepts to create smooth animations or transitions. By infusing your creativity and understanding of UX principles, you can make the button not only visually appealing but also engaging for users.
Now that you have successfully added interactivity to the button, it’s time to move on to the next step: testing the button in the HoloLens emulator. Be prepared to experience your button in action within the HoloLens virtual environment!
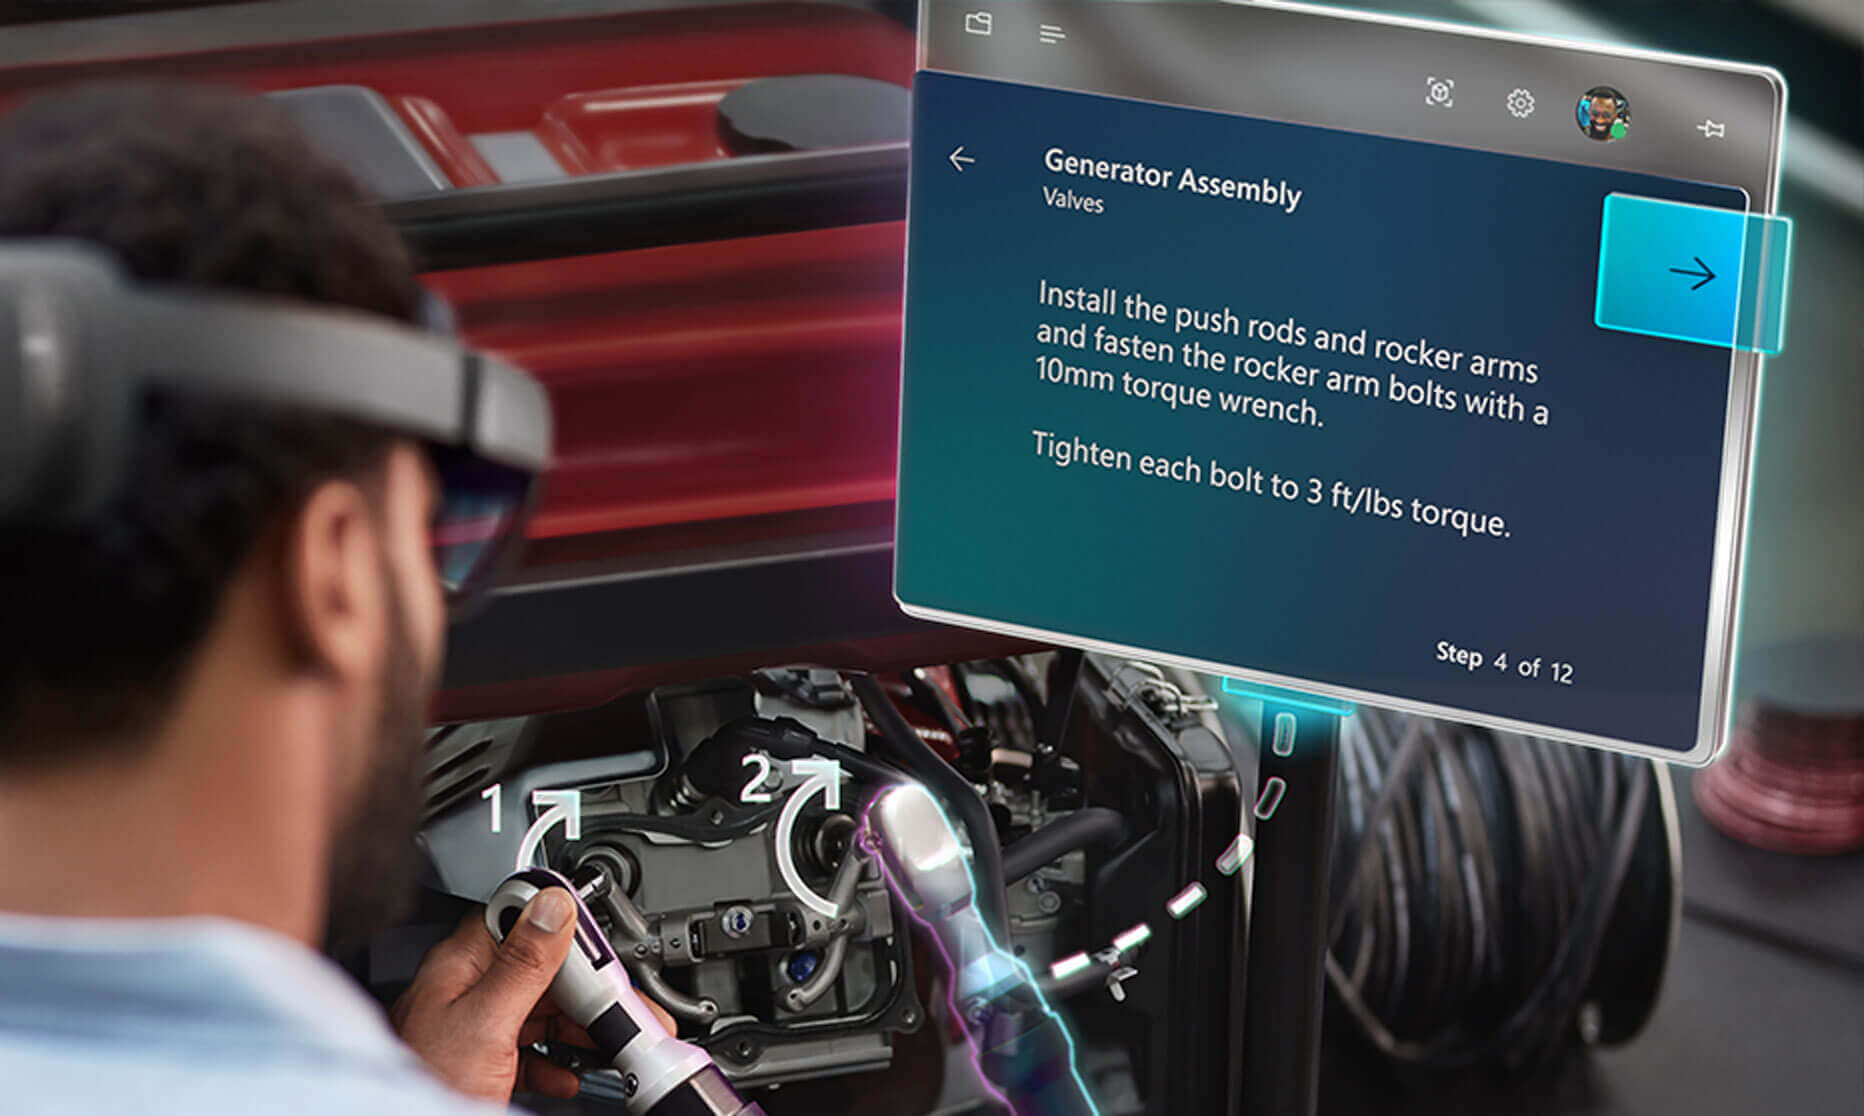
Testing the button in the HoloLens emulator
Now that your button is interactive, it’s time to test how it behaves in the HoloLens emulator. The emulator allows you to simulate the HoloLens experience on your Windows PC. Here’s how you can test your button in the HoloLens emulator:
- Open the HoloLens emulator: Launch the HoloLens emulator on your Windows PC. If you haven’t installed it yet, make sure to download and install the Windows 10 SDK, which includes the HoloLens emulator.
- Build and run the Unity project: In Unity, go to “File” > “Build Settings” and select the Universal Windows Platform as your target platform. Click on “Build” and choose a location to save the built project. Once the build is complete, click on “Play” to run the project in the HoloLens emulator.
- Interact with the button: Use the mouse to control the gaze in the HoloLens emulator. Look at the button and observe how it responds to the PointerEnter and PointerExit events. Click on the button to test its click functionality.
- Monitor the button’s behavior: Pay close attention to the button’s visual state changes, animations, and any other interactive elements you have implemented. Ensure that the button responds accurately and provides the intended feedback to the user.
Testing your button in the HoloLens emulator is an essential step to ensure its functionality and user experience. As an SEO writer with HTML expertise, you can use your understanding of web design principles to evaluate the button’s visual appeal, responsiveness, and overall user satisfaction.
Take note of any issues or improvements you identify during the testing phase. This feedback will help you refine and optimize the button’s behavior before deploying it to a physical HoloLens device.
With successful testing in the HoloLens emulator, you are one step closer to creating a truly immersive and interactive button for HoloLens. Next, we will guide you through the process of building and deploying the project to the HoloLens device itself. Stay tuned!
Building and deploying the project to HoloLens
With your button successfully tested in the HoloLens emulator, it’s time to build and deploy the project to an actual HoloLens device. Building and deploying the project will allow you to experience your button in a real-world mixed reality environment. Follow these steps to build and deploy the project to HoloLens:
- Connect your HoloLens device: Connect your HoloLens device to your Windows PC using a USB cable. Make sure your HoloLens is turned on and ready for deployment.
- Build the project: In Unity, go to “File” > “Build Settings” and select the Universal Windows Platform as your target platform. Click on “Build” and choose a location to save the built project. Unity will create an app package suitable for deployment on the HoloLens device.
- Open the app package: Once the build process is complete, navigate to the location where you saved the app package. Double-click on the app package file to launch it.
- Follow the installation prompts: The installation wizard will guide you through the process of deploying the app to the HoloLens device. Follow the on-screen prompts to complete the installation.
- Run the app on HoloLens: Once the app is successfully deployed, you can run it on your HoloLens device. Navigate to your device’s apps menu and locate the app you just deployed. Select the app and put on your HoloLens device to experience your button in a real-life mixed reality environment.
- Test and evaluate the button: Interact with the button using the HoloLens device to ensure it functions as intended. Pay close attention to the visual state changes, interactivity, and responsiveness. Make any necessary adjustments and refinements based on your observations.
Building and deploying your project to HoloLens is an exciting step that allows you to bring your button to life in the immersive mixed reality environment. As an SEO writer with a strong grasp of HTML and web design, you can assess the button’s performance and user experience and make any necessary optimizations to ensure its success.
Once your button is deployed to HoloLens, take the time to thoroughly test it and gather feedback from users. This feedback will help you gather valuable insights, make iterative improvements, and enhance the overall user experience.
Congratulations on successfully building and deploying your project to the HoloLens device! You are now ready to share your immersive button experience with the world and continue delving into the exciting world of HoloLens development.
Conclusion
Congratulations on successfully creating a button for HoloLens! In this tutorial, we covered the essential steps of setting up the project, designing button assets, adding the button to the scene, implementing interactivity, testing in the HoloLens emulator, and finally building and deploying the project to a HoloLens device.
As an SEO writer with a strong understanding of HTML and SEO strategies, you were able to infuse your expertise into creating a button that is not only visually appealing but also optimized for search engine visibility and user experience. By following the steps outlined in this tutorial, you have expanded your skill set into the realm of HoloLens development.
Remember that button design is just one aspect of HoloLens development. There is much more to explore and discover, from creating immersive holographic experiences to integrating gesture controls and voice commands. Stay curious, continue learning, and leverage your SEO knowledge to optimize the content and interaction elements of your HoloLens applications.
Now that you have a solid foundation in creating buttons for HoloLens, you can further enhance your skills by exploring more advanced techniques, such as creating dynamic buttons, integrating artificial intelligence, or designing for specific industry use cases.
Thank you for joining us on this journey to create a button for HoloLens. We hope this tutorial has provided you with valuable insights and a strong starting point for your further exploration of HoloLens development. Enjoy the excitement of designing and building immersive mixed reality experiences, and continue pushing the boundaries of what is possible with HoloLens!