Introduction
Peer-to-peer (P2P) payment has revolutionized the way we transfer money, making it faster, more convenient, and in many cases, more secure. By leveraging technology and digital platforms, P2P payment allows individuals to send and receive money with ease, eliminating the need for physical currency or traditional banking methods. Whether you’re splitting the bill at a restaurant, paying your share of rent, or sending money to a friend in need, P2P payment services have become an essential part of our daily lives.
In a world where cash transactions are increasingly rare and time-consuming, P2P payment offers a convenient alternative that fits seamlessly into our digital lifestyles. With just a few taps on your smartphone or clicks on a website, you can transfer money to anyone, anywhere, at any time.
But how exactly does the P2P payment process work? In this article, we will explore the ins and outs of P2P payment, from signing up for an account to successfully completing a transaction. Whether you’re new to P2P payment or looking to deepen your understanding, this guide will provide you with valuable insights into the process.
Throughout this article, we will focus on the typical steps involved in a P2P payment transaction, using a generic payment service as an example. Keep in mind that specific platforms or apps may have slightly different processes, but the underlying principles remain the same.
What is P2P payment?
P2P payment, also known as person-to-person payment or peer-to-peer payment, refers to a financial transaction where money is transferred directly between individuals through electronic means. This method of payment has gained popularity in recent years due to its convenience and simplicity.
In traditional payment methods, such as cash or checks, the exchange of money could only occur in person or through a centralized system like a bank. However, with P2P payment, individuals can send and receive money instantly, regardless of their location.
P2P payment operates through online platforms or mobile apps that connect users and facilitate the transfer of funds. These platforms act as intermediaries, enabling individuals to securely transfer money without the need for physical contact or sharing sensitive banking information.
One of the key advantages of P2P payment is its accessibility. Unlike traditional banking systems that may require individuals to have a bank account, P2P payment allows users to transact using only their mobile phone number or email address. This inclusivity has made P2P payment a popular choice for individuals who do not have access to traditional banking services.
Furthermore, P2P payment offers a level of convenience that is unmatched by traditional payment methods. Users can make transactions at any time, eliminating the need to visit a physical bank branch or wait for business hours. Whether you’re splitting a bill with friends, paying for goods or services, or reimbursing someone, P2P payment streamlines the transaction process and eliminates the hassle of carrying cash or writing checks.
Security is also a significant aspect of P2P payment. With data encryption and authentication measures in place, these platforms strive to protect users’ personal and financial information. However, it is essential to exercise caution and use reputable P2P payment services to ensure the highest level of security.
P2P payment has become increasingly popular not only among individuals but also in various industries. Businesses, freelancers, and non-profit organizations are incorporating P2P payment into their operations, as it offers a quick and efficient way to receive payments from clients or donors. This shift towards digital payments reflects the evolving nature of our economy and the desire for seamless, contactless financial transactions.
The basics of P2P payment
P2P payment services operate on the principle of transferring money directly from one person to another, without the need for intermediaries such as banks or financial institutions. Understanding the basics of P2P payment is essential for successfully navigating the process and making secure transactions.
When using a P2P payment service, you will typically need to sign up for an account. This may involve providing personal information, such as your name, email address, and phone number. Some platforms may also require additional verification steps to ensure the security of your account.
Once you have created an account, you will need to link your bank accounts to the P2P payment service. This facilitates the transfer of funds between your bank and the P2P payment platform. Linking bank accounts may require entering your account details or authorizing the service to access your bank account information securely.
Adding funds to your P2P payment account is the next step. This can typically be done by transferring money from your linked bank account to your P2P payment account. Depending on the platform, you may also have the option to receive funds directly into your P2P payment account from other users.
When it comes time to send money to someone, you will need to choose the recipient. This can usually be done by entering the recipient’s phone number, email address, or username associated with their P2P payment account. Some platforms may also allow you to scan QR codes or select recipients from your contacts.
Once you have selected the recipient, you can initiate the transfer. This involves entering the amount of money you wish to send and confirming the transaction. Depending on the platform, you may also have the option to include a message or note to the recipient.
After initiating the transfer, both you and the recipient will receive notifications. This is to ensure transparency and provide updates on the status of the transaction. The recipient will need to take action to accept the funds and complete the transfer into their P2P payment account.
Once the funds have been successfully received by the recipient, the transaction is complete. Both parties involved can review the transaction history within their respective accounts, which provides a record of the transfer and any associated details.
It is worth noting that different P2P payment services may have variations in their process, so it’s essential to familiarize yourself with the specific instructions provided by the platform you are using. Additionally, fees and transaction limits may vary between platforms, so be sure to review and understand the terms and conditions of the service you choose.
Now that you have a solid understanding of the basics of P2P payment, you can confidently make transactions and enjoy the convenience and speed that this payment method offers.
Step 1: Sign up
The first step in using a P2P payment service is signing up for an account. The sign-up process may vary slightly depending on the platform you choose, but the general steps are similar.
To sign up, you will need to visit the P2P payment service’s website or download their mobile app from the respective app store. Look for the “Sign up” or “Create an account” option, usually prominently displayed on the homepage or landing screen.
Clicking on the sign-up button will take you to a registration page where you will need to provide some necessary information. This typically includes your full name, email address, phone number, and sometimes a password. Some platforms may also require you to create a unique username or provide additional verification steps to enhance security.
Fill in the required information accurately and ensure that your email address and phone number are active and accessible as you may need to verify your account later. It is crucial to choose a strong password that is not easily guessable to protect your account from unauthorized access.
After entering the required information, click the “Submit” button or the equivalent to proceed. Some platforms may require you to verify your email address or phone number by clicking a link sent to your email or entering a verification code received via SMS. Follow the instructions provided to complete the verification process.
Once your account is successfully verified, you will typically be directed to a confirmation page or an onboarding tutorial, depending on the platform. Take the time to read any important information or instructions provided.
Remember to keep your login credentials secure and avoid using the same password for multiple accounts as this can compromise your overall online security.
Signing up for a P2P payment account is an important step as it establishes your presence within the platform and allows you to perform various money transfer functions. By setting up an account, you will have access to features like adding funds, sending money, and receiving payments.
Now that you have successfully signed up for an account, it’s time to move on to the next step, linking your bank accounts, to facilitate seamless fund transfers in your P2P payment journey.
Step 2: Link bank accounts
Once you have signed up for a P2P payment account, the next step is to link your bank accounts. Linking your bank accounts is essential as it allows you to transfer funds between your bank and the P2P payment platform seamlessly.
To link your bank accounts, navigate to the account settings or profile section of the P2P payment platform. Look for the option to add or link a bank account. This option is typically found in the settings menu or a dedicated section specifically for managing linked bank accounts.
Click on the “Add Bank Account” or similar button to initiate the process. You may be prompted to select your bank from a list of supported financial institutions or enter your bank’s name manually.
Next, you will need to provide your bank account details. This includes your account number, routing number, and possibly the type of account (e.g., checking or savings). Some platforms may automatically detect your bank based on the provided account number, simplifying the process further.
Ensure that you enter the correct account details to avoid any issues with future transactions. Double-check the account number and routing number to ensure accuracy. Inaccurate information may lead to failed transfers or delays in processing.
Once you have entered the required information, click the “Submit” or “Link Account” button to proceed. Depending on the platform, you may be asked to confirm your account or verify your ownership through additional steps.
Verification methods may include sending a small deposit to your bank account and requiring you to confirm the exact amount received, or initiating a micro-transaction that you must verify through your bank’s online banking system. Follow the instructions provided by the platform to complete the verification process.
After successfully linking your bank accounts, you will generally see a confirmation message or notification acknowledging the successful link. You may also see the linked bank account listed in your account settings or profile.
It is essential to ensure the security of your linked bank accounts. Choose a reputable P2P payment platform that employs strong security measures to protect your financial information. Keep your login credentials for both the P2P payment account and your linked bank accounts secure and never share them with anyone.
Now that you have linked your bank accounts, you are one step closer to hassle-free fund transfers using P2P payment. The next step is to add funds to your P2P payment account.
Step 3: Adding funds
After successfully signing up for a P2P payment account and linking your bank accounts, the next step is to add funds to your P2P payment account. Adding funds allows you to have a balance that you can use to send money to others or make purchases within the platform.
To add funds, log in to your P2P payment account and navigate to the account settings or wallet section. Look for an option that allows you to add funds or deposit money into your account. This option is typically located in the main menu or a prominent section of the platform.
Click on the “Add Funds” or similar button to initiate the process. Depending on the platform, you may be presented with different options for adding funds to your account.
One common method is to transfer funds directly from your linked bank account. This involves selecting the bank account you wish to transfer funds from and specifying the amount you want to add to your P2P payment account. Follow the instructions provided to complete the transfer securely.
Another option may be to receive funds from another user within the platform. If someone owes you money or wants to send funds directly to your P2P payment account, they can initiate a transfer to your account by using your registered phone number, email address, or username. Confirm the incoming transfer and accept the funds to add them to your account balance.
Some platforms may also allow you to add funds through alternative payment methods such as credit or debit cards. Follow the prompts and enter the necessary information to complete the process.
Once you have successfully added funds to your P2P payment account, you will typically see a confirmation message or notification indicating the successful transaction. The added funds will now be available in your account balance, ready to be used for future transactions.
It’s important to note that some P2P payment platforms may have minimum and maximum transaction limits or may charge fees for adding funds. Be sure to review the terms and conditions of the platform you are using to understand any applicable fees or restrictions.
Adding funds to your P2P payment account is a crucial step in the process as it ensures that you have sufficient balance to send money or make payments conveniently. Now that you have funds in your account, you can proceed to the next step, which is selecting the recipient and initiating the transfer.
Step 4: Choose recipient
Once you have added funds to your P2P payment account, the next step in the process is to choose the recipient of your payment. The recipient is the person or entity to whom you want to send money or make a payment within the P2P payment platform.
To choose a recipient, log in to your P2P payment account and navigate to the section where you can initiate a new transaction or payment. This section is typically labeled as “Send Money” or “Make Payment” and can be accessed from the main menu or dashboard of the platform.
Depending on the platform, you may have different options for selecting a recipient. The most common methods include:
- Enter contact information: If you know the contact information of the person you want to send money to, such as their phone number, email address, or username within the platform, you can enter this information directly. The platform will validate the provided details and confirm the recipient’s identity.
- Scan QR code: Some P2P payment platforms offer the ability to scan QR codes to select the recipient. This method is particularly useful when making payments in-person or when the recipient provides a unique QR code associated with their P2P payment account. Simply open the scanner within the platform and scan the recipient’s QR code to automatically select them.
- Select from contacts: In some cases, P2P payment platforms allow you to select recipients from your existing contacts within the platform. This is especially handy if you frequently send money to the same group of people or have a list of trusted contacts within the platform.
After selecting the recipient, double-check the provided information to ensure accuracy. It’s crucial to enter the correct contact details, as sending money to the wrong person may result in irreversible transactions or complications in retrieving the funds.
Depending on the P2P payment platform, you might have the option to include additional details, such as a payment note or a reference for the transaction. This can be helpful for providing context or instructions to the recipient.
Take a moment to review the selected recipient and any accompanying details before proceeding to the next step. Ensuring accuracy and clarity in the recipient selection guarantees a smooth and secure transfer of funds.
Now that you have chosen the recipient, it’s time to move on to the next step: initiating the transfer and completing the payment.
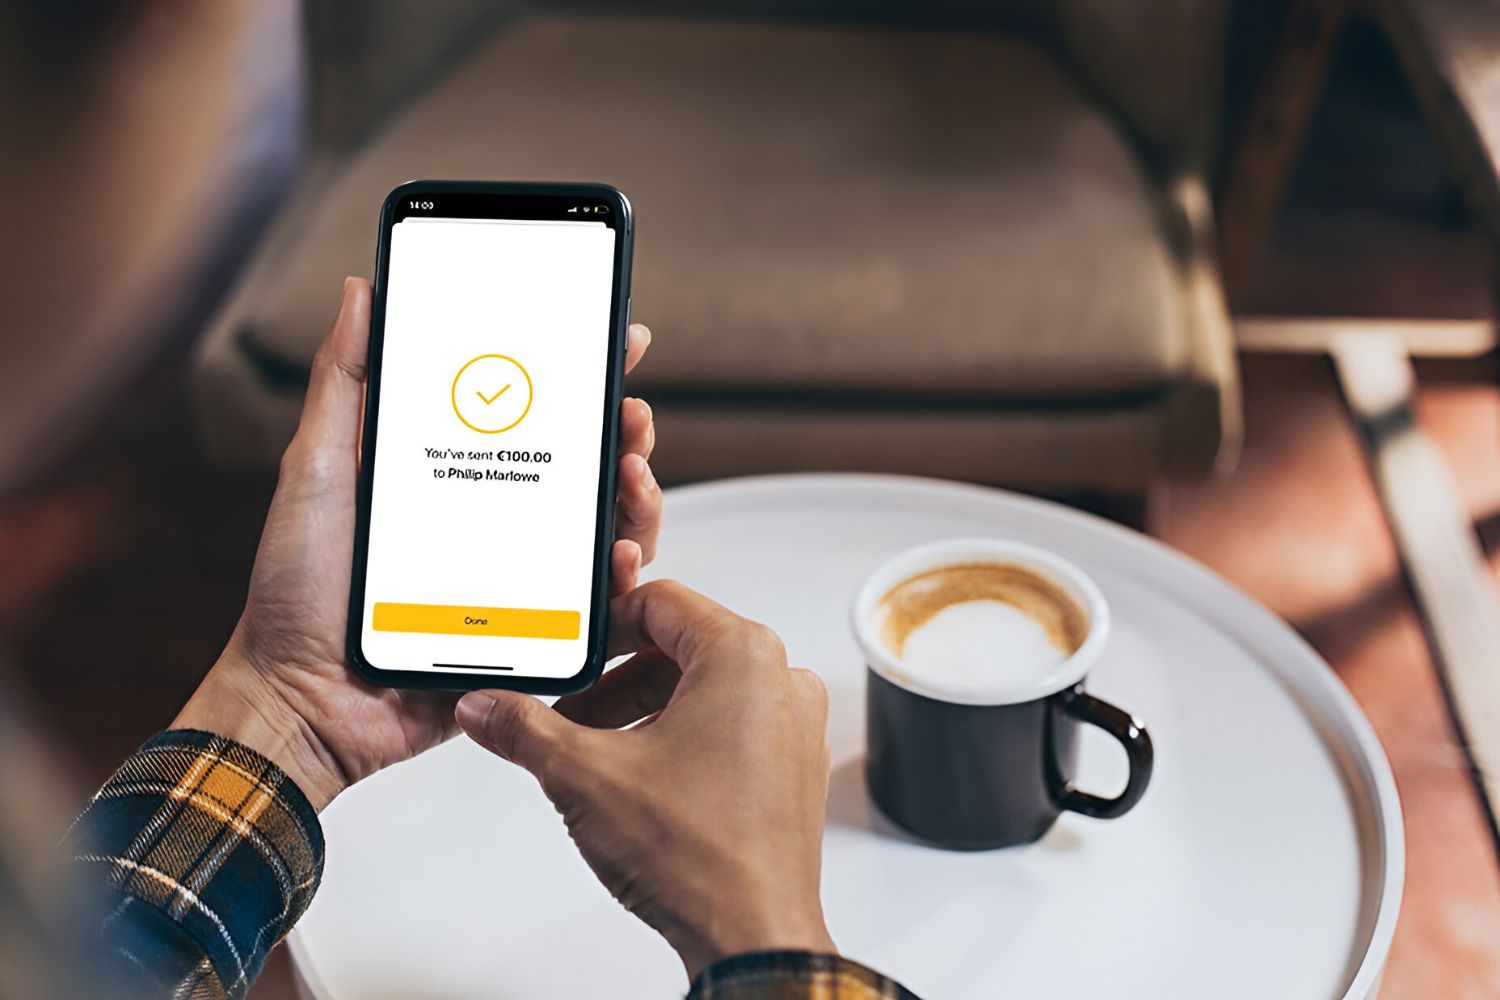
Step 5: Initiate transfer
After selecting the recipient, the next step in the P2P payment process is to initiate the transfer. This involves specifying the amount of money you want to send or pay and confirming the transaction details before proceeding with the transfer.
To initiate the transfer, navigate to the section on your P2P payment platform where you can enter the payment details. This section is usually labeled as “Send Money” or “Make Payment” and can be found in the main menu or dashboard.
Enter the amount of money you want to transfer or pay in the designated field. Depending on the platform, you may also need to select the currency in which the transaction is to be conducted.
Take a moment to review the transaction details, including the recipient’s name, transaction amount, and any additional information that will be included with the transfer. Make sure that the information provided is accurate and reflects the intended transaction.
Some P2P payment platforms also offer an option to add a note or message to the recipient. This can be helpful for providing specific instructions or context related to the payment.
Once you are satisfied with the entered information, click on the “Send” or “Initiate Transfer” button to proceed with the transaction. Depending on the platform, you may be prompted to confirm the transfer again before it is processed.
During the transfer initiation process, the platform will validate the availability of funds in your P2P payment account to ensure that you have sufficient balance to complete the transaction. If the balance is insufficient, you may be required to add more funds before proceeding.
After confirming the transfer, you will typically see a confirmation message or notification indicating that the transaction has been initiated. This serves as proof that the transfer process is underway.
Keep in mind that some P2P payment platforms may have transaction limits, both in terms of individual transfers and daily or monthly limits. Familiarize yourself with the specific limits imposed by the platform you are using to avoid any misunderstandings or restrictions.
Once the transfer is initiated, the platform will process the transaction and work to securely transfer the funds from your P2P payment account to the recipient’s account.
With the transfer initiated, we move on to the next step: waiting for notification and confirmation of the transaction.
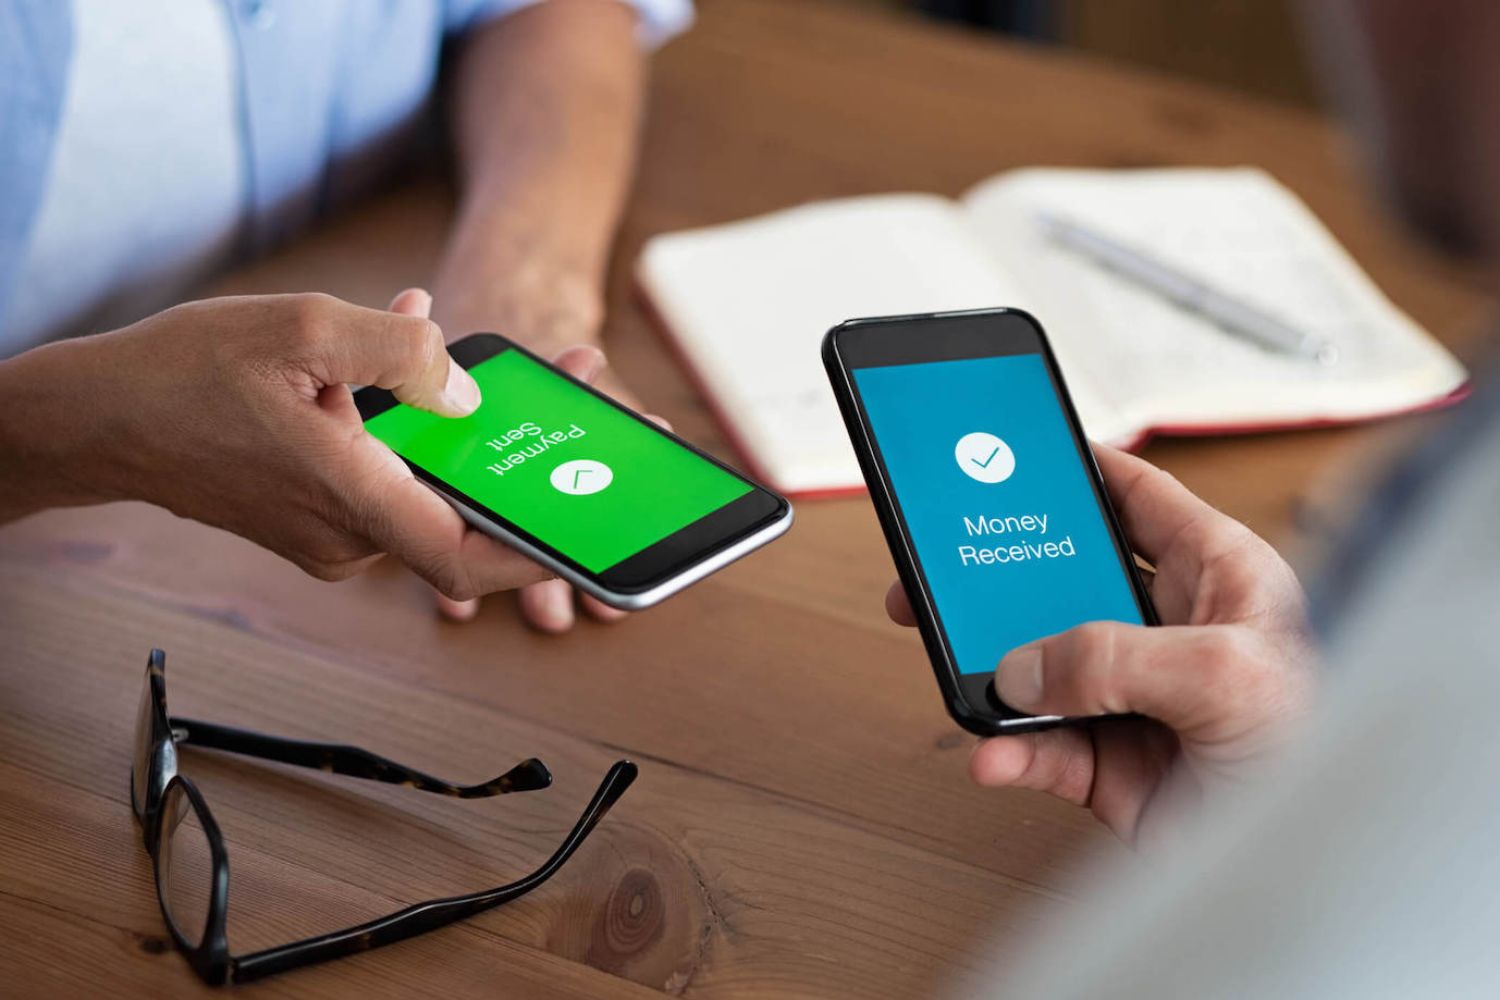
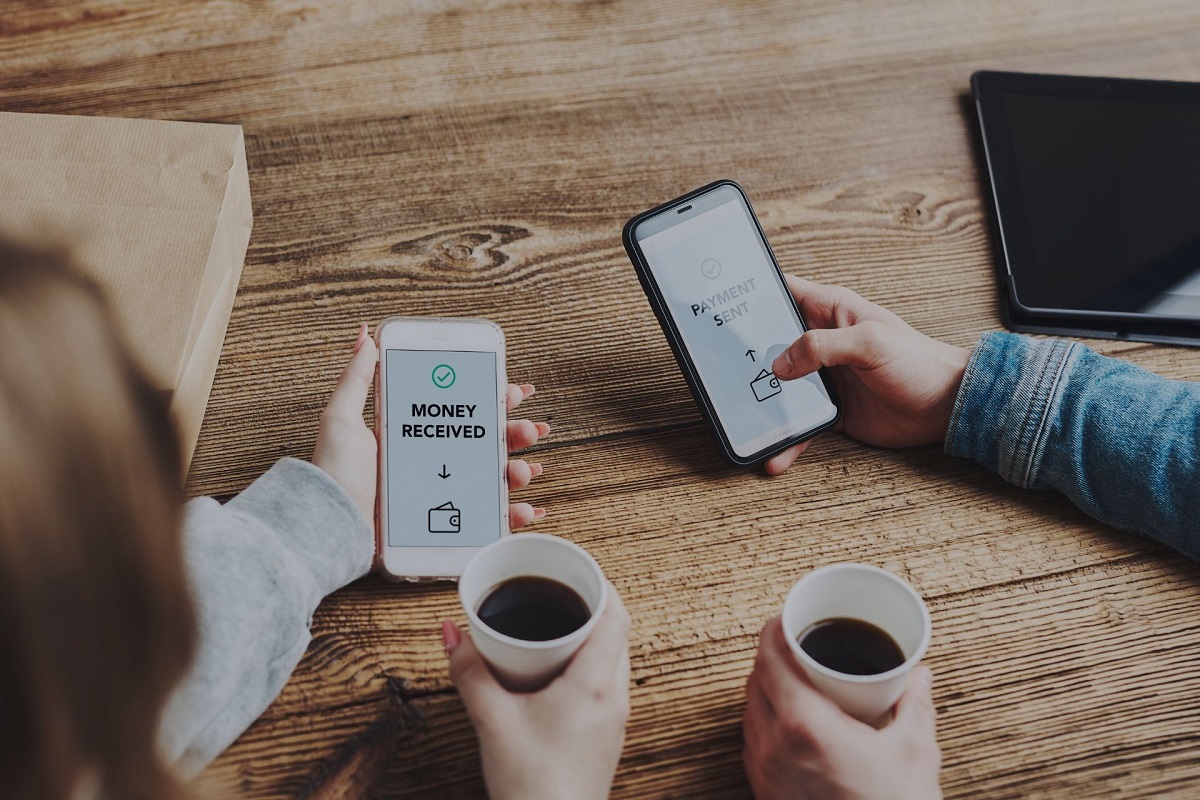
Step 6: Notification and confirmation
After initiating the transfer, the next step in the P2P payment process is to wait for notification and confirmation of the transaction. This step ensures transparency and provides updates on the status of the transfer.
Once you have initiated the transfer, both you and the recipient will typically receive notifications from the P2P payment platform. These notifications serve as a confirmation that the transfer has been initiated and provide information about the transaction.
The notifications may include details such as the transaction amount, the recipient’s name, any accompanying note or message, and a reference or transaction ID for future reference. Review the notification to ensure that the provided details are accurate.
Notifications can be sent via email, SMS, or within the P2P payment app. Configure your notification preferences within the platform to receive updates in your preferred format and ensure that your contact information is up to date.
Keep in mind that notifications may be sent instantaneously or after a short delay, depending on the P2P payment platform’s system and processes. It is common for both the sender and recipient to receive notifications simultaneously or within a few minutes of each other.
It is essential to review the notification and confirm that the details align with your intentions. Check the transaction amount, recipient’s information, and any accompanying messages to ensure accuracy.
Reach out to the recipient if you notice any discrepancies or if you need additional clarification about the transaction. Open communication with the recipient can help address any concerns or provide reassurance during the process.
In some cases, the recipient may need to take action to confirm the receipt of funds. This could involve accepting the transfer or indicating that the payment has been received. Follow the instructions provided within the notification or contact the recipient directly to verify if any further steps are required.
Once both parties have received the notification and confirmation of the transaction, it indicates that the transfer process is progressing smoothly. At this point, you can proceed to the next step: the recipient’s actions regarding the funds received.
Step 7: Recipient’s actions
After receiving the notification and confirmation of the transaction, the recipient plays an important role in completing the P2P payment process. The recipient will need to take specific actions to finalize the receipt of funds.
First, the recipient should review the notification to ensure that the transaction details align with their expectations. They should confirm that the amount received matches the amount expected and that any accompanying messages or references are accurate.
If the recipient has not yet done so, they may need to create a P2P payment account if they are a new user of the platform. This usually involves signing up by providing their information, such as their name, email address, and phone number. Some platforms may require additional verification steps to establish the recipient’s identity.
Once the recipient has logged into their P2P payment account, they should navigate to the section where they can view incoming transactions. Depending on the platform, this section may be labeled as “Incoming Payments,” “Received Funds,” or something similar.
In this section, the recipient should be able to see the transaction from the sender, including the sender’s name, the transaction amount, any accompanying note or reference, and the status of the transfer.
If the transfer requires the recipient’s action, such as accepting the funds or confirming that the payment has been received, they should follow the instructions provided by the platform. This may involve clicking on a button or link to confirm receipt or manually accepting the funds into their P2P payment account.
It is important for the recipient to carefully review any terms or conditions associated with accepting the funds. This includes being aware of any fees or charges that may apply to the transaction or any restrictions on the use or withdrawal of the funds within their P2P payment account.
Once the recipient has taken the necessary actions, such as accepting the payment or confirming receipt, they should receive a confirmation notification from the P2P payment platform. This notification indicates that the recipient has successfully completed their part in the transaction process.
If there are any concerns, discrepancies, or issues with the funds received, it is essential for the recipient to communicate with the sender promptly. Open and transparent communication helps resolve any potential misunderstandings or errors in the transaction.
With the recipient’s actions completed, the funds are received and finalized. Proceed to the next step, where both the sender and recipient can review the transaction history and its details.
Step 8: Funds received
After the recipient has taken the necessary actions, such as accepting the payment or confirming receipt, the funds are considered received. At this stage of the P2P payment process, both the sender and recipient can be assured that the transaction is complete.
For the recipient, the funds received should reflect in their P2P payment account balance. This balance can be used for future transactions within the platform, such as sending money to others or making payments for goods and services.
The recipient can typically view their account balance and transaction history by navigating to their account settings, wallet, or transaction history section of the P2P payment platform. Here, they can review the details of the received funds, including the sender’s name, the transaction amount, and any accompanying notes or references.
If the recipient needs to access the funds outside of the P2P payment platform, they may have the option to withdraw the funds to their linked bank account. This option is usually available within the platform’s settings or withdrawal section. It is important to note that there may be withdrawal fees or minimum withdrawal amounts associated with transferring funds to the linked bank account.
Both the sender and recipient should ensure that the transaction details align with their expectations and that any notes or references provided accurately reflect the purpose of the transaction. If there are any discrepancies or questions about the received funds, it is crucial to communicate with the sender or recipient promptly to address any concerns.
Reviewing the transaction history and details is also beneficial for record-keeping purposes. Both parties can maintain a record of the transaction within their respective P2P payment accounts, including the date, time, and details of the payment. This allows for easy reference and reference any time in the future.
It is important to note that P2P payment platforms employ various security measures to protect user information and funds. However, it is always recommended to be vigilant and monitor your P2P payment account for any suspicious activity. Report any unauthorized transactions or suspicious behavior to the platform’s customer support immediately.
With the funds received and the transaction completed, both the sender and recipient can move on to the next step: reviewing the transaction history and maintaining records within their P2P payment accounts.
Step 9: Review and history
After the P2P payment transaction is completed, it is essential for both the sender and recipient to review and maintain a history of the transaction within their respective P2P payment accounts. This step allows for easy reference, record-keeping, and transparency in financial transactions.
To review the transaction history, both the sender and recipient can navigate to the transaction or history section of their P2P payment platform. This section is typically labeled as “Transaction History” or “Activity Log” and can be accessed through the account settings or dashboard.
Within the transaction history, both parties can view the details of the completed transaction. This includes information such as the date and time of the payment, the transaction amount, the recipient’s name or username, and any accompanying notes or references that were included with the transfer.
Reviewing the transaction history is particularly useful for reconciling accounts, tracking expenses, or simply keeping a record of the financial transactions made through the P2P payment platform.
Additionally, the transaction history provides a level of transparency and visibility into past transactions, allowing users to monitor their payment activity and verify the accuracy of each transaction.
By maintaining a record of the transaction history within their P2P payment accounts, both the sender and recipient can easily refer back to specific transactions if needed.
This record-keeping can be valuable for a variety of purposes, including budget tracking, expense reports, or simply for personal reference. Having the ability to access transaction details and track payment history within the platform provides a convenient and efficient way to manage and monitor financial activity.
It is also worth noting that some P2P payment platforms offer additional features such as the ability to generate receipts or export transaction history for accounting purposes. These features can be helpful for those who require detailed records for tax reporting or business expense management.
To maintain a complete and accurate transaction history, it is recommended to regularly review and verify the information listed within the transaction history section of the P2P payment platform. If any discrepancies or issues arise, contact the platform’s customer support for assistance.
With the transaction history reviewed and properly recorded, both the sender and recipient can trust that the transaction has been successfully completed and the details of the payment are securely stored within their respective P2P payment accounts.
Now that we have covered the nine steps involved in the P2P payment process, you have gained a comprehensive understanding of how it works from sign-up to transaction history. Utilize this knowledge to navigate through P2P payment platforms confidently and enjoy the convenience they offer in transferring money securely and effortlessly.
Conclusion
Peer-to-peer (P2P) payment has become an integral part of our daily lives, offering a fast, convenient, and secure way to transfer money between individuals. Throughout this article, we have explored the nine fundamental steps involved in the P2P payment process, providing valuable insights into each stage.
We began by understanding the concept of P2P payment and its significance in the modern digital economy. P2P payment eliminates the need for physical currency or traditional banking methods, allowing individuals to send and receive money easily and quickly.
We then delved into the basics of P2P payment, including signing up for an account, linking bank accounts, and adding funds. These steps lay the foundation for seamless and secure money transfers within the P2P payment platforms.
Choosing the recipient, initiating the transfer, and awaiting notifications and confirmation are the subsequent steps in the process. These steps ensure transparency and provide updates on the status of the transaction for both the sender and recipient.
The recipient’s actions are crucial in completing the payment process. They verify the transaction details, confirm receipt of funds, and take any necessary action to finalize the transaction.
Finally, we discussed the importance of reviewing the transaction history and maintaining records within the P2P payment accounts. This step allows for easy reference, record-keeping, and monitoring financial activity within the platform.
By following these nine steps and understanding the intricacies of the P2P payment process, individuals can navigate the world of digital transactions with confidence and efficiency. P2P payment platforms have revolutionized the way we transfer money, making it accessible to everyone and empowering individuals to take control of their financial transactions.
As technology continues to advance and our reliance on digital transactions grows, the P2P payment landscape is likely to evolve further. It is important to stay informed about updates, new features, and security measures within the P2P payment platforms to ensure a safe and seamless experience.
So, whether you’re splitting a bill, sending money to friends or family, or making payments for goods and services, embrace the convenience and simplicity of P2P payment. With a few taps and clicks, you can effortlessly transfer money, eliminating the hassles of carrying cash or writing checks.
Embrace the P2P payment revolution and enjoy the benefits of fast, accessible, and secure transactions in the digital age!