Introduction
Welcome to the world of cryptocurrency! If you’re looking to diversify your digital asset portfolio, buying Ethereum with Bitcoin is a great place to start. Coinbase, one of the most popular and reputable cryptocurrency exchanges, makes this process quick and straightforward.
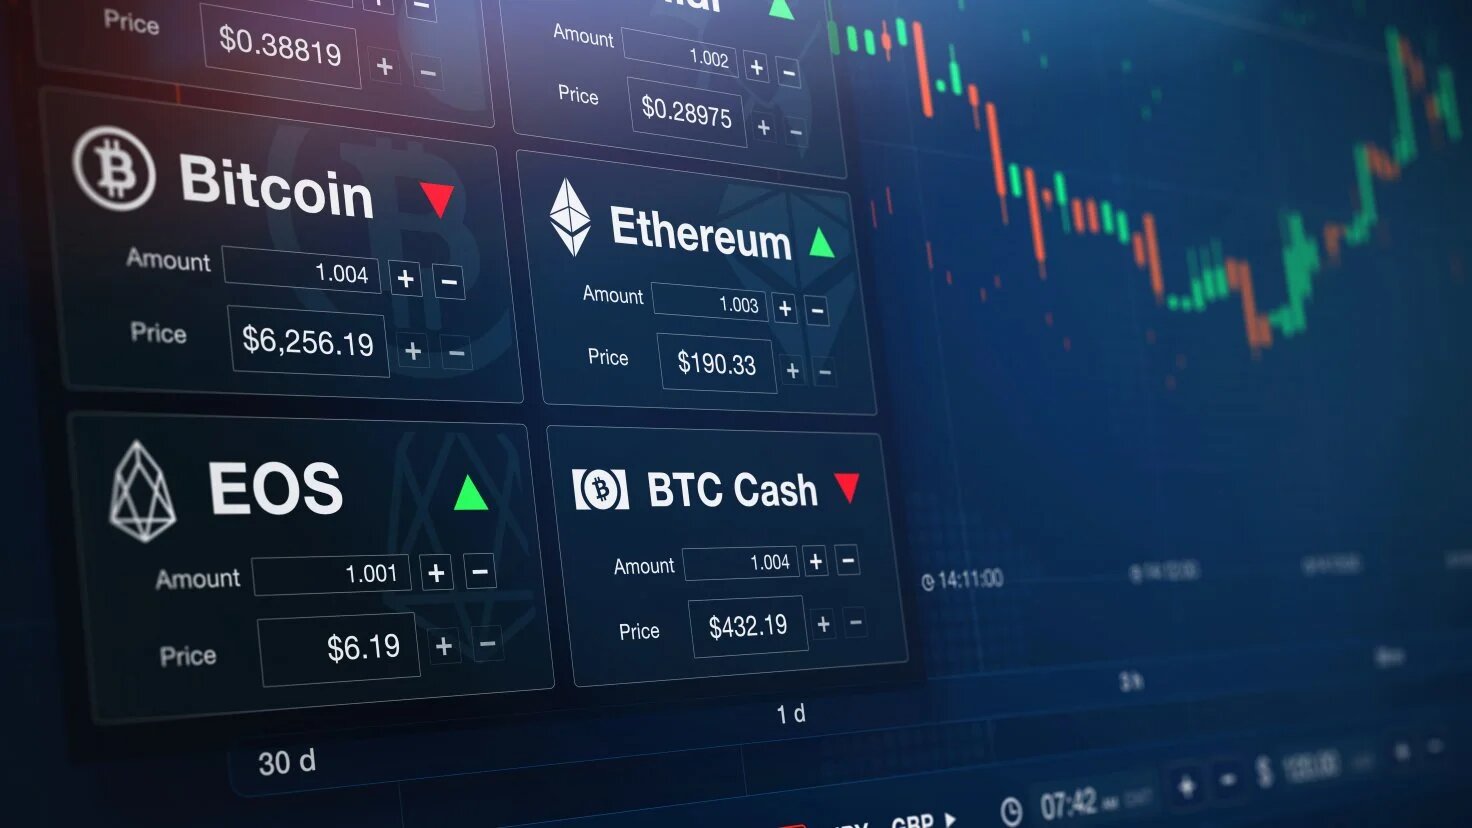
Buying Ethereum with Bitcoin on Coinbase allows you to take advantage of the potential value growth and unique features of both cryptocurrencies. Ethereum, often referred to as the “world computer,” is a blockchain platform that enables the creation of decentralized applications (dApps) and the execution of smart contracts. Bitcoin, on the other hand, is the pioneering cryptocurrency that remains a store of value and a medium of exchange.
In this step-by-step guide, we will walk you through the process of buying Ethereum with Bitcoin on Coinbase. Whether you’re a seasoned crypto investor or a beginner looking to dip your toes into the world of digital currencies, this guide will provide you with the knowledge and tools you need to make your first transaction.
Before we dive in, it’s important to note that you will need a Coinbase account to complete this process. If you don’t have one already, don’t worry – we’ll guide you through the account setup and verification steps as well.
So, let’s get started on this exciting journey towards buying Ethereum with Bitcoin on Coinbase!
Step 1: Sign up for a Coinbase account
The first step in buying Ethereum with Bitcoin on Coinbase is to create an account. Here’s how:
- Head to the Coinbase website and click on the “Get started” button.
- Fill out the required information, including your full name, email address, and a strong password. Make sure to choose a password that is secure and not easily guessable.
- Agree to the terms of service and click on the “Create account” button.
- Next, you will receive an email with a verification link. Click on the link to verify your email address.
- Once your email is verified, Coinbase will prompt you to set up two-factor authentication (2FA) for added security. You can choose to enable this feature using an authenticator app or an SMS code.
After completing these steps, you will have successfully created a Coinbase account. Make sure to remember your login details and keep them secure. It’s also a good idea to enable additional security features like biometric authentication if available on your device.
Now that you have a Coinbase account, let’s move on to the next step: verifying your account.
Step 2: Verify your account
Before you can start buying Ethereum with Bitcoin on Coinbase, you need to verify your account. This process is necessary to comply with regulatory requirements and ensure the security of your transactions. Here’s how to do it:
- Log in to your Coinbase account using your email address and password.
- Click on your account icon in the top right corner of the Coinbase dashboard, then select “Settings” from the dropdown menu.
- In the settings menu, click on the “Get Verified” tab.
- Choose your country of residence and the type of verification you want to complete. Coinbase offers different verification levels, including basic identity verification and higher level verification for increased limits and functionality.
- Follow the instructions provided by Coinbase to complete the verification process. This may involve uploading a copy of your government-issued ID, taking a selfie, or providing additional information depending on the level of verification you choose.
- Once you’ve submitted your verification information, Coinbase will review and verify your account. This process may take some time, so be patient.
- You will receive an email notification once your account is successfully verified. At this point, you can start using Coinbase’s full range of features, including buying Ethereum with Bitcoin.
Verifying your Coinbase account adds an extra layer of security and allows you to access higher transaction limits. It also demonstrates your commitment to following regulatory guidelines and helps protect the integrity of the cryptocurrency ecosystem.
Now that your account is verified, let’s move on to the next step: adding Bitcoin to your Coinbase wallet.
Step 3: Add Bitcoin to your Coinbase wallet
Before you can buy Ethereum with Bitcoin on Coinbase, you’ll need to have Bitcoin in your Coinbase wallet. Here’s how you can add Bitcoin to your Coinbase wallet:
- Sign in to your Coinbase account using your email address and password.
- From the Coinbase dashboard, click on the “Accounts” tab at the top of the screen.
- Next, click on the “Receive” button next to your Bitcoin wallet. This will display your unique Bitcoin address, which you will need to receive Bitcoin.
- Copy the Bitcoin address or use the provided QR code to receive Bitcoin from an external wallet or exchange.
- If you already have Bitcoin in an external wallet or exchange, initiate a transfer by pasting the Coinbase Bitcoin address as the recipient.
- Once the transfer is complete, you’ll see the Bitcoin balance reflected in your Coinbase wallet.
It’s important to note that Bitcoin transfers can take some time to process, depending on network congestion. Be patient and wait for the transaction to confirm before proceeding to the next step.
Having Bitcoin in your Coinbase wallet is a prerequisite for buying Ethereum with Bitcoin. When you’re ready, let’s move on to the next step: navigating to the trade page on Coinbase.
Step 4: Navigate to the trade page
Now that you have Bitcoin in your Coinbase wallet, it’s time to navigate to the trade page to initiate the process of exchanging it for Ethereum. Follow these steps:
- Log in to your Coinbase account using your email address and password.
- From the Coinbase dashboard, click on the “Trade” tab at the top of the screen.
- On the trade page, you will see a list of available trading pairs. Look for the Bitcoin/Ethereum pair and click on it to proceed.
- This will bring up the trading interface, where you can specify the details of your transaction.
The trade page on Coinbase provides you with important information about the Bitcoin/Ethereum trading pair, such as the current price, the order book displaying buy and sell orders, and the trading chart.
Take some time to familiarize yourself with the interface and the information presented on the trade page. Understanding the dynamics of the market and the price trends can help you make informed decisions when buying Ethereum with Bitcoin.
Now that you’re on the trade page, let’s move on to the next step: choosing Ethereum as your desired cryptocurrency.
Step 5: Choose Ethereum as your desired cryptocurrency
On the Coinbase trade page, you will see the option to select your desired cryptocurrency. In this step, we’ll guide you through choosing Ethereum as the cryptocurrency you want to buy. Here’s how:
- Make sure you are on the trade page on Coinbase, where you see the Bitcoin/Ethereum trading pair.
- In the trading interface, you’ll notice two sections: Buy and Sell. We are interested in the Buy section, as we want to use our Bitcoin to purchase Ethereum.
- Under the Buy section, you can specify the amount of Ethereum you want to buy. Type in the amount of Ethereum or the equivalent value in Bitcoin that you wish to purchase.
- The trading interface will automatically calculate and display the approximate amount of Bitcoin needed for the transaction, based on the current market price. This will give you an idea of how much Bitcoin will be exchanged for Ethereum.
- Double-check that Ethereum is selected as the desired cryptocurrency for the transaction.
Choosing the right amount of Ethereum and ensuring that Ethereum is selected in the trading interface are crucial steps to accurately execute your transaction. Take a moment to review the details before proceeding to the next step.
Now that you have chosen Ethereum as your desired cryptocurrency, let’s move on to the next step: specifying the amount you want to buy.
Step 6: Specify the amount you want to buy
After choosing Ethereum as your desired cryptocurrency on the Coinbase trade page, the next step is to specify the amount you want to buy. Here’s how:
- Ensure that you are on the trade page on Coinbase and that Ethereum is selected as the cryptocurrency you want to purchase.
- Under the Buy section, there should be a field where you can input the amount of Ethereum you wish to buy. You can enter the amount in either Ethereum units or the equivalent value in Bitcoin.
- As you specify the amount, the trading interface will automatically calculate and display the approximate amount of Bitcoin required for the transaction, based on the current market price.
- Take a moment to review the total amount, including any fees or charges that may apply.
- If everything looks correct, you can proceed to the next step.
When specifying the amount you want to buy, it’s essential to consider factors such as your budget, investment strategy, and market conditions. Remember, you don’t have to buy a whole Ethereum token – you can enter a fraction of an Ethereum if you wish.
Take your time to carefully input the amount you want to purchase, ensuring that it aligns with your investment goals and risk tolerance. Once you are satisfied with the specified amount, let’s move on to the next step: reviewing and confirming your purchase.
Step 7: Review and confirm your purchase
Before finalizing your purchase of Ethereum with Bitcoin on Coinbase, it’s crucial to carefully review and confirm all the details of the transaction. This step ensures that you are making the correct purchase and that you’re satisfied with the terms. Here’s what you need to do:
- On the Coinbase trade page, double-check the details of your transaction, including the amount of Ethereum you wish to buy and the corresponding Bitcoin value.
- Take a moment to review any fees or charges associated with the transaction. Coinbase provides transparent information about fees, which may vary depending on factors such as your location and the payment method used.
- Verify that your Coinbase wallet has sufficient Bitcoin balance to cover the purchase. If not, you may need to add more Bitcoin or adjust the transaction amount.
- If you have any additional notes or instructions for the purchase, Coinbase may provide a section where you can add comments or specify preferences.
- Once you are confident that all the details are correct and you’re ready to proceed, click on the “Confirm” or “Buy” button to finalize the transaction.
It is essential to review your purchase carefully to avoid any mistakes or unintended transactions. Crypto transactions are irreversible, and errors can result in loss of funds.
After confirming your purchase, Coinbase will process the transaction and execute the exchange of Bitcoin for Ethereum. You will receive a confirmation message or email when the process is complete.
Now that you have reviewed and confirmed your purchase, the next step is to monitor your Ethereum balance.
Step 8: Monitor your Ethereum balance
After successfully buying Ethereum with Bitcoin on Coinbase, it’s essential to monitor your Ethereum balance to stay updated on your investment. Here’s what you need to do:
- Log in to your Coinbase account using your email address and password.
- From the Coinbase dashboard, navigate to the “Accounts” tab.
- Look for your Ethereum wallet in the list of accounts. You should see your current Ethereum balance displayed.
- Click on your Ethereum wallet to view more details, such as your transaction history and the current market value of your Ethereum holdings.
- Coinbase also provides a chart to track the historical performance of Ethereum, allowing you to assess the value of your investment over time.
- Make it a habit to regularly check your Ethereum balance, especially if you’re actively managing your cryptocurrency portfolio or considering making further transactions.
Monitoring your Ethereum balance is crucial for several reasons. Firstly, it allows you to keep track of the value of your investment and assess its performance. Secondly, it ensures that you are aware of any changes or fluctuations in the Ethereum market that may impact your holdings.
Remember, the cryptocurrency market can be volatile, and Ethereum’s value can change rapidly. By staying informed about your Ethereum balance, you can make more informed decisions about managing or selling your holdings.
Congratulations on successfully completing the process of buying Ethereum with Bitcoin on Coinbase! Now you are part of the exciting world of cryptocurrency investing.
It’s important to continue learning and staying informed about the cryptocurrency market to make the most of your investment. Explore other resources, read news and analysis, and consider joining cryptocurrency communities to expand your knowledge and network.
Remember to practice good security measures, such as enabling two-factor authentication and keeping your account and wallet information secure. And most importantly, only invest what you can afford to lose in the volatile world of cryptocurrencies.
Happy investing and may your Ethereum holdings grow!
Conclusion
Congratulations! You have successfully learned how to buy Ethereum with Bitcoin on Coinbase. This step-by-step guide has walked you through the process of signing up for a Coinbase account, verifying your account, adding Bitcoin to your Coinbase wallet, navigating to the trade page, choosing Ethereum as your desired cryptocurrency, specifying the amount you want to buy, and reviewing and confirming your purchase. Finally, we discussed the importance of monitoring your Ethereum balance to stay informed about your investment.
Buying Ethereum with Bitcoin opens up exciting possibilities for diversifying your cryptocurrency portfolio and participating in the growing Ethereum ecosystem. Ethereum, with its innovative smart contract functionality and potential for decentralized applications, continues to attract attention from investors and developers alike.
As you venture further into the world of cryptocurrency, remember to stay informed, exercise caution, and never invest more than you can afford to lose. The crypto market can be volatile, and it’s essential to keep up with current trends, news, and security practices.
Consider exploring other cryptocurrency exchanges, wallets, and platforms to expand your options for buying, selling, and storing digital assets. Continually educating yourself and engaging with the vibrant cryptocurrency community can help you make more informed decisions and maximize the benefits of your investment.
By following the steps outlined in this guide, you are well on your way to embarking on a rewarding journey in the world of cryptocurrencies. Congratulations once again, and may your investments in Ethereum and other digital assets bring you success and growth!