Introduction
Welcome to Coinbase: How to Sell Litecoin for Bitcoin. If you’re looking to exchange your Litecoin for Bitcoin, you’re in the right place. Coinbase, one of the most popular cryptocurrency exchanges, makes the process simple and secure.
Litecoin and Bitcoin are two prominent cryptocurrencies that have gained significant popularity in recent years. While both offer unique features and advantages, you may find yourself in a situation where you want to convert your Litecoin holdings into Bitcoin. Whether it’s for investment purposes, diversification, or any other reason, Coinbase allows you to make this transaction seamlessly.
In this guide, we will take you through the step-by-step process of selling your Litecoin for Bitcoin on Coinbase. If you’re new to cryptocurrency trading or unfamiliar with Coinbase, don’t worry. We will provide clear instructions and explanations to help you navigate the platform with ease.
Before we begin, it’s important to note that Coinbase is available in various countries and supports multiple cryptocurrencies. However, the specific features and availability can vary depending on your location. Make sure to check Coinbase’s official website to confirm whether your country and desired cryptocurrencies are supported.
Now, let’s dive into the process of selling your Litecoin for Bitcoin on Coinbase. By following these steps, you’ll be able to successfully convert your holdings and manage your cryptocurrencies efficiently.
Step 1: Create an Account on Coinbase
The first step to selling Litecoin for Bitcoin on Coinbase is to create an account on the platform. Coinbase provides a user-friendly interface and robust security measures, making it a popular choice for cryptocurrency enthusiasts.
To get started, visit the Coinbase website and click on the “Get Started” or “Sign Up” button. You will be directed to a form where you need to provide your basic information such as your name, email address, and password. Create a strong, unique password that is difficult for others to guess.
After filling out the required information, verify your email address by clicking on the confirmation link sent to your inbox. This step ensures that you have ownership of the email address provided.
Once your email is verified, Coinbase may prompt you to complete an additional KYC (Know Your Customer) process. This step is essential for security purposes and to comply with legal regulations. You may be asked to provide a valid government-issued identification document, such as your driver’s license or passport, as well as additional personal information.
Once you have completed the KYC process, you will gain access to your Coinbase account. It’s important to enable two-factor authentication (2FA) for an added layer of security. Coinbase supports various 2FA methods, such as using an authenticator app or receiving SMS codes.
With your Coinbase account created and secured, you are now ready to proceed to the next step: depositing your Litecoin into your Coinbase wallet.
Step 2: Deposit Litecoin into Your Coinbase Wallet
Now that you have created your Coinbase account, it’s time to deposit your Litecoin into your Coinbase wallet. This will allow you to sell your Litecoin and acquire Bitcoin.
Begin by navigating to your Coinbase dashboard. From the dashboard, click on the “Accounts” tab, and you will see a list of different cryptocurrencies supported by Coinbase. Look for Litecoin and click on the “Receive” or “Deposit” button next to it.
A new window will appear with your unique Litecoin wallet address. This address is similar to your bank account number and is specific to your Coinbase account. Copy this address or use the provided QR code to initiate the transfer of Litecoin from your external wallet or exchange.
Paste your Coinbase Litecoin wallet address in the sending field of your external wallet or exchange. Make sure to double-check the address accuracy before initiating the transfer to prevent any potential errors or losses.
Once the transfer is successful, you will see the pending transaction in your Coinbase account. It may take a few minutes for the Litecoin deposit to be confirmed and reflected in your Coinbase wallet balance.
Coinbase also provides a transaction history that allows you to track the progress of your deposit. You can find this information by going to the “Accounts” tab and selecting the Litecoin wallet. You will see a list of your recent transactions, including the deposit you just made.
It’s essential to note that Coinbase may require a specific number of network confirmations for the Litecoin deposit to be considered fully processed. This is a security measure to ensure the integrity of the transaction. Once the requisite confirmations are met, your Litecoin will be available to sell for Bitcoin.
Now that your Litecoin is in your Coinbase wallet, it’s time to move on to the next step: selling Litecoin for Bitcoin.
Step 3: Sell Litecoin for Bitcoin
With your Litecoin deposited into your Coinbase wallet, it’s time to convert it into Bitcoin. Selling Litecoin for Bitcoin on Coinbase is a straightforward process that can be done in just a few simple steps.
To begin, navigate to your Coinbase dashboard and click on the “Trade” or “Buy/Sell” tab. You will be presented with a list of cryptocurrencies available for trading. Locate Litecoin on the list and click on the “Sell” button next to it.
In the “Sell” section, you will have the option to choose the specific cryptocurrency you want to sell. Select Litecoin from the dropdown menu.
Next, choose Bitcoin as the cryptocurrency you want to buy with your Litecoin. Coinbase will automatically calculate the estimated amount of Bitcoin you will receive based on the current exchange rate and any applicable fees.
At this point, you can either enter the amount of Litecoin you want to sell or select the option to “Sell All” if you want to convert your entire Litecoin balance into Bitcoin.
Take a moment to review the details of your transaction, including the amount of Litecoin being sold and the amount of Bitcoin you will receive. Ensure that these details are accurate before proceeding.
Once you’re ready, click on the “Sell” button to initiate the sale. Coinbase will prompt you to confirm the transaction, and you may be asked to enter your account password or provide additional 2FA verification.
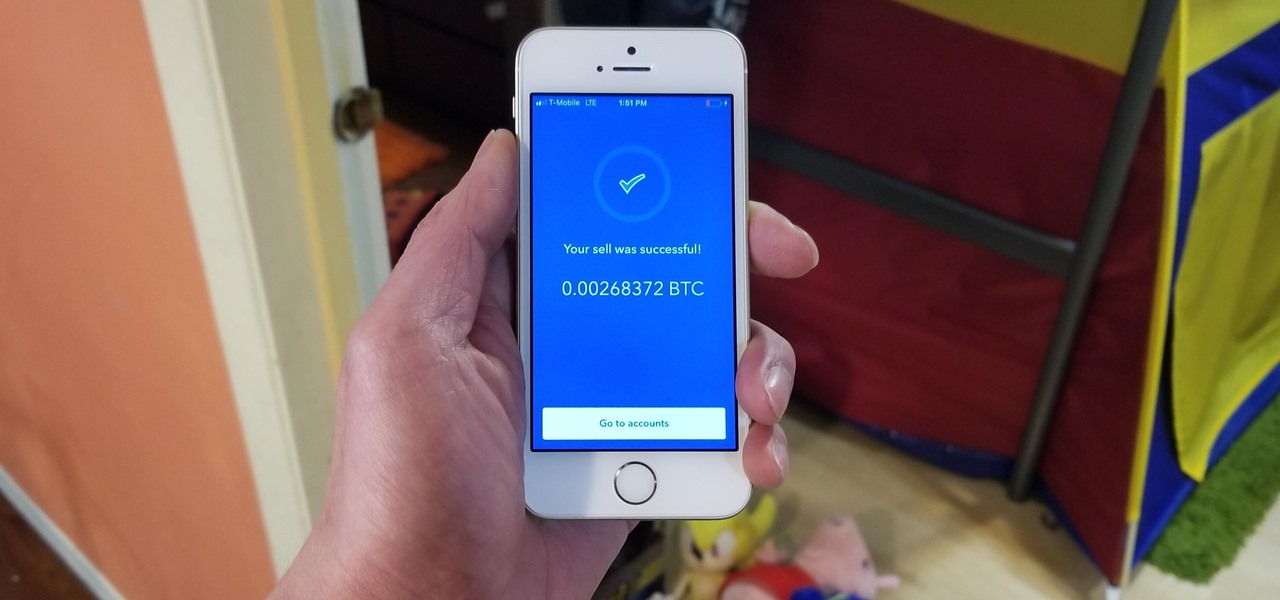
After confirming the transaction, Coinbase will process the sale and convert your Litecoin into Bitcoin. The Bitcoin will be added to your Coinbase wallet balance.
Congratulations! You have successfully sold your Litecoin for Bitcoin on Coinbase. You can now view your Bitcoin balance in your account and proceed to the final step: withdrawing Bitcoin to your personal wallet.
It’s important to note that Coinbase charges fees for trading, and these fees vary depending on the transaction size and the country you’re located in. Make sure to check Coinbase’s fee schedule to understand the charges associated with your trade.
Now that you have Bitcoin in your Coinbase wallet, let’s move on to the final step: withdrawing your Bitcoin to your personal wallet.
Step 4: Withdraw Bitcoin to Your Wallet
Once you have sold your Litecoin for Bitcoin on Coinbase, it’s recommended to withdraw your Bitcoin to a personal wallet. While Coinbase provides a secure online wallet, having control over your private keys by using a personal wallet adds an extra layer of security and allows you full ownership of your Bitcoin.
To withdraw your Bitcoin from Coinbase, start by accessing your Coinbase dashboard. Click on the “Accounts” tab and locate your Bitcoin wallet. Click on the “Send” or “Withdraw” button next to it.
In the withdrawal form, you will be prompted to enter the recipient Bitcoin address. This is the address of the personal wallet you want to send your Bitcoin to. Copy and paste the address into the provided field. It’s crucial to double-check the address to ensure its accuracy, as any mistake could result in the loss of your funds.
After entering the withdrawal address, you will need to specify the amount of Bitcoin you want to send. You can manually enter the amount or choose the option to “Send Max” if you want to withdraw all of your available Bitcoin balance.
Before finalizing the withdrawal, take a moment to review the transaction details, including the recipient address and the amount of Bitcoin being sent. Once you’re satisfied with the information, click on the “Send” or “Withdraw” button to initiate the transaction.
Depending on network congestion and transaction fees, it may take some time for the withdrawal to be processed and confirmed on the Bitcoin network. You can track the progress of your withdrawal by accessing your Coinbase transaction history.
Once the withdrawal is confirmed, the Bitcoin will be sent to your personal wallet. You can now access and manage your Bitcoin with full control over your private keys.
It’s important to note that each personal wallet may have its own security measures and best practices. Make sure to follow the instructions provided by your chosen wallet provider to secure your Bitcoin properly.
By following these steps, you have successfully sold your Litecoin for Bitcoin on Coinbase and withdrawn the Bitcoin to your personal wallet. You now have full control over your Bitcoin and can use it for various purposes, such as further investments, online purchases, or storing it securely for the long term.
Conclusion
Congratulations! You have successfully learned how to sell Litecoin for Bitcoin on Coinbase. With Coinbase’s user-friendly interface and secure platform, you can easily navigate the process and manage your cryptocurrencies with confidence.
In this guide, we walked you through the step-by-step process, starting with creating an account on Coinbase. We then covered how to deposit Litecoin into your Coinbase wallet, followed by selling Litecoin for Bitcoin. Lastly, we discussed the importance of withdrawing your Bitcoin to a personal wallet for added security and control.
It’s essential to stay informed about the latest updates and guidelines related to cryptocurrency trading. Keep an eye on Coinbase’s official website and other reputable sources to ensure you have the most up-to-date information.
Remember, cryptocurrency trading involves risks, including price volatility and security concerns. It’s crucial to do thorough research, understand the risks involved, and only invest what you can afford to lose. If you’re new to cryptocurrency trading, consider starting with small amounts and gradually increasing your exposure as you gain more experience and knowledge.
We hope this guide has been informative and helpful in your journey to sell Litecoin for Bitcoin on Coinbase. Whether you’re looking to diversify your portfolio, take advantage of market opportunities, or simply explore the world of cryptocurrencies, Coinbase provides a reliable platform to facilitate your transactions.
Happy trading!