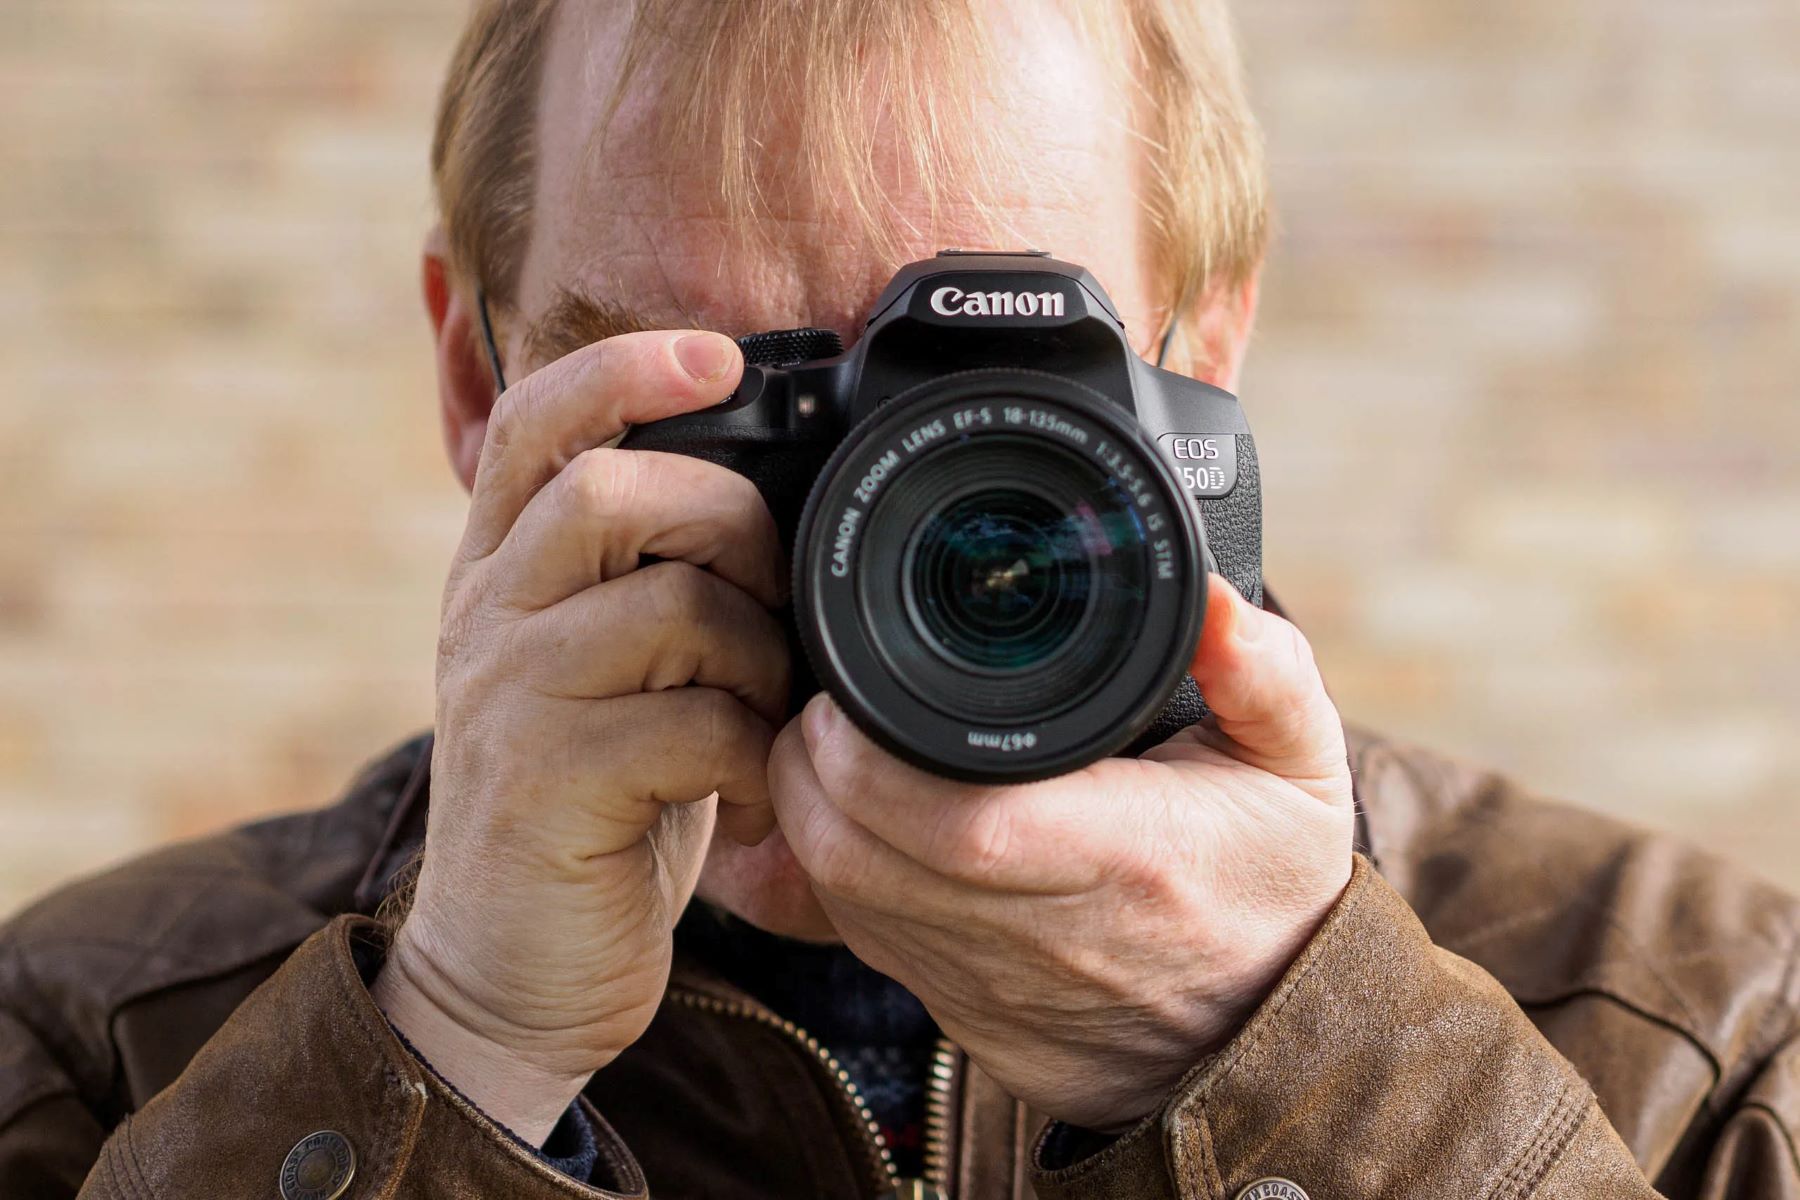
To toggle from viewfinder to LCD on your Canon DSLR, press the dedicated Live View button, usually marked with a camera icon or “Start/Stop”, located on the back of the camera near the viewfinder. This single press switches the display from the optical viewfinder to the real-time image on the rear LCD screen; pressing it again returns you to viewfinder shooting.
How to toggle viewfinder to lcd on your canon dslr
The Live View button is your primary tool for switching displays. On most Canon DSLR models, it sits just to the right of the viewfinder eyecup, within easy reach of your right thumb. When you press it, the mirror flips up and the sensor feeds a live preview directly to the LCD, letting you compose without bringing the camera to your eye. This is the fastest and most direct method, and it works identically whether you’re shooting stills or preparing to record video.
- Locate the Live View button on the back of your camera, near the viewfinder. It’s typically labeled with a small camera icon or the text “Start/Stop.”
- Press the button once. The optical viewfinder will go dark, and the LCD screen will light up with a live preview of your scene.
- Press the same button again to exit Live View and return to shooting through the optical viewfinder.
If your camera model has a dedicated movie-record button separate from Live View, that button may also activate Live View as a side effect, but the dedicated Live View button is the one you want for toggling displays.
What to do if the live view button doesn't work
If pressing the Live View button does nothing, the feature may be disabled in your camera’s menu, a common default on older or entry-level Canon DSLRs. You’ll need to enable it manually before the button will respond.
- Press the Menu button on your camera.
- Navigate to the shooting settings tab (the one with a camera icon).
- Scroll to “Live View function settings” or “Live View Shoot” and select it.
- Set the option to “Enable.”
- Exit the menu and press the Live View button again.
Another common culprit is the shooting mode. Live View shooting is generally available in Creative Zone modes (P, TV, Av, M) but is typically not functional in Basic Zone modes like Auto, Portrait, or Landscape. Rotate your mode dial to any Creative Zone mode and try again. If the button still doesn’t respond, check that your battery has sufficient charge, Live View draws heavily on power, and some cameras disable it when the battery is critically low.
When to use the viewfinder vs. the lcd screen
Choosing between the viewfinder and the LCD screen isn’t just about preference, it’s about matching the tool to the task. The optical viewfinder is your best choice when you need maximum stability and battery conservation. Bracing the camera against your face steadies the body, which is especially valuable in low light or when using a telephoto lens, and since the viewfinder uses no power, you’ll get significantly more shots per charge. It’s also superior in bright sunlight, where glare can wash out the rear LCD.
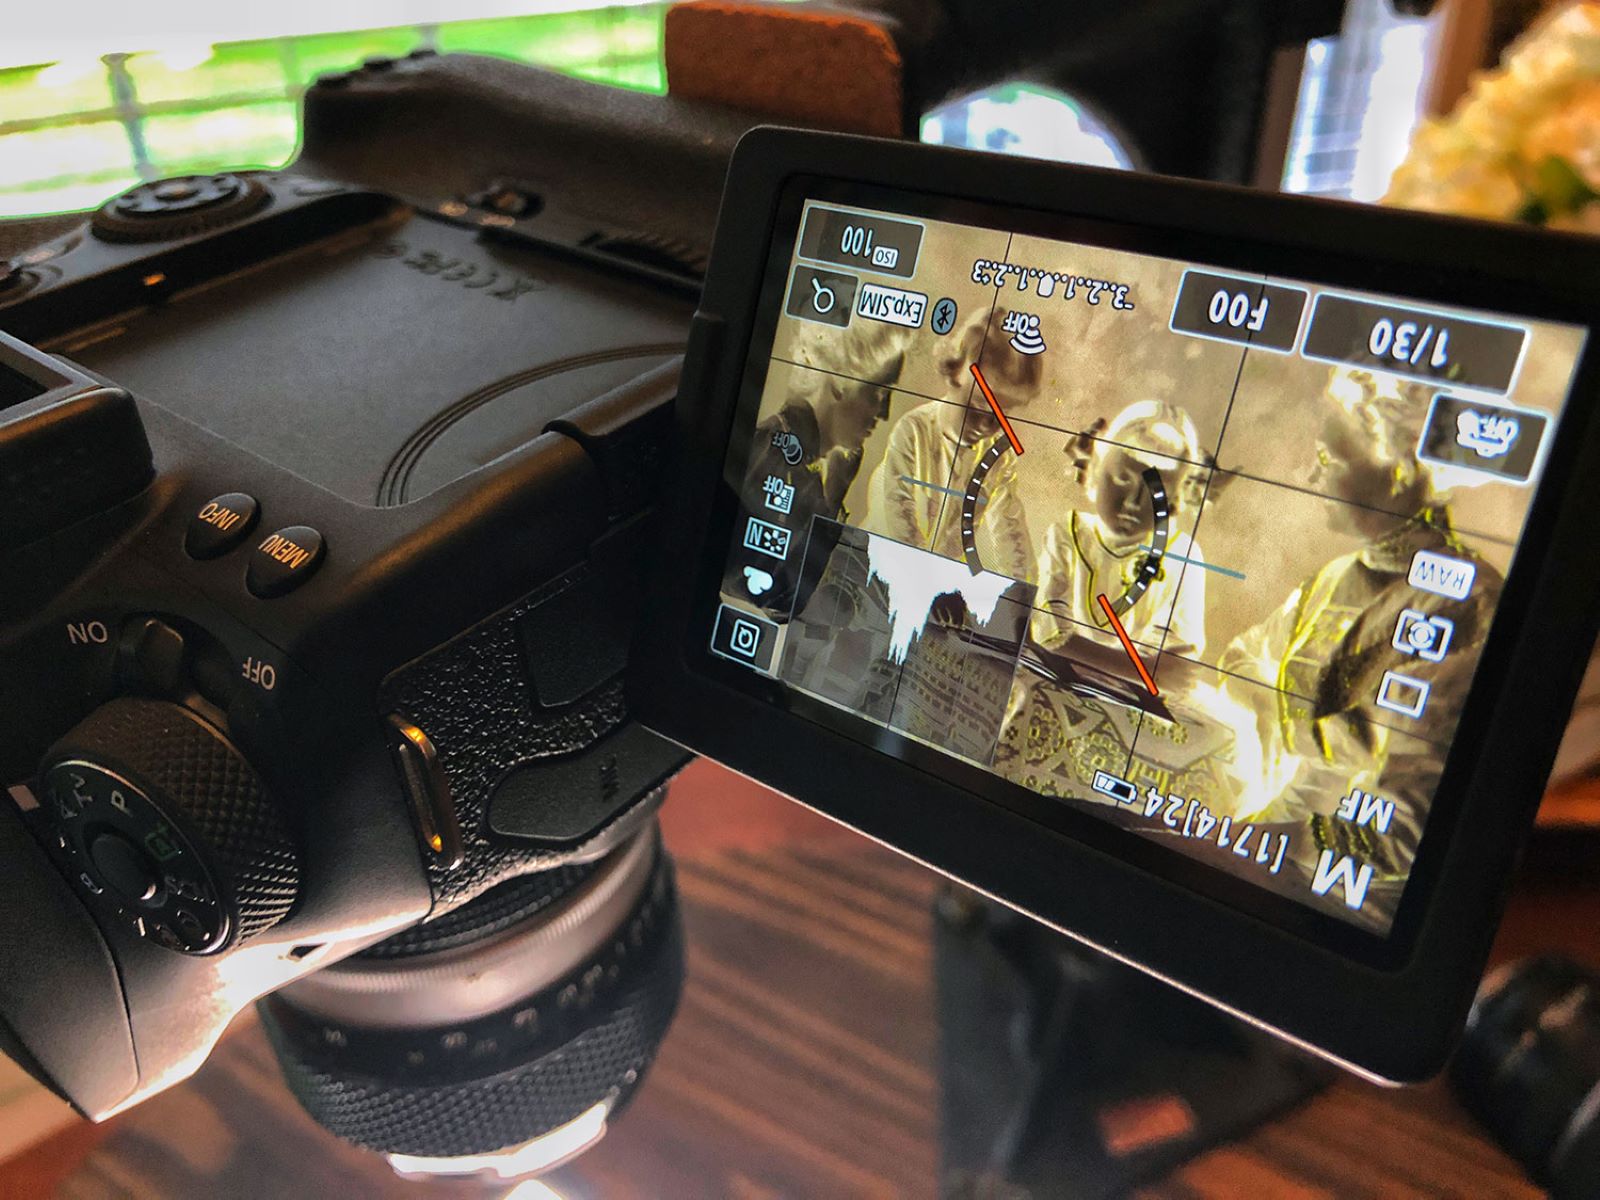
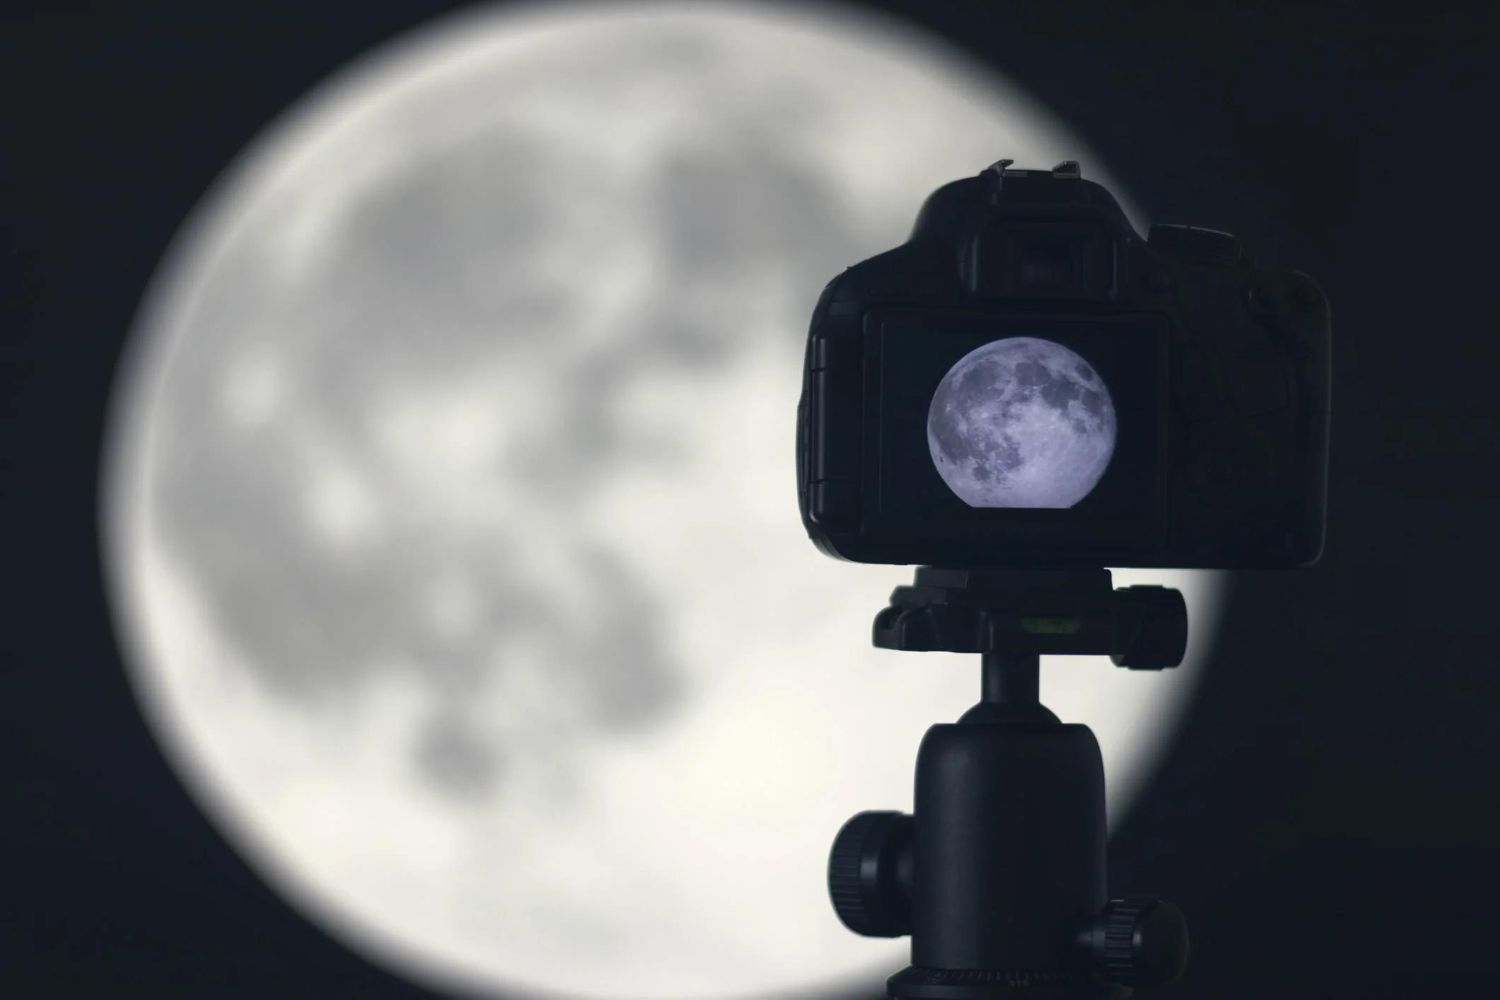
The LCD screen, on the other hand, shines when you’re shooting from awkward angles, low to the ground, above a crowd, or in tight spaces where you can’t comfortably bring the camera to your eye. Live View also offers exposure simulation, so you see exactly how the final image will look before you press the shutter, and it provides a magnified view for precise manual focusing. This makes it invaluable for macro photography, studio work, and any scenario where critical focus is paramount.
However, be aware of the trade-offs. Using the LCD for Live View significantly consumes more battery power compared to composing shots through the optical viewfinder. On a fully charged battery, continuous Live View shooting can reduce battery life to approximately 1 hour 20 minutes to 1 hour 30 minutes, depending on your specific camera model. Carry spare batteries if you plan to rely on the LCD for extended sessions. Also, never point the camera at intense light sources, such as the sun, while in Live View, the concentrated light can damage the image sensor or internal components. And when shooting handheld in Live View, hold the camera steadily or mount it on a tripod to minimize camera shake and blurred images.
\nRelated reading: How To Use Canon EOS Rebel T7 DSLR Camera, How To Use A DSLR Camera With An iPhone, and How To Digitize Old Photos With A DSLR Camera.