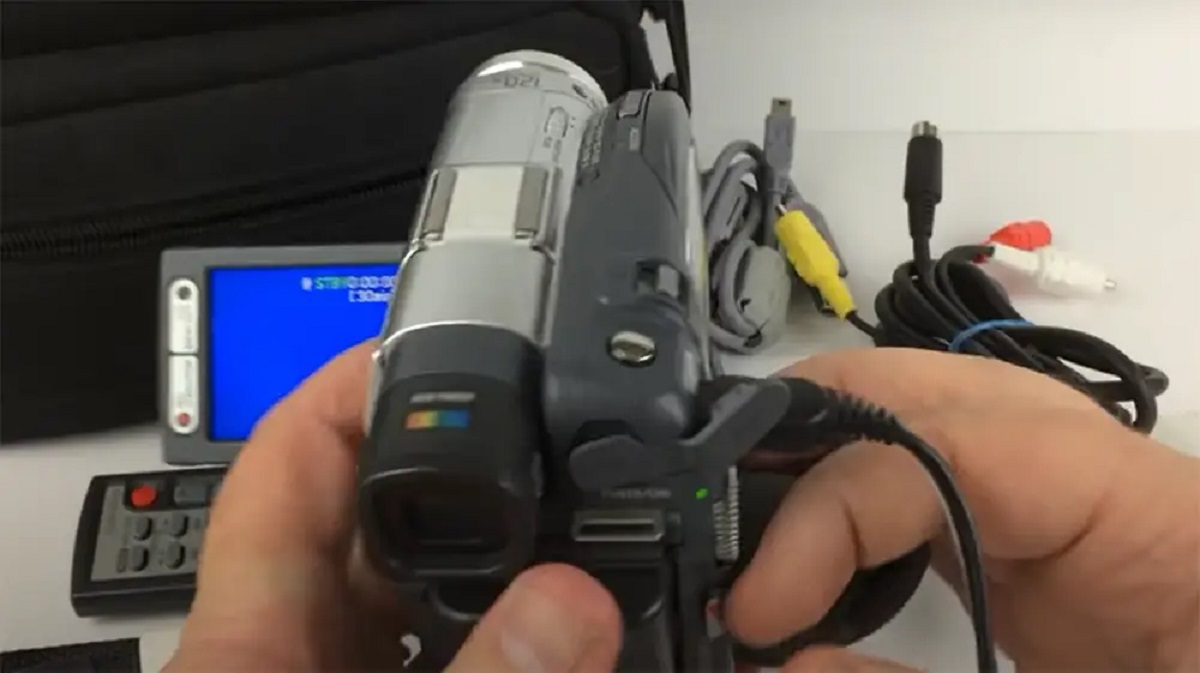
To charge a camcorder, you will primarily use the original AC adapter connected directly to the DC IN terminal, with the device turned off, though some models also support USB charging. The single most important first step is to power off the camcorder completely before connecting any power source, as this allows the battery to receive a proper and efficient charge. This guide provides clear, safe instructions on how to charge a camcorder using both methods.
How to charge a camcorder safely
Charging your camcorder correctly ensures the battery's long-term health and your safety. There are two main ways to charge: using the dedicated AC adapter for a faster, more complete charge, or using a USB cable for convenience when a wall outlet isn't available. Before you begin any charging process, always confirm that the camcorder is turned off to prevent any electrical issues and to allow the battery to charge optimally.
Step 1: Turn off the camcorder and check the battery
First, power off the camcorder completely using its power switch. Next, identify the battery type; most modern camcorders use a lithium-ion battery, which is rechargeable at any time without the need for a full discharge. For a brand-new battery, it is considered a best practice to give it a full charge before its first use to help calibrate it and improve its long-term battery health.
Step 2: Connect the AC power adapter to the DC IN terminal
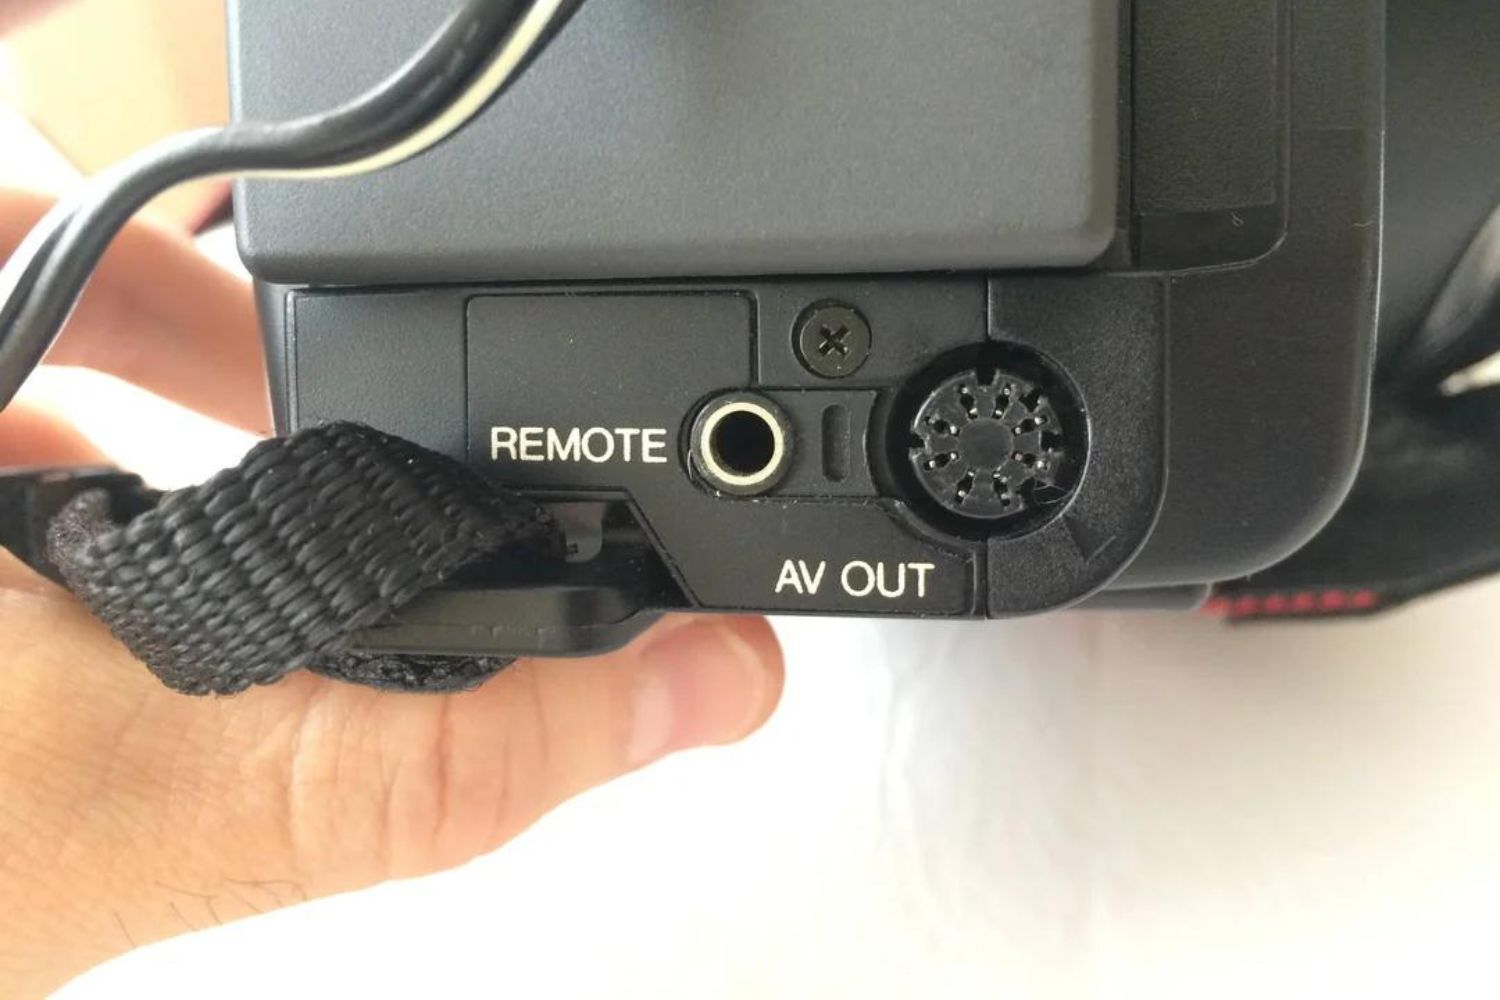
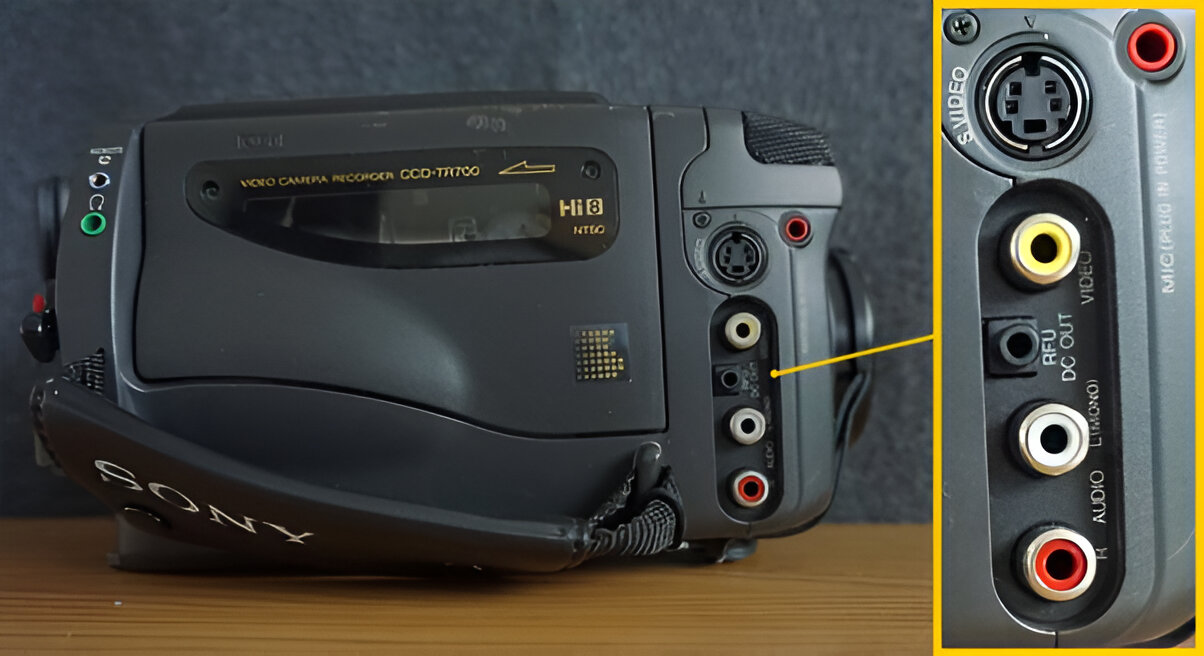
Locate the DC IN port on your camcorder, which is usually a small, round or rectangular socket on the body. Take the original AC power adapter that came with your camcorder and connect its barrel connector to this DC IN terminal, ensuring a secure and snug fit. Always use the original AC adapter and cables supplied with your camcorder, or compatible accessories specifically recommended by the manufacturer, to ensure safety and optimal performance. Using third-party or incompatible chargers can be risky and may damage your device.
Step 3: Plug into a wall outlet and check the temperature
Once the adapter is connected to the camcorder, plug the AC power cord into a functioning electrical wall outlet. Before charging, it is important to verify that the ambient room temperature is within the recommended range of approximately 10°C to 30°C (50°F to 86°F). Charging in temperatures outside of this range may be prolonged or could even cause the charging to stop entirely to protect the battery.
Step 4: Monitor the charging indicator light
With power connected, observe the charging indicator light on the camcorder. A flashing light typically indicates that charging is in progress, while a steady light or an off light usually signals that the battery is fully charged. If the light begins to flash rapidly, this signals a charging error, such as the battery temperature being outside the acceptable range or a malfunction with the battery pack or adapter. In such a case, disconnect the charger and allow the battery to cool down or inspect the connections.
Step 5: Disconnect when fully charged
Once the charging indicator light shows that the battery is fully charged, unplug the AC adapter from the wall outlet and then disconnect it from the camcorder. To preserve the long-term health of your lithium-ion battery, avoid continuously or repeatedly charging a battery pack that is already fully charged or close to fully charged without using it. It is better to unplug it once the charge cycle is complete rather than leaving it plugged in for extended periods.
Alternative: charging via USB cable
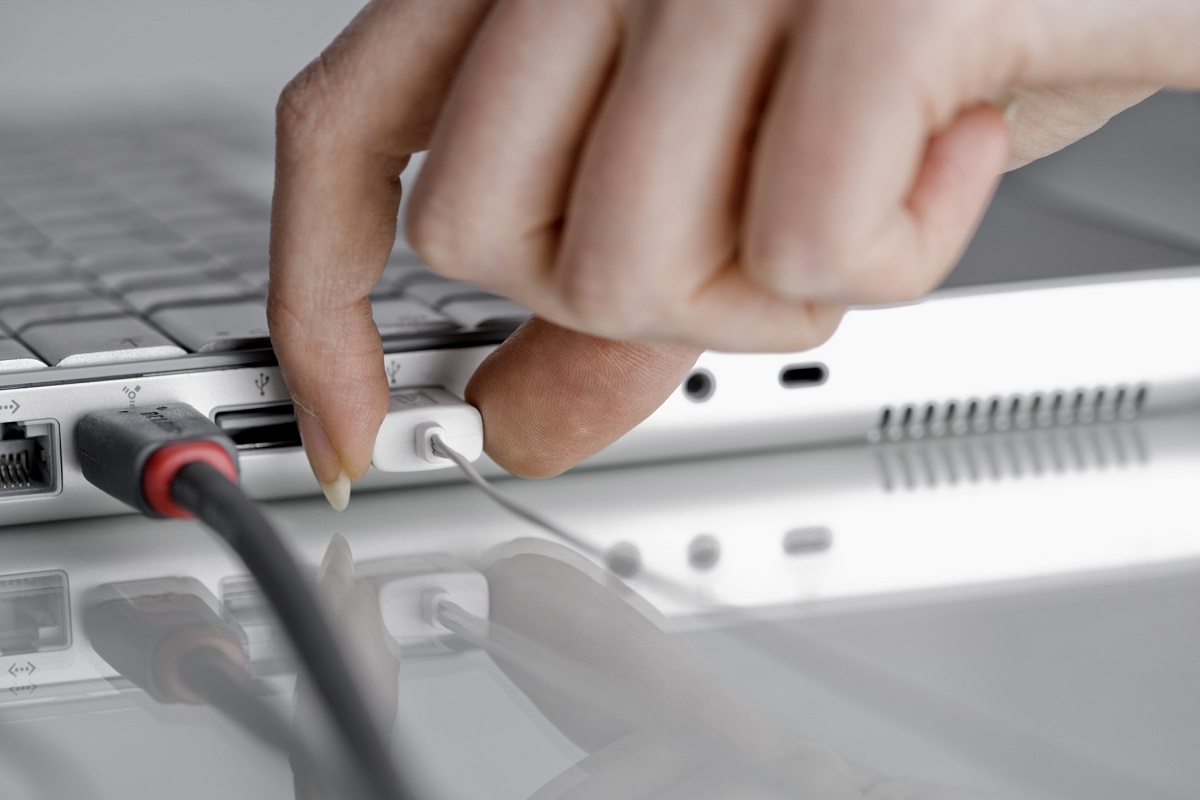
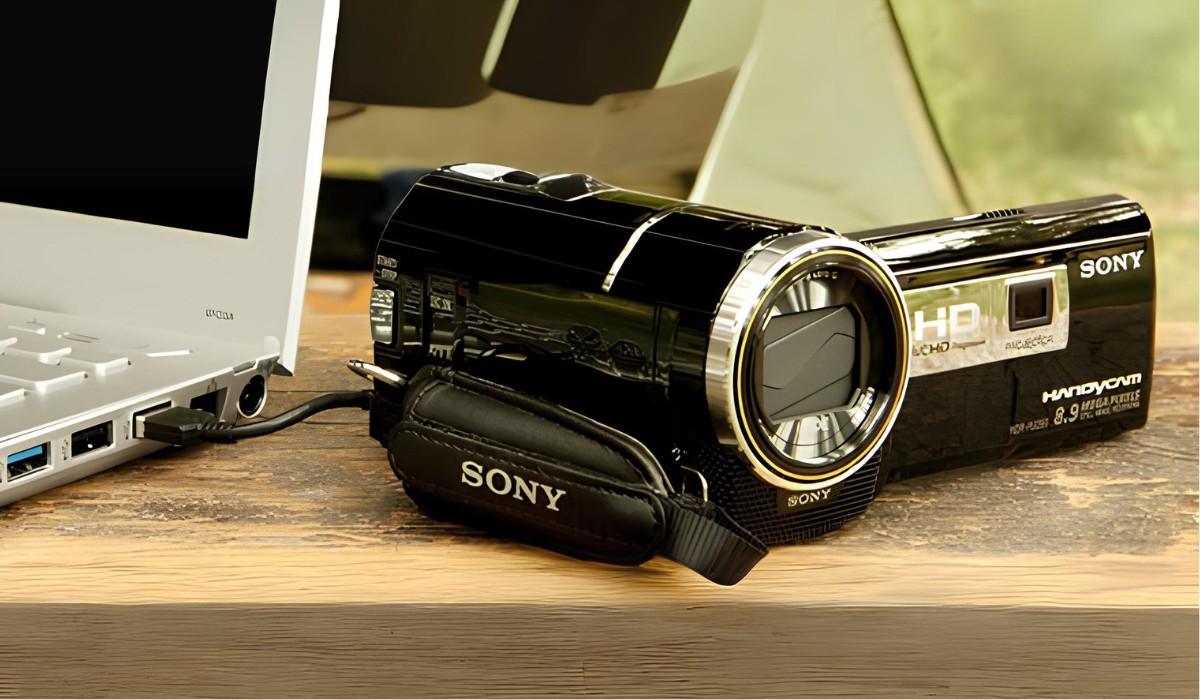
Some camcorders also support charging the battery via a USB cable connected to a computer or a USB AC adapter, though this method may take longer than using a dedicated AC adapter. This is a convenient secondary option when you don't have access to the main charger. To use this, simply connect the USB cable to the camcorder's USB port and plug the other end into a power source. For a complete understanding of this process, it's helpful to know “the USB charger and its functions” (Unveiling The Basics: Understanding The USB Charger And Its Functions). While this method is slower, it is perfectly safe for your device as long as you use a quality cable and a reliable power source.
\nRelated reading: What Is AV Out On Camcorder and JVC Camcorder: How To Transfer To Computer.