Introduction
Are you in need of a 2×2 photo for a passport, visa, or other official documents? While many people opt for professional photography services, you can actually take a high-quality 2×2 photo with a DSLR camera in the comfort of your own home. This guide will walk you through the process, from understanding the specific requirements for a 2×2 photo to setting up your DSLR camera and adjusting the necessary settings to capture the perfect shot.
Taking a 2×2 photo with a DSLR camera not only saves time and money but also gives you the flexibility to ensure that the photo meets all the necessary specifications. Whether you’re a photography enthusiast or a novice, this step-by-step guide will equip you with the knowledge and skills needed to produce a professional-grade 2×2 photo.
By following this guide, you will learn how to position your subject, adjust the camera settings, and capture a well-composed 2×2 photo. Additionally, we’ll cover the basics of reviewing and editing the photo to ensure that it meets the required standards. So, grab your DSLR camera, and let’s embark on this journey to capture the perfect 2×2 photo!
Understanding the 2×2 Photo Requirement
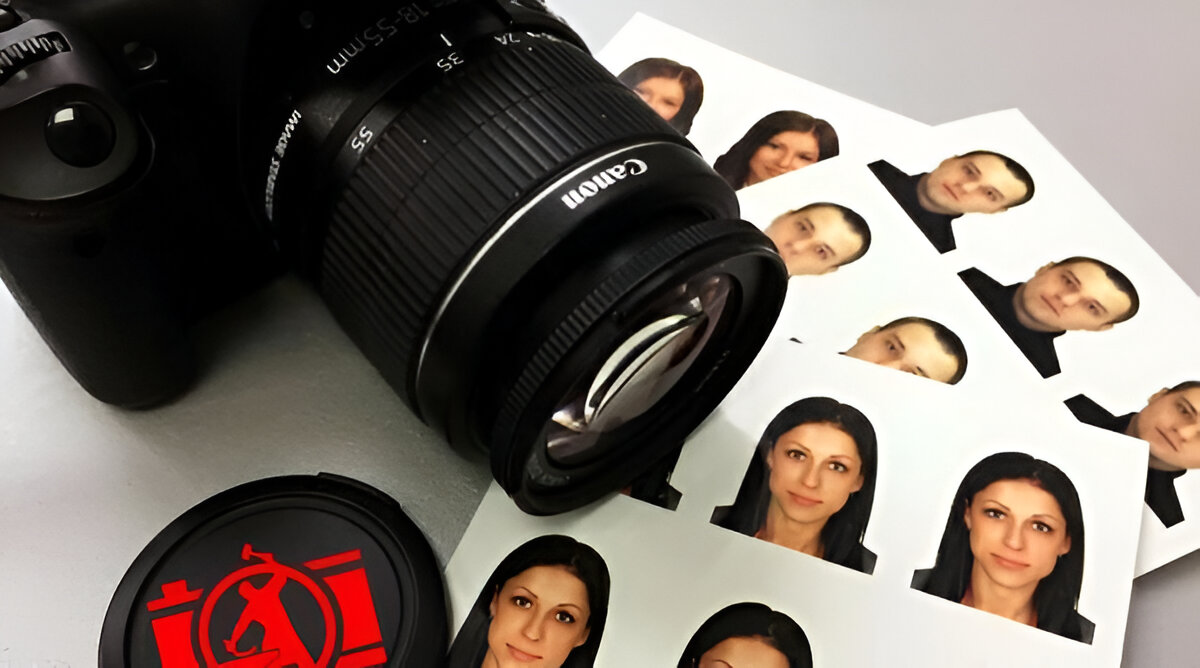
Before diving into the technical aspects of capturing a 2×2 photo with your DSLR camera, it’s crucial to understand the specific requirements for this type of photo. A 2×2 photo, also known as a passport photo, is a standard size typically required for passports, visas, and various official documents. The dimensions of a 2×2 photo are 2 inches by 2 inches (or 51mm x 51mm).
When capturing a 2×2 photo, it’s essential to adhere to certain guidelines to ensure that the photo meets the necessary standards. The subject’s head must be positioned directly facing the camera, with a neutral facial expression and both eyes open. The background should be plain white or off-white, without any patterns or distractions. Additionally, the lighting should be even, with no harsh shadows or reflections on the subject’s face.
Understanding these requirements is crucial for achieving a photo that complies with official regulations. By familiarizing yourself with these guidelines, you can ensure that your 2×2 photo will be accepted for its intended purpose, whether it’s for a passport application, visa, or other official documentation.
Moreover, being aware of the specific requirements will enable you to make informed decisions when setting up your DSLR camera and adjusting the necessary settings to capture a photo that meets these standards. With this knowledge in hand, you’ll be well-prepared to proceed to the next steps of taking a 2×2 photo with your DSLR camera.
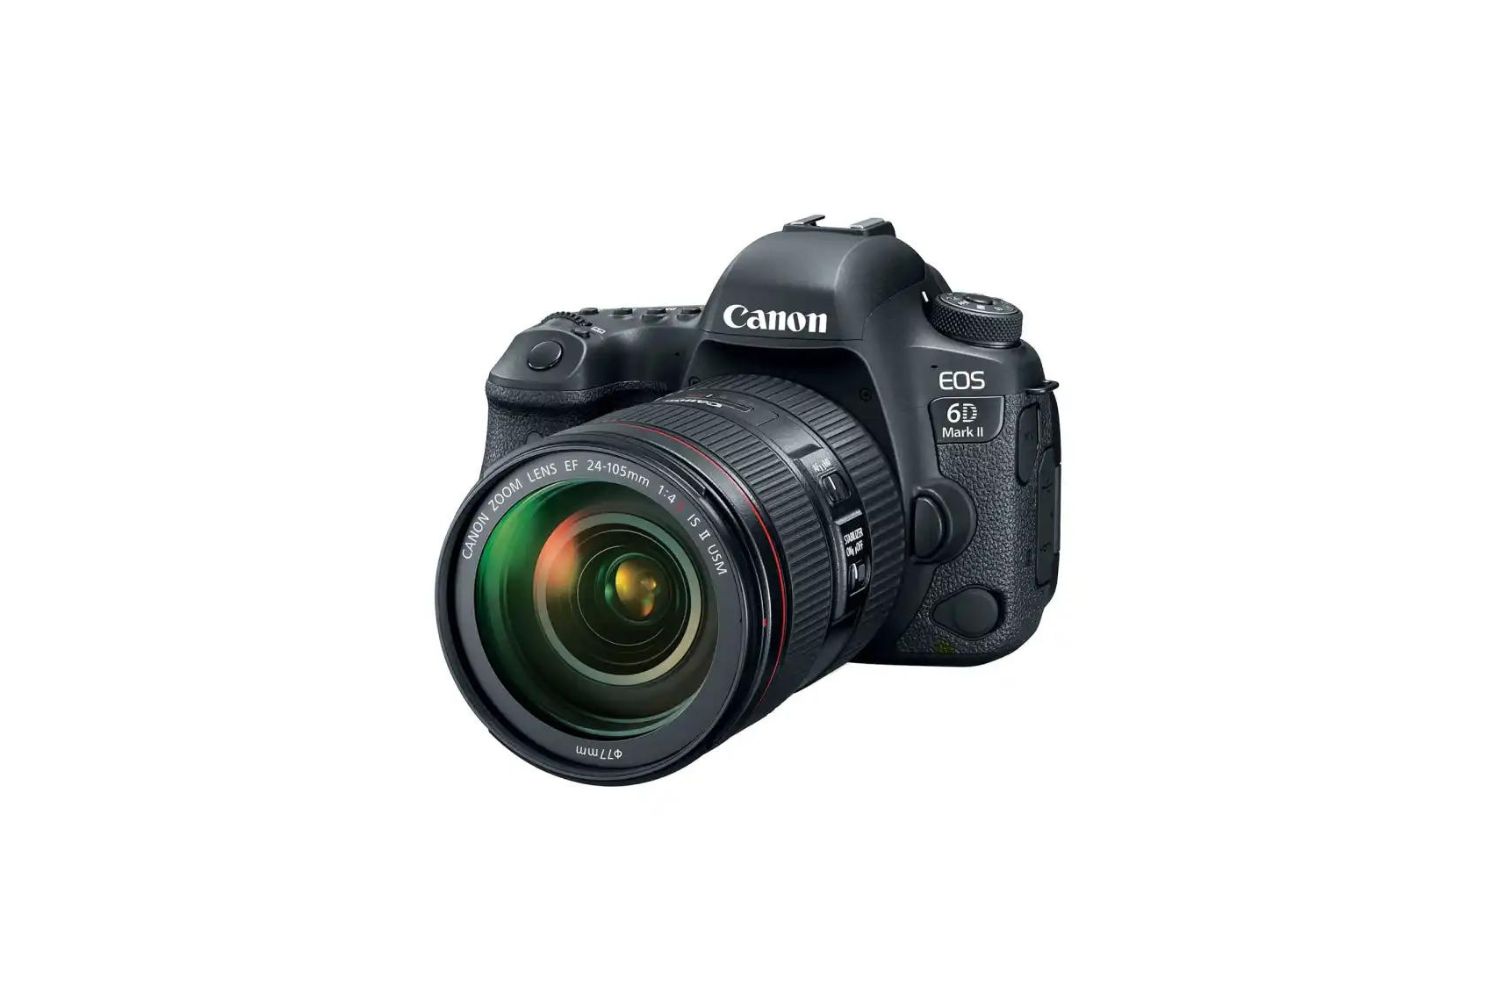
Setting up Your DSLR Camera
Before you start capturing the 2×2 photo, it’s essential to ensure that your DSLR camera is properly set up for the task. Begin by selecting a suitable location with ample natural light to serve as your shooting environment. Position your subject against a plain white or off-white background to comply with the standard requirements for a 2×2 photo.
When setting up your DSLR camera, consider the angle and distance at which you’ll be capturing the photo. Ensure that the camera is at eye level with the subject to produce a well-composed and proportionate image. Additionally, maintain a comfortable distance to frame the subject appropriately within the 2×2 dimensions.
Next, stabilize your DSLR camera on a tripod to eliminate any potential blurring caused by hand movement. This step is crucial for achieving a sharp and clear 2×2 photo. By using a tripod, you can maintain stability and precision throughout the shooting process, resulting in a professional-quality image.
Furthermore, take into account the focal length of your lens when setting up the camera. For a 2×2 photo, a focal length of around 50mm is ideal, as it closely resembles the natural perspective of the human eye and produces minimal distortion. If your lens has a zoom feature, adjust it to achieve the appropriate framing and composition for the 2×2 photo.
By meticulously setting up your DSLR camera in accordance with these guidelines, you’ll establish the foundation for capturing a high-quality 2×2 photo. This preparation phase is integral to the overall process and will contribute to the successful outcome of your photography endeavor.
Adjusting the Camera Settings
Once your DSLR camera is set up in the appropriate location and position, it’s time to adjust the camera settings to ensure that the 2×2 photo meets the required specifications. Begin by setting the camera to manual mode, allowing you to have full control over the exposure settings, including aperture, shutter speed, and ISO.
Start by selecting an aperture setting that provides adequate depth of field, ensuring that the subject is in sharp focus while the background remains softly blurred. A mid-range aperture, such as f/8, is generally suitable for capturing a 2×2 photo, as it balances depth of field and sharpness.
Next, adjust the shutter speed to achieve proper exposure while preventing motion blur. Since you’ll be shooting with a tripod, you can opt for a slightly slower shutter speed without compromising image quality. Aim for a shutter speed that allows ample light to reach the camera sensor while maintaining the sharpness of the subject.
When it comes to ISO settings, strive to use the lowest ISO value possible to minimize digital noise and maintain optimal image quality. A low ISO setting, such as ISO 100 or 200, is usually sufficient when shooting in well-lit conditions, such as a controlled indoor environment with natural light.
Additionally, consider the white balance settings to ensure accurate color representation in your 2×2 photo. Choose the appropriate white balance preset based on the lighting conditions of your shooting environment. For instance, if you’re shooting indoors under daylight, select the daylight white balance setting to maintain natural color tones.
By meticulously adjusting these camera settings, you can optimize the exposure, sharpness, and color accuracy of your 2×2 photo. This stage of the process is instrumental in capturing a well-exposed and visually appealing image that aligns with the specific requirements for official documentation.
Taking the 2×2 Photo
With your DSLR camera properly set up and the settings adjusted to meet the specific requirements for a 2×2 photo, it’s time to capture the image. Before pressing the shutter button, ensure that your subject is positioned correctly and is maintaining a neutral facial expression with both eyes open. Encourage them to relax and maintain a natural posture to achieve a genuine and presentable photograph.
When capturing the 2×2 photo, focus on framing the subject within the designated dimensions while maintaining a suitable amount of headroom. Ensure that the subject’s face is well-illuminated and evenly lit to avoid any harsh shadows or overexposed areas. Take multiple shots to increase the likelihood of capturing the perfect image that meets all the necessary criteria.
Throughout the shooting process, communicate with your subject to create a comfortable and cooperative atmosphere. Provide clear instructions and guidance to ensure that they are positioned correctly and are presenting themselves in accordance with the requirements for a 2×2 photo. By establishing a positive and supportive environment, you can enhance the overall quality of the captured image.
Furthermore, pay attention to the composition and framing of the photo, ensuring that the subject is centrally positioned and occupies the majority of the frame. Aim to capture a well-balanced and visually appealing image that adheres to the standard guidelines for a 2×2 photo.
Once you’ve captured a series of photos, review them on the camera’s display to assess the overall quality and composition. Look for any potential issues, such as blurriness, uneven lighting, or distracting elements in the background. If necessary, make adjustments and capture additional shots to refine the final image.
By actively engaging in the process of capturing the 2×2 photo and maintaining a keen eye for detail, you can increase the likelihood of producing a high-quality image that meets all the necessary specifications. This hands-on approach is essential for achieving a professional-grade 2×2 photo with your DSLR camera.
Reviewing and Editing the Photo
After capturing the 2×2 photo with your DSLR camera, it’s important to review the images to ensure that they meet the required standards. Begin by transferring the photos to your computer or a suitable device for a closer examination. Open the images using photo editing software to assess their quality and make any necessary adjustments.
During the review process, pay close attention to the composition, exposure, and overall clarity of the photo. Look for any potential issues, such as uneven lighting, distracting elements in the background, or minor imperfections that may require editing. Additionally, verify that the subject’s facial expression and positioning align with the specific requirements for a 2×2 photo.
If you notice any areas that need improvement, utilize the editing tools within the software to make enhancements. Adjust the exposure, contrast, and color balance as needed to refine the overall appearance of the photo. However, exercise restraint when applying edits, ensuring that the final image remains natural and true to the subject’s appearance.
When editing the 2×2 photo, focus on achieving a clean and professional result that complies with the standard guidelines for official documentation. Remove any distracting elements in the background, ensure that the subject’s face is well-illuminated, and address any minor imperfections that may detract from the overall quality of the image.
Once you’ve made the necessary adjustments, review the edited photo to confirm that it aligns with the specific requirements for a 2×2 photo. Pay attention to the details and ensure that the final image presents the subject in a clear, well-composed, and visually appealing manner.
By thoroughly reviewing and, if necessary, editing the 2×2 photo, you can elevate the overall quality of the image and ensure that it meets all the necessary specifications for official documentation. This meticulous approach demonstrates your commitment to producing a professional-grade 2×2 photo with your DSLR camera, ready for use in various official capacities.