Introduction
Are you looking to take your live streams or video recordings to the next level? If you own a DSLR camera, you can leverage its superior image quality and versatility by setting it up with OBS Studio, a powerful open-source software for live streaming and recording. By following a few simple steps, you can seamlessly integrate your DSLR camera into your OBS setup, allowing you to capture high-definition video and elevate the production value of your content.
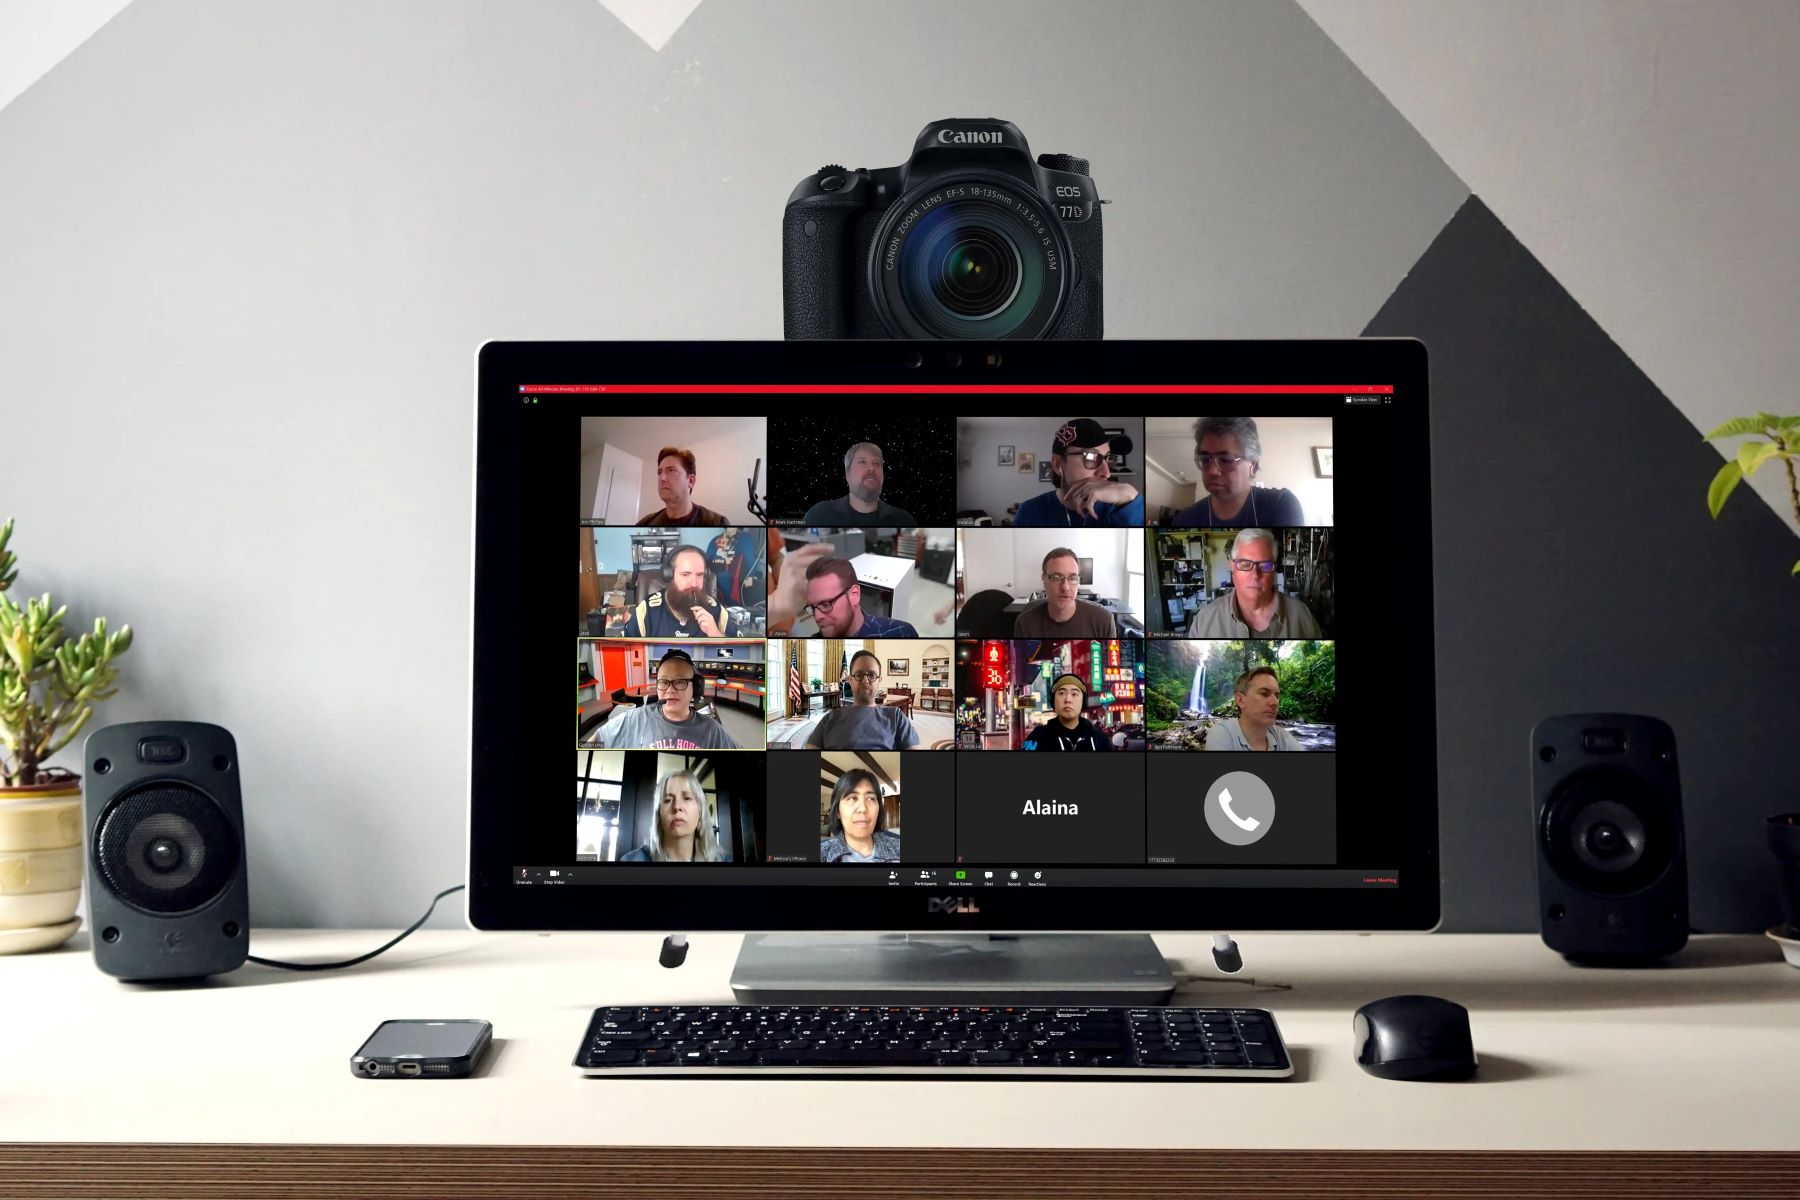
In this guide, we will walk you through the process of setting up your DSLR camera on OBS Studio, enabling you to harness the full potential of your camera for your live streams, video conferences, or recordings. Whether you're a content creator, a vlogger, or a professional looking to enhance your online presence, integrating your DSLR camera with OBS can significantly improve the visual appeal and professionalism of your video content.
By the end of this tutorial, you will have a comprehensive understanding of how to connect and configure your DSLR camera to work seamlessly with OBS Studio, unlocking a world of creative possibilities for your video projects. So, let's dive in and explore the steps to transform your DSLR camera into a powerful tool for your live streaming and recording endeavors.
Step 1: Install OBS Studio
Before you can begin setting up your DSLR camera on OBS, you need to ensure that OBS Studio is installed on your computer. OBS Studio is a free and open-source software that provides a robust platform for live streaming and recording. Follow these steps to install OBS Studio:
- Download OBS Studio: Visit the official OBS Studio website and navigate to the download section. Choose the appropriate version for your operating system (Windows, macOS, or Linux) and initiate the download.
- Install OBS Studio: Once the download is complete, launch the installer and follow the on-screen instructions to install OBS Studio on your computer. The installation process is straightforward and typically involves accepting the software license, selecting the installation directory, and confirming the installation settings.
- Launch OBS Studio: After the installation is complete, launch OBS Studio to ensure that it runs smoothly on your system. Familiarize yourself with the software interface and its various features to prepare for the subsequent steps of setting up your DSLR camera.
By installing OBS Studio, you are laying the foundation for integrating your DSLR camera into your live streaming and recording setup. OBS Studio offers a user-friendly interface and a wide range of customization options, making it an ideal platform for harnessing the full potential of your DSLR camera for your video projects.
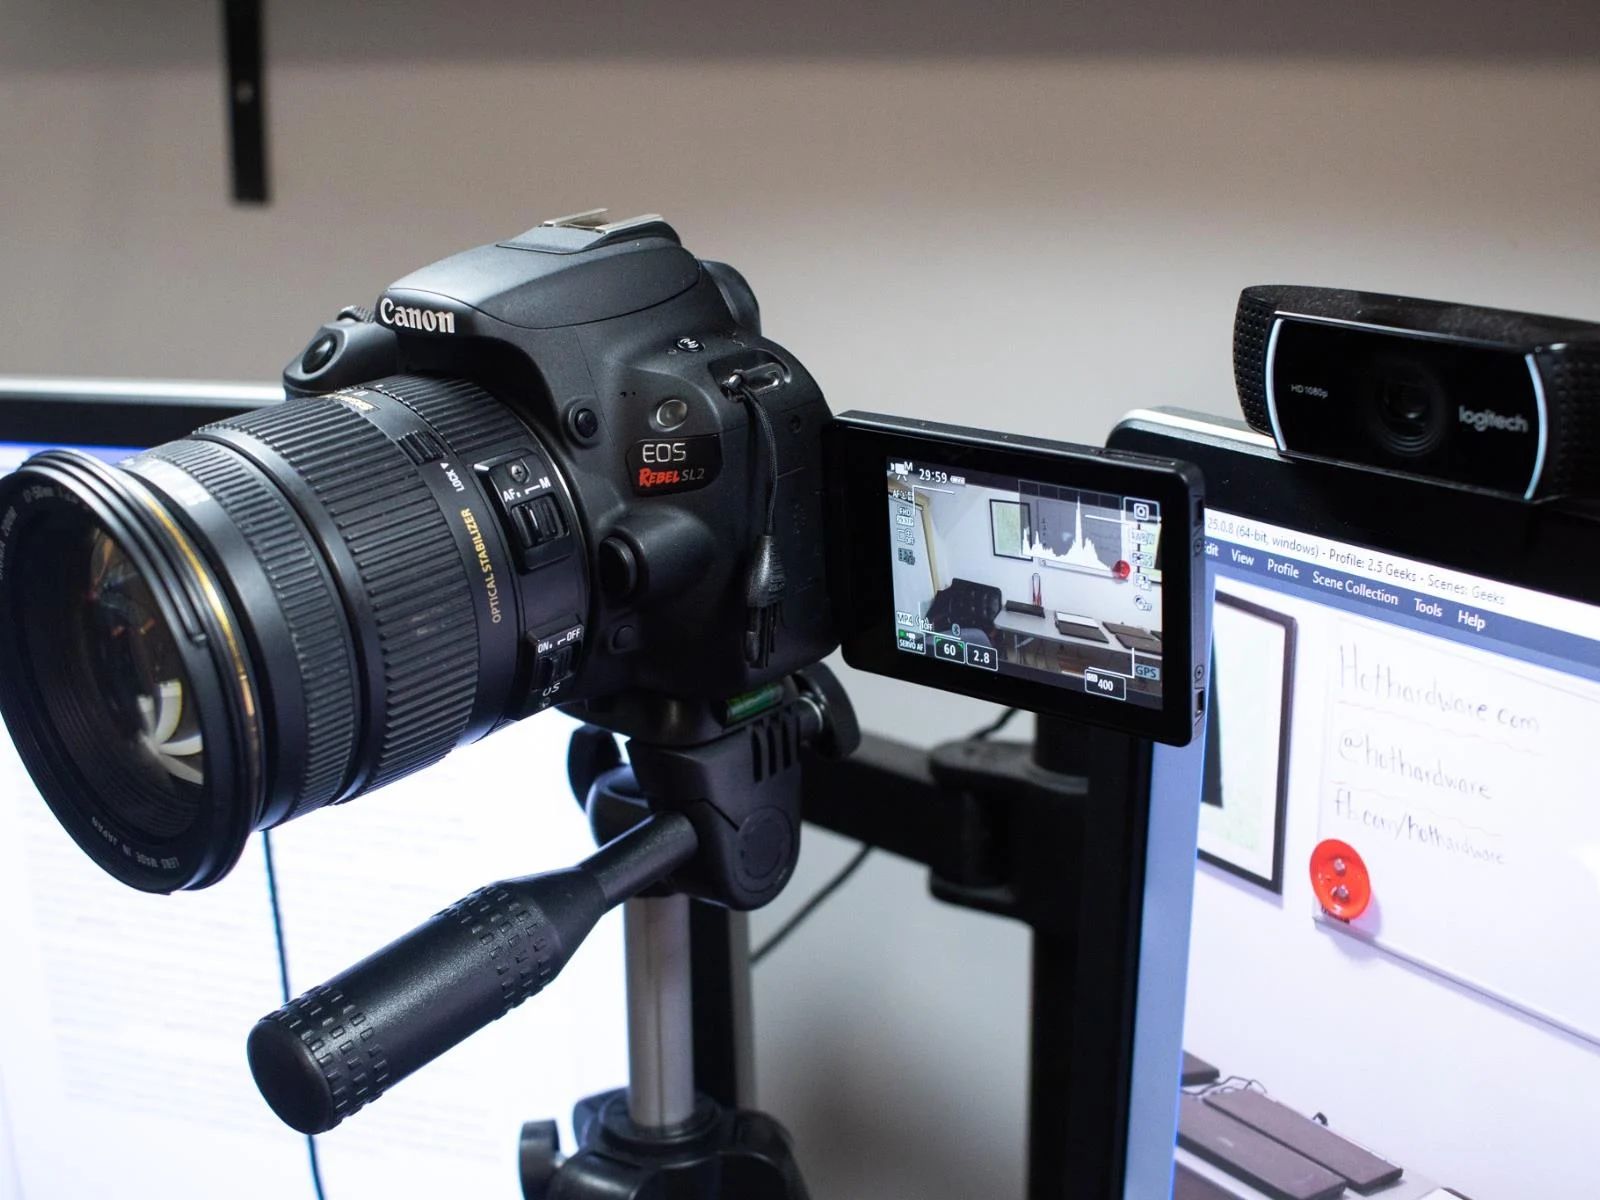
Step 2: Connect Your DSLR Camera to Your Computer
Once OBS Studio is installed on your computer, the next step is to establish a connection between your DSLR camera and your computer. This connection will allow OBS Studio to recognize your camera as a video input source. Follow these steps to connect your DSLR camera to your computer:
- Check Camera Compatibility: Ensure that your DSLR camera is compatible with live streaming and video capture via a computer connection. Most modern DSLR cameras support this functionality, but it’s essential to verify compatibility to avoid any potential issues.
- Use a USB Cable: Locate the appropriate USB cable for your DSLR camera. This cable is typically provided with your camera and is used to establish a direct connection between the camera and your computer. If the cable is not readily available, you can purchase one from a reputable electronics store or online retailer.
- Connect the Camera: Power off your DSLR camera and locate the USB port on the camera body. Connect one end of the USB cable to the camera’s USB port and the other end to an available USB port on your computer. Ensure that the connections are secure and that the cable is not damaged.
- Power On the Camera: Once the camera is connected to your computer, power it on and set it to the appropriate mode for live streaming or video capture. Some cameras have a specific mode or setting for this purpose, so consult your camera’s manual for guidance on selecting the correct mode.
- Camera Detection: After the camera is powered on and in the appropriate mode, your computer should detect the camera as a connected device. Depending on your camera model and computer operating system, you may see a notification indicating that a new device has been connected.
By successfully connecting your DSLR camera to your computer, you are one step closer to integrating it with OBS Studio. This direct connection enables OBS Studio to access the video feed from your camera, paving the way for seamless integration and configuration within the software.
Step 3: Configure Your Camera Settings
Once your DSLR camera is connected to your computer, it’s essential to configure the camera settings to optimize the video output for live streaming and recording. Proper configuration ensures that your camera delivers high-quality video feed to OBS Studio, allowing for a professional and visually appealing output. Follow these steps to configure your camera settings:
- Resolution and Frame Rate: Access the camera’s settings menu and navigate to the video resolution and frame rate settings. Select a resolution and frame rate that align with your streaming or recording preferences. Higher resolutions and frame rates offer enhanced video quality, but they may require more processing power from your computer and internet connection.
- Exposure and White Balance: Adjust the exposure settings to achieve optimal brightness and contrast for your video feed. Additionally, configure the white balance settings to ensure accurate color representation. These adjustments contribute to a well-balanced and natural-looking video output.
- Focus and Depth of Field: Set the focus and depth of field according to your recording environment and subject matter. Achieving sharp focus and appropriate depth of field enhances the visual clarity and professional appearance of your video feed.
- Audio Settings: If your DSLR camera supports audio input, configure the audio settings to capture high-quality sound. Ensure that the microphone input levels are adjusted correctly and that any audio enhancements or filters are applied as needed.
- Save Settings: Once you have adjusted and fine-tuned the camera settings, save the configuration to ensure that your preferences are retained for future use. This step prevents the need for frequent reconfiguration and streamlines the setup process for subsequent OBS Studio sessions.
By carefully configuring your DSLR camera settings, you are optimizing the video output for seamless integration with OBS Studio. These settings directly impact the visual quality and overall production value of your live streams and recordings, allowing you to deliver captivating content to your audience.
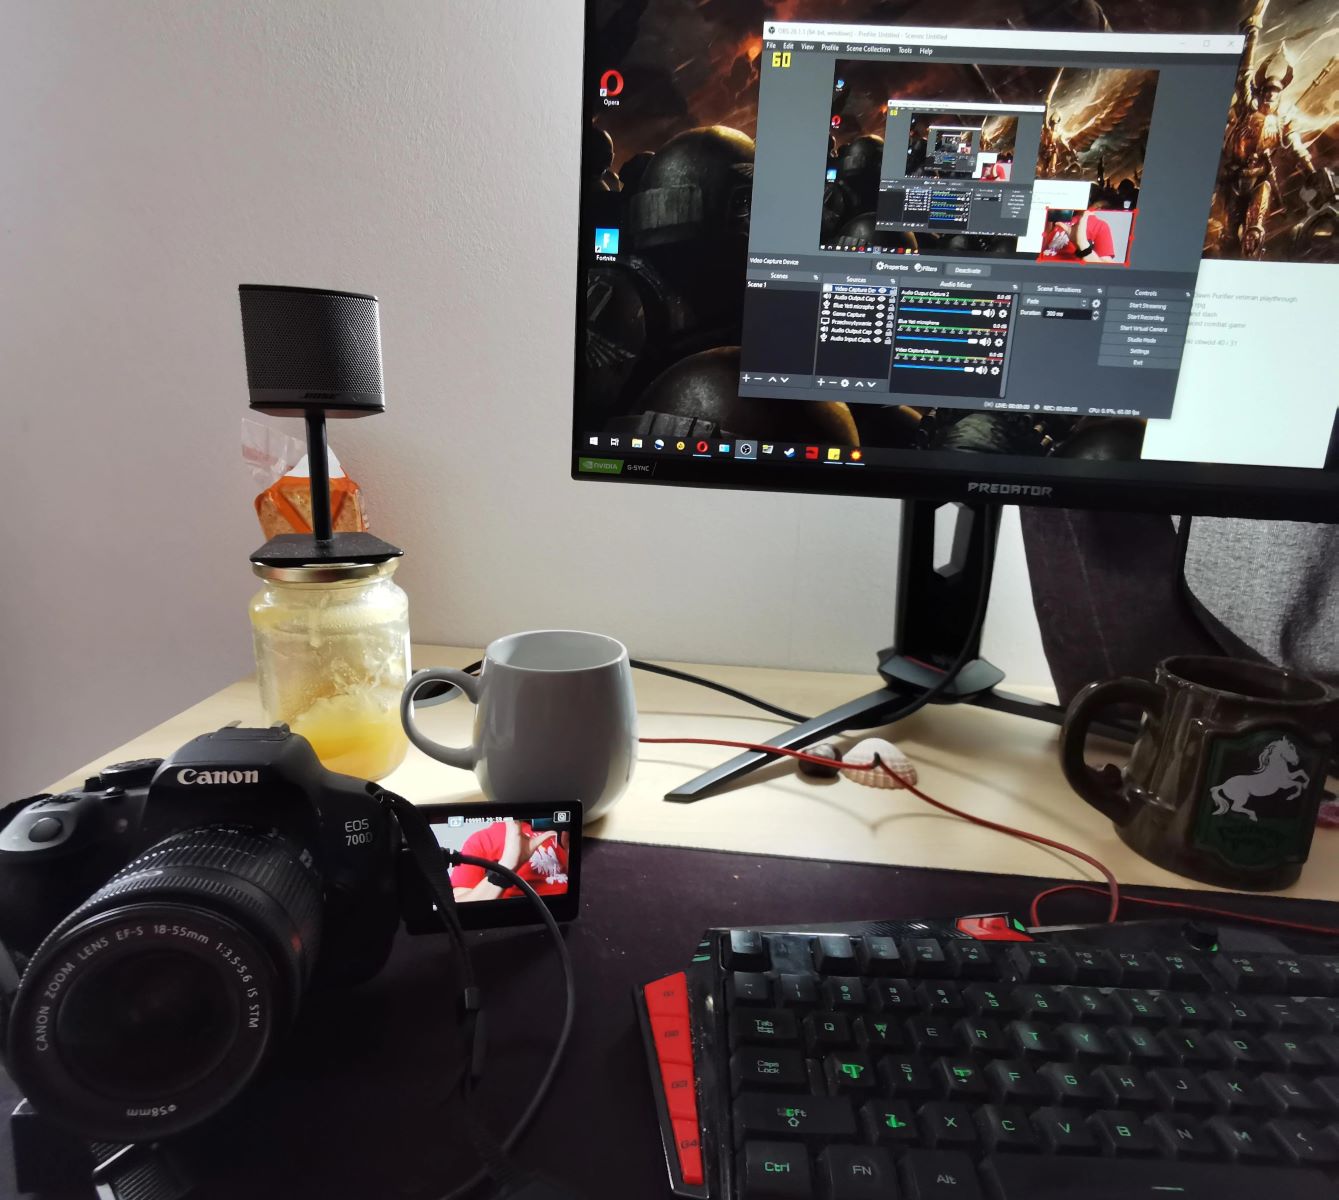
Step 4: Add Your Camera as a Video Capture Device in OBS
With your DSLR camera connected and configured, the next step is to add it as a video capture device within OBS Studio. This process allows OBS to recognize your camera as a source of video input, enabling you to incorporate the camera feed into your live streams and recordings. Follow these steps to add your camera as a video capture device in OBS:
- Open OBS Studio: Launch OBS Studio on your computer and ensure that your camera is still connected and powered on. Navigate to the main interface of OBS Studio to access the scene and source configuration.
- Access the Sources Panel: Within OBS Studio, locate the “Sources” panel, which is typically situated in the lower section of the interface. Click on the “+” icon within the Sources panel to add a new source to your scene.
- Select Video Capture Device: From the list of available sources, choose “Video Capture Device” to initiate the process of adding your DSLR camera to OBS Studio. This selection prompts a window to appear, allowing you to configure the properties of the video capture device.
- Name Your Camera Source: In the window that appears, you can name your camera source to easily identify it within OBS Studio. Enter a descriptive name that corresponds to your DSLR camera to streamline your source management and organization.
- Choose Your Camera: After naming the source, select your DSLR camera from the dropdown menu of available video capture devices. Your camera should be listed as an option, allowing you to designate it as the video source for your OBS Studio setup.
- Configure Additional Settings: Depending on your camera model and preferences, you may have the option to configure additional settings such as resolution, frame rate, and audio input. Adjust these settings based on your specific streaming or recording requirements.
- Confirm and Add the Source: Once you have configured the properties of your camera source, confirm the settings and add the source to your scene within OBS Studio. Your DSLR camera is now integrated as a video capture device, ready to contribute to your live streams and recordings.
By adding your DSLR camera as a video capture device in OBS Studio, you have seamlessly incorporated it into your content creation workflow. This integration empowers you to leverage the superior image quality and versatility of your DSLR camera for engaging and professional video content.
Step 5: Adjust Your Camera Settings in OBS
After adding your DSLR camera as a video capture device in OBS Studio, it’s important to fine-tune the camera settings within OBS to optimize the video feed and ensure seamless integration with your live streams or recordings. By adjusting the camera settings in OBS, you can enhance the visual quality and customize the output according to your specific preferences. Follow these steps to adjust your camera settings in OBS:
- Select Your Camera Source: Within OBS Studio, locate the camera source that you added in the previous step. Click on the camera source to access its properties and configuration options.
- Access the Camera Properties: Upon selecting the camera source, navigate to the properties or settings menu for the camera within OBS Studio. This menu provides a range of options for adjusting the video and audio properties of the camera source.
- Configure Video Settings: Within the camera properties menu, you can fine-tune various video settings such as resolution, frame rate, and aspect ratio. Adjust these settings to align with your desired output quality and streaming/recording requirements.
- Adjust Audio Input (If Applicable): If your DSLR camera supports audio input and you intend to capture audio from the camera, configure the audio settings within OBS Studio. Ensure that the audio input levels are optimized and that any audio enhancements are applied as needed.
- Explore Additional Options: Depending on your camera model and OBS Studio version, you may have access to additional options such as color correction, filters, and advanced video settings. Experiment with these options to customize the visual appearance of your camera feed.
- Preview and Test: After making adjustments to the camera settings in OBS, preview the video feed to assess the impact of your changes. Test the video and audio output to ensure that the settings are optimized for your intended use.
- Save and Apply Settings: Once you are satisfied with the camera settings in OBS, save your configurations to apply the adjustments to your camera source. These settings will be retained for future use, streamlining the setup process for subsequent streaming sessions or recordings.
By adjusting your DSLR camera settings within OBS Studio, you are customizing the video output to align with your creative vision and technical requirements. These adjustments empower you to deliver captivating and polished content to your audience, elevating the production quality of your live streams and recordings.
Step 6: Fine-Tune Your Camera Feed in OBS
With your DSLR camera integrated into OBS Studio and its settings configured, you can further enhance the visual presentation by fine-tuning the camera feed within OBS. These refinements allow you to optimize the video output, apply creative enhancements, and ensure a professional and engaging visual experience for your audience. Follow these steps to fine-tune your camera feed in OBS:
- Apply Filters and Effects: Explore the filters and effects available within OBS Studio to enhance the visual appeal of your camera feed. Options such as color correction, image overlays, and visual effects can be applied to elevate the overall presentation.
- Adjust Scene Composition: Within OBS Studio, you have the flexibility to arrange and compose your camera feed within the scene. Consider the placement and sizing of the camera feed alongside other elements such as overlays, graphics, or additional sources to create a visually compelling layout.
- Test Different Scenes: Experiment with creating multiple scenes within OBS Studio, each featuring your camera feed in a distinct context. This approach allows you to tailor the visual presentation for different segments of your live stream or recording, adding variety and dynamic visual storytelling.
- Optimize Performance: Monitor the performance of OBS Studio while fine-tuning your camera feed to ensure smooth and consistent video output. Adjust settings related to encoding, bitrate, and hardware acceleration to optimize performance without compromising visual quality.
- Engage with Audience Interaction: If your content involves audience interaction or live chat, consider integrating chat overlays or on-screen graphics that complement your camera feed. This integration enhances engagement and creates a cohesive viewing experience for your audience.
- Preview and Refine: Continuously preview your camera feed within OBS Studio as you make refinements. Assess the impact of each adjustment on the overall visual presentation and make iterative refinements to achieve the desired aesthetic and technical performance.
- Save and Finalize: Once you have fine-tuned your camera feed to align with your creative vision and technical requirements, save your scene configurations within OBS Studio. These settings will serve as the foundation for your future live streams and recordings, providing a consistent and polished visual experience.
By fine-tuning your DSLR camera feed within OBS Studio, you are refining the visual presentation to captivate your audience and deliver a professional and engaging video experience. These refinements showcase the creative potential of your DSLR camera and OBS Studio, enabling you to produce compelling and visually stunning content.
Conclusion
Congratulations! You have successfully navigated the process of setting up your DSLR camera on OBS Studio, unlocking a world of creative possibilities for your live streams, video conferences, or recordings. By following the comprehensive steps outlined in this guide, you have harnessed the full potential of your DSLR camera and integrated it seamlessly with OBS Studio, a powerful platform for content creation and live streaming.
Through the installation of OBS Studio, the establishment of a direct connection between your DSLR camera and computer, and the meticulous configuration of camera settings, you have laid the groundwork for leveraging the superior image quality and versatility of your DSLR camera. By adding your camera as a video capture device in OBS and fine-tuning its settings, you have personalized the visual output to align with your creative vision and technical requirements.
Furthermore, by fine-tuning your camera feed within OBS Studio, applying creative enhancements, and optimizing the visual presentation, you have elevated the production quality of your live streams and recordings. The ability to experiment with scene composition, apply filters and effects, and engage with audience interaction showcases the dynamic capabilities of integrating your DSLR camera with OBS Studio.
As you continue your journey of content creation and live streaming, the knowledge and skills acquired in setting up your DSLR camera on OBS Studio will serve as a valuable foundation for producing captivating and professional video content. The seamless integration of your DSLR camera with OBS Studio empowers you to engage your audience with visually stunning and polished video presentations, setting the stage for impactful storytelling and compelling visual experiences.
Embrace the creative opportunities that arise from harnessing the potential of your DSLR camera and OBS Studio, and continue to explore the myriad ways in which you can leverage these tools to captivate and inspire your audience. Your dedication to refining the visual quality of your content sets the stage for a compelling and immersive viewing experience, leaving a lasting impression on your audience.