Introduction
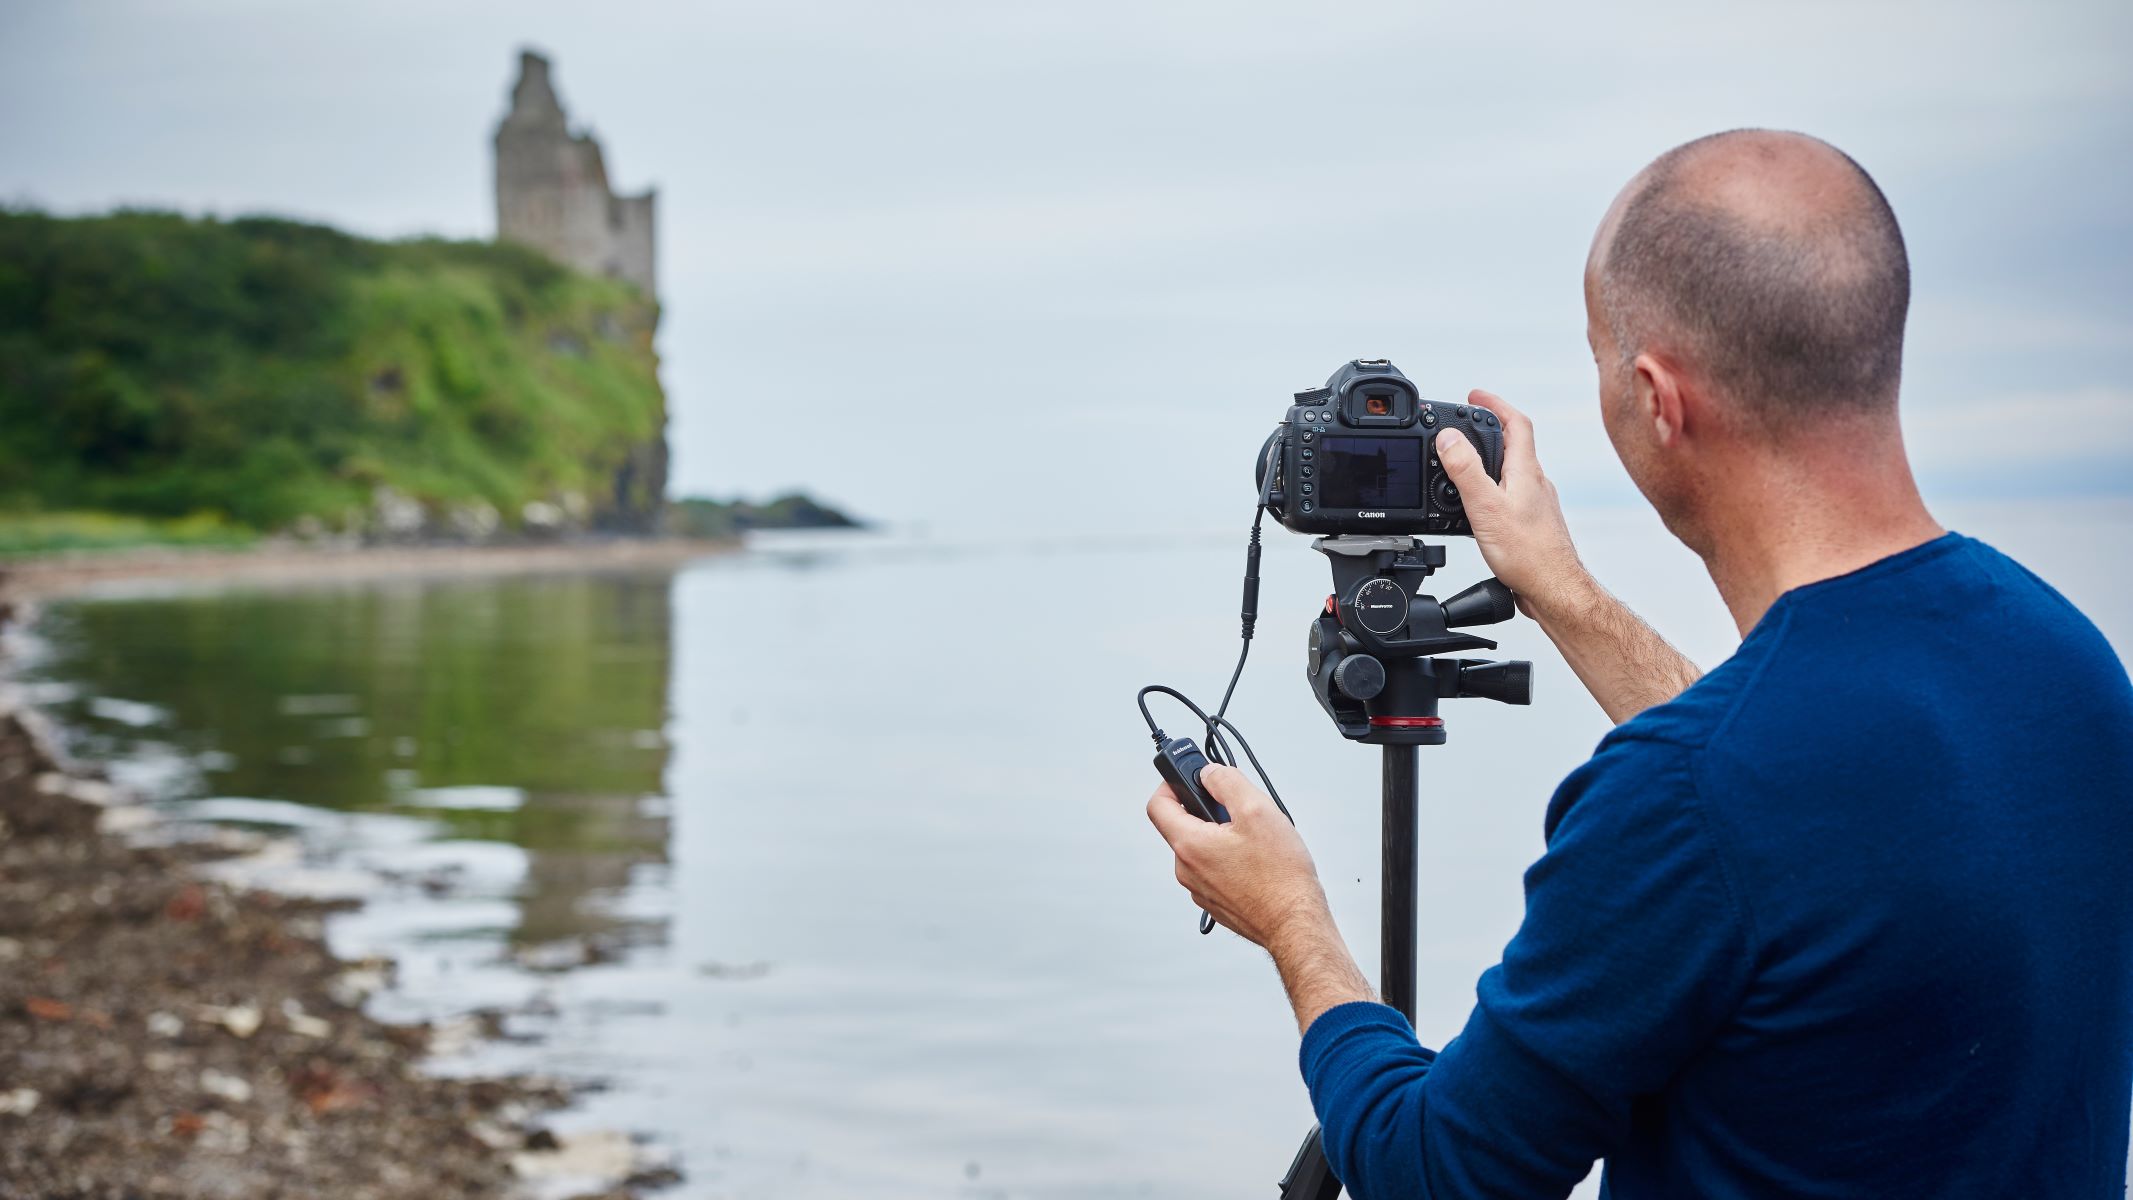
Welcome to the world of photography, where capturing moments becomes an art form. Whether you are a professional photographer or an enthusiastic hobbyist, your DSLR camera is a prized possession. However, like any electronic device, it may encounter issues over time. One common problem that photographers face is a malfunctioning on/off switch on their DSLR cameras. When this essential component fails to function properly, it can be frustrating and disruptive to your photography sessions.
Fortunately, repairing the on/off switch of a DSLR camera is a feasible task that can be accomplished with the right guidance and tools. By understanding the intricacies of the on/off switch and following a systematic repair process, you can restore functionality to your camera and resume capturing stunning images.
In this comprehensive guide, we will delve into the details of repairing the on/off switch of a DSLR camera. From understanding the mechanism of the switch to providing a step-by-step repair procedure, this guide aims to equip you with the knowledge and confidence to address this issue effectively. Additionally, we will discuss the tools and materials you will need for the repair, ensuring that you are well-prepared to undertake the task.
By the end of this guide, you will have the expertise to troubleshoot and repair the on/off switch of your DSLR camera, empowering you to prolong the lifespan of your beloved photography equipment. So, let’s embark on this journey to restore functionality to your camera and reignite your passion for photography.
Understanding the On/Off Switch
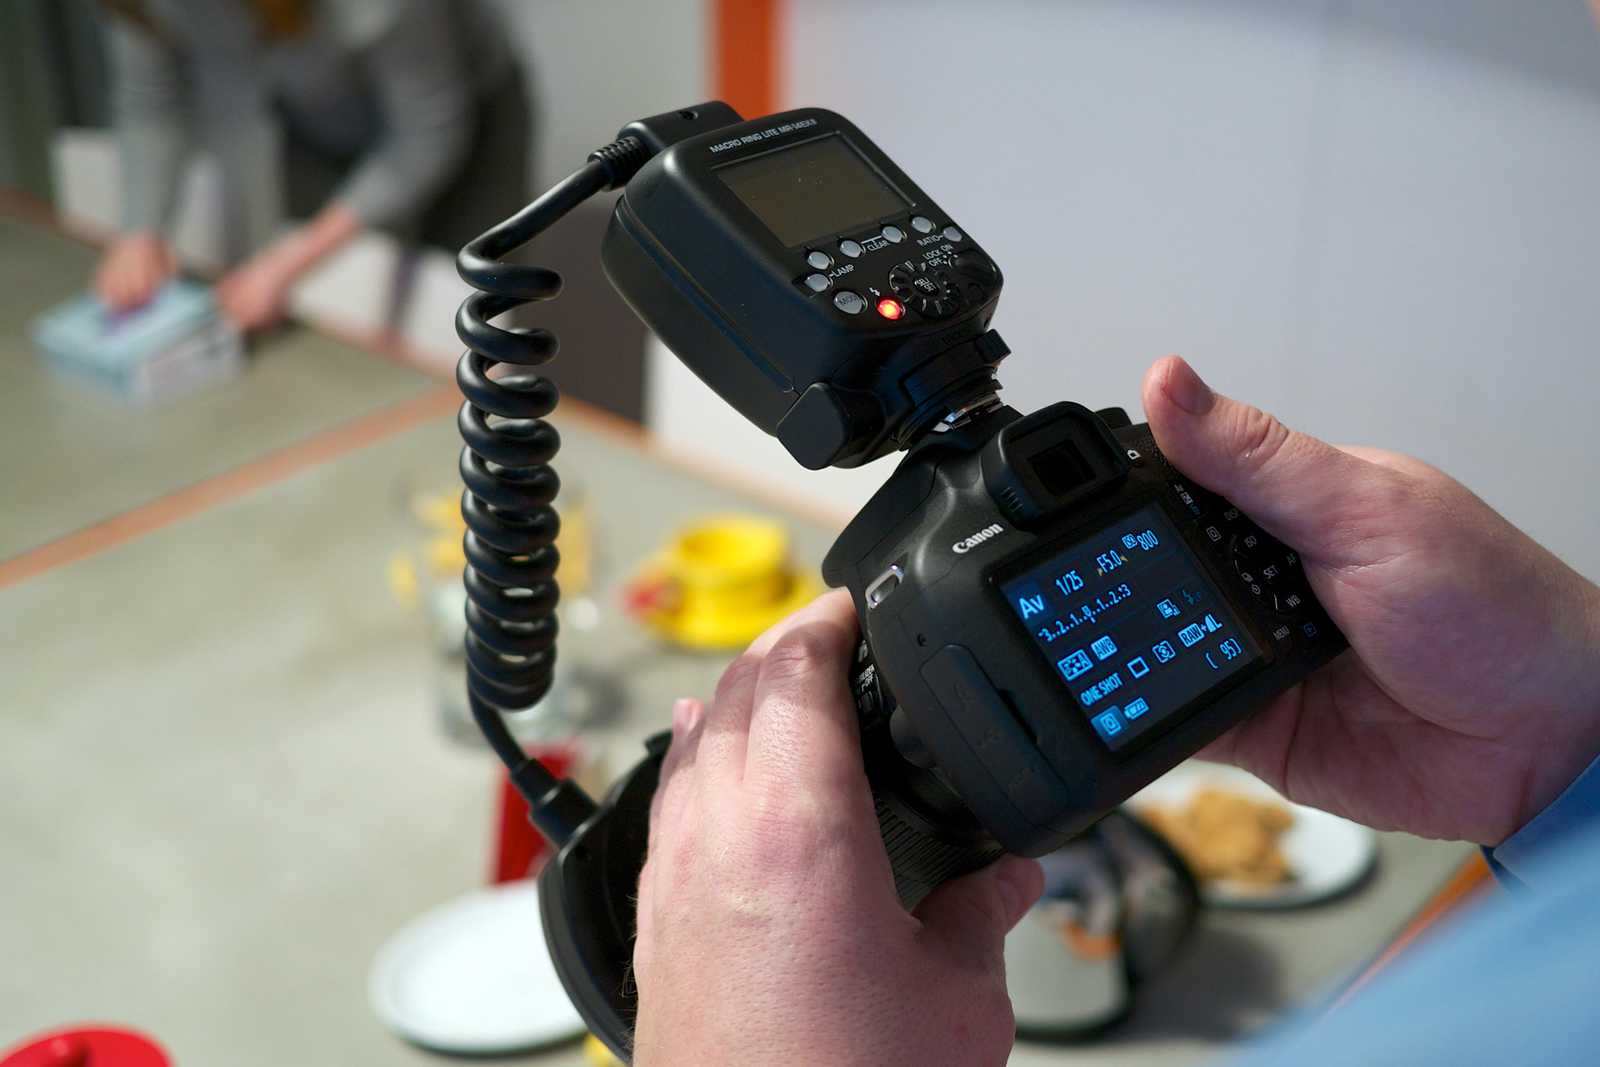
The on/off switch of a DSLR camera serves as a pivotal control that initiates and terminates the camera’s power supply. This switch is designed to seamlessly transition the camera between operational and standby modes, allowing photographers to conserve battery life and swiftly prepare for capturing moments. Understanding the mechanism of the on/off switch is essential for diagnosing and addressing any malfunctions.
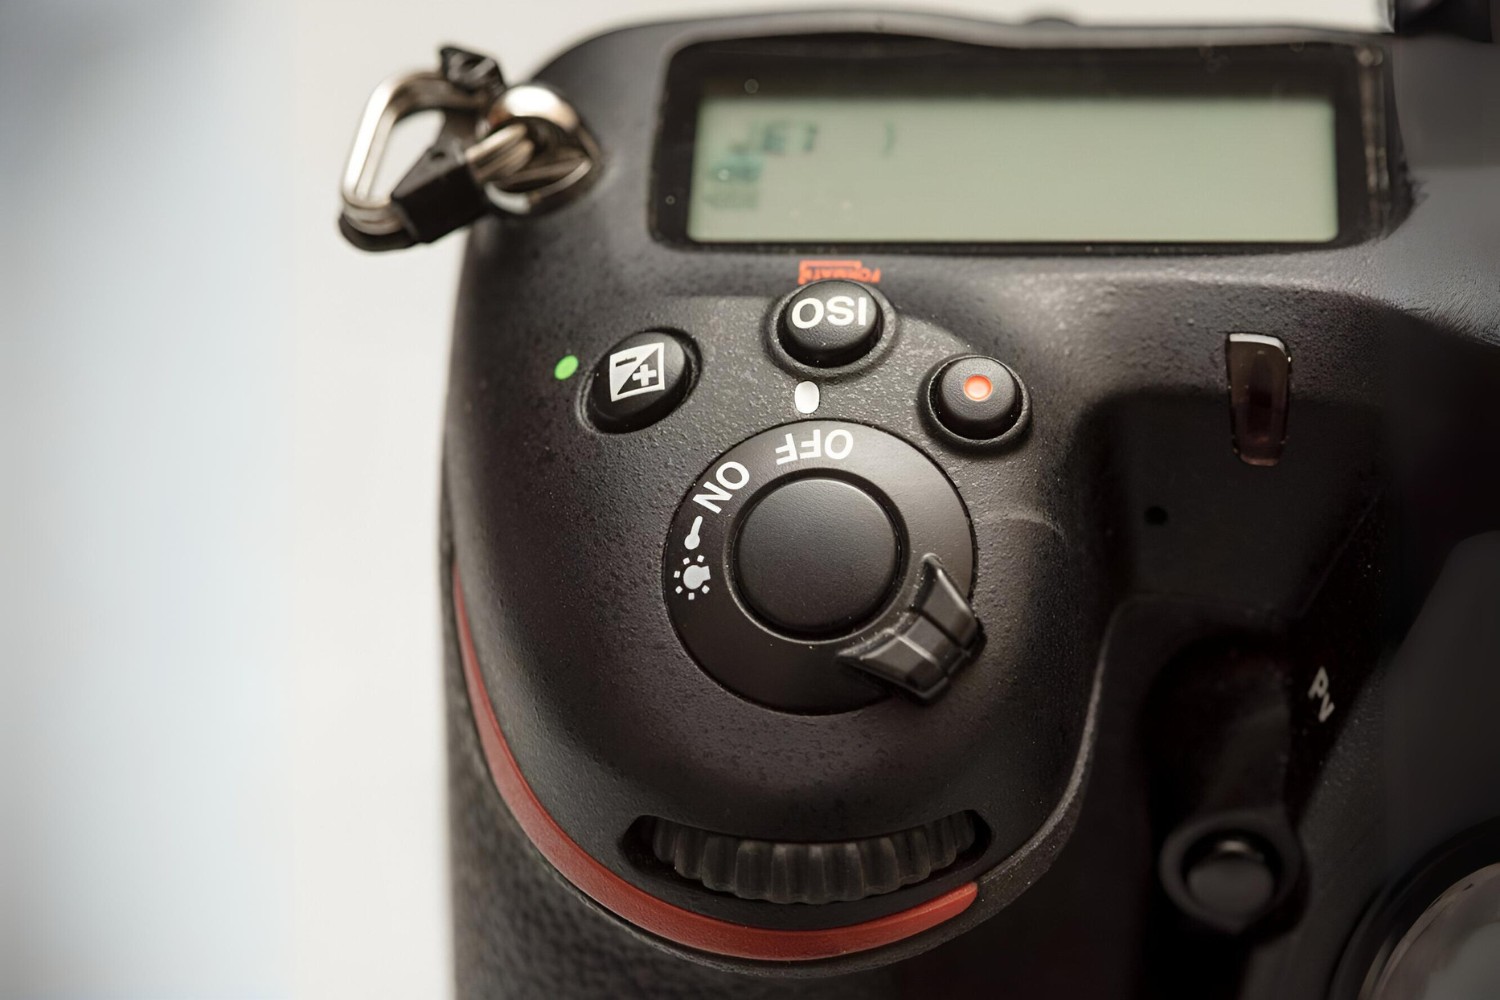
Typically located near the camera’s grip or on the top panel, the on/off switch is a tactile component that facilitates the activation and deactivation of the camera. When the switch is turned to the “on” position, it completes the electrical circuit within the camera, enabling the flow of power to the internal components. Conversely, switching it to the “off” position interrupts the circuit, effectively shutting down the camera and preventing unnecessary power consumption.
Internally, the on/off switch is connected to the camera’s power control unit, which regulates the distribution of power to the various subsystems, including the image sensor, processor, and display. The switch’s mechanism may vary among different camera models, with some featuring a sliding lever design, while others incorporate a rotating dial or a push-button switch.
When the on/off switch malfunctions, it can manifest in several ways, such as difficulty in toggling between the on and off positions, a loose or unresponsive switch, or an inability to power on the camera altogether. These issues can stem from mechanical wear and tear, electrical faults, or debris accumulation within the switch assembly.
By comprehending the role and operation of the on/off switch, photographers can better grasp the significance of maintaining its functionality. As we proceed to the next sections, we will explore the tools and techniques required to troubleshoot and repair the on/off switch, empowering you to address this common DSLR camera issue effectively.
Tools and Materials Needed
Before embarking on the repair of a DSLR camera’s on/off switch, it is essential to gather the necessary tools and materials to facilitate a seamless and effective repair process. These items will enable you to disassemble the camera, access the on/off switch assembly, and conduct the required repairs with precision and care.
- Small Screwdriver Set: A set of precision screwdrivers with various head types and sizes is indispensable for removing the screws securing the camera’s casing and internal components. This ensures that you can access the on/off switch assembly without causing damage to the camera’s exterior.
- Tweezers: Fine-pointed tweezers aid in handling small components and delicate wires within the camera, allowing for precise maneuvering during the repair process.
- Clean Cloth or Microfiber Towel: Keeping a clean cloth or microfiber towel on hand is crucial for maintaining a dust-free environment during the disassembly and reassembly of the camera, safeguarding its internal components from debris and contaminants.
- Compressed Air Duster: An air duster can be used to gently blow away dust and particles from the internal components of the camera, ensuring a clean and clear workspace for the repair.
- Electrical Contact Cleaner: This specialized cleaner is designed to remove dirt, grime, and oxidation from electrical contacts and switch mechanisms, effectively restoring their conductivity and functionality.
- Replacement On/Off Switch (if necessary): Depending on the nature of the switch malfunction, having a replacement on/off switch on hand can expedite the repair process, allowing for a swift replacement if the original switch is irreparable.
- Workspace with Ample Lighting: Working in a well-lit environment is essential for accurately assessing and repairing the on/off switch. A dedicated workspace with ample lighting minimizes the risk of errors during the repair process.
By ensuring that you have these tools and materials at your disposal, you can approach the repair of the DSLR camera’s on/off switch with confidence and preparedness. As we proceed to the subsequent sections, these items will play a crucial role in facilitating a successful repair, enabling you to restore functionality to your camera’s essential control mechanism.
Step-by-Step Guide to Repairing the On/Off Switch
Repairing the on/off switch of a DSLR camera requires a systematic approach and careful attention to detail. By following this step-by-step guide, you can effectively troubleshoot and address issues related to the on/off switch, restoring functionality to this critical component of your camera.
- Prepare the Workspace: Begin by setting up a clean and well-lit workspace where you can comfortably disassemble the camera. Ensure that you have all the necessary tools and materials within reach.
- Power Off the Camera: Before commencing the repair, power off the DSLR camera and remove the battery to prevent any electrical mishaps during the disassembly process.
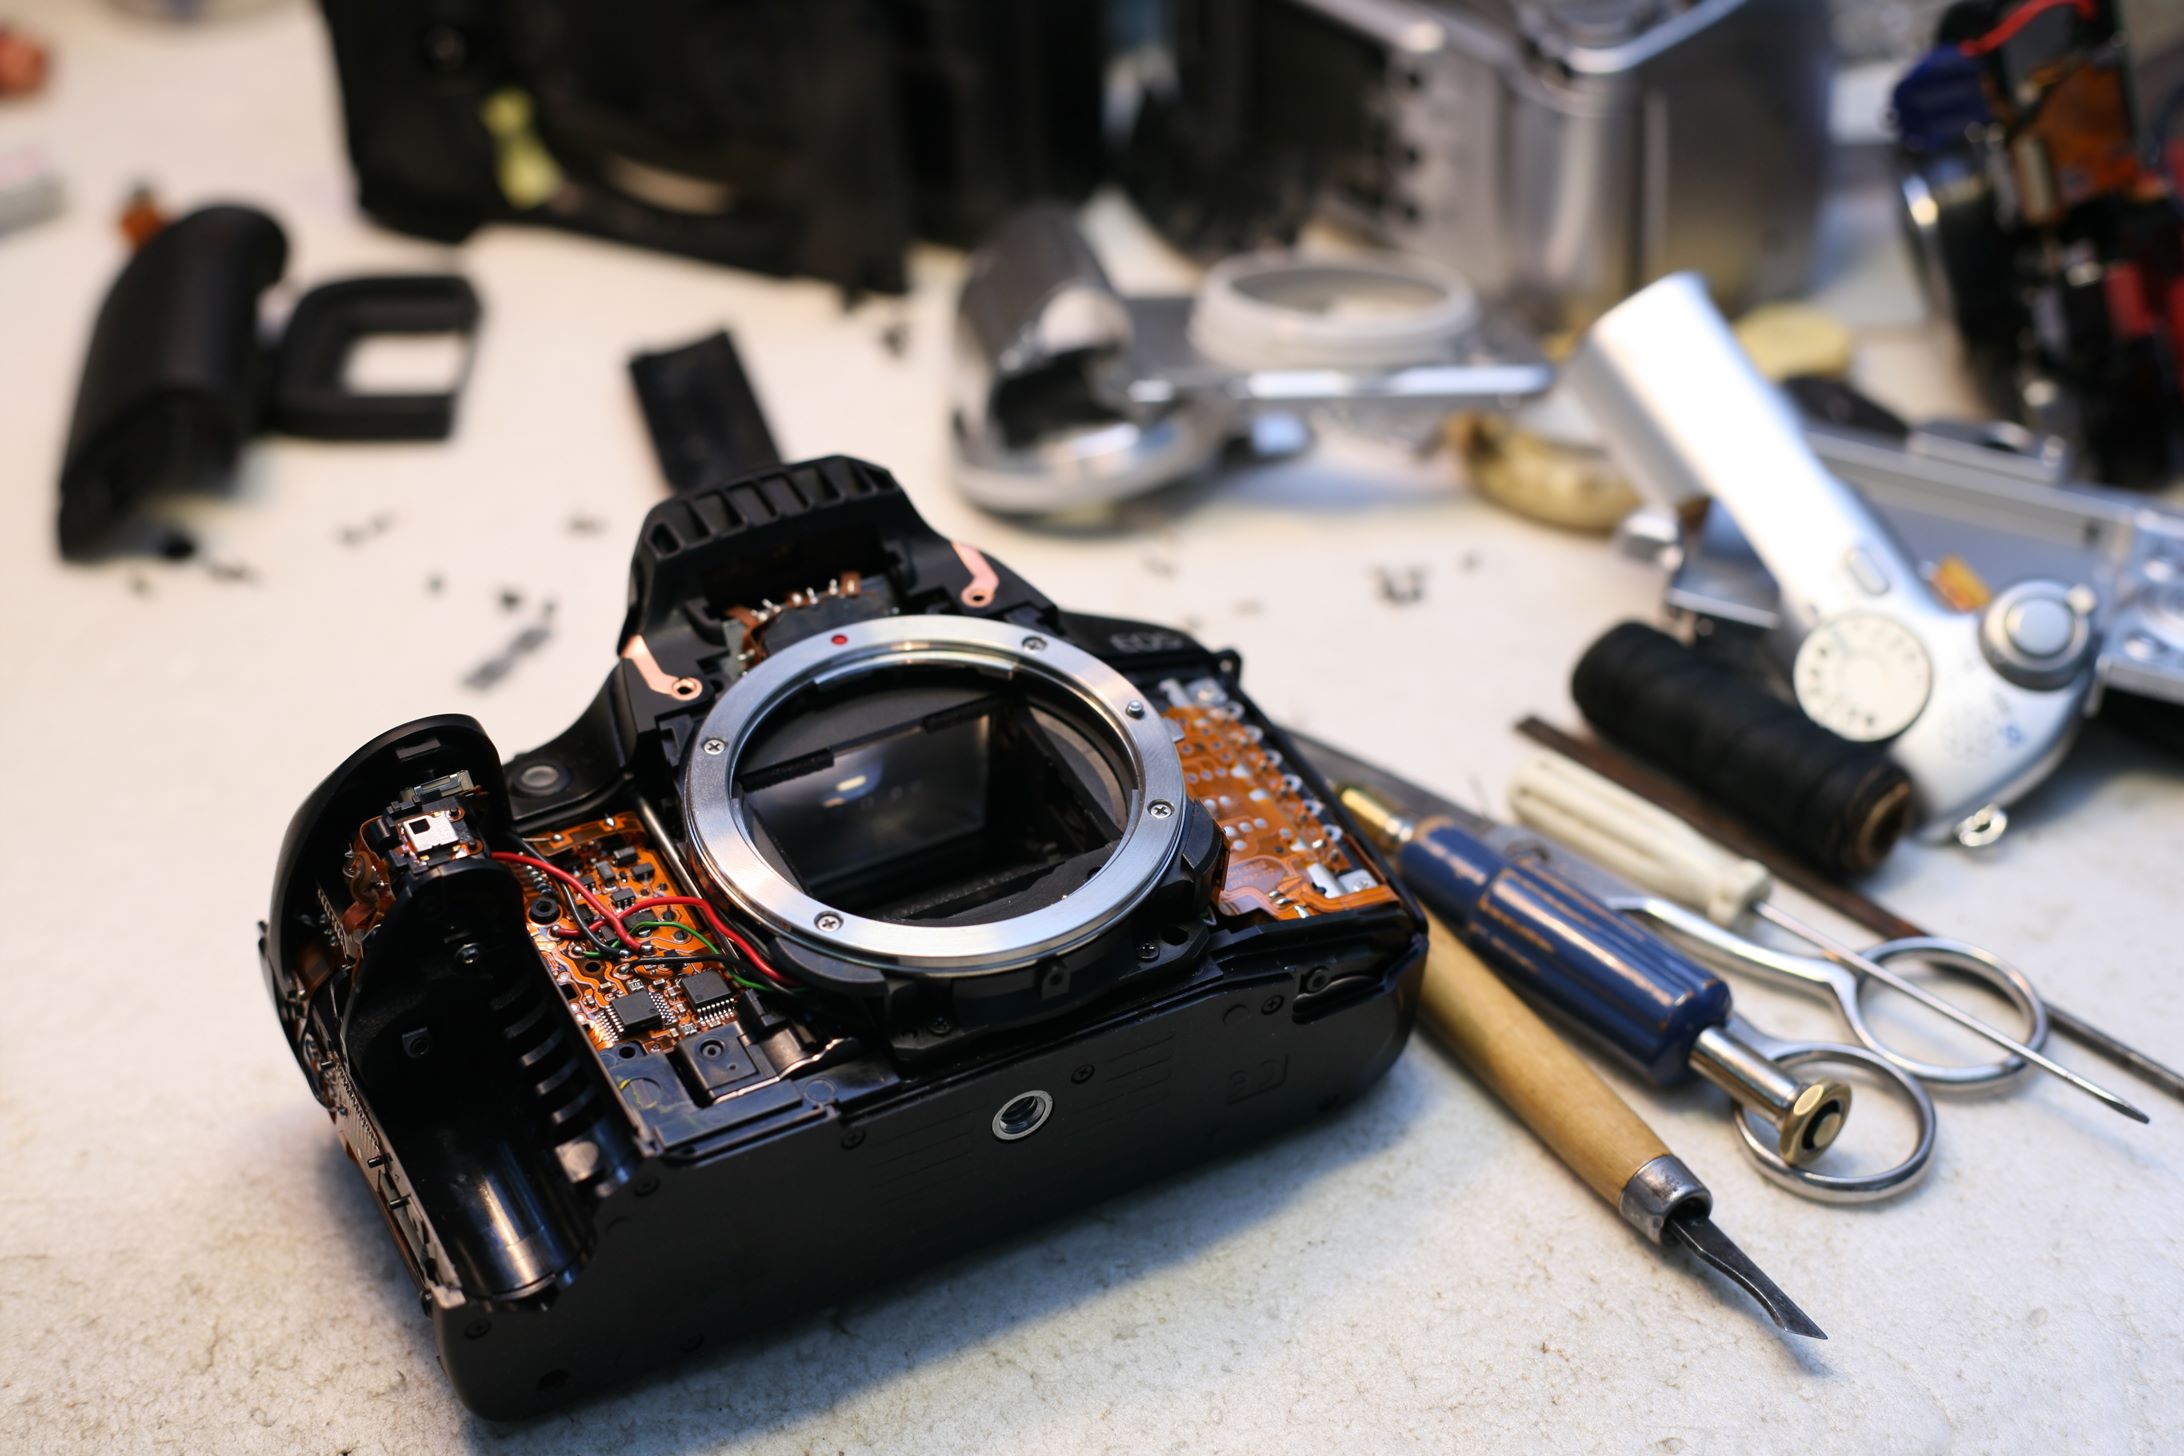
- Disassemble the Camera: Using the appropriate screwdriver from your set, carefully remove the screws securing the camera’s casing. Take note of the location and size of each screw to facilitate reassembly later.
- Locate the On/Off Switch Assembly: Once the camera casing is removed, locate the on/off switch assembly, which is typically positioned near the camera’s grip or on the top panel. Take caution to avoid damaging any adjacent components during this process.
- Inspect the Switch Mechanism: Carefully examine the on/off switch for any visible damage, debris accumulation, or loose connections. Use the tweezers to remove any foreign particles that may be obstructing the switch’s operation.
- Clean the Switch Contacts: Apply a small amount of electrical contact cleaner to a clean cloth or swab, and gently clean the electrical contacts and switch mechanism. This helps to remove oxidation and dirt that may impede the switch’s functionality.
- Test the Switch: With the switch cleaned and inspected, reassemble the camera partially and conduct a preliminary test of the on/off switch to assess its responsiveness and functionality.
- Replace the Switch (if necessary): If the on/off switch remains unresponsive or exhibits persistent issues after cleaning, consider replacing it with a new switch assembly, following the manufacturer’s guidelines for installation.
- Reassemble the Camera: Once the on/off switch has been repaired or replaced, carefully reassemble the camera, ensuring that each component is securely fastened and aligned according to its original position.
- Test the Camera: Insert the battery, power on the camera, and verify that the on/off switch functions as intended. Conduct several power cycles to confirm the switch’s reliability.
By methodically following these steps, you can effectively address issues related to the on/off switch of your DSLR camera, restoring its functionality and ensuring a seamless photography experience. With the repair process completed, you can look forward to capturing captivating images without the hindrance of a malfunctioning on/off switch.
Testing the Camera
After completing the repair or maintenance of the on/off switch on your DSLR camera, it is crucial to conduct thorough testing to ensure that the switch functions reliably and that the camera operates as expected. Testing the camera following the repair process provides the opportunity to verify the effectiveness of the undertaken repairs and to address any residual issues that may impact the performance of the on/off switch and the camera as a whole.
Upon reassembling the camera and powering it on, pay close attention to the responsiveness of the on/off switch. Toggle the switch between the on and off positions multiple times, observing whether it engages smoothly without any resistance or irregularities. Additionally, verify that the camera powers on promptly upon switching it to the “on” position and powers off seamlessly when switched to the “off” position.
During the testing phase, it is advisable to capture test images and review the camera’s functionality in various shooting modes and settings. This comprehensive evaluation allows you to assess the impact of the repaired on/off switch on the camera’s overall performance, ensuring that it operates optimally across different scenarios.
Furthermore, consider testing the camera in real-world shooting conditions to validate its reliability. Take the camera outdoors or to different lighting environments, and assess its performance while capturing images and videos. This practical testing approach provides valuable insights into the camera’s functionality and the effectiveness of the repaired on/off switch under diverse shooting conditions.
If any issues persist or if the on/off switch exhibits irregular behavior during the testing phase, revisit the repair process to identify and address any underlying issues. It may be necessary to reinspect the switch mechanism, conduct additional cleaning, or consider the replacement of the switch if the problems persist despite the initial repair efforts.
By diligently testing the camera following the repair of the on/off switch, you can ensure that the camera’s essential control mechanism operates reliably, empowering you to pursue your passion for photography with confidence. Addressing any lingering issues promptly will contribute to the longevity and performance of your DSLR camera, allowing you to capture memorable moments without the hindrance of a malfunctioning on/off switch.
Conclusion
Repairing the on/off switch of a DSLR camera is a rewarding endeavor that empowers photographers to address a common issue and restore functionality to their beloved equipment. By gaining an understanding of the on/off switch mechanism, assembling the necessary tools and materials, and following a systematic repair process, photographers can effectively troubleshoot and resolve issues related to the on/off switch, ensuring a seamless photography experience.
Throughout this guide, we have explored the intricacies of the on/off switch, delving into its role as a critical control mechanism that governs the camera’s power supply. Understanding the operation of the on/off switch is fundamental to diagnosing and addressing any malfunctions, enabling photographers to approach the repair process with confidence and clarity.
Equipped with the essential tools and materials, photographers can embark on the repair journey, carefully disassembling the camera, inspecting the on/off switch assembly, and conducting meticulous cleaning and testing procedures. The step-by-step guide provided in this resource serves as a comprehensive roadmap for addressing issues related to the on/off switch, empowering photographers to restore their camera’s functionality with precision and care.
Following the repair process, thorough testing of the camera is imperative to validate the effectiveness of the undertaken repairs and to identify any residual issues that may impact the performance of the on/off switch and the camera as a whole. By conducting practical tests and evaluating the camera’s functionality across various shooting scenarios, photographers can ensure that the repaired on/off switch operates reliably, contributing to a seamless photography experience.
Ultimately, the successful repair of the on/off switch enhances the longevity and performance of the DSLR camera, allowing photographers to pursue their passion for photography without the hindrance of a malfunctioning on/off switch. By addressing issues promptly and methodically, photographers can maintain their equipment in optimal condition, capturing captivating images and immortalizing memorable moments with confidence and ease.
As you embark on the repair journey and breathe new life into your DSLR camera, may this guide serve as a valuable resource, empowering you to overcome challenges and elevate your photography experience. With a steadfast approach to maintenance and repair, your camera will continue to be a steadfast companion, capturing the beauty of the world through your lens.