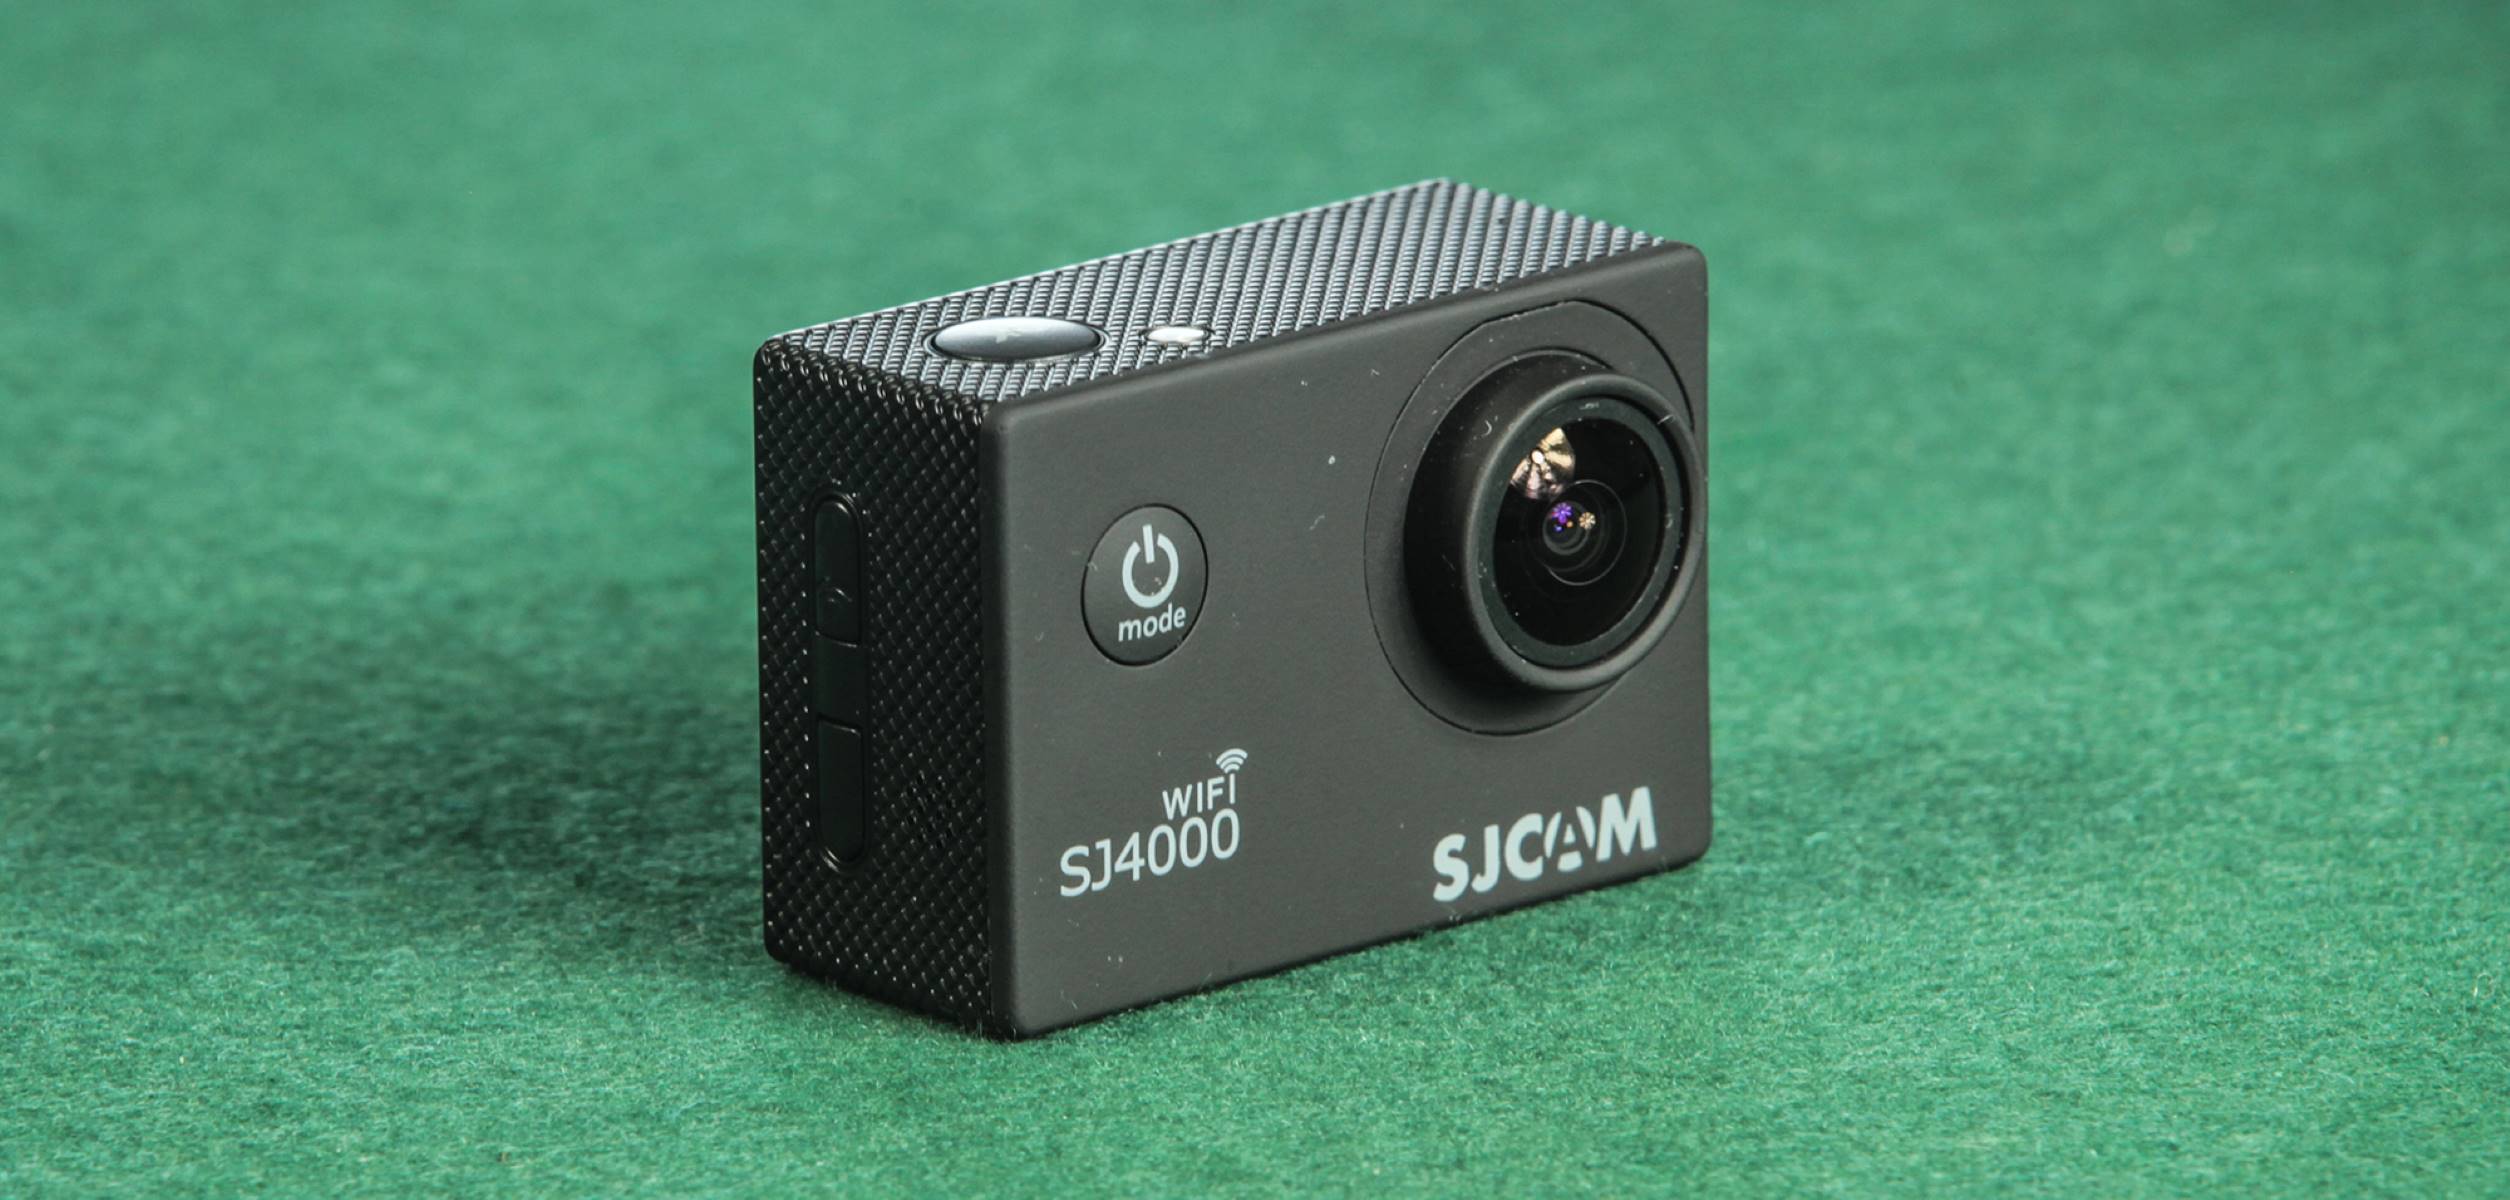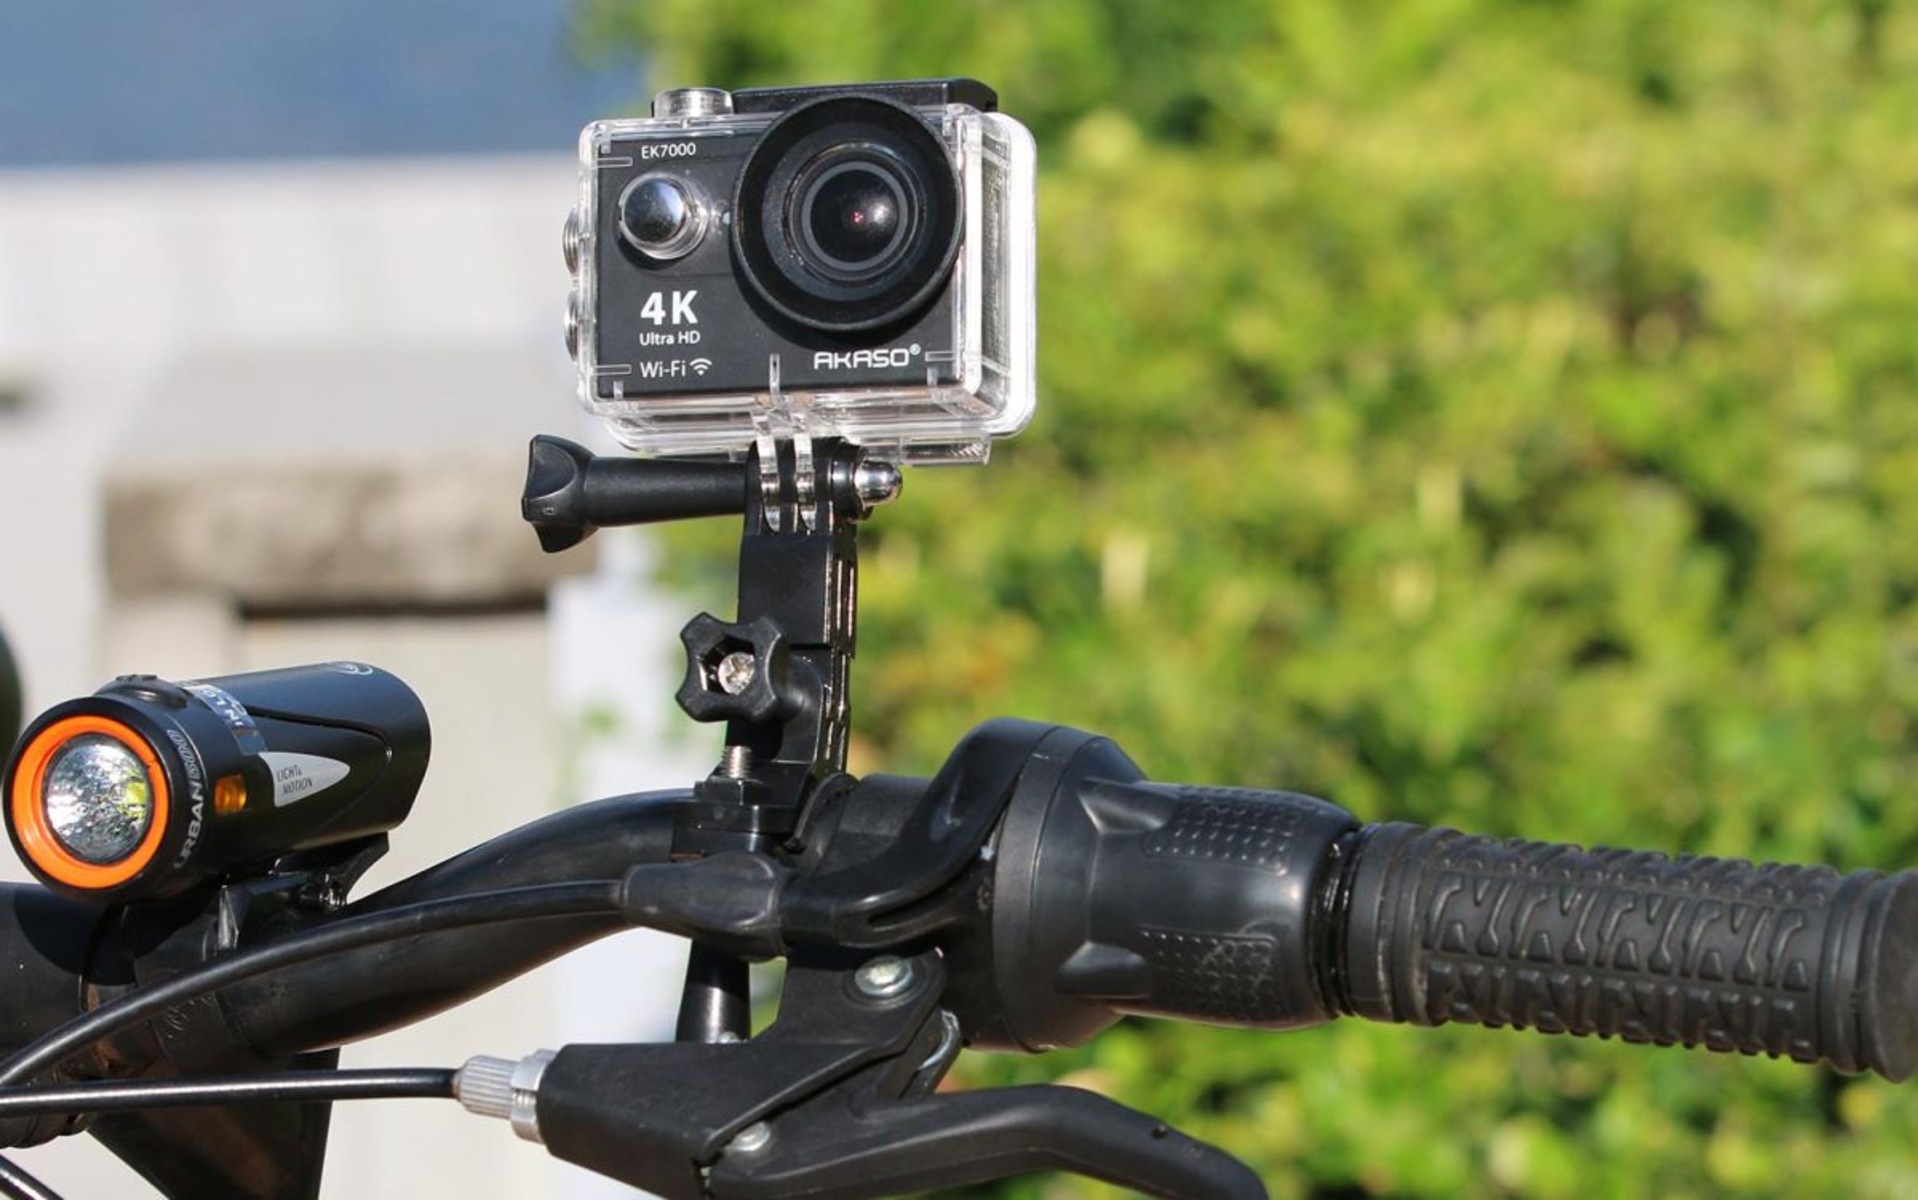
Introduction
Introduction
So, you've just returned from an exhilarating adventure with your action camera, and now it's time to relive those adrenaline-pumping moments by transferring your footage to your device. However, there's a slight hitch – your action camera is still snugly encased in its waterproof shell. Fret not, as I'm here to guide you through the process of removing the waterproof case from your action camera. Whether you're a seasoned action camera enthusiast or a newbie looking to capture thrilling escapades, this step-by-step guide will ensure that you can effortlessly access your camera and its precious footage.
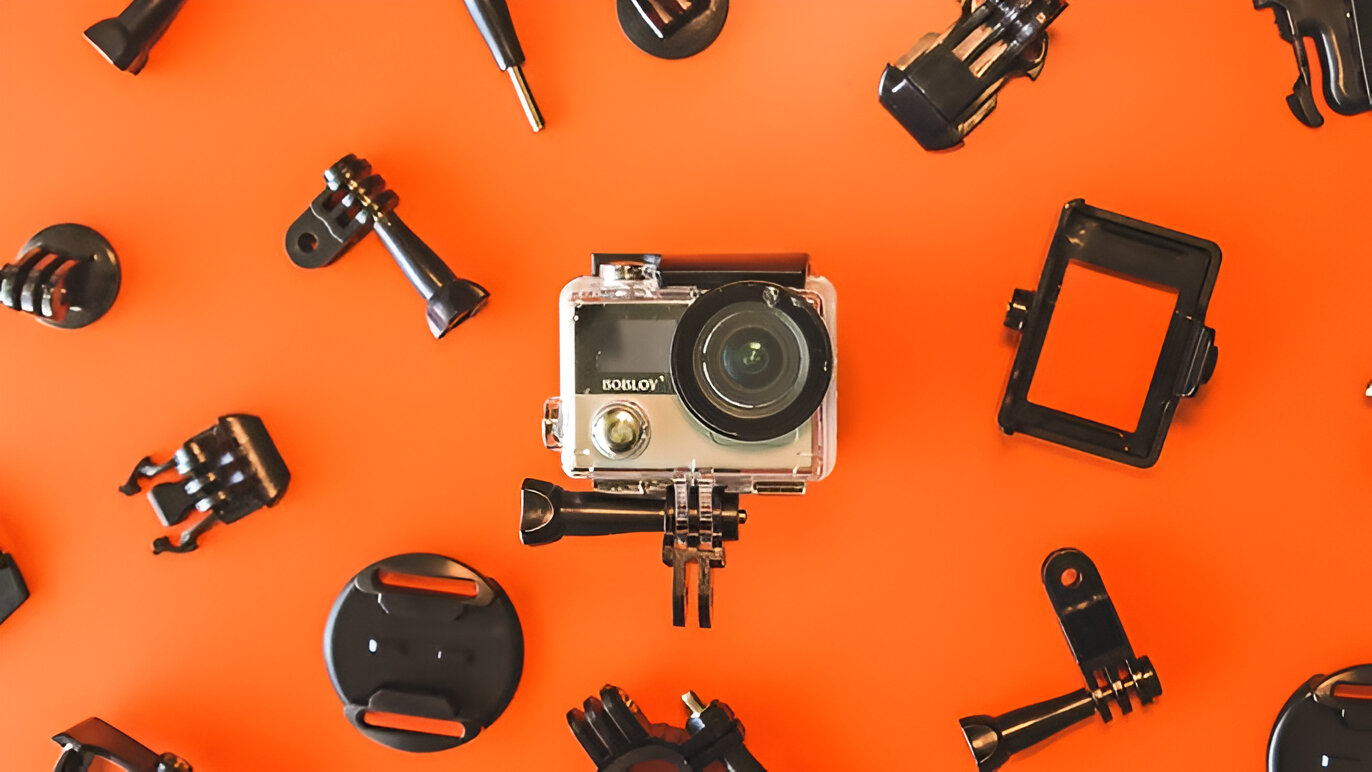
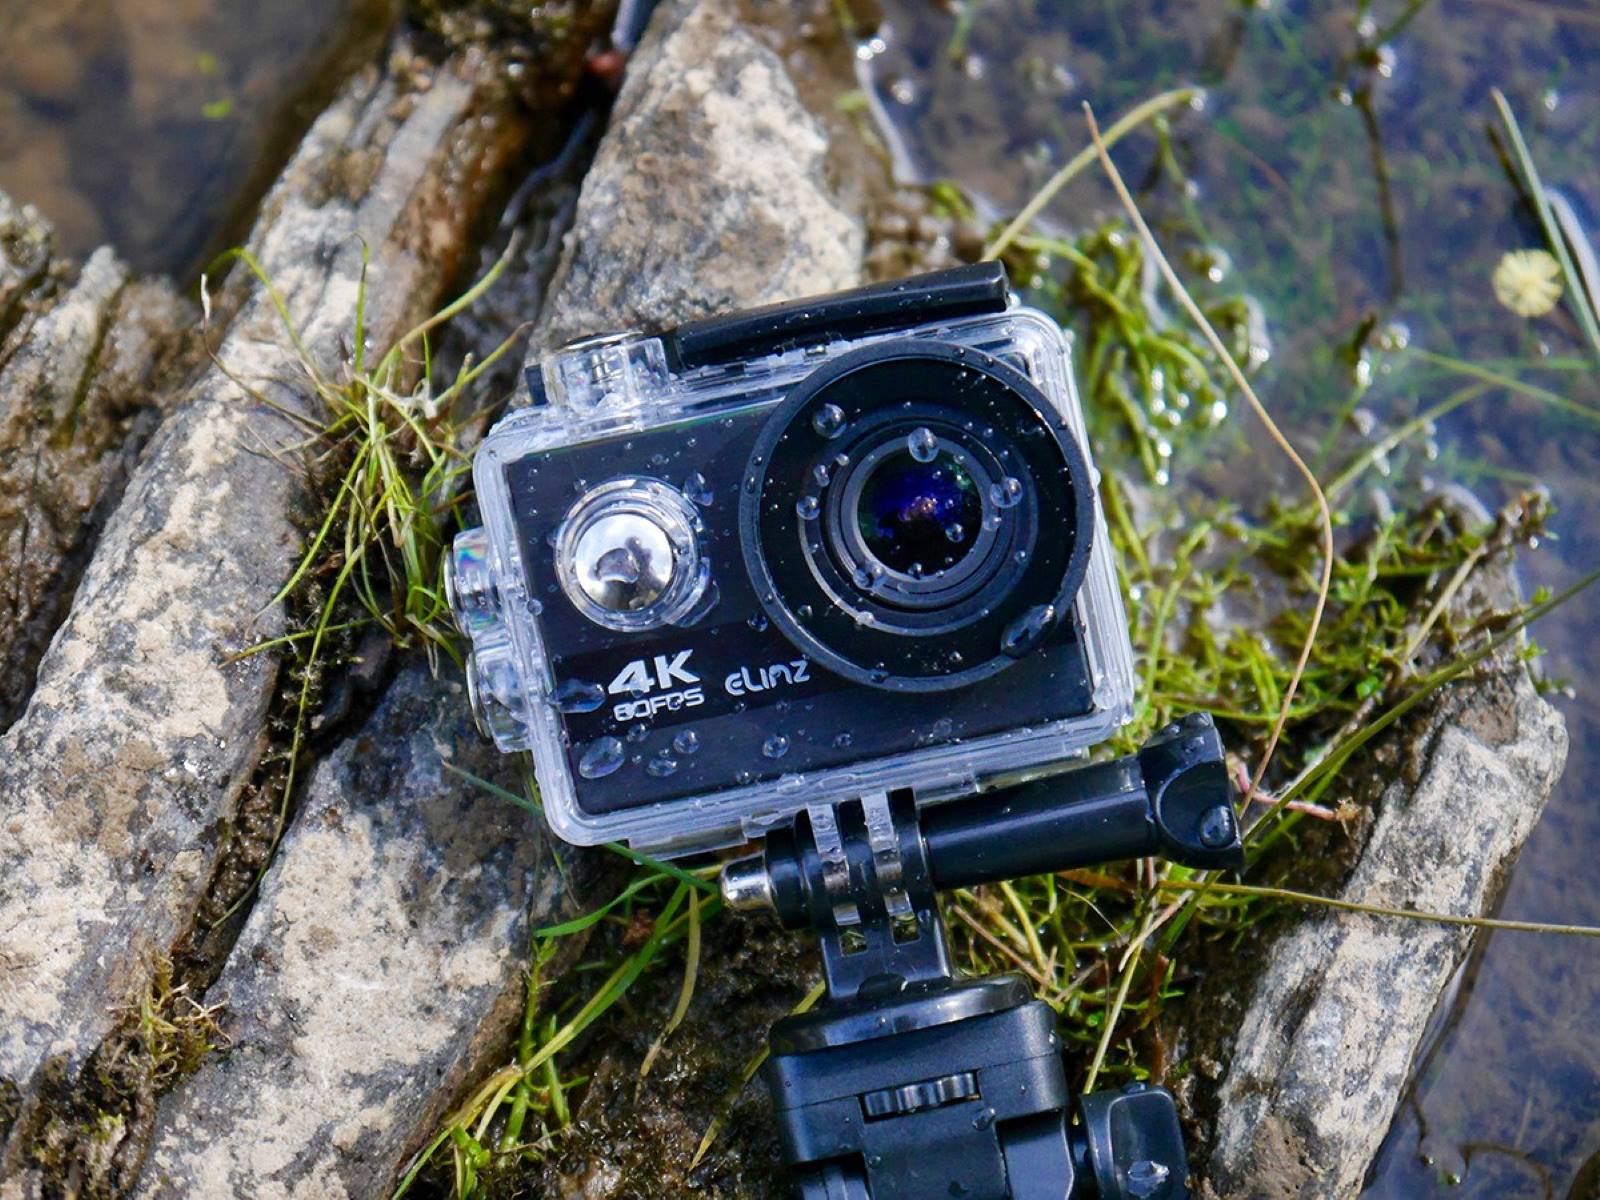
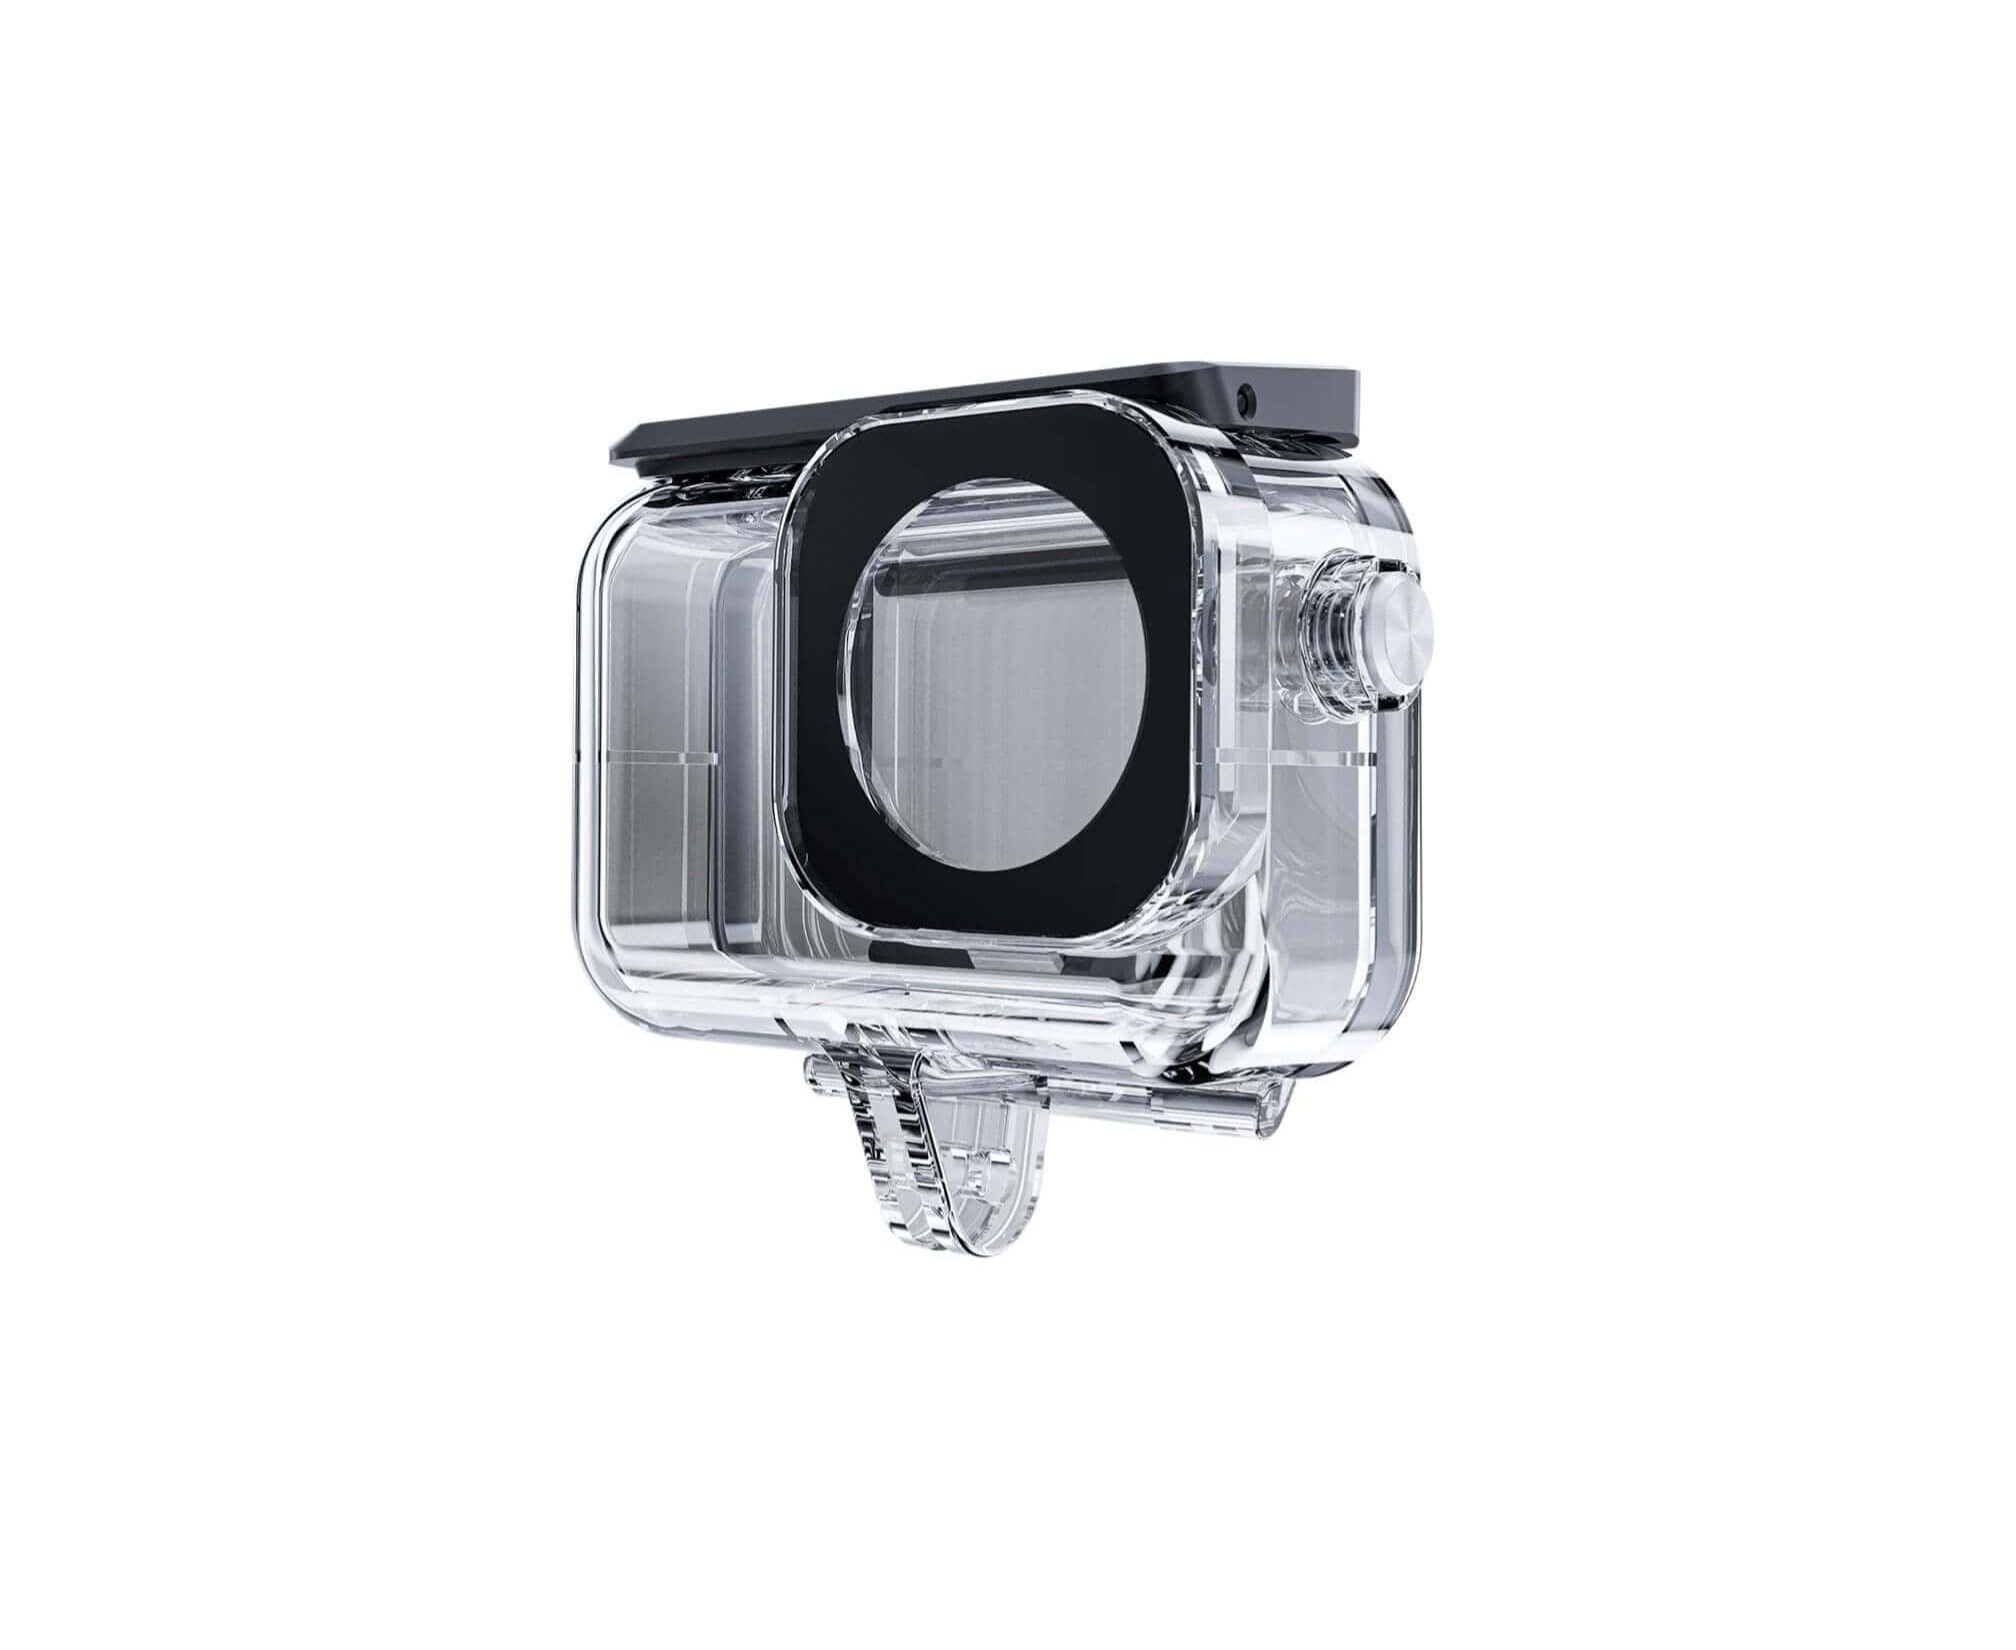
The waterproof case is an essential accessory that safeguards your action camera from water, dust, and impact damage, allowing you to capture stunning shots in challenging environments. However, removing the case requires a delicate touch to prevent any damage to the camera or its housing. By following these simple instructions, you'll be able to safely remove the waterproof case and continue reliving your adventures.
Throughout this guide, I'll provide clear and concise instructions, accompanied by helpful tips to ensure a smooth and hassle-free process. So, grab your action camera and let's get started on unlocking its full potential by liberating it from its protective shell.
Step 1: Locate the latch or lock mechanism
Before delving into the process of removing the waterproof case, it’s crucial to familiarize yourself with the specific latch or lock mechanism securing the case. Depending on the brand and model of your action camera, the location and type of latch may vary. Here’s a general overview to help you identify and locate the latch or lock mechanism:
- Check the edges: Inspect the edges of the waterproof case to identify any protruding tabs, levers, or sliding mechanisms. These components are often indicative of the latching system and provide valuable clues on how to release the case.
- Refer to the user manual: If you’re unsure about the location of the latch or lock mechanism, refer to the user manual that accompanied your action camera. The manual typically contains detailed illustrations and instructions on operating the waterproof case, including how to unlock it.
- Visual inspection: Carefully examine the exterior of the case for any markings or symbols that denote the position of the latch. Some manufacturers imprint small icons or arrows near the latch to assist users in locating and operating it.
- Online resources: In the absence of a user manual, consider searching online for instructional videos or guides specific to your action camera model. Many users and experts share valuable insights on unlocking and removing waterproof cases, which can be immensely helpful.
By taking the time to pinpoint the latch or lock mechanism, you’ll set the stage for a seamless removal process. Understanding the intricacies of the latching system will empower you to proceed with confidence, ensuring that you can effortlessly unlock the case and access your action camera.
Step 2: Release the latch or lock mechanism
Once you’ve successfully located the latch or lock mechanism, it’s time to initiate the process of releasing it to unlock the waterproof case. Depending on the design of the latch, the release method may vary. Here’s a comprehensive guide to help you navigate this crucial step:
- Press and hold: In some instances, the latch can be disengaged by pressing and holding a designated button or tab. Look for any prominent buttons or levers near the latch and apply gentle pressure to release it. Pay close attention to any audible clicks or movements that indicate the unlocking of the case.
- Slide or push: Certain waterproof cases feature sliding or push-button latches that require lateral movement or inward pressure to release. Carefully examine the latch for any directional indicators or arrows that suggest the required motion for unlocking. With a steady hand, follow the indicated movement to release the latch.
- Rotate and unlock: For more advanced locking mechanisms, such as twist locks, the process may involve rotating a component to disengage the latch. Check for any textured grips or rotational icons near the latch, and proceed to rotate the designated part in the specified direction to unlock the case.
- Use caution: While releasing the latch, exercise caution to avoid applying excessive force that could potentially damage the case or the action camera within. Gentle and deliberate movements are key to ensuring a safe and successful release of the locking mechanism.
By following these guidelines, you’ll be equipped with the knowledge and techniques needed to release the latch or lock mechanism effectively. Remember to remain patient and attentive throughout this step, as a methodical approach will yield the best results and safeguard the integrity of your action camera and its waterproof case.
Step 3: Gently open the case
With the latch or lock mechanism successfully released, it’s time to proceed with the careful and deliberate opening of the waterproof case. This step requires finesse and attentiveness to ensure that the case is opened smoothly without causing any damage. Here’s a detailed guide to help you navigate this pivotal stage:
- Assess the resistance: Before attempting to open the case, take a moment to assess any resistance or tension that may be present. If the case feels firmly sealed, avoid forcing it open and reassess the latch or lock mechanism to confirm that it has been fully released.
- Positioning: Maintain a firm grip on the waterproof case, ensuring that your fingers are positioned away from the camera lens and controls. This precaution will prevent accidental contact with the camera components during the opening process.
- Even pressure: Apply gentle and even pressure to the opposing sides of the case as you begin to separate the two halves. Avoid exerting excessive force on a single point, as this could lead to uneven stress on the case and potentially cause damage.
- Visual confirmation: As the case begins to open, visually confirm that the camera housing is not adhering to the case due to suction or tightness. If any resistance is encountered, pause and reassess the opening technique to prevent any undue strain on the camera.
- Slow and steady: Maintain a slow and steady pace as you continue to open the case, ensuring that the camera is gradually exposed without abrupt movements. This approach minimizes the risk of dislodging the camera from its mounting or causing sudden shifts within the case.
By adhering to these guidelines, you’ll be able to gently and safely open the waterproof case, granting access to your action camera without compromising its integrity. Exercise patience and precision throughout this process to ensure a seamless transition from the enclosed state to the liberated camera ready to capture your next adventure.
Step 4: Remove the action camera from the case
As the waterproof case is gently opened, the final step involves carefully removing the action camera from its protective enclosure. This crucial stage requires attentiveness and a methodical approach to ensure the safe extraction of the camera without causing any damage. Here’s a comprehensive guide to facilitate the seamless removal of the action camera:
- Stabilize the case: Maintain a secure grip on the waterproof case to prevent any inadvertent movements that could dislodge the camera or cause it to shift within the housing. Stabilizing the case provides a steady platform for the extraction process.
- Support the camera: As the case is opened, use your free hand to support the action camera from beneath, ensuring that it remains securely positioned within the housing as you prepare to lift it out. This additional support minimizes the risk of the camera slipping or sustaining impact during removal.
- Check for attachments: Before lifting the camera, verify that there are no cables, straps, or attachments securing it to the case. Detach any accessories or connections to ensure a smooth and unobstructed removal process.
- Steady extraction: With a firm yet gentle grip, carefully lift the action camera out of the case, maintaining a consistent and steady motion to prevent sudden jolts or movements that could potentially damage the camera or its housing.
- Inspect for debris: Upon removing the camera, inspect the interior of the case for any debris, moisture, or foreign particles that may have accumulated. Keeping the case clean and free of contaminants ensures optimal protection for the camera during future use.
By adhering to these guidelines, you’ll be able to safely remove the action camera from the waterproof case, setting the stage for seamless access to your captured footage and the potential for further adventures. Exercise caution and precision throughout this process to safeguard the camera and maintain the integrity of its protective housing.
Conclusion
Congratulations! You’ve successfully navigated the process of removing the waterproof case from your action camera, unlocking a world of possibilities to relive and share your thrilling experiences. By following the step-by-step guide outlined in this tutorial, you’ve gained valuable insights into safely accessing your action camera and preparing it for future adventures. As you reflect on the journey from securing the waterproof case to liberating the camera, it’s essential to acknowledge the meticulous care and attention to detail that underpin this process.
Throughout this guide, you’ve learned to identify the latch or lock mechanism, release it with precision, gently open the case, and safely remove the action camera, all while prioritizing the protection and integrity of your valuable equipment. By exercising patience and adhering to the recommended techniques, you’ve demonstrated a commitment to preserving the functionality and condition of your action camera and its accompanying accessories.
As you embark on your next escapade, armed with the knowledge and skills acquired from this guide, you can approach the use of your action camera with confidence and assurance. The ability to seamlessly remove the waterproof case not only enhances your accessibility to the camera but also signifies your dedication to responsible and informed equipment handling.
Remember, the process of removing the waterproof case is a testament to your commitment to preserving the longevity and performance of your action camera, ensuring that it remains a reliable companion in capturing the most exhilarating moments. With this newfound proficiency, you’re poised to unleash the full potential of your action camera and continue documenting your adventures with ease and precision.
So, go ahead, relive the adrenaline-pumping thrills, and capture the breathtaking vistas – your action camera is now ready to accompany you on the next chapter of your journey.