Introduction
Action cameras have revolutionized the way we capture and relive our most thrilling experiences. Whether it's a breathtaking ski run down the slopes, an adrenaline-pumping mountain bike ride, or a serene snorkeling adventure, action cameras allow us to document and share these moments with unparalleled clarity and vibrancy.
One of the most exciting features of action cameras is the ability to view the footage on a larger screen, immersing ourselves in the heart-pounding action and breathtaking scenery. Connecting your action camera to your TV opens up a whole new dimension of experiencing your adventures, allowing you to share the excitement with friends and family in a cinematic setting.
In this guide, we will delve into the process of connecting your action camera to your TV and exploring the various methods to play your action camera footage through the TV. Additionally, we will provide valuable tips to ensure that you achieve the best quality and optimal viewing experience. By the end of this guide, you'll be equipped with the knowledge to seamlessly integrate your action camera with your TV, enhancing the way you relive and share your most exhilarating moments. Let's embark on this journey to unlock the full potential of your action camera and elevate your viewing experience to new heights.
Connecting the Action Camera to the TV
Before you can enjoy the thrilling footage captured by your action camera on the big screen, you need to establish a physical connection between the camera and the TV. The method of connection may vary depending on the model of your action camera and your TV, but the following are the most common ways to achieve this:
- HDMI Cable: Many modern action cameras are equipped with an HDMI port, allowing you to connect the camera directly to the TV using an HDMI cable. Simply plug one end of the HDMI cable into the HDMI port on your action camera and the other end into an available HDMI port on your TV. Once connected, select the corresponding HDMI input on your TV to display the action camera footage.
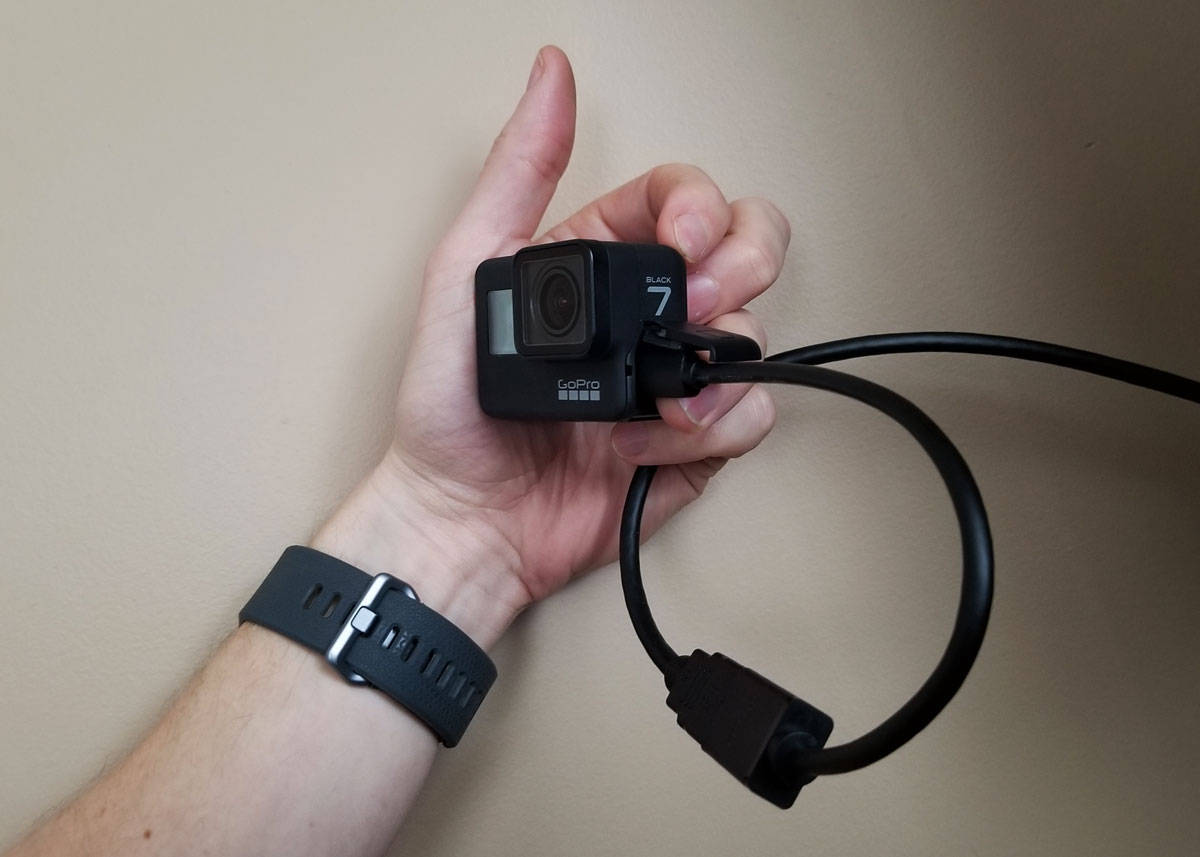
- USB Cable: Some action cameras can be connected to the TV via a USB cable. This method may require additional steps, such as selecting the “PC” or “data transfer” mode on the camera, and accessing the camera as a storage device on the TV to view the footage.
- Wireless Connection: Certain action cameras support wireless connectivity, allowing you to stream the footage to a smart TV or a TV equipped with a compatible streaming device. This method typically involves connecting the action camera and the TV to the same Wi-Fi network and using the camera’s app or the TV’s built-in features to establish the connection.
It’s important to refer to the user manuals of both your action camera and TV to determine the specific compatibility and connection options available to you. Additionally, consider the available ports and features on your TV to identify the most suitable method for connecting your action camera.
Once the physical connection is established, you’re ready to embark on the next step: playing the action camera footage through your TV and immersing yourself in the breathtaking visuals and heart-pounding action.
Playing the Action Camera through the TV
After successfully connecting your action camera to the TV, it’s time to unleash the full potential of your footage and enjoy a larger-than-life viewing experience. The method of playing the action camera footage through the TV may vary based on the connection type and the features supported by your camera and TV. Here are the common steps to play your action camera footage on the TV:
- HDMI Connection: If you’ve connected your action camera to the TV using an HDMI cable, simply power on both devices and select the corresponding HDMI input on your TV. Your action camera footage should be displayed on the screen, allowing you to relive your adventures in stunning detail and vibrant colors. Use the camera’s playback controls to navigate through the footage and immerse yourself in the exhilarating moments you’ve captured.
- USB Connection: When using a USB connection, ensure that your action camera is set to the appropriate mode for data transfer or media playback. Access the input source or media browser on your TV to locate the connected action camera and select the desired footage for playback. Depending on the TV’s capabilities, you may be able to control the playback using the TV’s remote or the camera’s controls.
- Wireless Streaming: If you’re leveraging a wireless connection to stream the action camera footage to the TV, launch the camera’s app or the TV’s built-in streaming features to establish the connection. Once connected, select the desired footage from your action camera’s library and initiate the streaming process. Sit back, relax, and witness your adventures unfold on the expansive canvas of your TV screen.
Regardless of the method you’ve chosen, playing your action camera footage through the TV elevates the viewing experience, allowing you to appreciate the intricate details and immersive visuals that may have been missed on smaller screens. Whether it’s reliving a breathtaking skydive or marveling at the natural beauty of an underwater expedition, the TV serves as a portal to transport you back to those unforgettable moments.
As you navigate through your action camera footage on the TV, take advantage of the enhanced audio-visual experience to fully immerse yourself in the excitement and beauty captured by your camera. The combination of larger-than-life visuals and immersive sound creates a cinematic experience that breathes new life into your adventures.
Tips for Getting the Best Quality
While connecting and playing your action camera footage through the TV is an exhilarating experience in itself, optimizing the quality of the viewing experience can elevate it to new heights. Here are some valuable tips to ensure that you achieve the best possible quality when enjoying your action camera footage on the TV:
- Resolution Settings: Prior to capturing footage with your action camera, ensure that you’ve selected the highest resolution and frame rate settings supported by your camera. High-resolution footage retains clarity and detail when displayed on larger screens, delivering a visually stunning experience.
- Adjust TV Settings: Take advantage of your TV’s display settings to optimize the visual output. Adjusting parameters such as brightness, contrast, and color saturation can enhance the vibrancy and realism of your action camera footage, allowing you to fully immerse yourself in the captured moments.
- Audio Configuration: Pay attention to the audio settings on your TV to ensure that the accompanying sound complements the visual spectacle. Consider enabling surround sound or optimizing the audio output to amplify the impact of the footage, especially during action-packed sequences or immersive nature scenes.
- Lighting Conditions: When planning a viewing session of your action camera footage, consider the lighting conditions in the room. Minimizing glare and optimizing the ambient lighting can prevent distractions and ensure that the visuals are presented in their full glory, enhancing the overall viewing experience.
- Screen Size and Positioning: If your TV supports adjustable display settings, experiment with the screen size and positioning to find the optimal viewing configuration. Whether it’s filling the entire screen with breathtaking vistas or focusing on intricate details, customizing the display can enrich your connection with the captured moments.
By implementing these tips, you can transform your viewing experience from captivating to truly immersive, allowing you to savor the essence of your adventures with unparalleled clarity and realism. Whether you’re reliving the heart-racing excitement of extreme sports or marveling at the natural wonders captured by your action camera, these enhancements will enrich every moment spent in front of the TV.
Conclusion
Connecting your action camera to your TV opens a gateway to a realm of captivating visuals and immersive experiences. By following the steps outlined in this guide, you can seamlessly integrate your action camera with your TV, allowing you to relive and share your most exhilarating moments in a larger-than-life format.
From the thrill of extreme sports to the serenity of nature’s wonders, your action camera footage becomes a cinematic spectacle when played through the TV. The breathtaking clarity and vibrant colors transport you back to the heart-pounding moments and awe-inspiring landscapes, reigniting the emotions and sensations associated with your adventures.
As you navigate through your action camera footage on the TV, take the opportunity to appreciate the intricate details, immersive visuals, and enhanced audio-visual experience. The combination of larger-than-life visuals and immersive sound creates a cinematic experience that breathes new life into your adventures, fostering a deeper connection with the captured moments.
By implementing the tips for optimizing the viewing quality, you can elevate the experience to new heights, ensuring that every viewing session becomes a captivating journey through your most cherished memories. Whether you’re sharing your adventures with friends and family or indulging in a personal escape into the world of your action camera footage, the TV becomes a portal to relive, rejoice, and revel in the essence of your experiences.
Embrace the fusion of technology and adventure, and let your action camera footage unfold on the expansive canvas of your TV, where each frame tells a story and every scene becomes an invitation to embark on a thrilling visual odyssey.