Introduction
Are you an avid hiker with a passion for capturing breathtaking moments on your DSLR camera? Packing your camera gear for a hiking trip requires careful consideration to ensure the safety of your equipment while allowing for easy access to capture those stunning vistas. In this guide, we will explore the essential steps to pack your DSLR camera in your hiking pack, from selecting the right camera bag to organizing your gear efficiently. Whether you're embarking on a leisurely day hike or a challenging multi-day trek, these tips will help you safeguard your camera gear and make the most of your outdoor photography adventures.
Hiking and photography are a harmonious duo, offering the opportunity to immerse yourself in nature while preserving its beauty through captivating images. However, the rugged terrain and unpredictable weather conditions characteristic of hiking expeditions necessitate strategic planning when it comes to safeguarding your valuable camera equipment. By following the advice outlined in this guide, you can embark on your hiking excursions with the confidence that your DSLR camera gear is well-protected and readily accessible for those picture-perfect moments.
Choosing the Right Camera Bag
When preparing for a hiking trip with your DSLR camera, selecting the appropriate camera bag is paramount. The ideal camera bag should offer a balance of protection, comfort, and accessibility, catering to the unique demands of hiking terrain. There are several types of camera bags designed specifically for outdoor activities, each with its own set of features to consider.
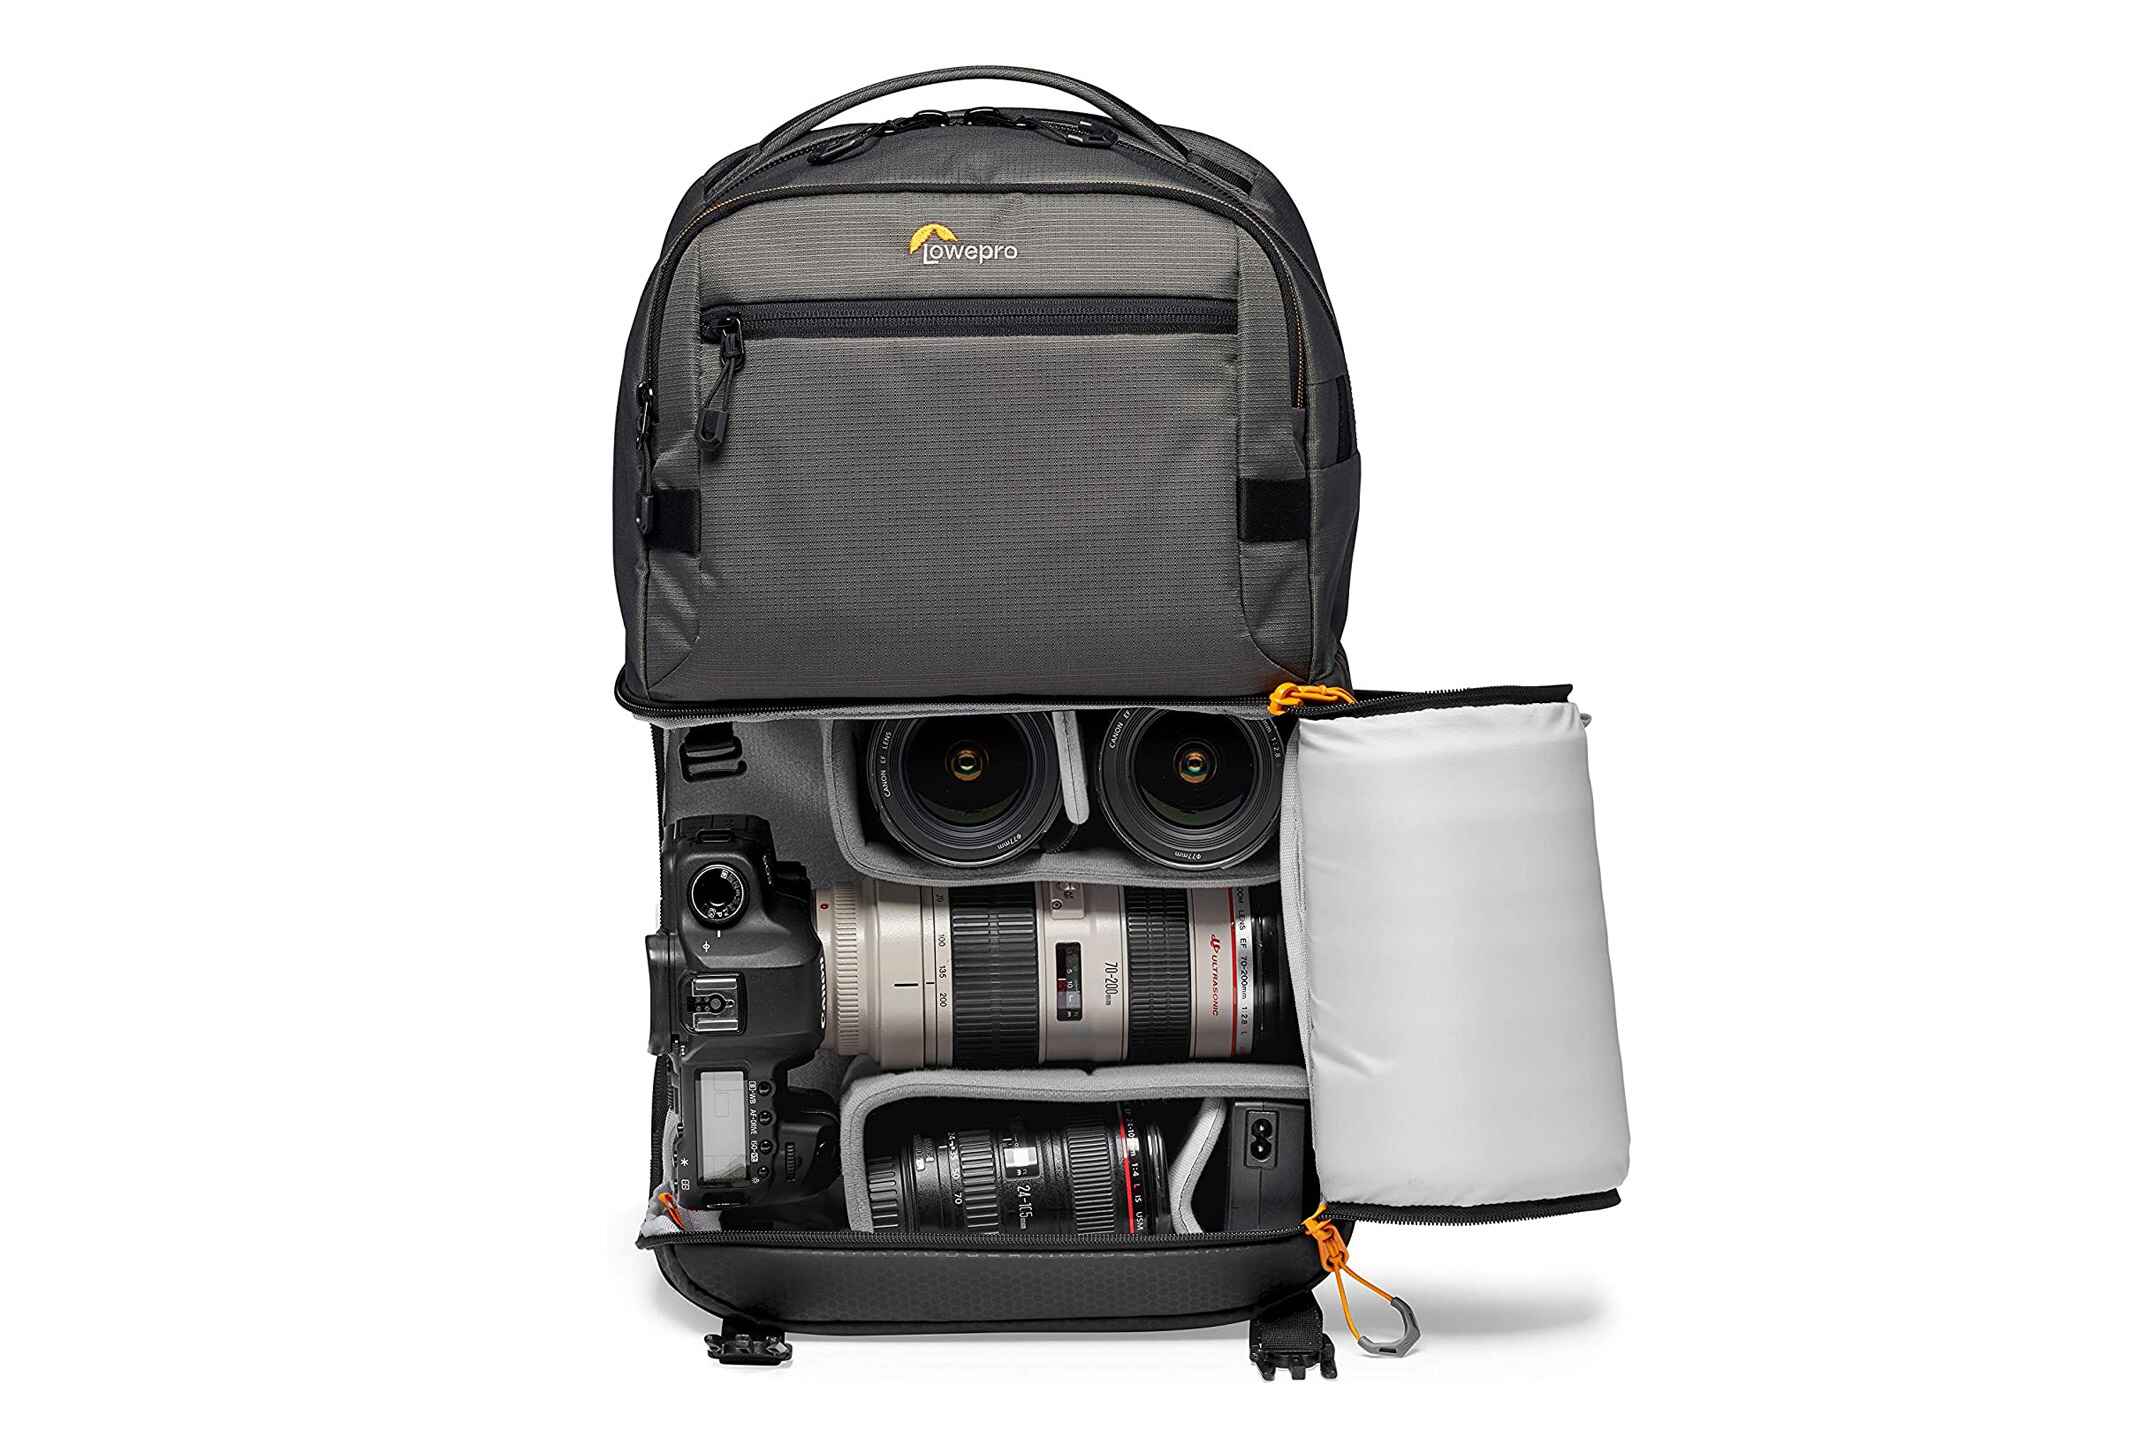
1. Backpack-style Camera Bags: These camera bags are designed with hikers and outdoor photographers in mind. They typically feature padded compartments to secure your camera body, lenses, and accessories, as well as adjustable dividers to customize the interior layout. Look for a backpack with a supportive harness system and breathable padding to ensure comfort during long treks.
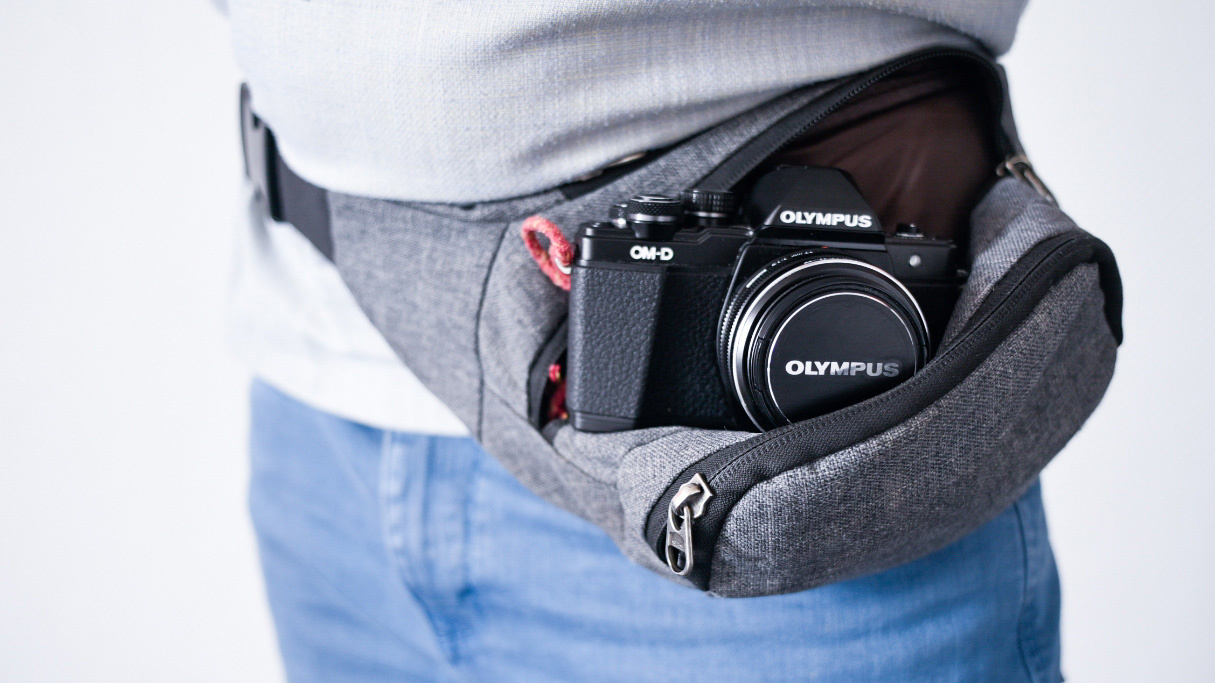
2. Sling-style Camera Bags: Sling bags offer a convenient single-shoulder design, allowing for quick access to your camera without having to remove the bag entirely. They are well-suited for day hikes and shorter excursions, providing easy maneuverability while keeping your gear secure.
3. Weatherproofing: Given the unpredictable nature of outdoor environments, opt for a camera bag constructed from durable, weather-resistant materials. Look for features such as rain covers, water-repellent fabrics, and sealed zippers to protect your gear from moisture and dust.
4. Capacity and Weight: Consider the size and weight of the camera bag in relation to your hiking needs. A balance must be struck between accommodating your camera gear and maintaining a manageable load for extended treks. Additionally, look for a bag with external attachment points for items like tripods or hiking poles.
By carefully evaluating these factors, you can choose a camera bag that seamlessly integrates with your hiking pack, providing the necessary protection and functionality for your DSLR camera gear.
Protecting Your Camera Gear
Ensuring the safety of your camera gear during a hiking expedition involves proactive measures to shield it from potential damage and environmental hazards. The following strategies will help safeguard your DSLR camera and accessories throughout your outdoor photography escapades:
- Use Protective Cases: Invest in sturdy, padded cases for your camera body and lenses to shield them from impact and jostling. These protective enclosures provide an additional layer of defense against bumps and knocks, particularly when navigating challenging terrain.
- Utilize Lens Filters: Mounting high-quality UV or clear filters on your lenses serves as a barrier against dust, moisture, and scratches. Additionally, these filters offer protection against accidental smudges or minor impacts, preserving the integrity of your valuable lenses.
- Carry a Camera Rain Cover: Unpredictable weather is a common occurrence during hikes, making a camera rain cover an essential accessory. This protective shield shields your camera and lens from rain, snow, and mist, allowing you to continue shooting in inclement conditions without compromising the safety of your gear.
- Secure Your Gear: When not in use, ensure that your camera and accessories are securely fastened within your camera bag. Utilize adjustable dividers and padding to prevent internal movement and minimize the risk of damage caused by shifting during your hike.
- Maintain Proper Cleaning Supplies: Carry a microfiber cloth and a small brush to remove dust, dirt, and debris from your camera and lenses. Regular cleaning helps prevent particles from causing scratches or interfering with the functionality of your equipment.
- Monitor Temperature Changes: Sudden temperature fluctuations can impact camera performance and battery life. Be mindful of extreme cold or heat and take precautions to shield your gear from adverse temperature conditions.
By implementing these protective measures, you can mitigate the risks posed by the rugged outdoor environment and ensure that your DSLR camera gear remains in optimal condition throughout your hiking adventures.
Organizing Your Camera Gear in the Pack
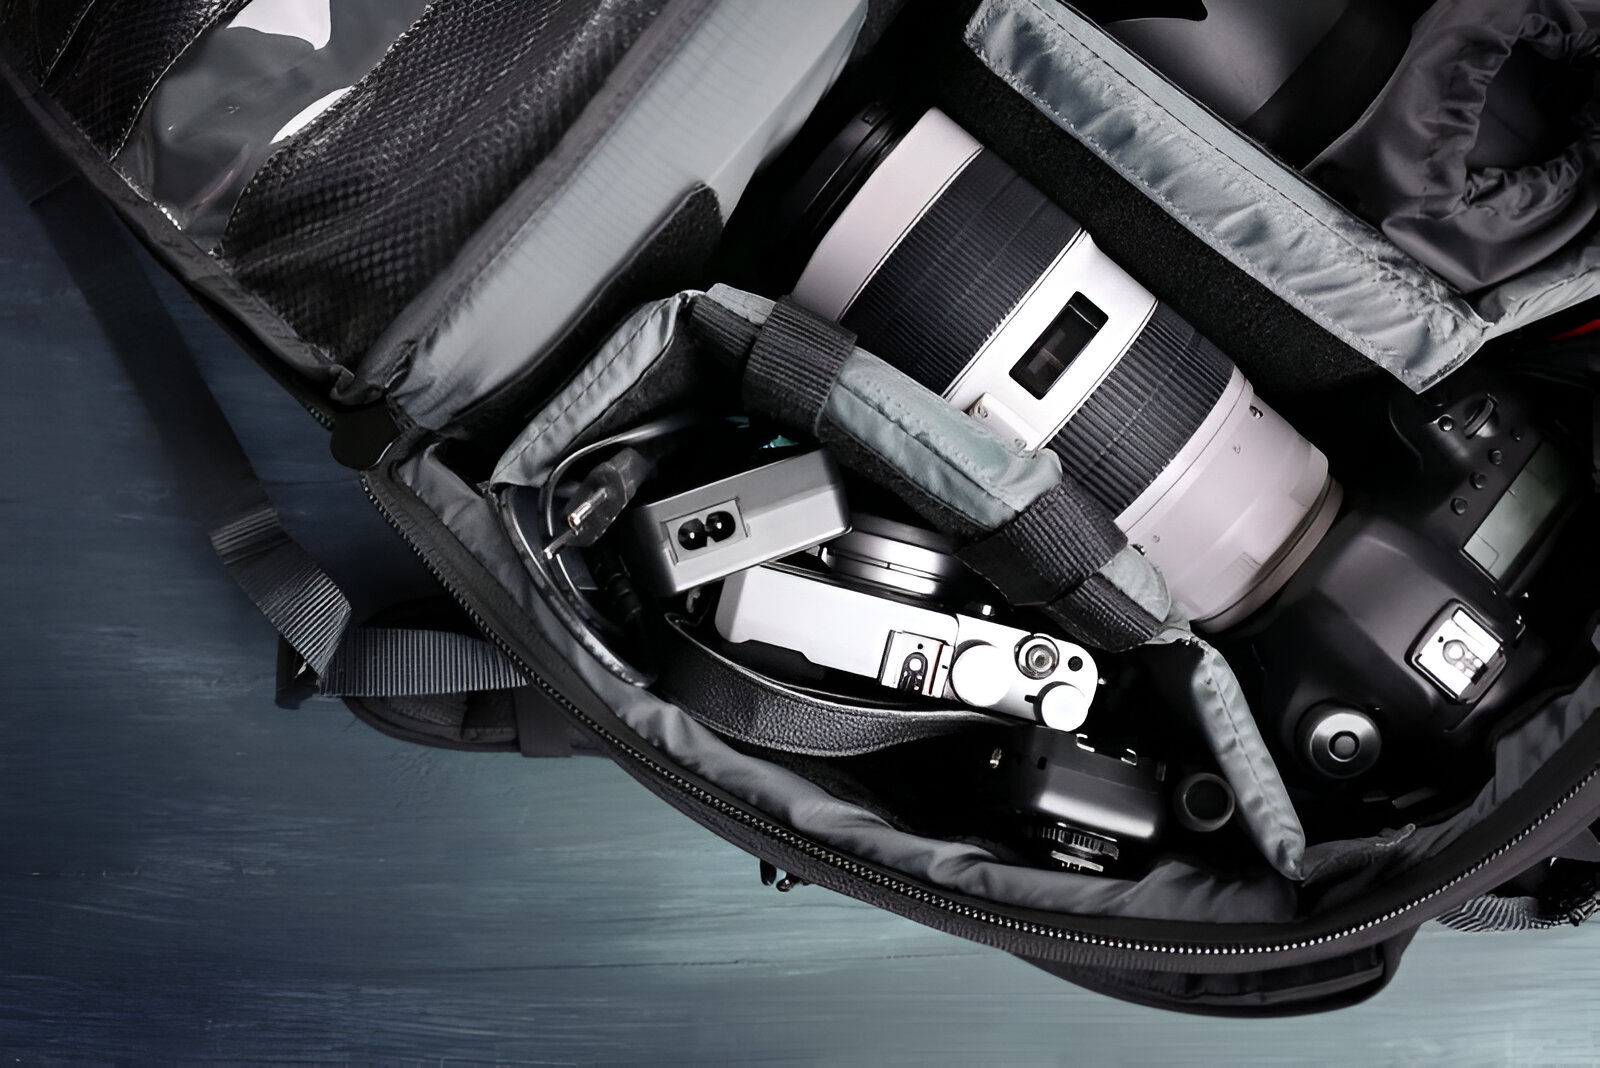
Efficiently organizing your camera gear within your hiking pack is essential for easy access, balanced weight distribution, and overall convenience during your outdoor photography pursuits. Consider the following tips to optimize the arrangement of your DSLR camera equipment:
- Strategic Placement: Position your camera body and frequently used lenses in easily accessible compartments near the top or front of your camera bag. This facilitates quick retrieval without the need to unpack your entire bag, ensuring that you can capture spontaneous moments effortlessly.
- Utilize Padded Dividers: Most camera bags feature customizable padded dividers that allow you to create individual compartments for your camera and lenses. Arrange these dividers to snugly secure each piece of equipment, preventing them from shifting and potentially causing damage during your hike.
- Balance Weight Distribution: Distribute the weight of your camera gear evenly within your pack to maintain stability and minimize strain on your back. Place heavier items closer to your spine and lighter accessories towards the outer edges to optimize comfort and balance.
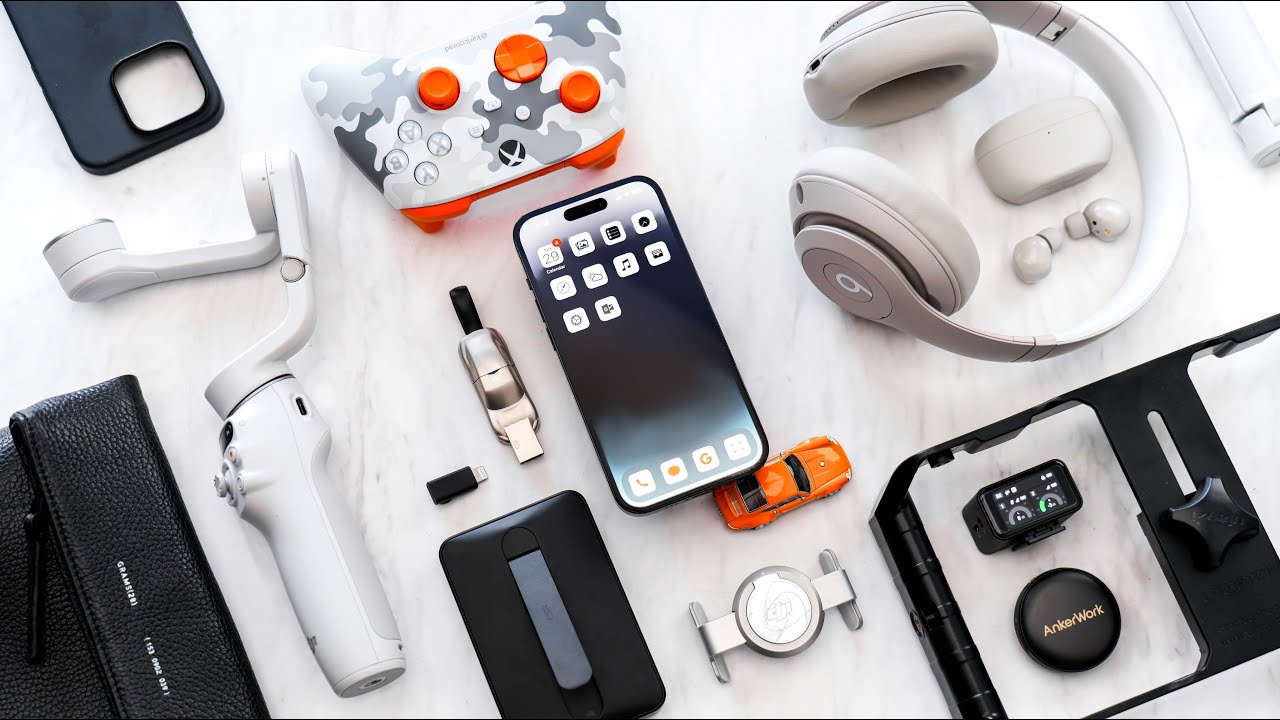
- Consider Accessibility: Anticipate the need to switch lenses or retrieve accessories while on the move. Store spare batteries, memory cards, and filters in easily reachable pockets or pouches to streamline your workflow and avoid disruptions to your photography sessions.
- Secure Tripods and Accessories: If carrying a tripod, utilize external attachment points or dedicated compartments on your pack to secure it firmly. Additionally, stow small accessories such as lens caps, lens cloths, and cable releases in designated pockets to prevent them from getting misplaced or damaged.
By thoughtfully organizing your camera gear within your hiking pack, you can optimize accessibility, protect your equipment from jostling, and maintain a comfortable carrying experience throughout your outdoor photography endeavors.
Tips for Carrying Your Hiking Pack with Camera Gear
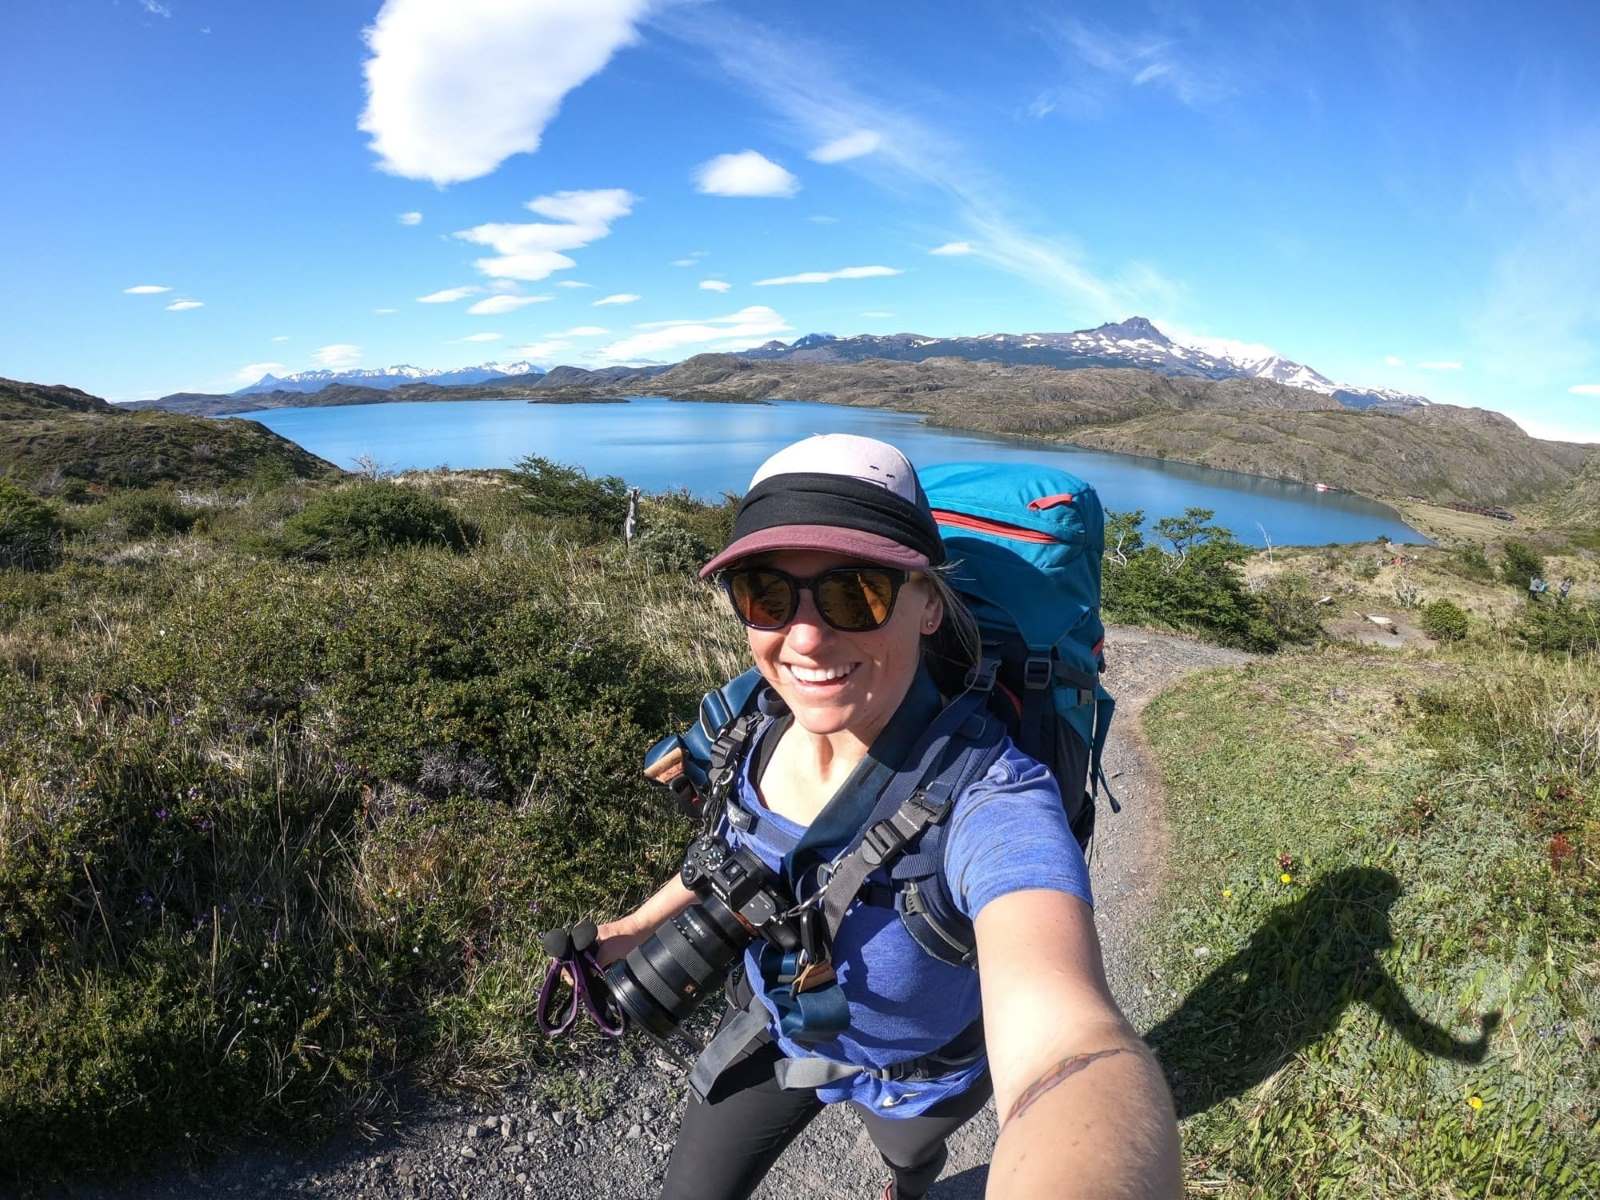
Carrying a hiking pack laden with DSLR camera gear requires careful consideration to ensure comfort, stability, and the safety of your equipment throughout your outdoor adventures. Implement the following tips to effectively manage the weight and accessibility of your camera gear while on the trail:
- Adjust the Pack Properly: Prioritize a well-fitted hiking pack that distributes weight evenly across your back and hips. Adjust the shoulder straps, hip belt, and sternum strap to achieve a snug yet comfortable fit, reducing strain and fatigue during extended hikes.
- Utilize Camera Inserts: Consider using specialized camera inserts or padded cubes within your hiking pack to create a dedicated compartment for your DSLR and lenses. These inserts provide added protection and organization while seamlessly integrating your camera gear with your hiking pack.
- Practice Proper Packing Techniques: Place heavier camera gear closer to your back and towards the bottom of your pack to maintain stability and balance. Distribute weight evenly and pack items tightly to minimize shifting and maintain a streamlined profile.
- Take Breaks Mindfully: When setting down your pack, choose a flat and stable surface to prevent it from toppling over and potentially damaging your camera gear. Be mindful of where you place your pack to ensure the safety of your valuable equipment.
- Invest in a Comfortable Harness System: Opt for a hiking pack with a supportive harness system and breathable padding to enhance comfort during prolonged wear. Adjustable straps and ergonomic design contribute to a more enjoyable and manageable hiking experience with your camera gear.
- Stay Hydrated and Energized: Carrying camera gear adds weight and may increase the physical demands of your hike. Stay hydrated, take regular breaks, and maintain adequate energy levels to ensure that you can navigate the trail safely while carrying your equipment.
By adhering to these practical tips, you can optimize the comfort, safety, and accessibility of your hiking pack while carrying your DSLR camera gear, allowing you to focus on capturing stunning moments amidst the natural splendor of your outdoor surroundings.