Introduction
Understanding the Basics of DSLR Photography
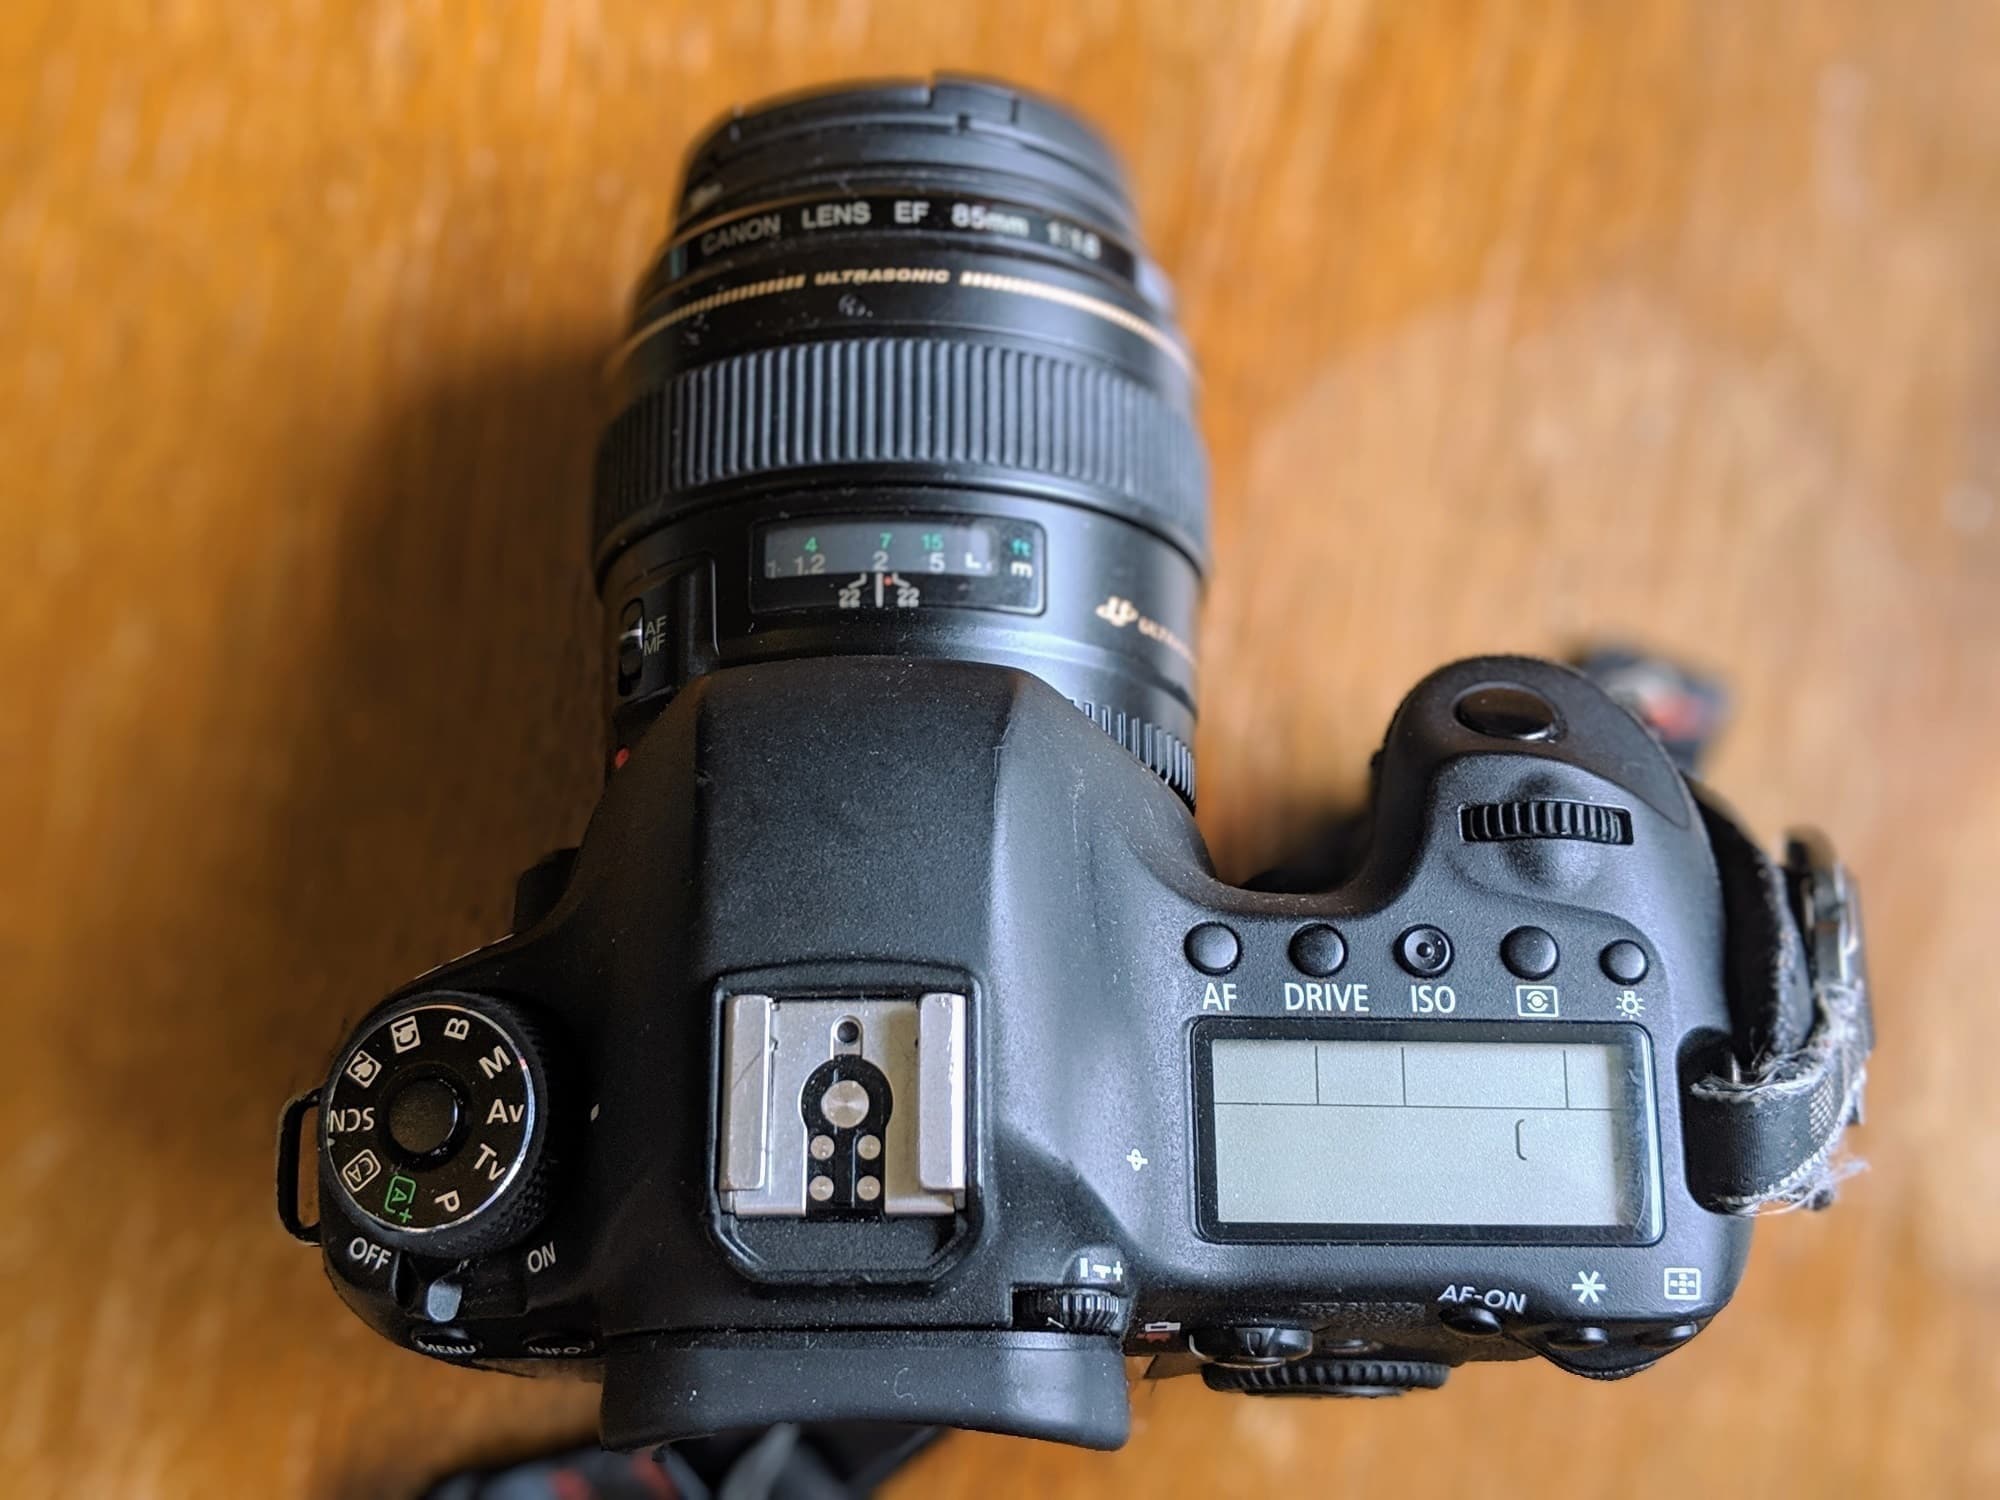
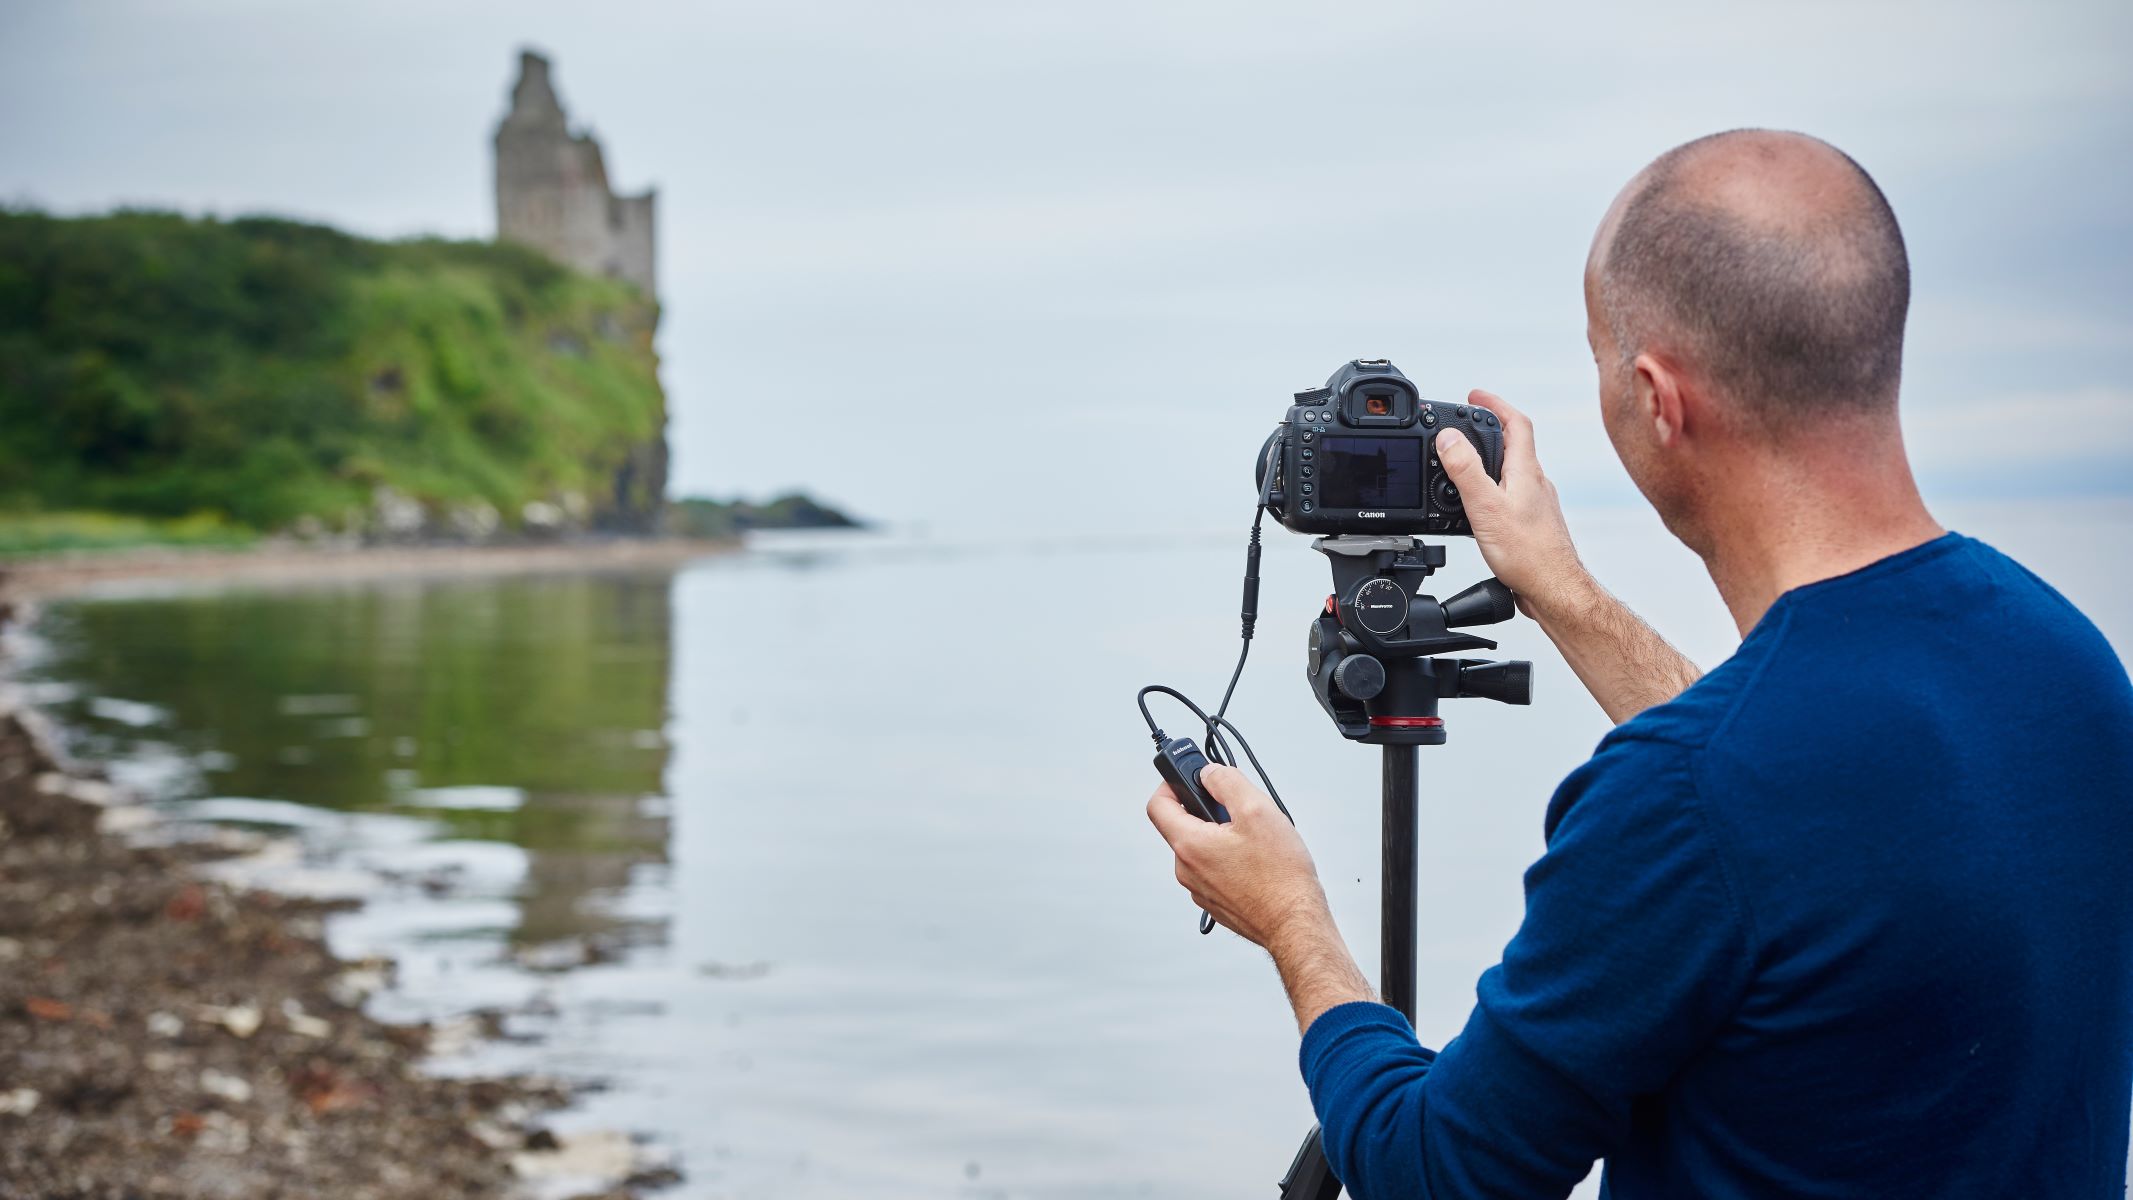
So, you've finally decided to take the plunge and explore the world of DSLR photography. Congratulations! Operating a DSLR camera in manual mode can seem intimidating at first, but once you grasp the fundamentals, you'll have the creative freedom to capture stunning images that truly reflect your vision.
Transitioning from automatic to manual mode empowers you to take control of every aspect of your photography, from exposure and focus to white balance and beyond. This newfound control allows you to unleash your creativity and capture images exactly as you envision them.
Whether you're an aspiring photographer or a hobbyist looking to elevate your skills, mastering manual mode is a pivotal step in your photographic journey. Throughout this guide, we'll delve into the intricacies of operating a DSLR camera in manual mode, equipping you with the knowledge and confidence to unlock the full potential of your camera.
Understanding the Exposure Triangle, comprising aperture, shutter speed, and ISO, forms the cornerstone of manual mode photography. By mastering these elements, you'll have the ability to manipulate light and motion, resulting in visually compelling images.
Additionally, we'll explore the significance of the light meter, manual focusing, white balance settings, and the histogram, all of which play crucial roles in refining your photographic technique. By the end of this guide, you'll not only have a firm grasp of operating your DSLR in manual mode but also the ability to artistically express yourself through your photographs.
Photography is a journey of continuous learning and self-expression, and embracing manual mode is a significant milestone in this journey. So, grab your DSLR, unleash your creativity, and let's embark on this enlightening exploration of manual mode photography together.
Understanding the Exposure Triangle
Mastering Aperture, Shutter Speed, and ISO
At the core of operating a DSLR camera in manual mode lies the concept of the exposure triangle. This fundamental principle encompasses three key elements: aperture, shutter speed, and ISO. Understanding how these elements interplay is essential for achieving the desired exposure and creative effects in your photographs.
Aperture: The aperture refers to the opening in the lens through which light enters the camera. It is denoted by an f-stop value, such as f/2.8 or f/16. A lower f-stop (e.g., f/2.8) signifies a larger aperture, allowing more light to enter the camera, resulting in a shallow depth of field. Conversely, a higher f-stop (e.g., f/16) represents a smaller aperture, permitting less light and yielding a greater depth of field. Manipulating the aperture enables you to control the background blur, or bokeh, in your images, adding a captivating dimension to your photography.
Shutter Speed: The shutter speed determines the duration for which the camera’s shutter remains open, exposing the camera’s sensor to light. A fast shutter speed, such as 1/1000 seconds, freezes motion, making it ideal for capturing fast-paced subjects or maintaining sharpness in handheld shots. On the other hand, a slower shutter speed, like 1/30 seconds, introduces motion blur, imparting a sense of dynamism and fluidity to moving subjects. Mastering shutter speed empowers you to convey motion or freeze fleeting moments with precision.
ISO: The ISO setting regulates the camera sensor’s sensitivity to light. A lower ISO, such as ISO 100, is suitable for well-lit environments, yielding minimal digital noise and optimal image quality. Conversely, a higher ISO, for instance, ISO 1600, amplifies the sensor’s sensitivity, enabling photography in low-light conditions but potentially introducing grain or noise to the image. Balancing the ISO allows you to adapt to varying lighting situations while maintaining image clarity and minimizing noise.
By comprehending the intricate relationship between aperture, shutter speed, and ISO, you gain the ability to manipulate the exposure triangle to suit your creative vision. Whether you aim to capture a sharply focused portrait with a blurred background, freeze the exhilarating motion of a sporting event, or preserve the ambient light of a twilight landscape, mastering the exposure triangle is the key to achieving your photographic aspirations.
Setting the Shutter Speed
Freezing or Blurring Motion with Precision
Shutter speed plays a pivotal role in capturing motion and controlling the exposure of your photographs. By mastering this aspect of manual mode photography, you can convey a sense of dynamism or freeze fleeting moments with precision.
When setting the shutter speed, consider the speed of the subject and the desired creative effect. A fast shutter speed, such as 1/1000 seconds, is ideal for freezing fast-paced action, whether it’s a sprinting athlete, a soaring bird in flight, or the exhilarating excitement of a bustling city street. This setting ensures that the subject appears sharply focused, devoid of motion blur, preserving every detail in the captured moment.
Conversely, a slower shutter speed, such as 1/30 seconds, introduces motion blur, imparting a sense of fluidity and movement to the subject. This effect is particularly effective when photographing flowing water, bustling traffic at night, or a dancer in graceful motion. By deliberately introducing blur, you can infuse your images with a captivating sense of energy and dynamism, transcending the constraints of a static photograph.
Furthermore, the choice of shutter speed is crucial when shooting handheld in varying lighting conditions. A general rule of thumb is to use a shutter speed that corresponds to the reciprocal of the focal length of your lens to minimize the risk of camera shake. For instance, when using a 50mm lens, aim for a shutter speed of at least 1/50 seconds to ensure sharp handheld shots. However, in low-light situations, a faster shutter speed may be necessary to prevent motion blur while handheld.
Understanding the impact of shutter speed on the visual narrative of your photographs empowers you to artistically convey the essence of movement or capture crisp, static moments. Whether freezing the split-second intensity of a sports event or evoking the graceful flow of a dancer’s movements, mastering the intricacies of shutter speed is essential for translating your creative vision into compelling imagery.
Adjusting the Aperture
Manipulating Depth of Field for Artistic Expression
Aperture, denoted by the f-stop value, is a critical element of the exposure triangle that profoundly influences the depth of field in your photographs. By understanding and manipulating the aperture settings, you can control the background blur, or bokeh, in your images, adding a captivating dimension to your photography.
A lower f-stop value, such as f/2.8, represents a larger aperture, allowing more light to enter the camera and resulting in a shallow depth of field. This setting is ideal for isolating the subject from the background, creating a pronounced blur that draws attention to the main focal point. Portrait photography often benefits from a shallow depth of field, as it accentuates the subject while delicately diffusing the background, imparting a sense of intimacy and focus.
Conversely, a higher f-stop value, for instance, f/16, signifies a smaller aperture, permitting less light and yielding a greater depth of field. This setting is advantageous for landscape photography, where intricate details in the foreground and distant elements in the background require sharpness and clarity. By employing a larger depth of field, you can ensure that the entire scene remains in focus, from the nearby foliage to the distant horizon, allowing viewers to immerse themselves in the expansive beauty of the landscape.
Additionally, the choice of aperture impacts the aesthetic quality of out-of-focus areas in your images. The shape and smoothness of the bokeh, influenced by the lens construction and aperture settings, contribute to the overall visual appeal of the photograph. By experimenting with different apertures and observing the resulting bokeh, you can infuse your images with a unique and enchanting atmosphere, elevating them from mere snapshots to captivating works of art.
Understanding the impact of aperture on depth of field and bokeh empowers you to artistically convey the mood and visual narrative of your photographs. Whether seeking to isolate a subject with a dreamy, blurred background or capture the intricate details of a vast, sweeping landscape, mastering the manipulation of aperture settings is essential for infusing your images with depth, emotion, and artistic expression.
Controlling the ISO
Adapting to Varied Lighting Conditions
The ISO setting on your DSLR camera regulates the sensor’s sensitivity to light, playing a crucial role in adapting to diverse lighting conditions and achieving optimal image quality. Understanding and controlling the ISO allows you to effectively manage the balance between sensitivity and image clarity, empowering you to capture compelling photographs in a range of environments.
When shooting in well-lit settings, such as a sunlit landscape or a brightly lit indoor space, opting for a lower ISO, such as ISO 100, is advantageous. A lower ISO minimizes the sensor’s sensitivity to light, resulting in images with minimal digital noise and optimal clarity. This setting is ideal for capturing scenes with ample natural or artificial lighting, preserving details and tones with precision.
Conversely, in low-light conditions, such as a dimly lit room or an outdoor scene at dusk, increasing the ISO becomes necessary to compensate for reduced light levels. By selecting a higher ISO, such as ISO 800 or ISO 1600, you enhance the sensor’s sensitivity, enabling the camera to capture sufficient light for well-exposed images. However, it’s important to note that higher ISO settings may introduce digital noise or grain to the images, impacting overall image quality.
Moreover, the choice of ISO is pivotal when photographing fast-moving subjects in low-light environments, such as indoor sports events or evening performances. A higher ISO allows for faster shutter speeds, effectively freezing motion and maintaining image sharpness, despite the challenging lighting conditions. Balancing the ISO with the desired shutter speed and aperture settings is essential for capturing dynamic, well-exposed images in demanding scenarios.
Understanding the nuanced relationship between ISO, lighting conditions, and image quality equips you with the flexibility to adapt to varying environments and photographic requirements. Whether seeking to preserve the natural ambience of a sun-drenched landscape or capturing the energy of a dimly lit concert venue, mastering the control of ISO settings is essential for achieving compelling, well-exposed photographs across diverse lighting scenarios.
Using the Light Meter
Ensuring Accurate Exposure for Stunning Imagery
The light meter in your DSLR camera serves as a valuable tool for assessing and adjusting the exposure settings, ensuring that your photographs are well-lit and visually compelling. By understanding and utilizing the light meter effectively, you can achieve accurate exposure, preserve essential details, and convey the desired mood in your images.
Modern DSLR cameras feature built-in light meters that provide real-time feedback on the exposure levels, typically displayed through the camera’s viewfinder or on the rear LCD screen. The light meter’s scale, often represented as a numerical range or a graphical indicator, helps you gauge the brightness of the scene and make informed decisions regarding the aperture, shutter speed, and ISO settings.
When utilizing the light meter, aim to align the exposure indicator with the zero or midpoint of the scale, indicating a balanced exposure. This ensures that the highlights and shadows in your photographs are appropriately rendered, preserving details and tones across the entire image. Additionally, the light meter assists in identifying potential overexposure, where highlights may be washed out, or underexposure, resulting in loss of shadow detail, enabling you to make timely adjustments to achieve optimal exposure.
Understanding the different metering modes, such as evaluative, spot, and center-weighted metering, allows you to refine the metering process based on the specific characteristics of the scene. Evaluative metering considers the overall scene for exposure calculation, while spot metering focuses on a specific area, and center-weighted metering prioritizes the central portion of the frame. By selecting the appropriate metering mode, you can tailor the exposure settings to suit the composition and lighting conditions, ensuring accurate and consistent results.
Furthermore, the light meter aids in evaluating the contrast within a scene, guiding you in adjusting the exposure settings to retain details in both the highlights and shadows. This is particularly valuable in high-contrast scenarios, such as a sunlit landscape with deep shadows, where precise exposure adjustments are essential for capturing the full tonal range and preserving the visual richness of the scene.
Mastering the use of the light meter empowers you to make informed decisions regarding exposure, resulting in well-lit, visually captivating photographs that accurately represent the scene’s ambiance and character. Whether capturing the subtle nuances of a portrait or the expansive grandeur of a landscape, leveraging the light meter enhances your ability to achieve compelling imagery with precise exposure control.
Manual Focusing
Exercising Precision and Creative Control
While modern DSLR cameras are equipped with advanced autofocus systems, the option to utilize manual focusing provides photographers with unparalleled precision and creative control over their images. Understanding and mastering manual focusing techniques is essential for achieving tack-sharp results, particularly in situations where autofocus may be less effective or when artistic intent calls for deliberate focus manipulation.
Manual focusing is particularly advantageous in scenarios where the autofocus system may struggle, such as low-contrast subjects, dimly lit environments, or scenes with complex compositions. By taking direct control of the focus ring on the lens, you can meticulously adjust the focus to pinpoint the desired point of sharpness, ensuring that critical elements in the scene are rendered with utmost clarity and detail.
Furthermore, manual focusing allows for deliberate creative expression, enabling photographers to selectively emphasize specific elements within the frame. Whether highlighting intricate details in a macro subject, capturing the soulful gaze of a portrait subject, or intentionally introducing soft focus for a dreamy, ethereal effect, manual focusing empowers photographers to shape the visual narrative with precision and intent.
When employing manual focusing, it’s essential to leverage the camera’s viewfinder or magnification features to attain precise focus. The optical viewfinder provides a clear and unobstructed view of the scene, allowing for accurate assessment of focus, particularly in fast-paced or dynamic shooting situations. Additionally, utilizing the camera’s magnification function, available in live view mode, facilitates meticulous scrutiny of focus, especially when capturing intricate details or executing precise selective focus techniques.
Mastering manual focusing techniques involves honing the ability to discern critical focus through the viewfinder or LCD screen, often aided by focus confirmation indicators or electronic viewfinder overlays. This skill is particularly valuable in genres such as macro photography, landscape photography, and portraiture, where precise control over focus is instrumental in achieving compelling and technically impeccable results.
Embracing manual focusing as a complementary tool to autofocus expands the creative horizons of photographers, offering unparalleled precision and expressive potential in capturing visually captivating and emotionally resonant images. Whether seeking to convey intricate details, evoke emotional depth, or exercise deliberate creative control, the mastery of manual focusing techniques enriches the photographic process and elevates the artistry of image-making.
White Balance Settings
Preserving Accurate Color Representation
White balance is a critical aspect of photography that influences the accurate rendition of colors in your images, ensuring that the scene’s hues are faithfully reproduced. By understanding and manipulating white balance settings, photographers can maintain color fidelity across diverse lighting conditions, resulting in visually compelling and true-to-life photographs.
Modern DSLR cameras offer a range of white balance presets, including daylight, shade, cloudy, tungsten, fluorescent, and flash, each tailored to specific lighting environments. These presets serve as a starting point for achieving accurate color representation by compensating for the color temperature of the prevailing light, effectively neutralizing unwanted color casts and preserving the natural tonal balance of the scene.
When shooting under natural daylight, the daylight white balance preset ensures that colors appear true to life, with a neutral representation of warm and cool tones. This setting is ideal for capturing outdoor scenes, portraits, and landscapes, where accurate color rendition is essential for conveying the scene’s ambiance and visual character.
In shaded or overcast conditions, the shade white balance preset counteracts the cool, bluish cast often present in shadowed areas, ensuring that the colors appear rich and vibrant. This setting is particularly beneficial for portraits and scenes illuminated by diffused natural light, preserving the warmth and natural skin tones of the subjects.
Conversely, when photographing under artificial lighting, such as tungsten or fluorescent illumination, selecting the corresponding white balance presets compensates for the color temperature of these light sources, preventing the images from appearing overly warm or cool. This ensures that the colors remain faithful and true, regardless of the artificial lighting environment.
Moreover, the option to manually adjust the white balance allows photographers to fine-tune color rendition based on their creative vision and the specific characteristics of the scene. This flexibility enables precise control over the tonal warmth or coolness of the image, allowing for expressive interpretation and artistic manipulation of color temperature to evoke mood and atmosphere.
Understanding and leveraging white balance settings empowers photographers to maintain accurate color representation and convey the intended visual narrative with fidelity and authenticity. Whether capturing the golden glow of a sunset, the cool tranquility of a moonlit night, or the vibrant hues of a bustling urban environment, mastering white balance techniques is essential for preserving the natural beauty and emotional resonance of the scene.
Using the Histogram
Optimizing Exposure and Tonal Range
The histogram is a powerful tool that provides a graphical representation of the tonal distribution in your photographs, offering invaluable insights into exposure, contrast, and tonal range. By understanding and interpreting the histogram, photographers can make informed decisions to optimize exposure and achieve visually compelling images with balanced tonality and detail.
When reviewing the histogram, the horizontal axis represents the tonal range from pure black on the left to pure white on the right, while the vertical axis indicates the quantity of pixels at each tonal level. A well-exposed image with a balanced tonal range typically displays a histogram that extends across the full width, without clipping at either end, indicating the presence of shadow detail, midtones, and highlights.
By analyzing the histogram, photographers can identify potential exposure issues, such as underexposure or overexposure, and make necessary adjustments to achieve optimal tonal distribution. If the histogram is skewed towards the left, with a prominent concentration of pixels on the shadow end, it indicates underexposure, necessitating an increase in exposure to bring out shadow detail and achieve a more balanced tonal range.
Conversely, a histogram skewed towards the right, with a significant accumulation of pixels on the highlight end, signifies overexposure, prompting the need to reduce exposure to prevent loss of highlight detail and restore tonal balance. By leveraging the histogram as a guide, photographers can fine-tune exposure settings to preserve critical details and achieve a visually pleasing tonal distribution.
Furthermore, the histogram aids in evaluating the contrast and dynamic range within the image, allowing photographers to assess the distribution of tonal values and make adjustments to enhance overall tonal balance and visual impact. This is particularly valuable in high-contrast scenes, where precise control over exposure is essential for retaining detail in both shadowed and highlighted areas, ensuring a visually compelling and well-balanced photograph.
Embracing the histogram as a fundamental tool in the photographic process empowers photographers to make informed decisions regarding exposure, contrast, and tonal range, resulting in visually compelling and technically impeccable images. Whether striving to capture the subtle nuances of a softly lit portrait or the expansive tonal richness of a dramatic landscape, leveraging the histogram enhances the precision and artistry of image-making, elevating the visual impact and narrative depth of the photographs.
Conclusion
Embracing Creative Mastery in Manual Mode Photography
Operating a DSLR camera in manual mode is a transformative journey that empowers photographers to exercise unparalleled creative control and technical precision in capturing visually compelling and emotionally resonant images. By mastering the intricacies of the exposure triangle, including aperture, shutter speed, and ISO, photographers unlock the potential to manipulate light, motion, and image clarity, shaping the visual narrative with intention and artistry.
Understanding the nuanced interplay of aperture, shutter speed, and ISO equips photographers with the ability to convey mood, motion, and depth in their photographs, transcending the constraints of automatic settings and embracing the full spectrum of creative expression. The deliberate manipulation of these exposure elements enables photographers to freeze fleeting moments with precision, isolate subjects with captivating bokeh, and adapt to diverse lighting conditions with finesse and technical acumen.
Furthermore, the utilization of essential tools such as the light meter, manual focusing, white balance settings, and the histogram enhances the photographic process, offering invaluable insights into exposure, color rendition, and tonal balance. These tools serve as guiding beacons, empowering photographers to make informed decisions, preserve accurate color representation, and achieve optimal exposure with a balanced tonal range, resulting in visually captivating and technically impeccable images.
Embracing manual mode photography is not merely a technical endeavor but a transformational experience that invites photographers to infuse their images with personal vision, emotional depth, and narrative resonance. Whether capturing the delicate interplay of light and shadow in a portrait, the vibrant hues of a bustling urban landscape, or the timeless allure of a natural vista, the mastery of manual mode photography enriches the creative process and elevates the artistry of image-making.
As you embark on your photographic journey, remember that mastery is a continuous evolution, marked by curiosity, experimentation, and a relentless pursuit of excellence. Embrace the challenges, celebrate the triumphs, and let your creativity unfurl through the lens of your DSLR camera, for it is in the artful fusion of technical proficiency and personal expression that the true magic of photography unfolds.


