Introduction
So, you’ve just returned from an exhilarating adventure with your ASX action camera, capturing breathtaking moments and adrenaline-pumping experiences. Now comes the exciting part—relishing those memories and sharing them with the world. In this guide, you’ll discover the seamless process of importing videos and pictures from your ASX action camera to your computer. Whether you’re an outdoor enthusiast, a vlogging aficionado, or simply a passionate photographer, mastering this process will enable you to preserve and showcase your escapades with ease.
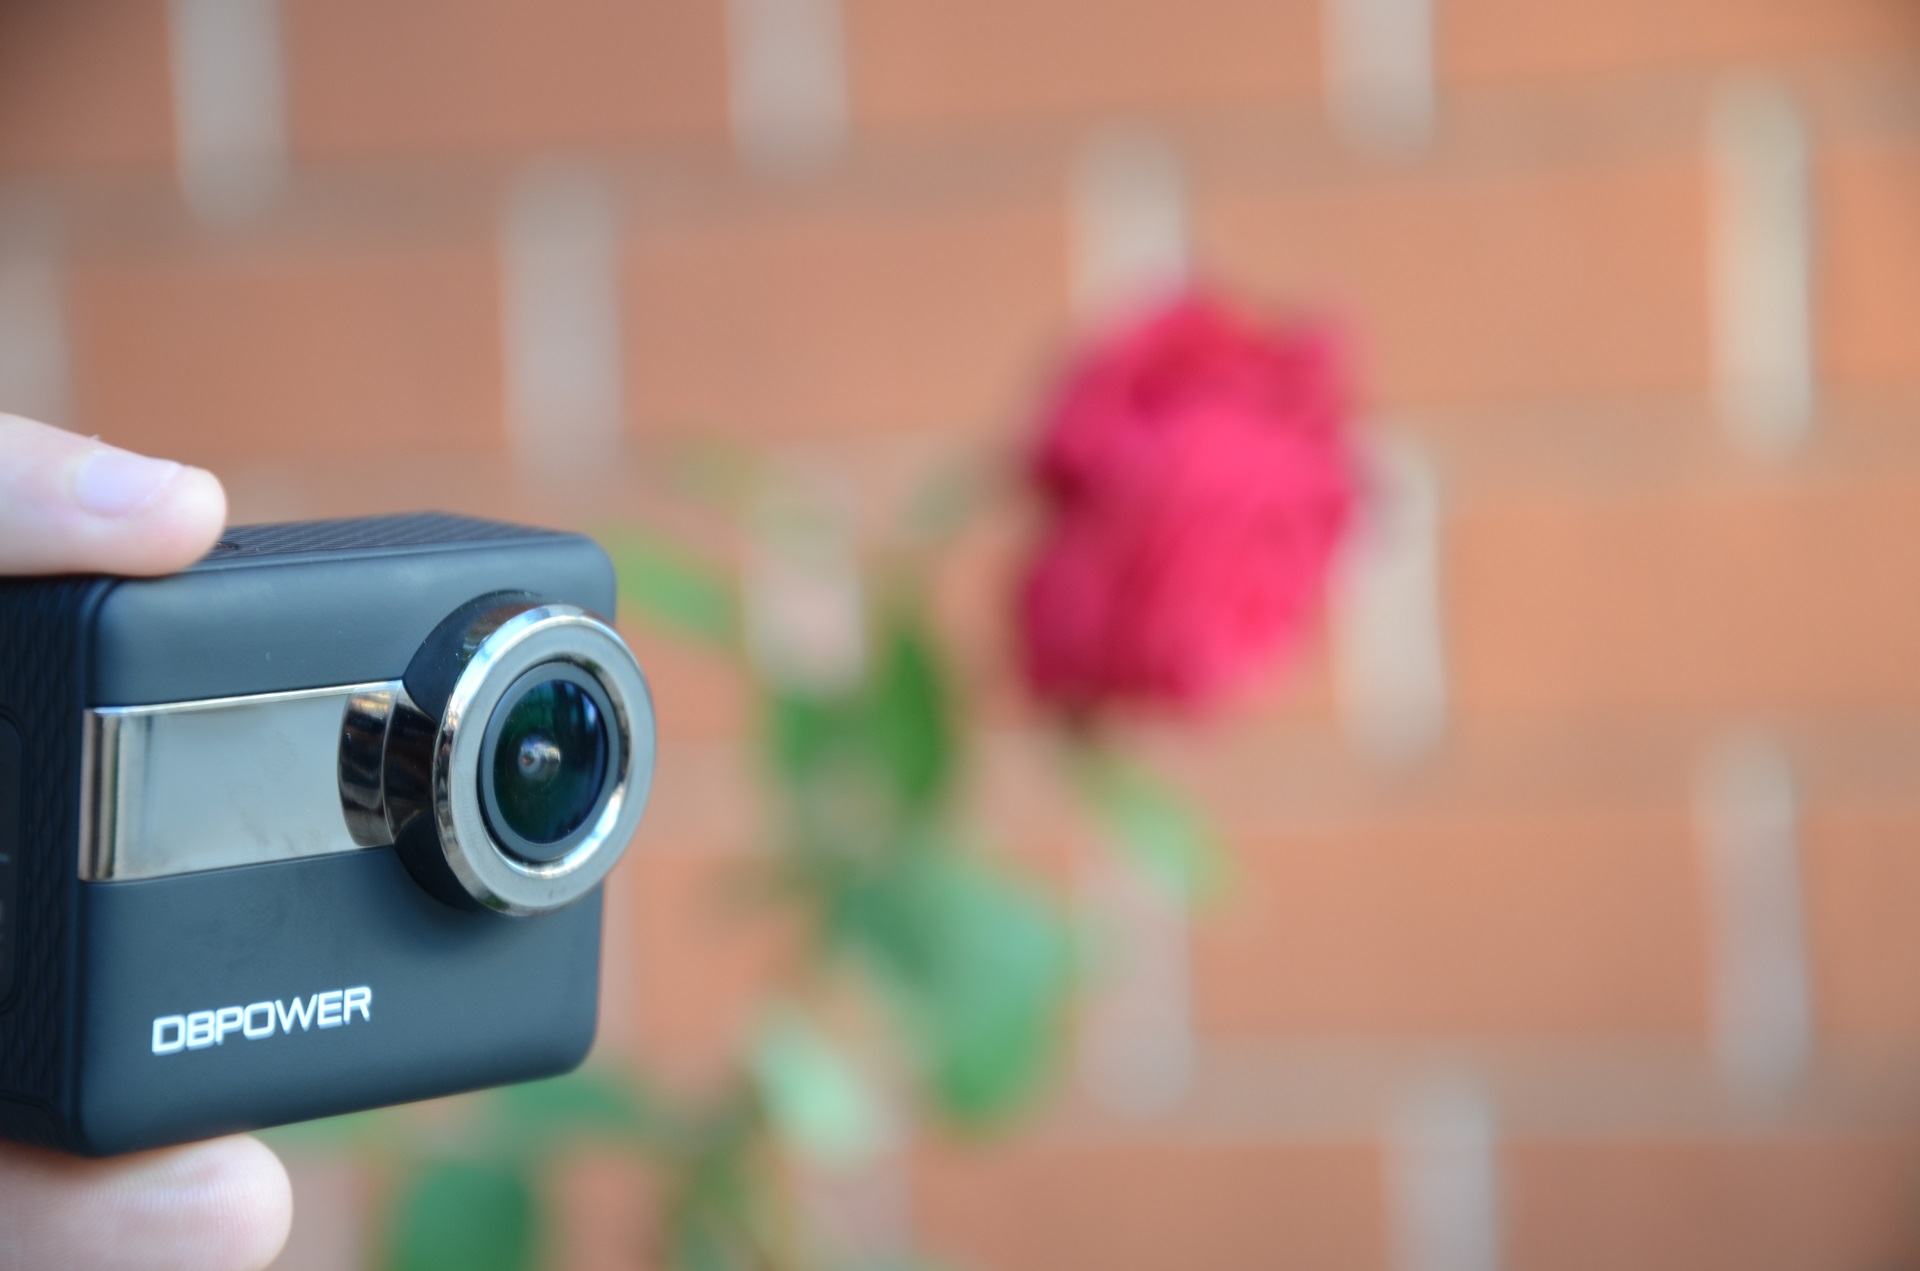
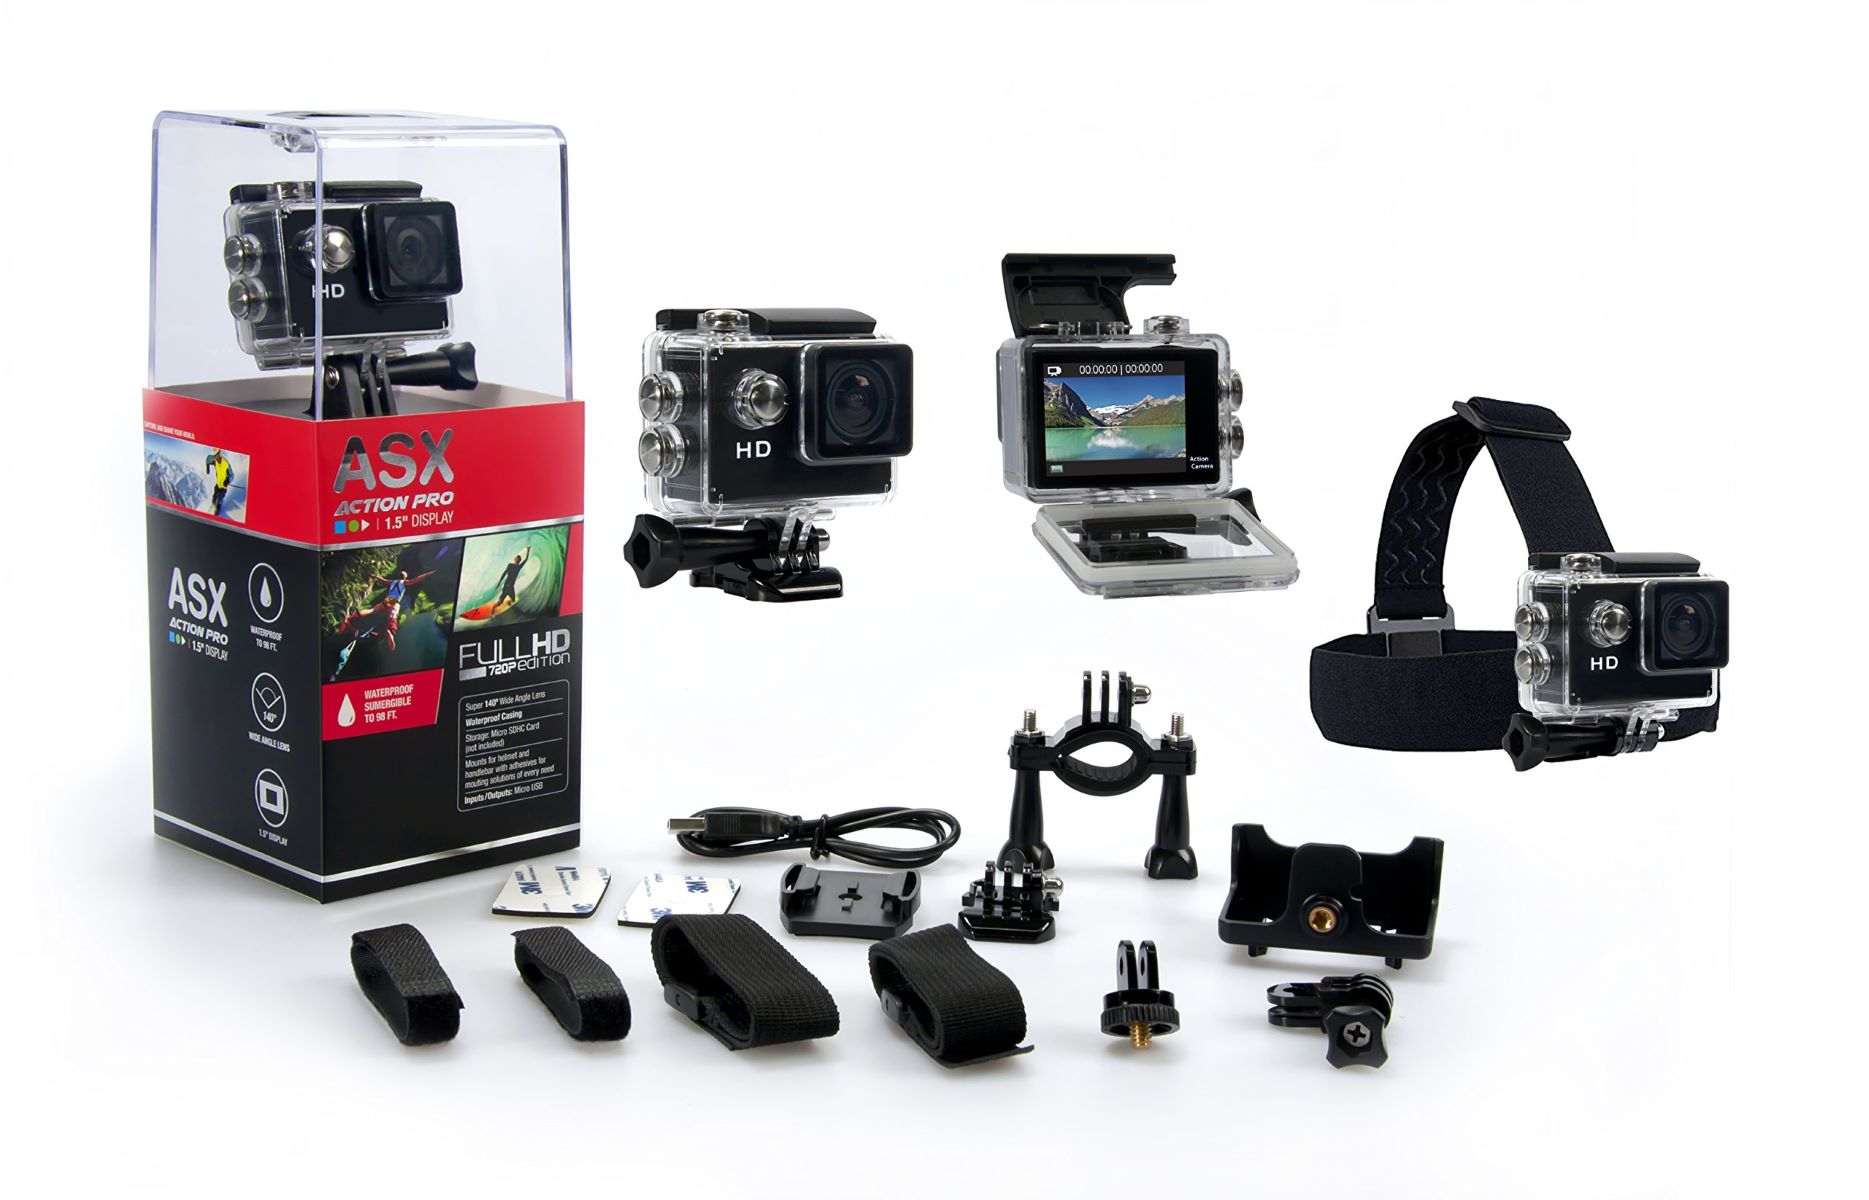
The ASX action camera is renowned for its rugged durability, high-quality imaging, and user-friendly interface, making it a favored choice for adventurers and content creators. With its compact size and robust features, this camera empowers you to capture life’s most exhilarating moments in stunning detail. Now, let’s delve into the step-by-step process of transferring your media files from the ASX action camera to your computer, where you can organize, edit, and share your captivating content with the world.
This guide will walk you through the seamless process of connecting your ASX action camera to your computer, transferring your videos and pictures, and organizing and editing your media files. By the end of this tutorial, you’ll be equipped with the knowledge to effortlessly manage and enhance your visual narratives, allowing you to relive and showcase your adventures in all their glory.
Let’s embark on this journey of digital storytelling and unleash the full potential of your ASX action camera’s captivating footage and imagery. Get ready to elevate your content creation game and share your extraordinary experiences with the world.
Step 1: Connecting the ASX Action Camera to Your Computer
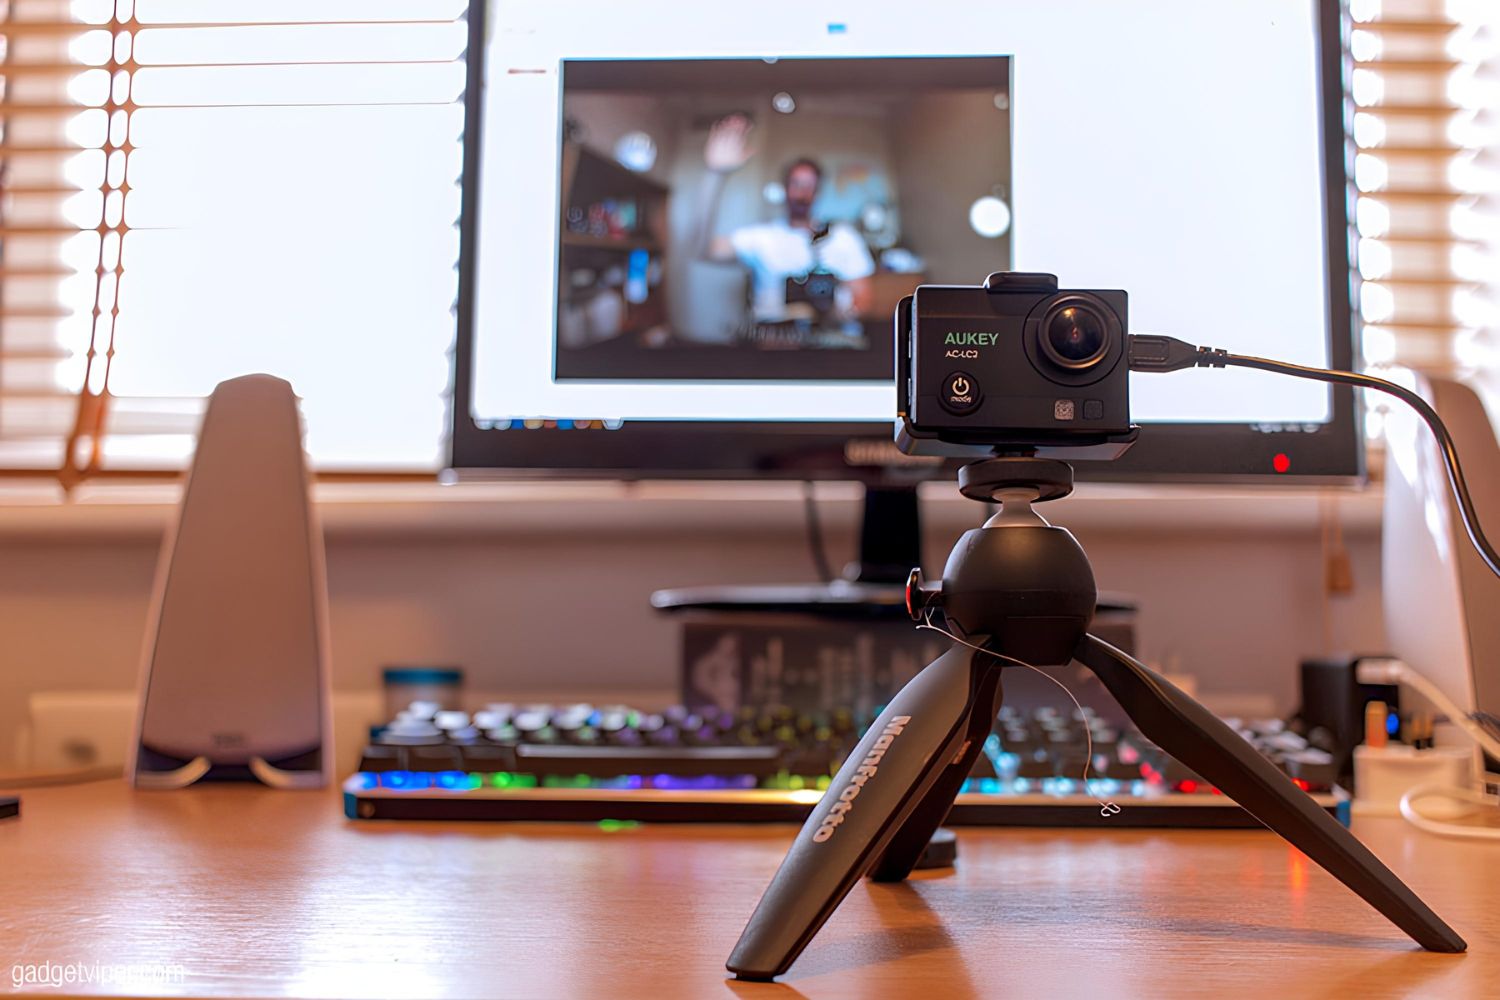
Before you can embark on the exhilarating journey of importing your videos and pictures from your ASX action camera, the initial step involves establishing a seamless connection between your camera and your computer. Follow these simple steps to ensure a smooth and efficient connection:
- Locate the USB Cable: Begin by locating the USB cable that was provided with your ASX action camera. This cable serves as the conduit for transferring your media files from the camera to your computer.
- Power Off the Camera: To initiate the connection process, power off your ASX action camera. This ensures that the device is in a stable state for the upcoming connection.
- Identify the USB Port: Next, identify the USB port on your ASX action camera. This port is typically located on the side or back of the camera, concealed by a protective cover. Carefully open the cover to reveal the USB port.
- Connect the USB Cable: With the USB port exposed, connect one end of the USB cable to the camera, ensuring a secure fit. The other end of the cable features a standard USB connector that will be inserted into your computer’s USB port.
- Turn On Your Camera: Once the USB cable is securely connected, power on your ASX action camera. This step is crucial for initiating the connection and ensuring that your computer recognizes the device.
- Computer Recognition: Upon turning on your camera, your computer should detect the newly connected device and initiate the necessary processes to establish a connection. Depending on your computer’s operating system, you may receive a notification indicating that a new device has been connected.
By following these straightforward steps, you’ll successfully establish a connection between your ASX action camera and your computer, laying the foundation for the seamless transfer of your captivating videos and pictures. With this vital connection in place, you’re now ready to embark on the next phase of transferring your media files and bringing your visual narratives to life on your computer.
Step 2: Transferring Videos and Pictures to Your Computer
With your ASX action camera successfully connected to your computer, it’s time to delve into the process of transferring your captivating videos and stunning pictures to your computer’s storage. Follow these simple yet crucial steps to seamlessly import your media files:
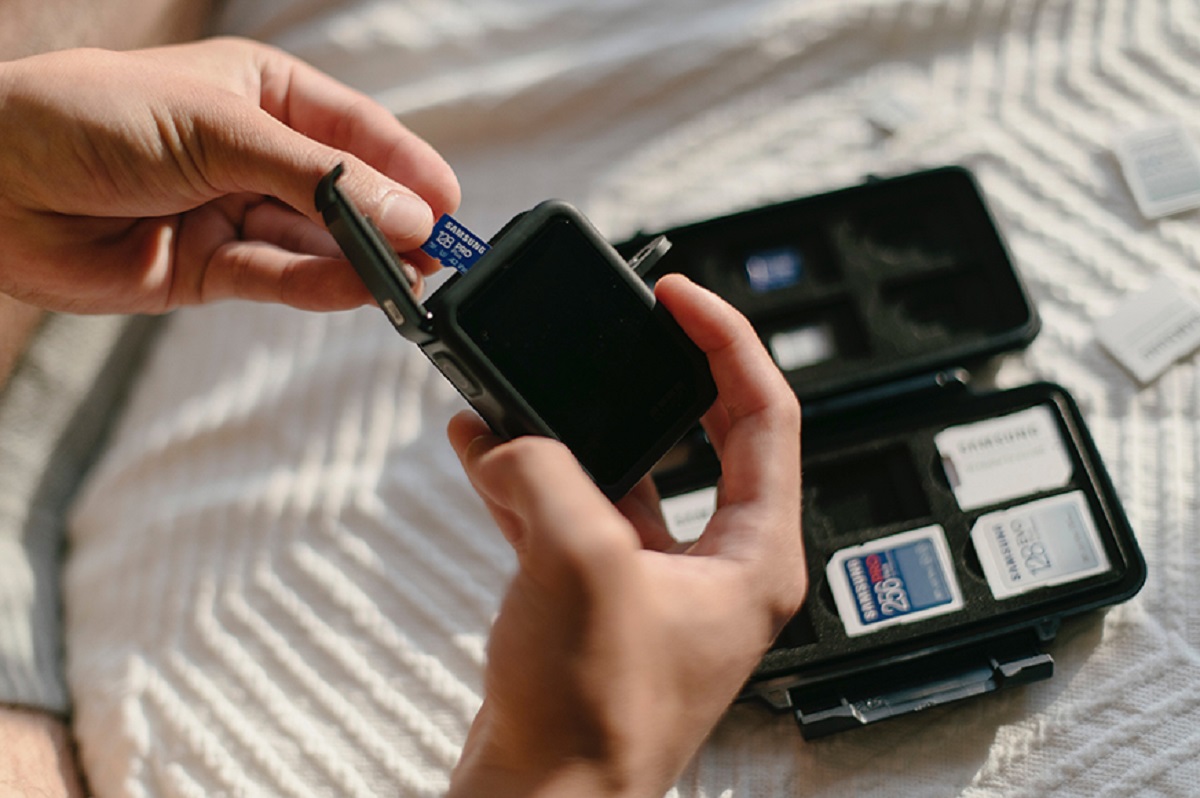
- Access Your Camera’s Storage: Once your ASX action camera is connected to your computer, navigate to the file explorer or finder on your computer to access the camera’s storage. Depending on your computer’s operating system, the connected camera will be recognized as a removable storage device, allowing you to explore its contents.
- Select Your Media Files: Within the camera’s storage, locate the folder containing your videos and pictures. These files are typically organized within distinct folders, such as “Videos” and “Photos,” facilitating easy access and management.
- Copy or Drag Your Files: To initiate the transfer process, select the desired videos and pictures that you intend to import to your computer. You can opt to either copy and paste the selected files to a designated folder on your computer or simply drag them from the camera’s storage to your preferred location on your computer.
- Monitor the Transfer Progress: As the transfer process commences, keep an eye on the progress indicator to ensure that the files are successfully being copied to your computer. Depending on the file sizes and the speed of your USB connection, the transfer duration may vary.
- Verify the Imported Files: Once the transfer is complete, navigate to the designated folder on your computer to verify that the imported videos and pictures are accurately transferred and readily accessible for viewing and editing.
By following these fundamental steps, you’ll effectively transfer your cherished videos and pictures from your ASX action camera to your computer, where you can harness the power of digital tools to enhance, organize, and share your visual narratives. With your media files securely stored on your computer, you’re now poised to embark on the next phase of organizing and editing your captivating content, unlocking the full potential of your adventures and creative endeavors.
Step 3: Organizing and Editing Your Media Files
Now that your videos and pictures from your ASX action camera are securely transferred to your computer, it’s time to embark on the exciting phase of organizing and editing your media files. By leveraging the capabilities of digital tools, you can refine and enhance your visual narratives, ensuring that your adventures and experiences are showcased in all their glory. Follow these essential steps to effectively organize and edit your captivating content:
- Create Folders and Categories: Begin by creating dedicated folders and categories on your computer to systematically organize your imported videos and pictures. Consider organizing them based on the date, location, or specific events, allowing for easy retrieval and management.
- Select an Editing Software: Explore the array of editing software available for your computer, ranging from user-friendly applications to professional-grade suites. Select a software that aligns with your editing proficiency and the level of enhancements you intend to apply to your media files.
- Enhance Your Videos and Pictures: Utilize the editing software to enhance the visual quality of your videos and pictures, applying adjustments to aspects such as brightness, contrast, saturation, and sharpness. Additionally, consider adding transitions, effects, and filters to infuse a creative touch to your content.
- Trim and Merge Footage: For videos, leverage the editing software to trim unnecessary segments and seamlessly merge captivating sequences, ensuring that your visual storytelling is cohesive and engaging. This process allows you to refine the narrative flow of your videos.
- Add Captivating Soundtracks: Elevate the emotional impact of your videos by incorporating captivating soundtracks or ambient audio that complement the visuals. The right soundtrack can evoke powerful emotions and immerse viewers in your experiences.
- Organize Metadata and Descriptions: Embed metadata and descriptions within your media files to provide context and details about the captured moments. This step is particularly crucial for ensuring that your content is easily searchable and comprehensible.
By diligently organizing and enhancing your media files, you’re poised to elevate your visual narratives to new heights, captivating audiences and reliving your extraordinary experiences with unparalleled clarity and impact. With your videos and pictures meticulously organized and creatively enhanced, you’re now equipped to showcase your adventures and creative endeavors with the world, cementing your status as a proficient digital storyteller.