Introduction
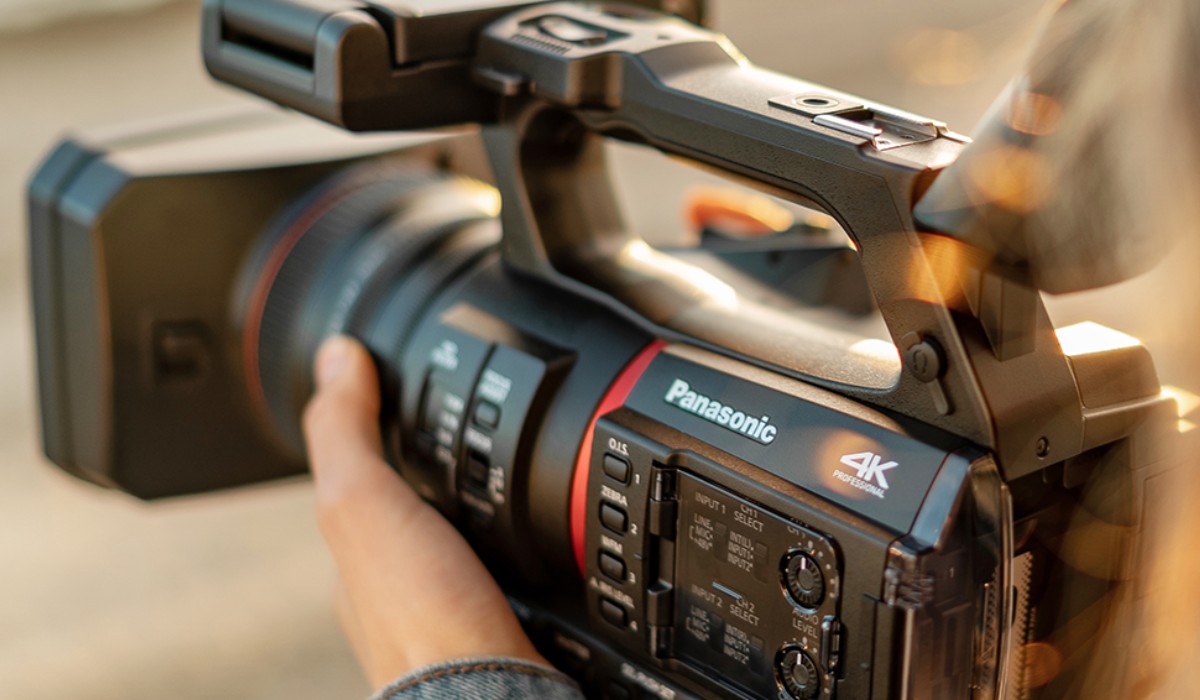
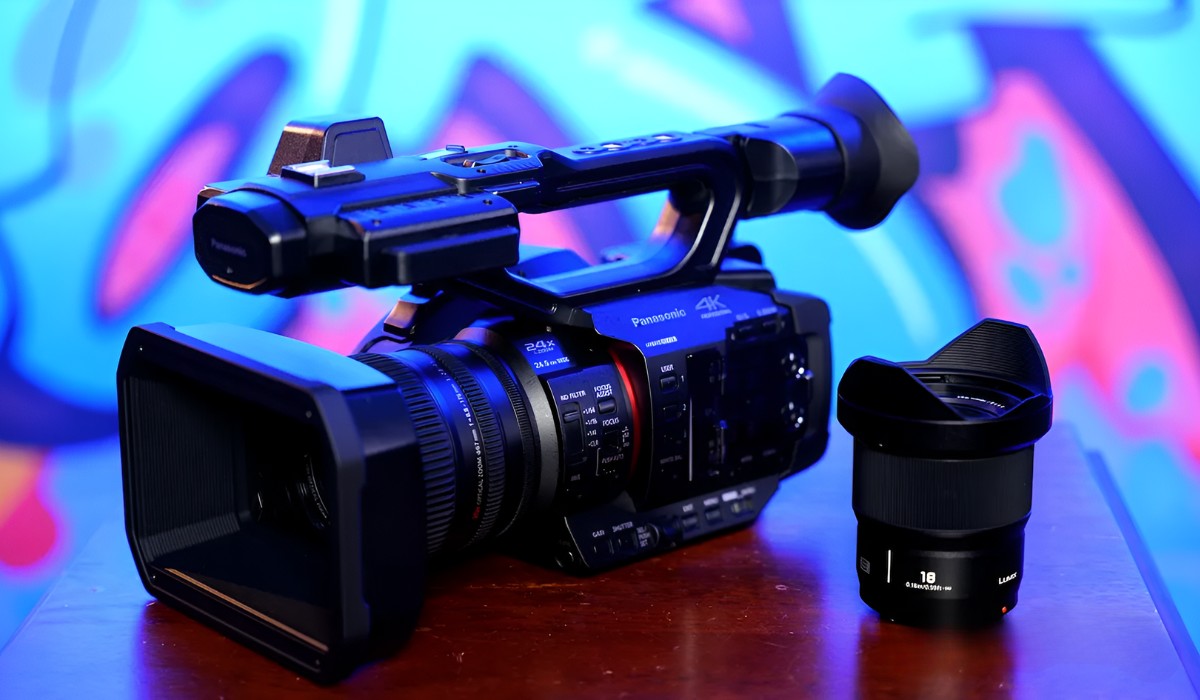
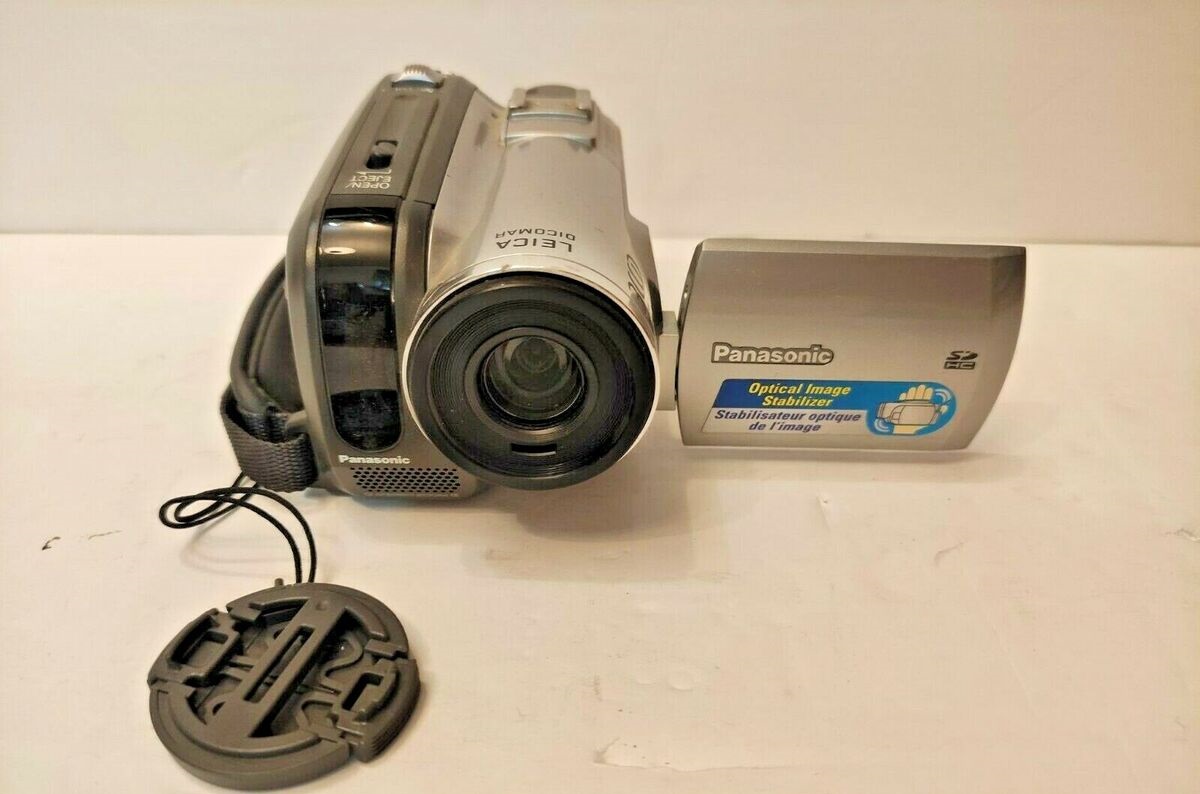
Are you eager to relive cherished memories captured on your Panasonic PV-GS320 camcorder? Importing videos from your camcorder to your PC can unlock a world of possibilities, from preserving precious moments to editing and sharing them with loved ones. With the right tools and a straightforward process, you can seamlessly transfer your video files for safekeeping and further customization.
In this guide, we will walk you through the essential steps to import videos from your Panasonic PV-GS320 camcorder to your PC. Whether you are a novice or a tech enthusiast, this comprehensive tutorial will equip you with the knowledge and confidence to effortlessly manage your video content. From installing the necessary software to organizing your imported videos, you will gain valuable insights into the entire process.
Let's embark on this enriching journey and unlock the potential of your video collection. Get ready to delve into the world of digital storytelling and unleash your creativity as we navigate through the seamless importation of your treasured video footage.
Step 1: Install the Necessary Software
Before initiating the video import process, it is crucial to ensure that your PC is equipped with the essential software to facilitate seamless communication with your Panasonic PV-GS320 camcorder. The following steps will guide you through the installation of the requisite software:
- Check Compatibility: Begin by verifying the compatibility of your PC's operating system with the software provided by Panasonic for your camcorder. Visit the official Panasonic website to identify the compatible software version for your specific operating system.
- Download the Software: Once you have confirmed the compatibility, proceed to download the recommended software from the official Panasonic support website. Ensure that you select the appropriate software version that aligns with your camcorder model and operating system.
- Install the Software: After the download is complete, locate the downloaded file and initiate the installation process. Follow the on-screen instructions to install the software on your PC. It is advisable to close all unnecessary applications during the installation to prevent any potential disruptions.
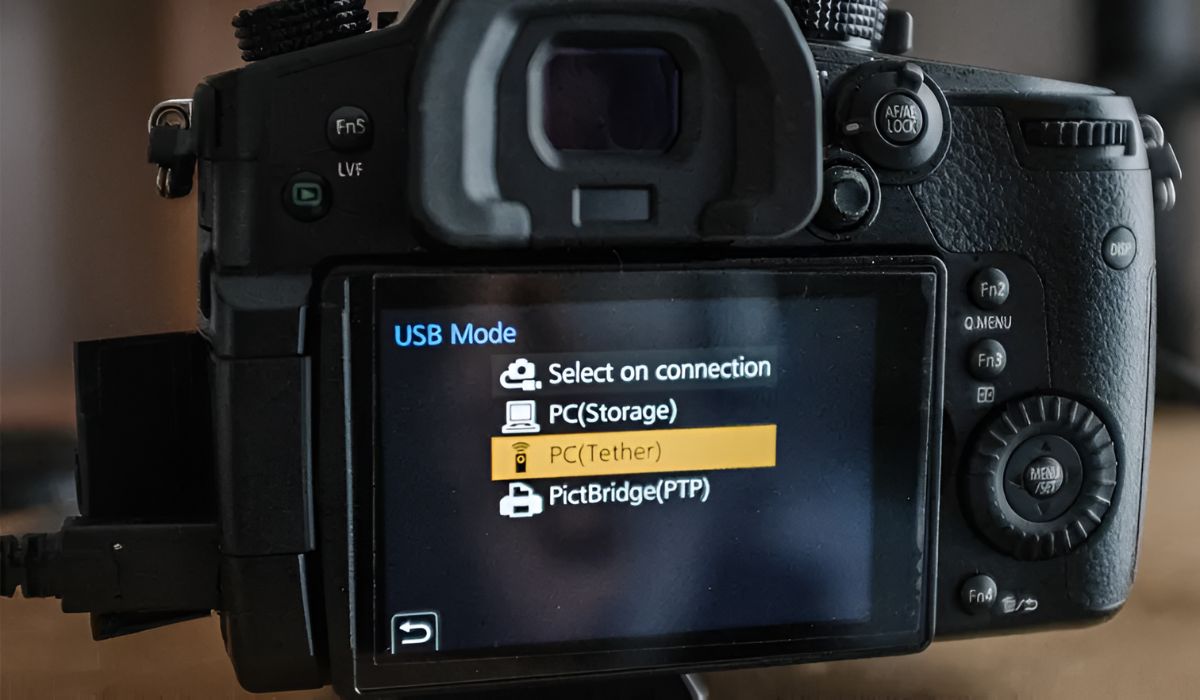
- Connect the Camcorder: Upon successful installation, connect your Panasonic PV-GS320 camcorder to your PC using the provided USB cable. The installed software should automatically detect the connected camcorder and establish the necessary communication protocols.
By diligently following these steps, you will effectively install the essential software required to initiate the seamless transfer of videos from your Panasonic PV-GS320 camcorder to your PC. With the software in place, you are now prepared to embark on the subsequent steps, ensuring a smooth and efficient video importation process.
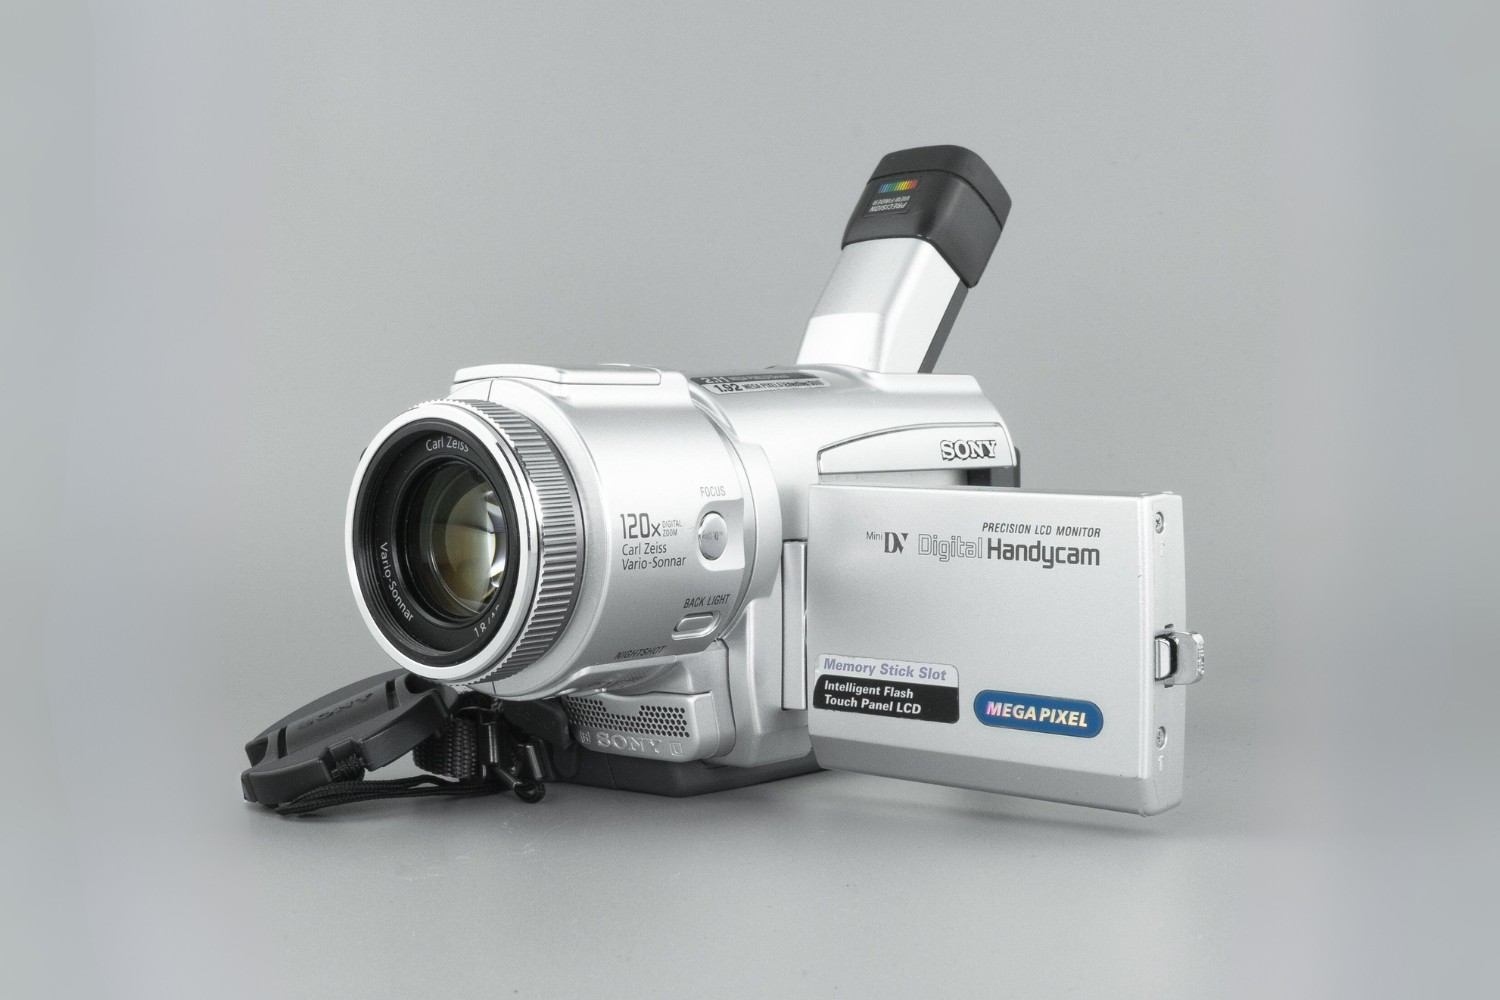
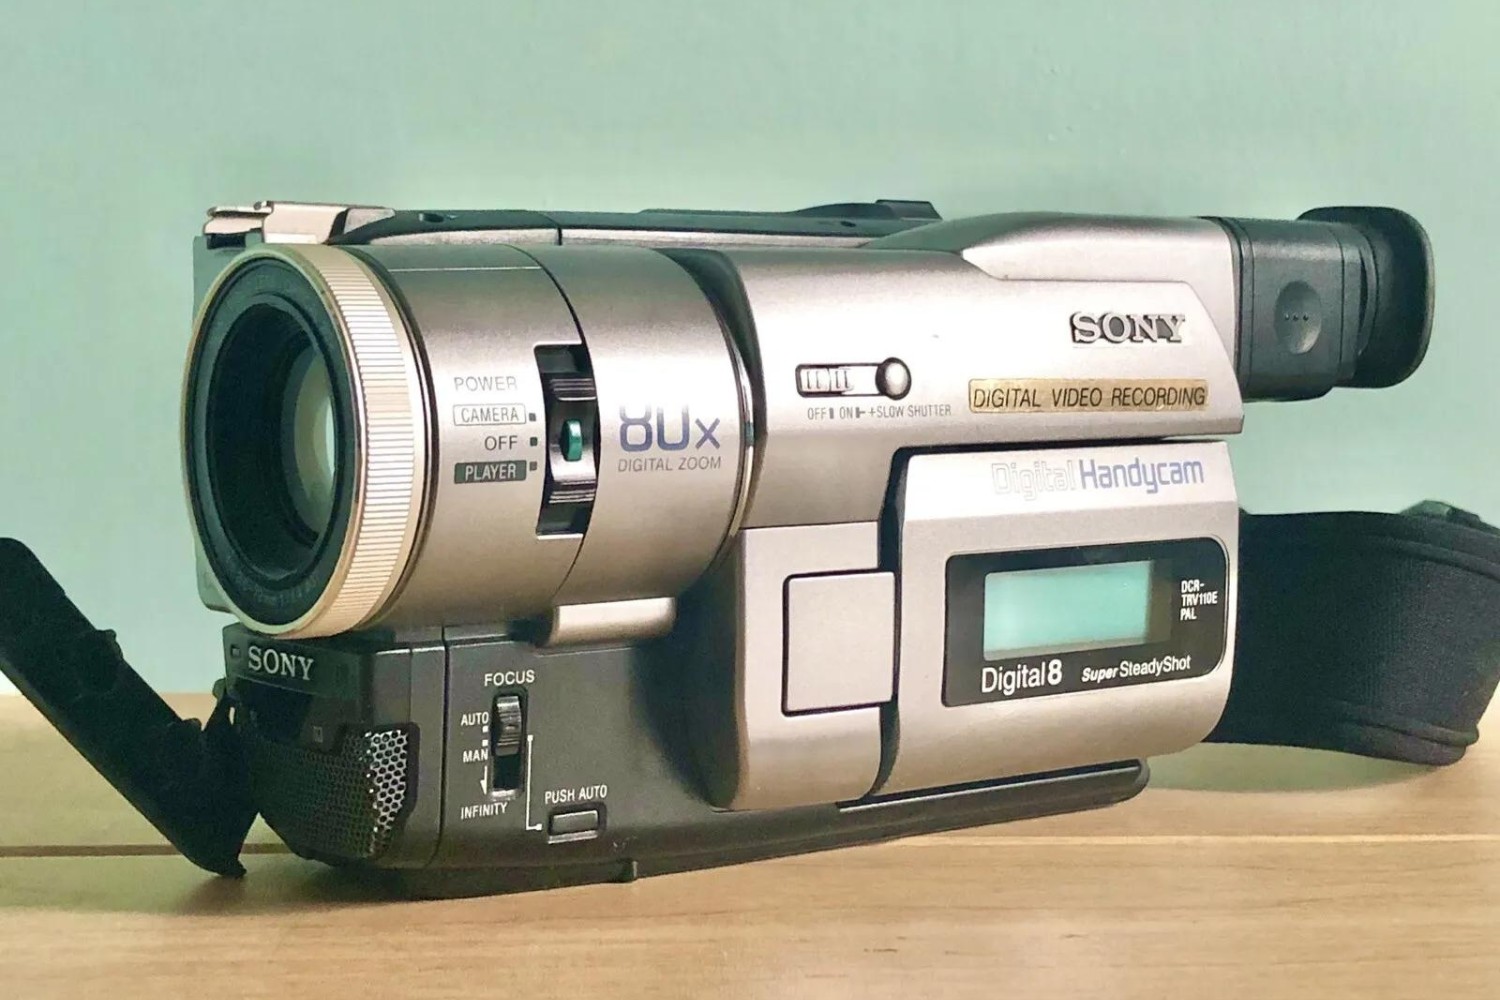
Step 2: Connect the Camcorder to the PC
With the necessary software installed, the next pivotal step involves establishing a seamless connection between your Panasonic PV-GS320 camcorder and your PC. The following guidelines will assist you in effectively connecting the two devices:
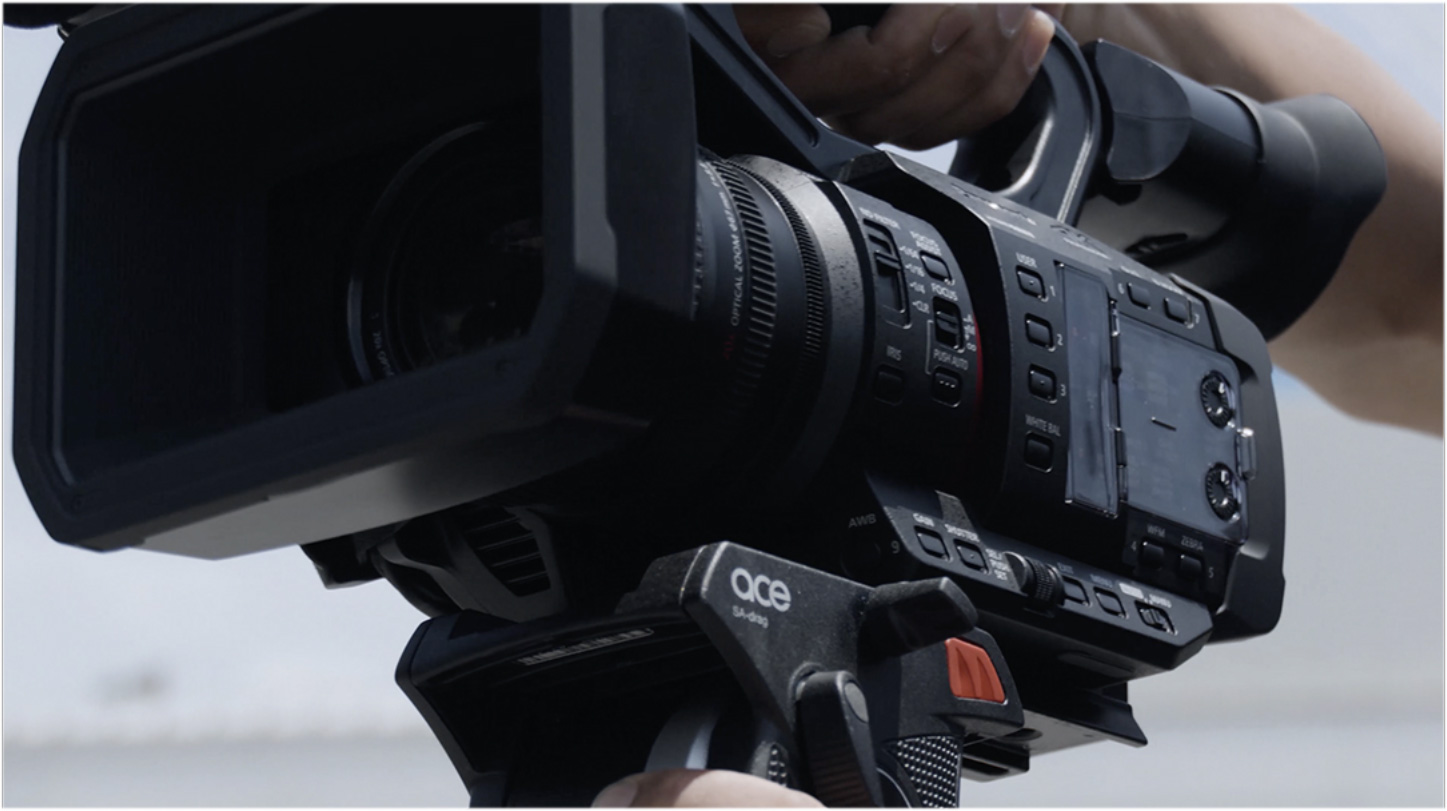
- Prepare the Camcorder: Ensure that your Panasonic PV-GS320 camcorder is powered on and in the appropriate mode for data transfer. Most camcorders have a dedicated mode for connecting to a PC, typically labeled as “PC” or “Data Transfer” mode. Refer to the user manual for specific instructions on activating this mode.
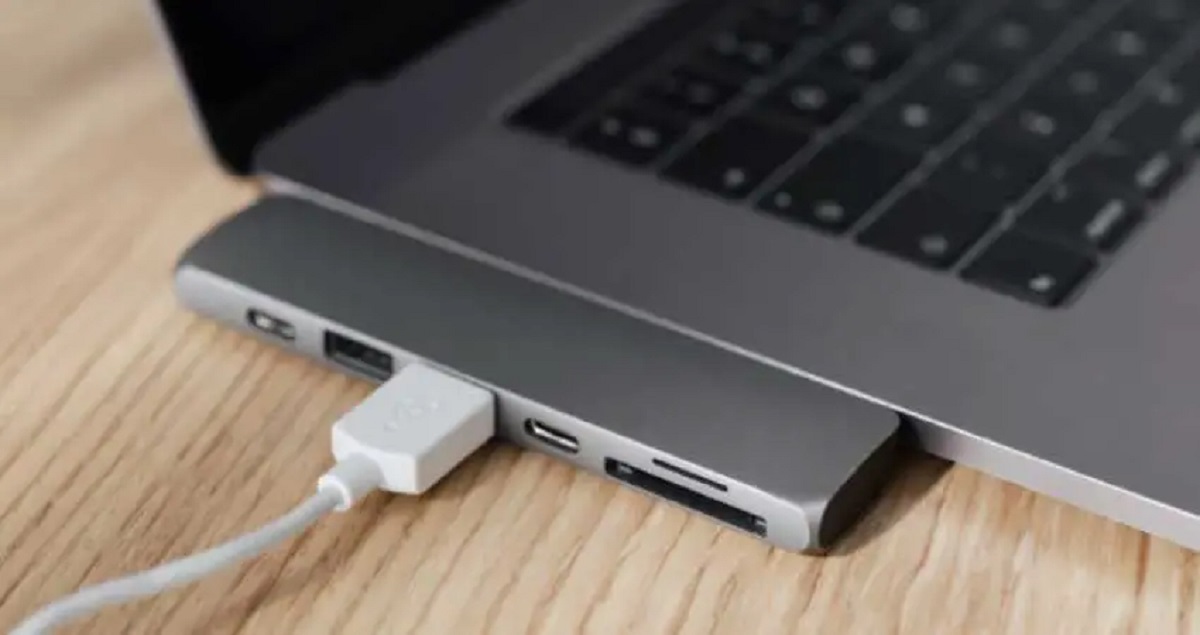
- Connect the USB Cable: Utilize the USB cable provided with your camcorder to establish a physical connection between the camcorder and your PC. Locate the USB port on your camcorder and the corresponding USB port on your PC. Gently insert the USB cable into both ports, ensuring a secure connection.
- Detection and Configuration: Upon establishing the physical connection, your PC should detect the connected camcorder and configure the necessary drivers and protocols for data transfer. You may receive on-screen prompts or notifications indicating the successful detection of the camcorder.
- Accessing the Camcorder: Once the connection is established, you can access your camcorder as an external storage device on your PC. This allows you to navigate through the stored video files on your camcorder and initiate the transfer process to import them onto your PC.
By meticulously following these steps, you can seamlessly connect your Panasonic PV-GS320 camcorder to your PC, paving the way for the swift transfer of your cherished video content. With the connection established, you are now poised to embark on the subsequent stages of the video importation process, further enhancing your digital content management capabilities.
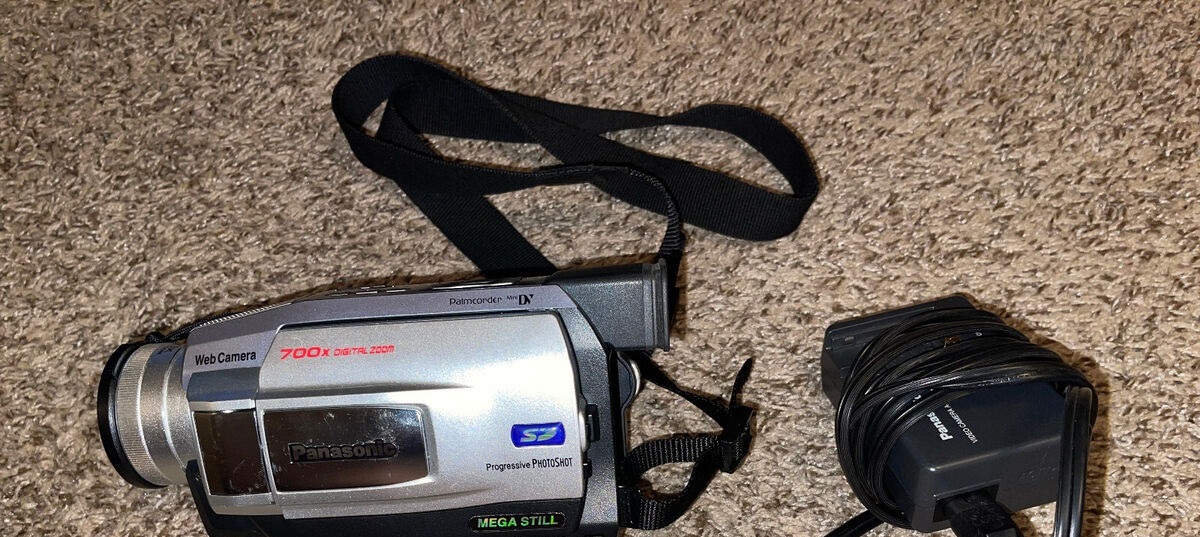
Step 3: Transfer the Video Files
With the successful connection between your Panasonic PV-GS320 camcorder and your PC, you are now ready to initiate the seamless transfer of your valuable video files. The following steps will guide you through the process of efficiently transferring the video files from your camcorder to your PC:
- Locate the Video Files: Access the storage of your Panasonic PV-GS320 camcorder on your PC. Navigate to the designated folder or directory where the video files are stored within the camcorder’s internal memory or memory card.
- Select the Video Files: Once you have located the video files, carefully select the specific videos that you intend to transfer to your PC. You can employ standard file selection techniques, such as clicking and dragging to highlight the desired video files.
- Initiate the Transfer: After selecting the target video files, commence the transfer process by dragging the chosen files to a designated folder on your PC. Alternatively, you can utilize the “Copy” and “Paste” functions to transfer the selected video files to the desired location on your PC’s storage.
- Monitor the Transfer: During the transfer process, monitor the progress to ensure a seamless and error-free transfer of the video files. Depending on the file sizes and the transfer speed, the process may take varying durations. Exercise patience and allow the transfer to reach completion.
- Verification and Safety Ejection: Upon completion of the transfer, verify the successful presence of the imported video files in the designated folder on your PC. Subsequently, safely eject your Panasonic PV-GS320 camcorder from your PC to finalize the transfer process.
By meticulously following these steps, you can effectively transfer your cherished video files from your Panasonic PV-GS320 camcorder to your PC, ensuring that your digital content is securely preserved and readily accessible for future endeavors. With the video files safely imported onto your PC, you are now poised to explore various editing and organization options to further enhance and showcase your captivating video content.
Step 4: Edit and Organize the Imported Videos
Following the successful transfer of your cherished video files from your Panasonic PV-GS320 camcorder to your PC, you now have the opportunity to unleash your creativity and enhance your digital content through editing and strategic organization. The subsequent steps will guide you through the process of effectively editing and organizing the imported videos:
- Select an Editing Software: Choose a suitable video editing software that aligns with your proficiency level and desired editing capabilities. There is a myriad of user-friendly editing software available, ranging from basic tools to advanced platforms, catering to diverse editing requirements.
- Import the Videos: Utilize the selected editing software to import the transferred video files into the editing interface. This will enable you to access and manipulate the video content seamlessly within the editing environment, unlocking a plethora of creative possibilities.
- Enhance and Customize: Leverage the features and tools offered by the editing software to enhance and customize your imported videos. This may include trimming, adding transitions, incorporating audio elements, applying visual effects, and implementing text overlays to personalize your video content.
- Organize into Projects: Categorize and organize the edited videos into distinct projects based on themes, events, or specific narratives. Establishing a systematic approach to organizing your video content will streamline accessibility and facilitate efficient management of your digital library.
- Backup and Storage: Prioritize the backup and secure storage of your edited and organized video projects. Implement a reliable backup strategy to safeguard your creative endeavors, ensuring that your meticulously crafted videos are shielded from potential data loss or unforeseen technical issues.
By diligently following these steps, you can elevate your video content management capabilities by infusing creativity into your imported videos. The process of editing and organizing your video files empowers you to curate captivating visual narratives and ensures that your digital content is meticulously structured for seamless accessibility and future utilization.
Conclusion
Congratulations on successfully navigating through the comprehensive process of importing videos from your Panasonic PV-GS320 camcorder to your PC. By following the outlined steps, you have unlocked the potential of your cherished video content, paving the way for seamless preservation, customization, and sharing of your digital memories.
From installing the necessary software to meticulously transferring, editing, and organizing your imported videos, you have gained valuable insights into managing your digital video library with precision and creativity. The journey of importing your video files transcends mere technicalities, as it encapsulates the art of storytelling and the preservation of cherished moments.
As you embark on your digital content management endeavors, remember that the imported videos on your PC are more than mere files; they encapsulate the essence of your experiences, emotions, and creativity. Embrace the opportunity to infuse your videos with personalized touches, transforming them into captivating visual narratives that resonate with your unique perspective.
Furthermore, the skills and knowledge acquired throughout this process empower you to explore the realms of video editing, storytelling, and digital content organization with confidence and proficiency. Whether you aspire to create captivating montages, documentary-style presentations, or simply preserve precious moments, the seamless importation of your videos marks the commencement of an enriching digital journey.
Embrace the art of digital storytelling, and let your imported videos serve as canvases for your creativity, enabling you to weave compelling narratives that captivate and resonate with your audience. With your newfound expertise in video importation and management, you are equipped to embark on a fulfilling and inspiring creative odyssey, amplifying the impact of your cherished video content.
May your imported videos on your PC become vessels of inspiration, nostalgia, and creativity, reflecting the beauty of life’s fleeting moments and the enduring power of visual storytelling.